Welcome to this tutorial on File Libraries in the Answers for College Advisor Portal. File Libraries are powerful collections of reusable files and links that you can organize once and share with multiple students and parents as needed. Think of it as your master resource center - create it once, share it many times. Let's explore how to build and manage your own file libraries.
First, make sure you're logged into your Answers for College Advisor Portal with your credentials. Once you're in and see your main dashboard, we're ready to explore the File Libraries feature.
2. Navigating to File Libraries
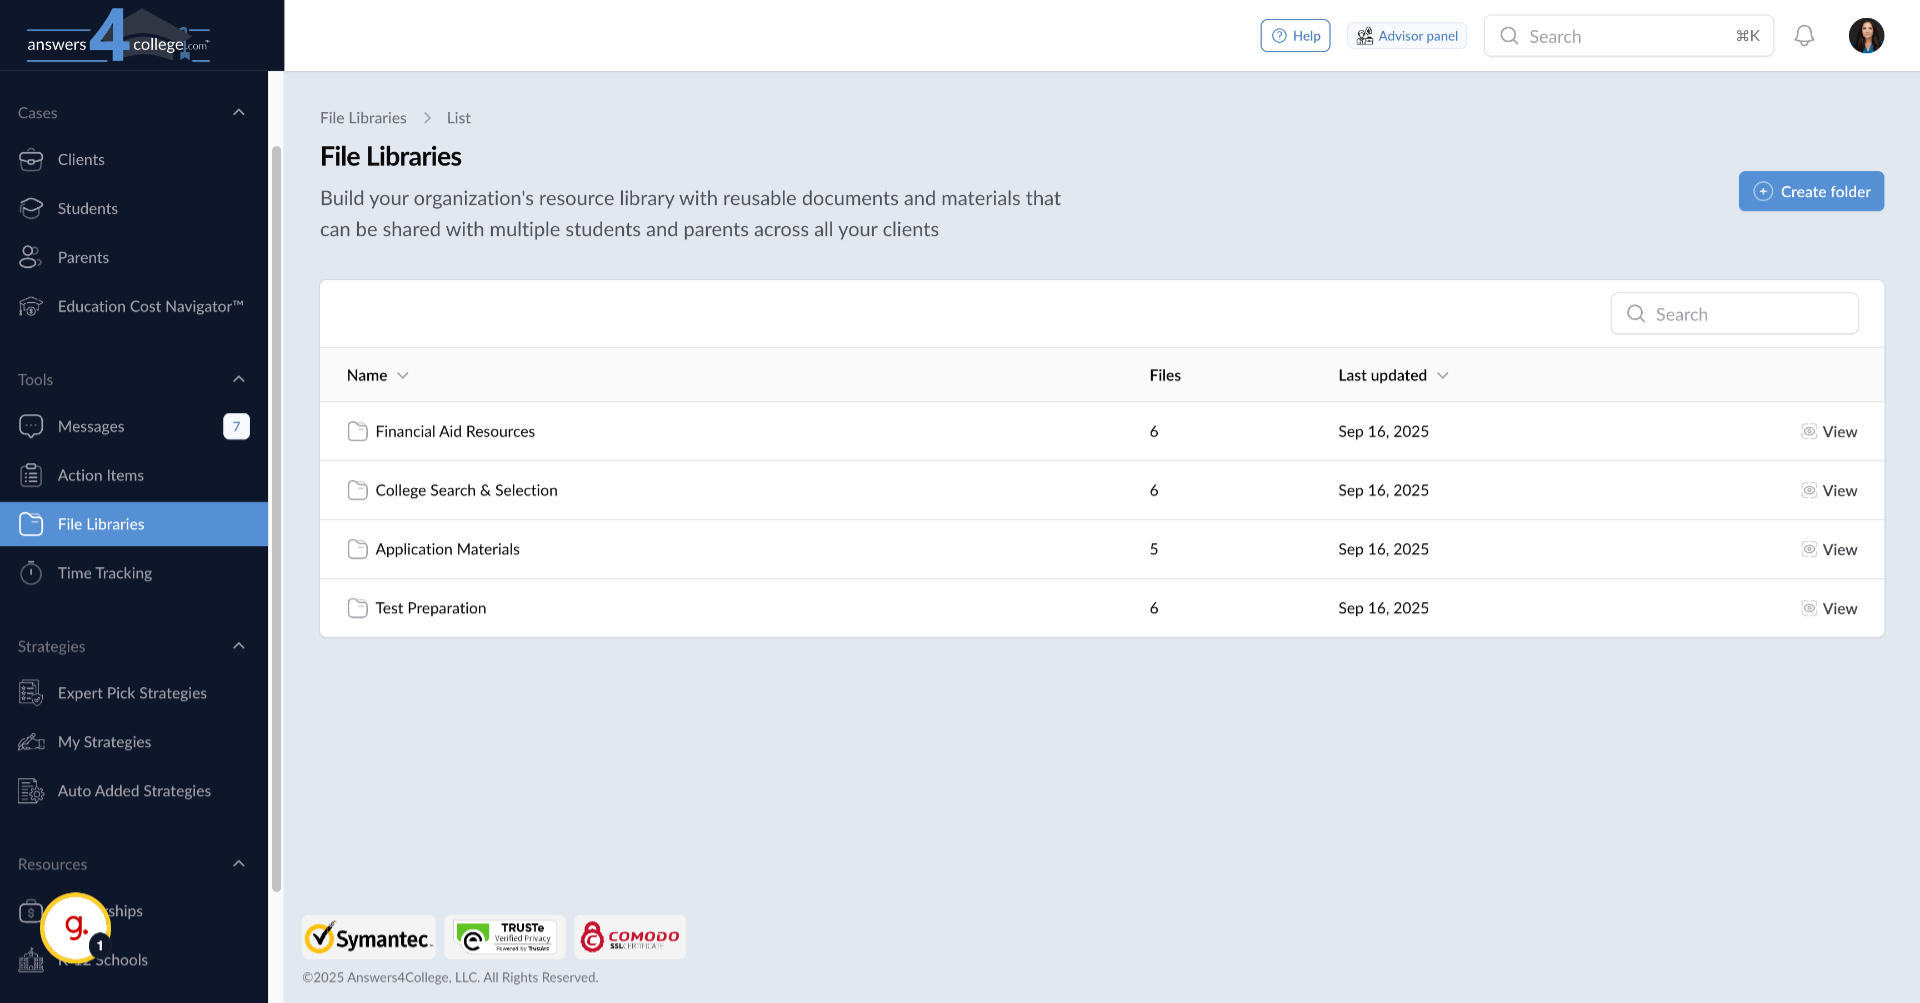
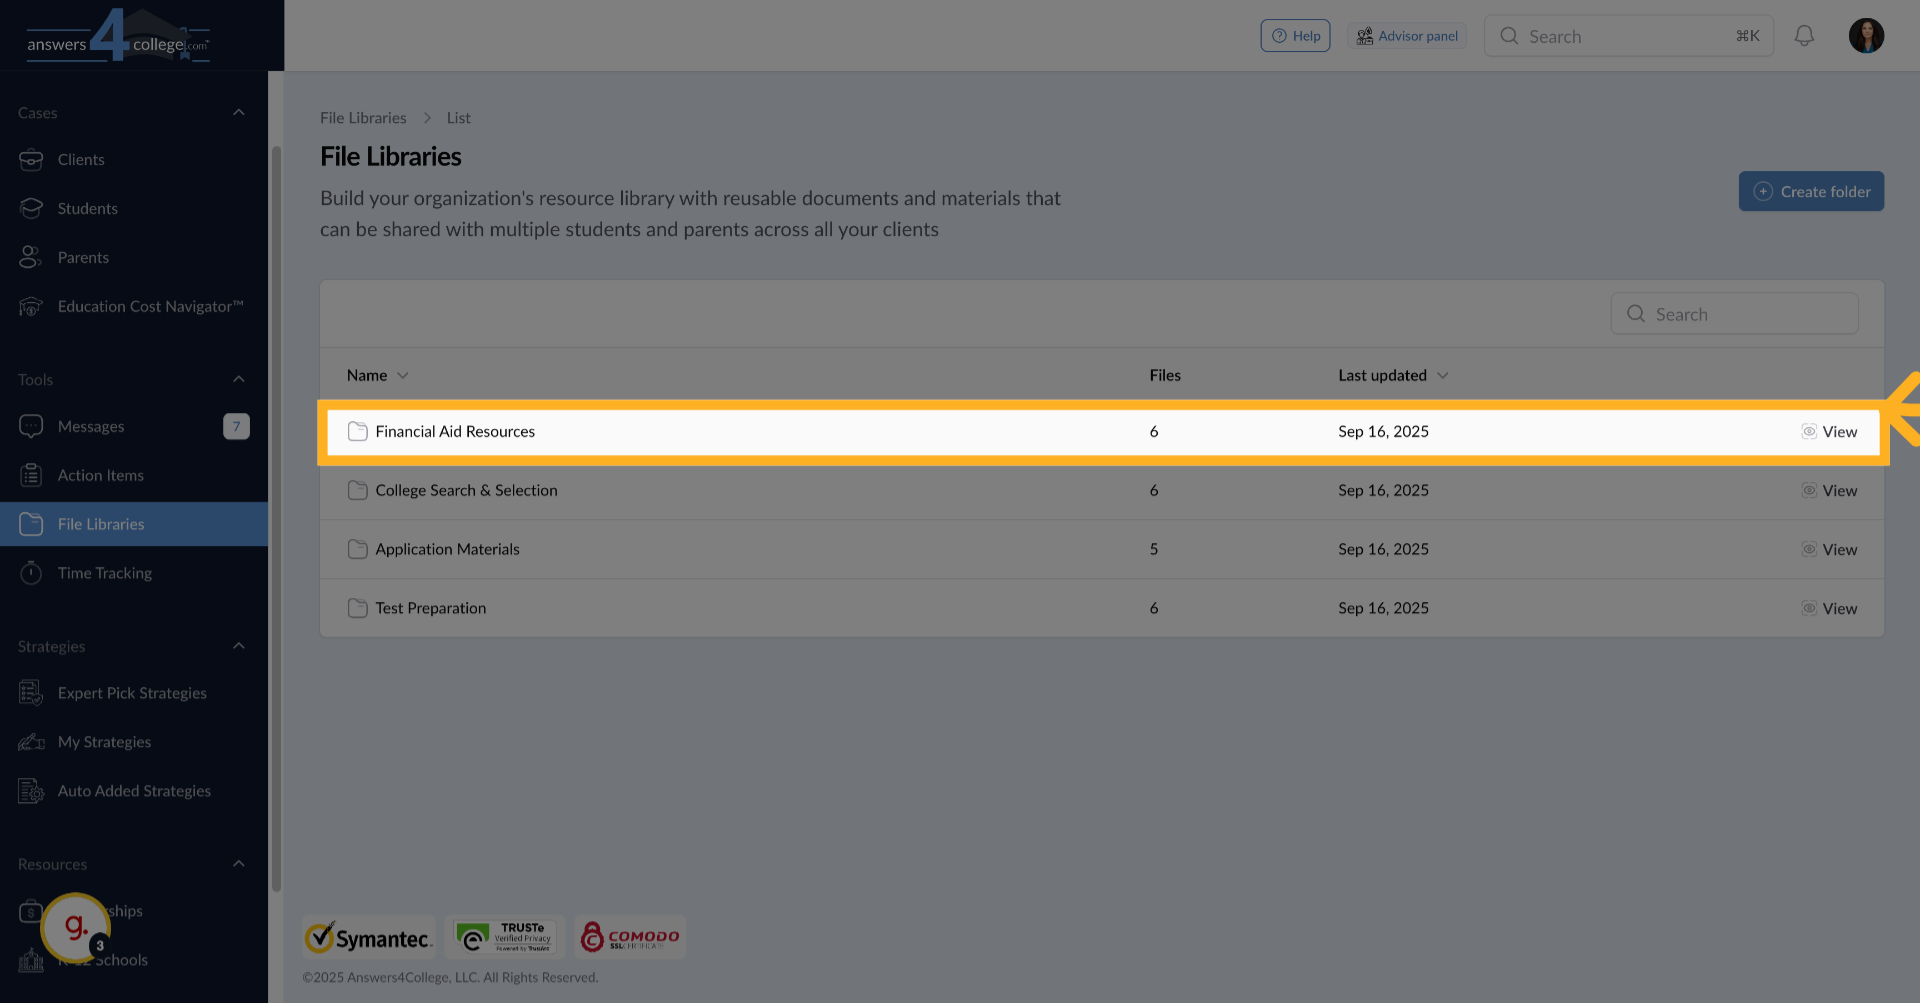
Look at the left-hand navigation menu and click on "File Libraries." This takes you to your central repository where all your reusable resources are stored.
3. Understanding the File Libraries Interface
You're now looking at the File Libraries main page. If you're just starting out, this area might be empty. If you've been using the system, you might see folders you've already created. Think of this as your personal resource library that you'll build over time to make sharing common documents much more efficient.
4. Creating Your First Library Folder
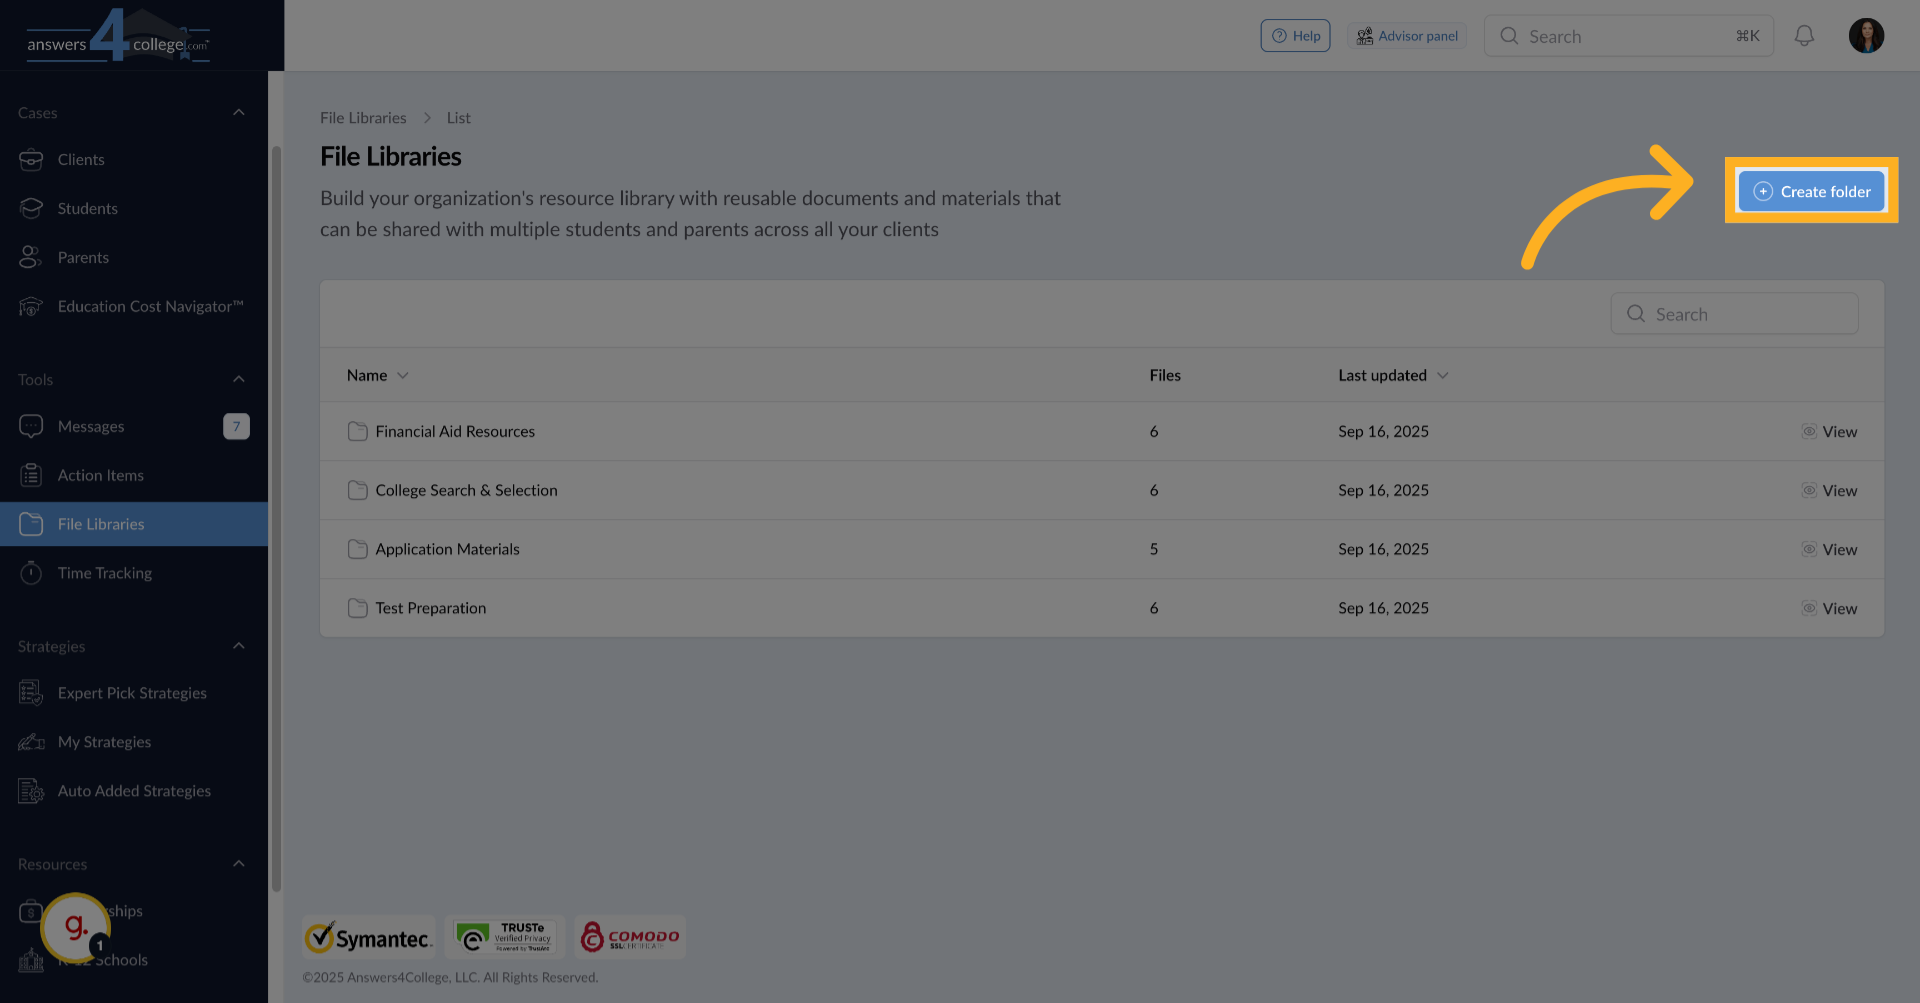
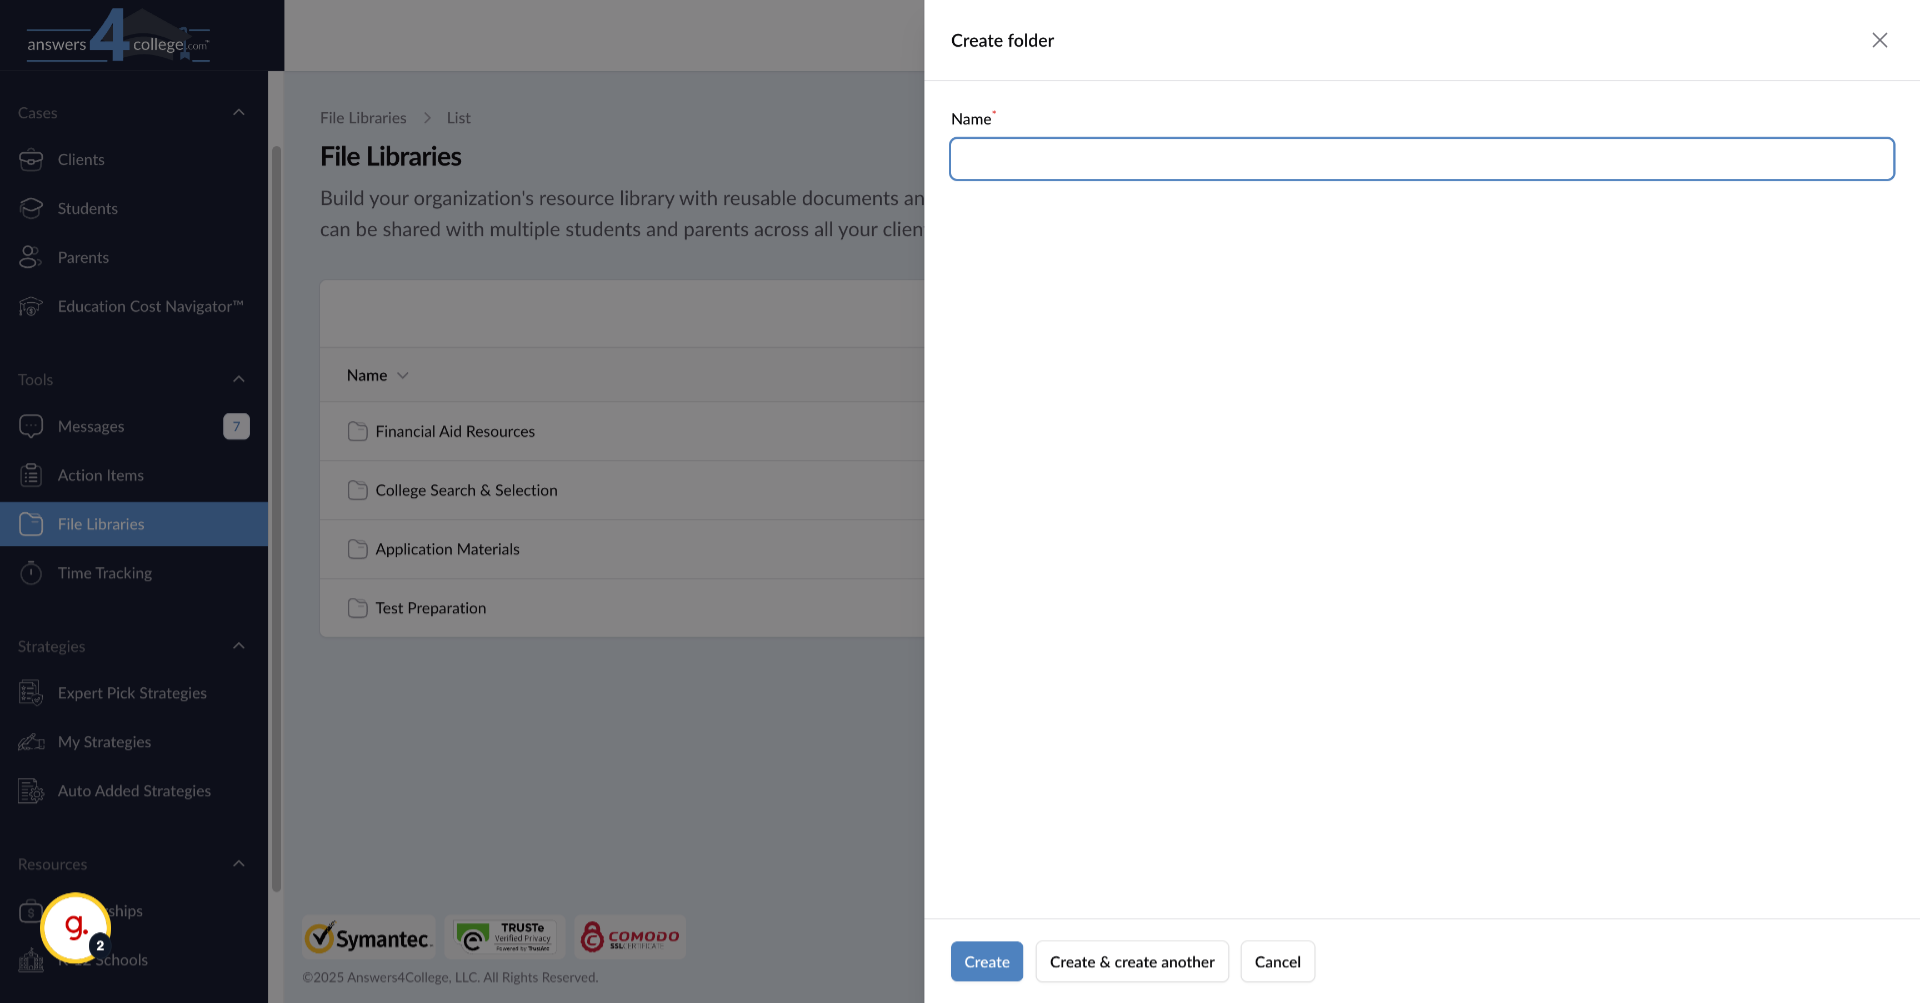
Let's create a new folder to organize your resources. Click on "Create Folder" at the top of the screen. A dialog will appear asking for a folder name.
5. Naming Your Folders Strategically
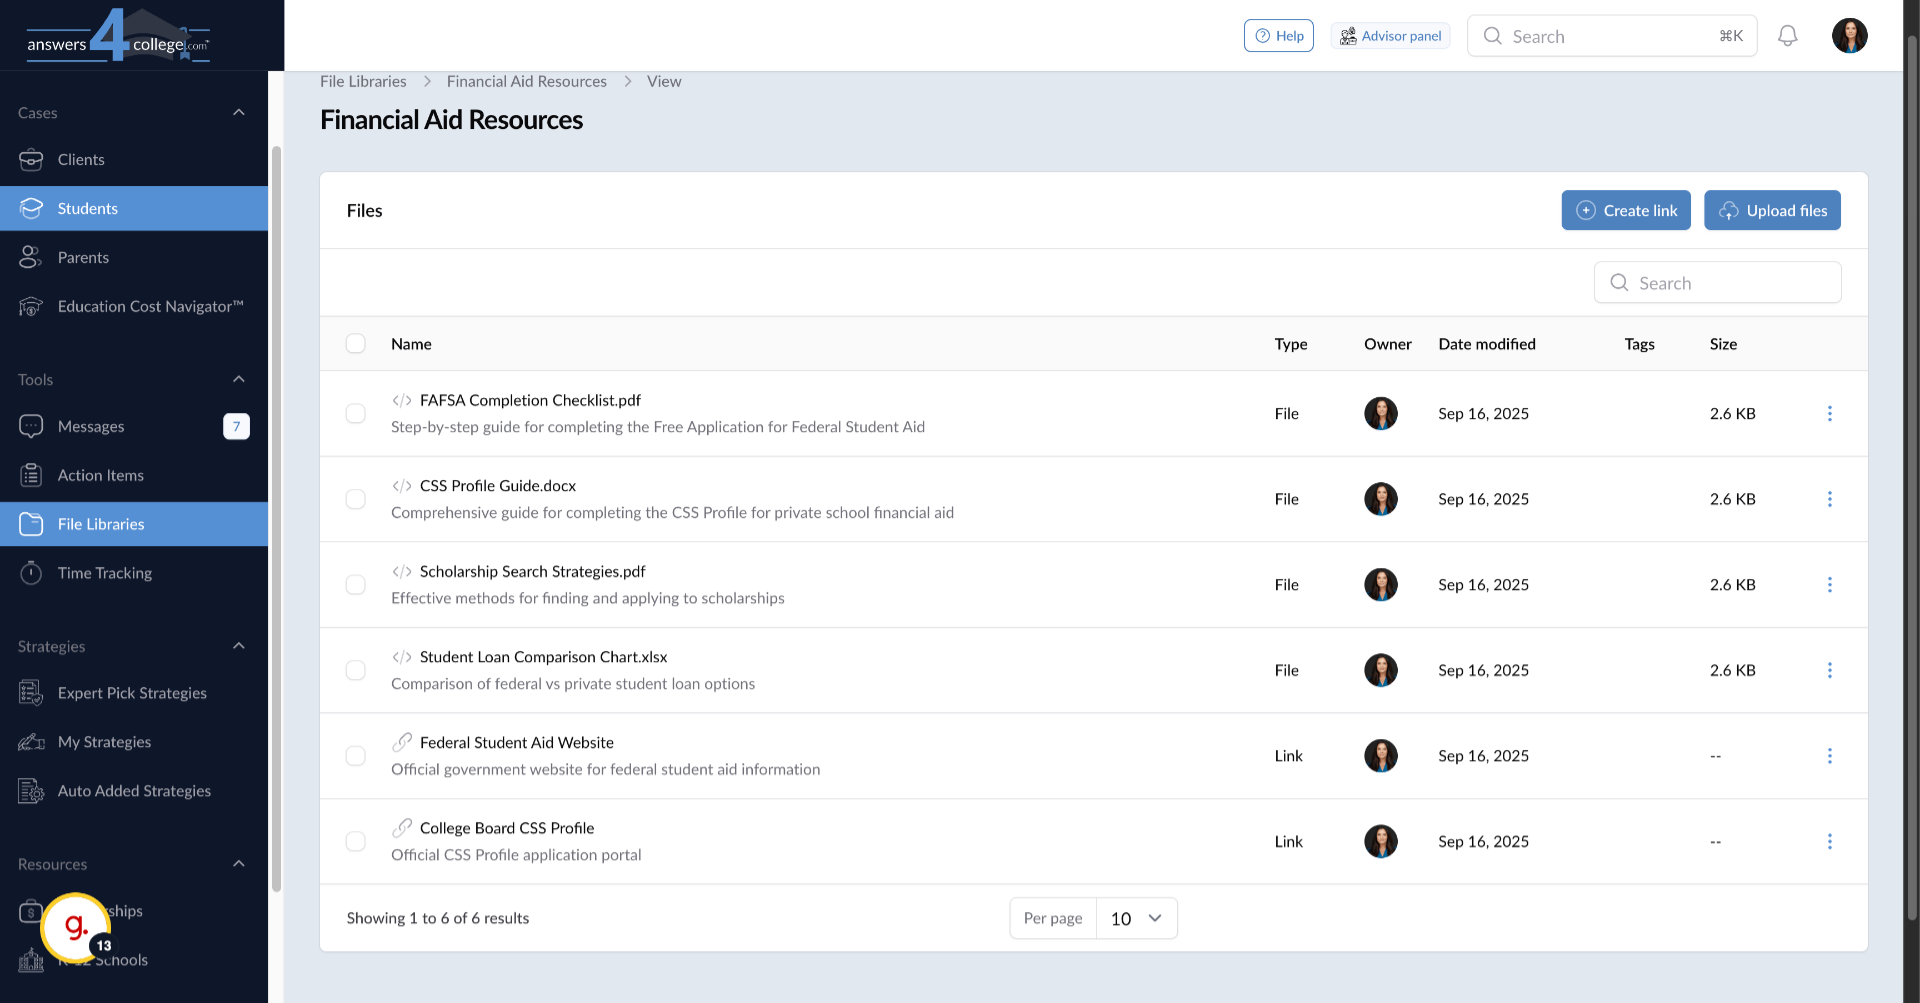
Choose descriptive, practical names for your folders that will make sense long-term. Consider names like "Financial Aid Resources," "Application Materials," "Essay Writing Guides," or "Scholarship Information." For this example, let's create one called "Student Resources." These organized folders will save you time when you need to quickly share resources with families.
6. Opening Your New Folder
Once created, click on your folder to open it. This is where you'll build your collection of shareable resources.
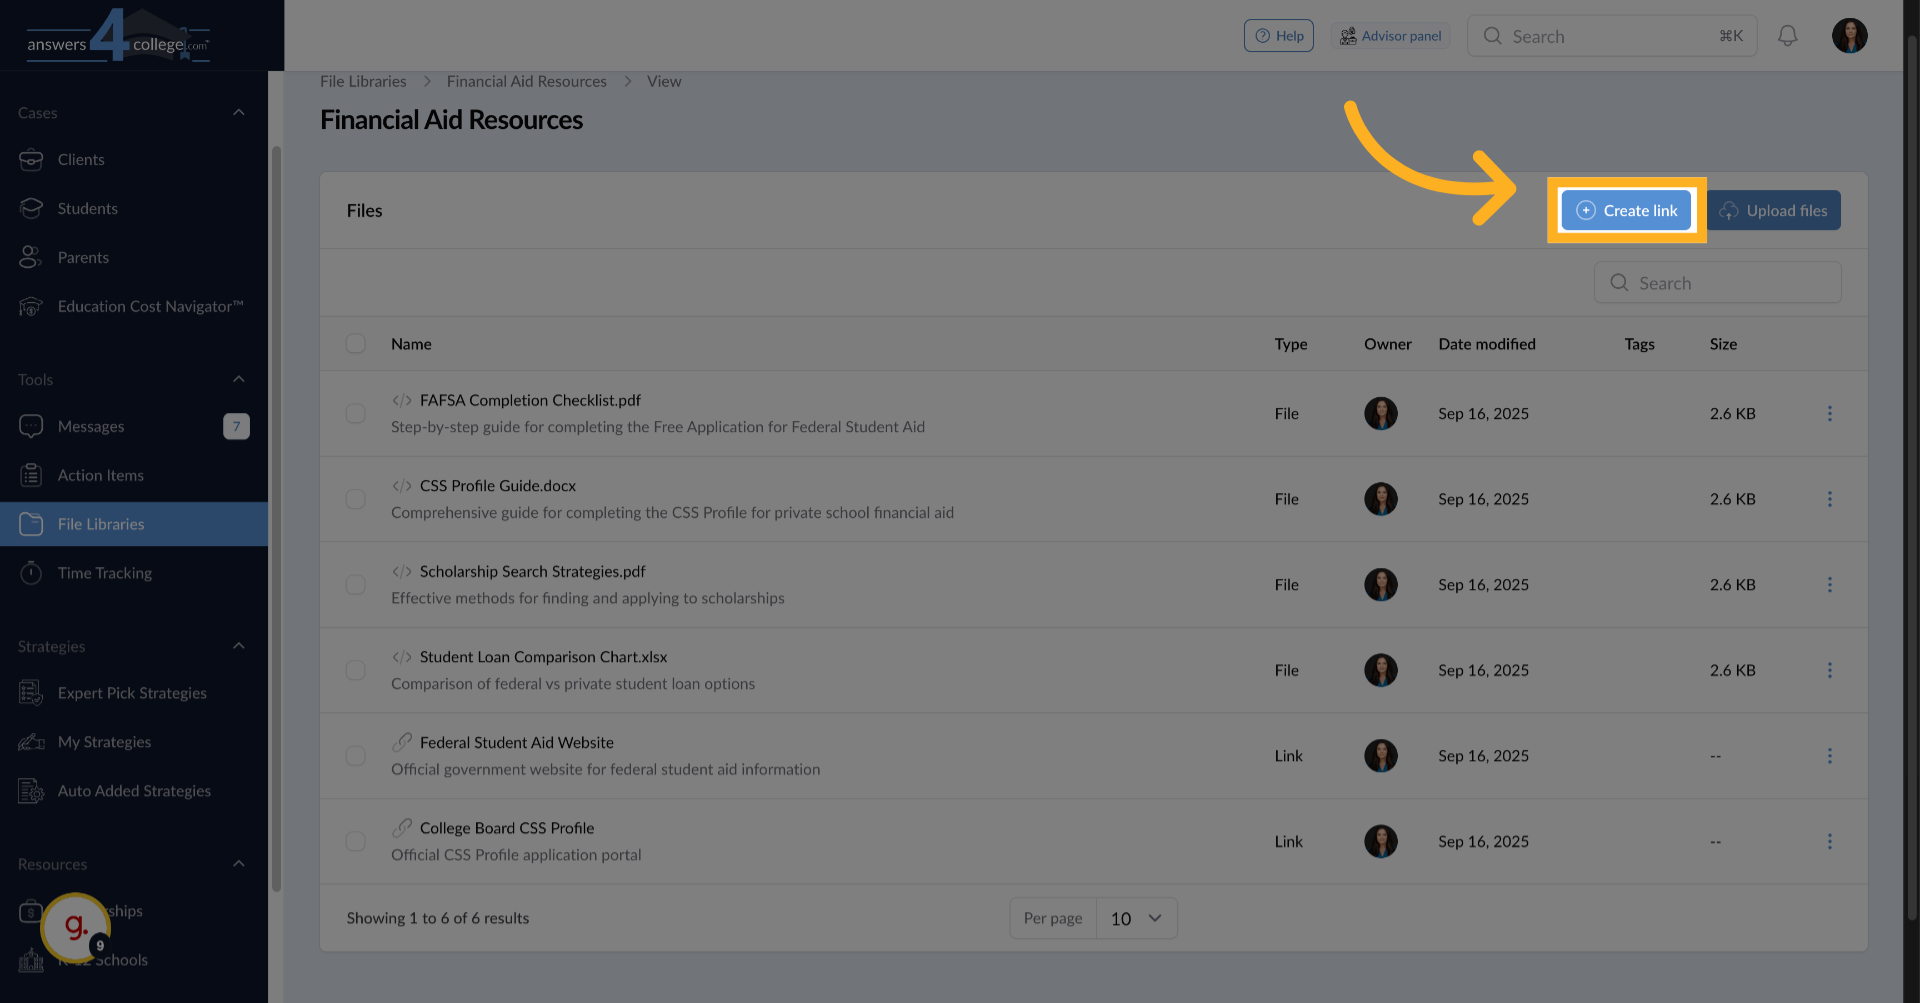
7. Adding Links to Your Library
Inside the folder, click "Create Link" to add web resources. These might be frequently-used websites that many families need access to.
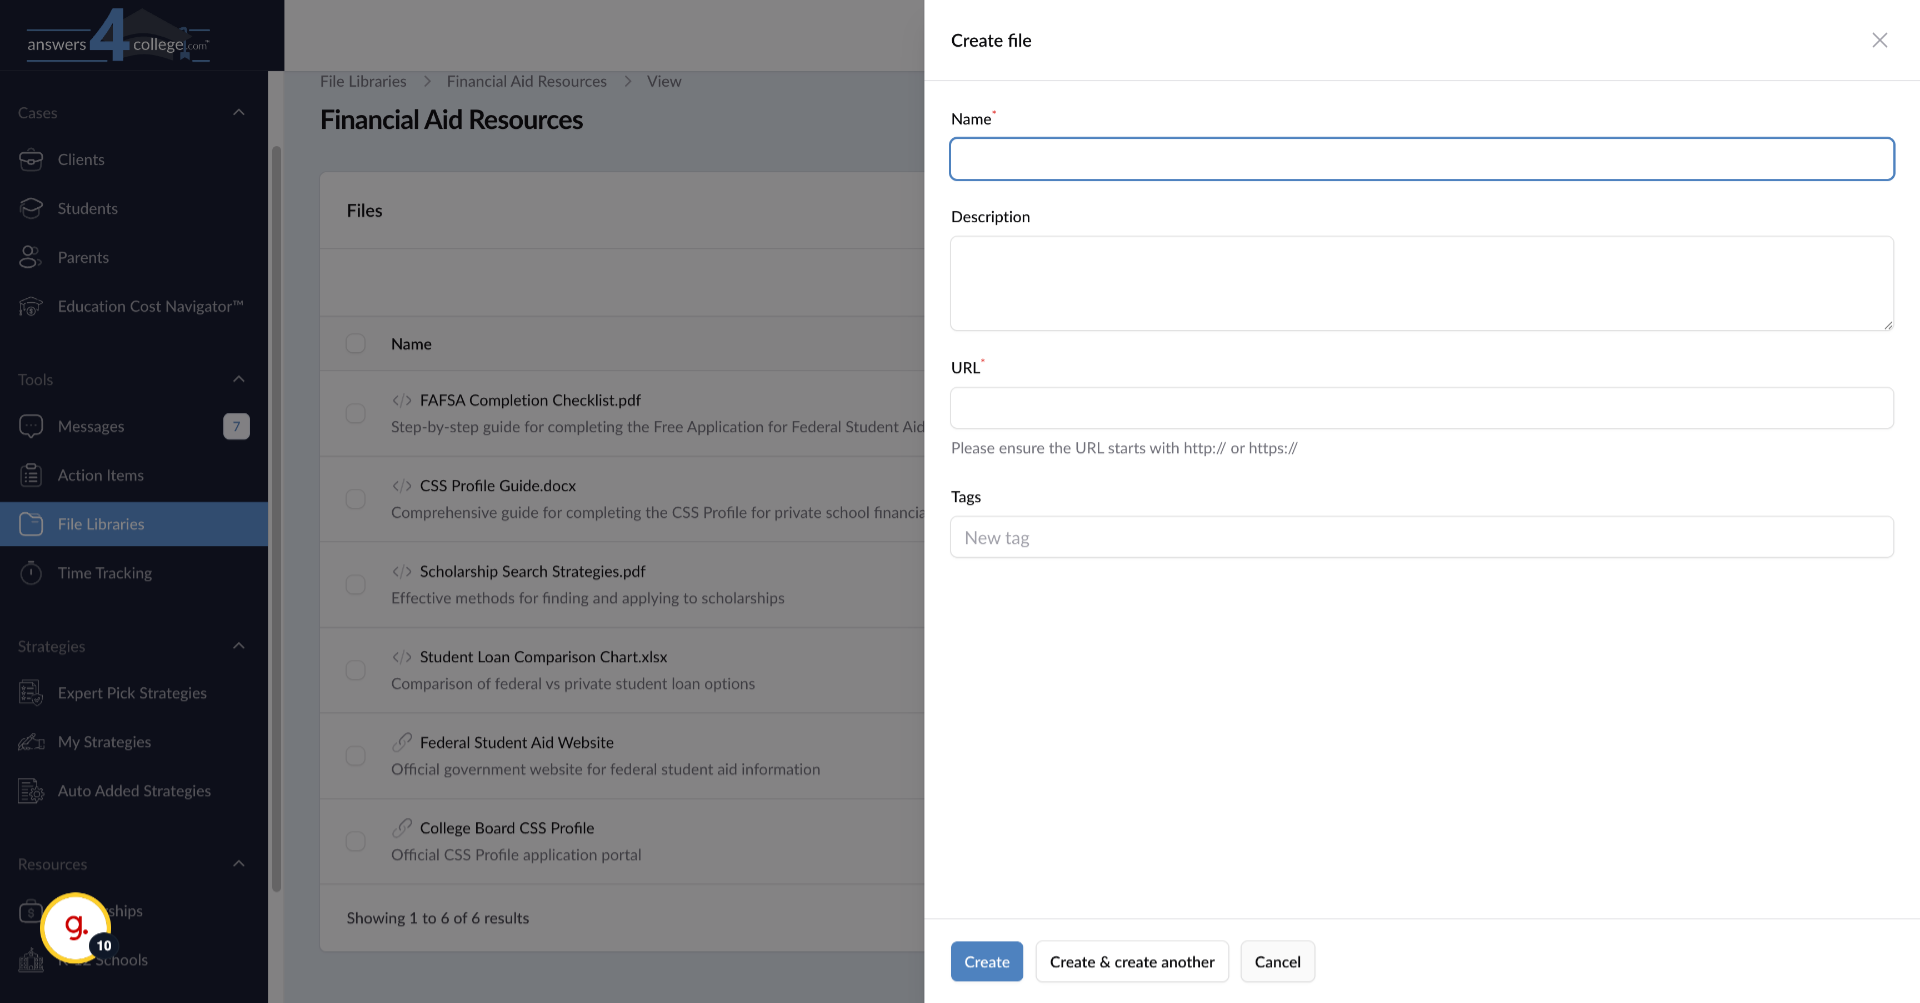
8. Configuring Your Links
Give your link a clear, descriptive name like "FAFSA Application Portal" or "College Board SAT Registration." Enter the full URL in the URL field. Here's a helpful feature - you can add tags to indicate who this resource is most relevant for, such as "seniors," "financial-aid," or "testing." Click "Create" to save the link.
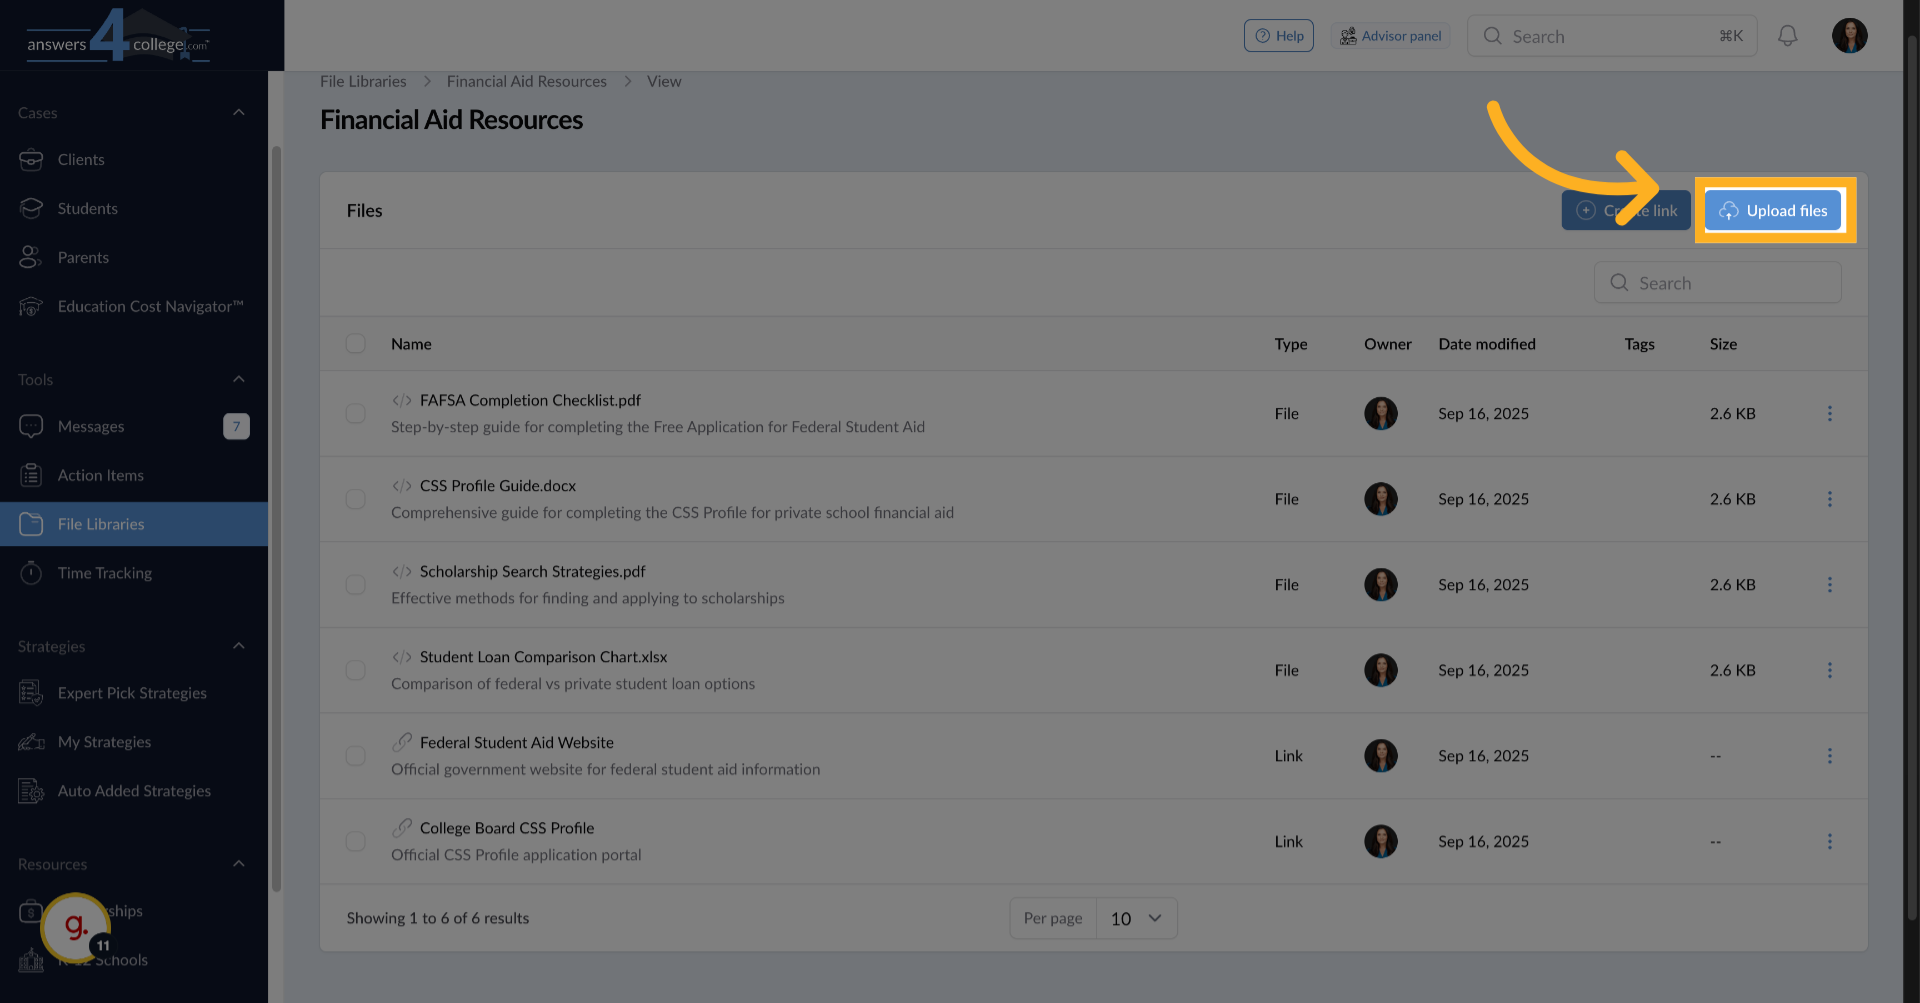
9. Uploading Files to Your Library
Now let's add documents. Click "Upload Files" to add resources like PDF guides, worksheets, or templates. Remember, you can upload up to 10 files at once, with each file having a maximum size of 10 megabytes.
10. Building Your Collection
Continue adding all the resources you frequently share with families. Think about the documents you find yourself emailing repeatedly - college comparison worksheets, timeline templates, essay brainstorming guides. Add them all here once, and you'll never need to search through your emails for them again.
11. Navigating to a Student
Now that your library is built, let's share resources with a student. Click "Students" in the left-hand menu to see your student list.
12. Selecting Your Student
Choose the student you want to share resources with - for this example, let's select Michael Smith. Click on his name to open his profile.
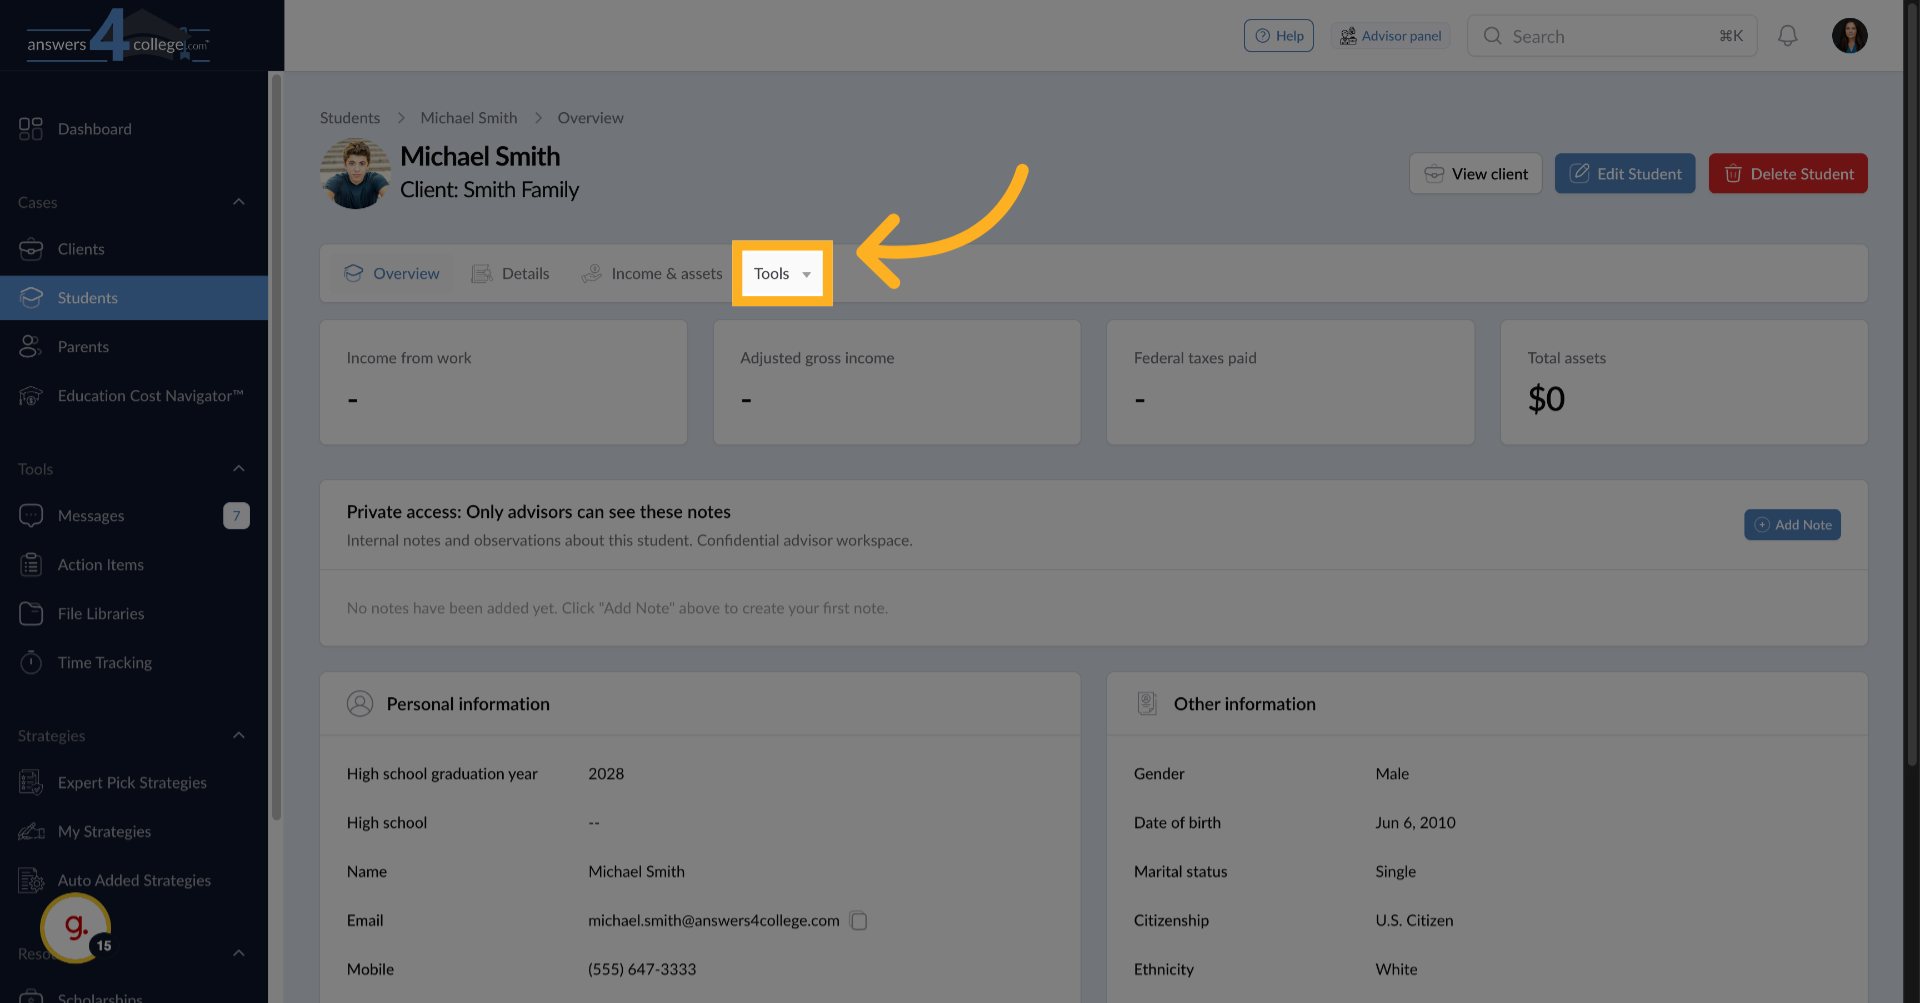
13. Accessing the Student's Files Section
From the top menu, click "Tools,"
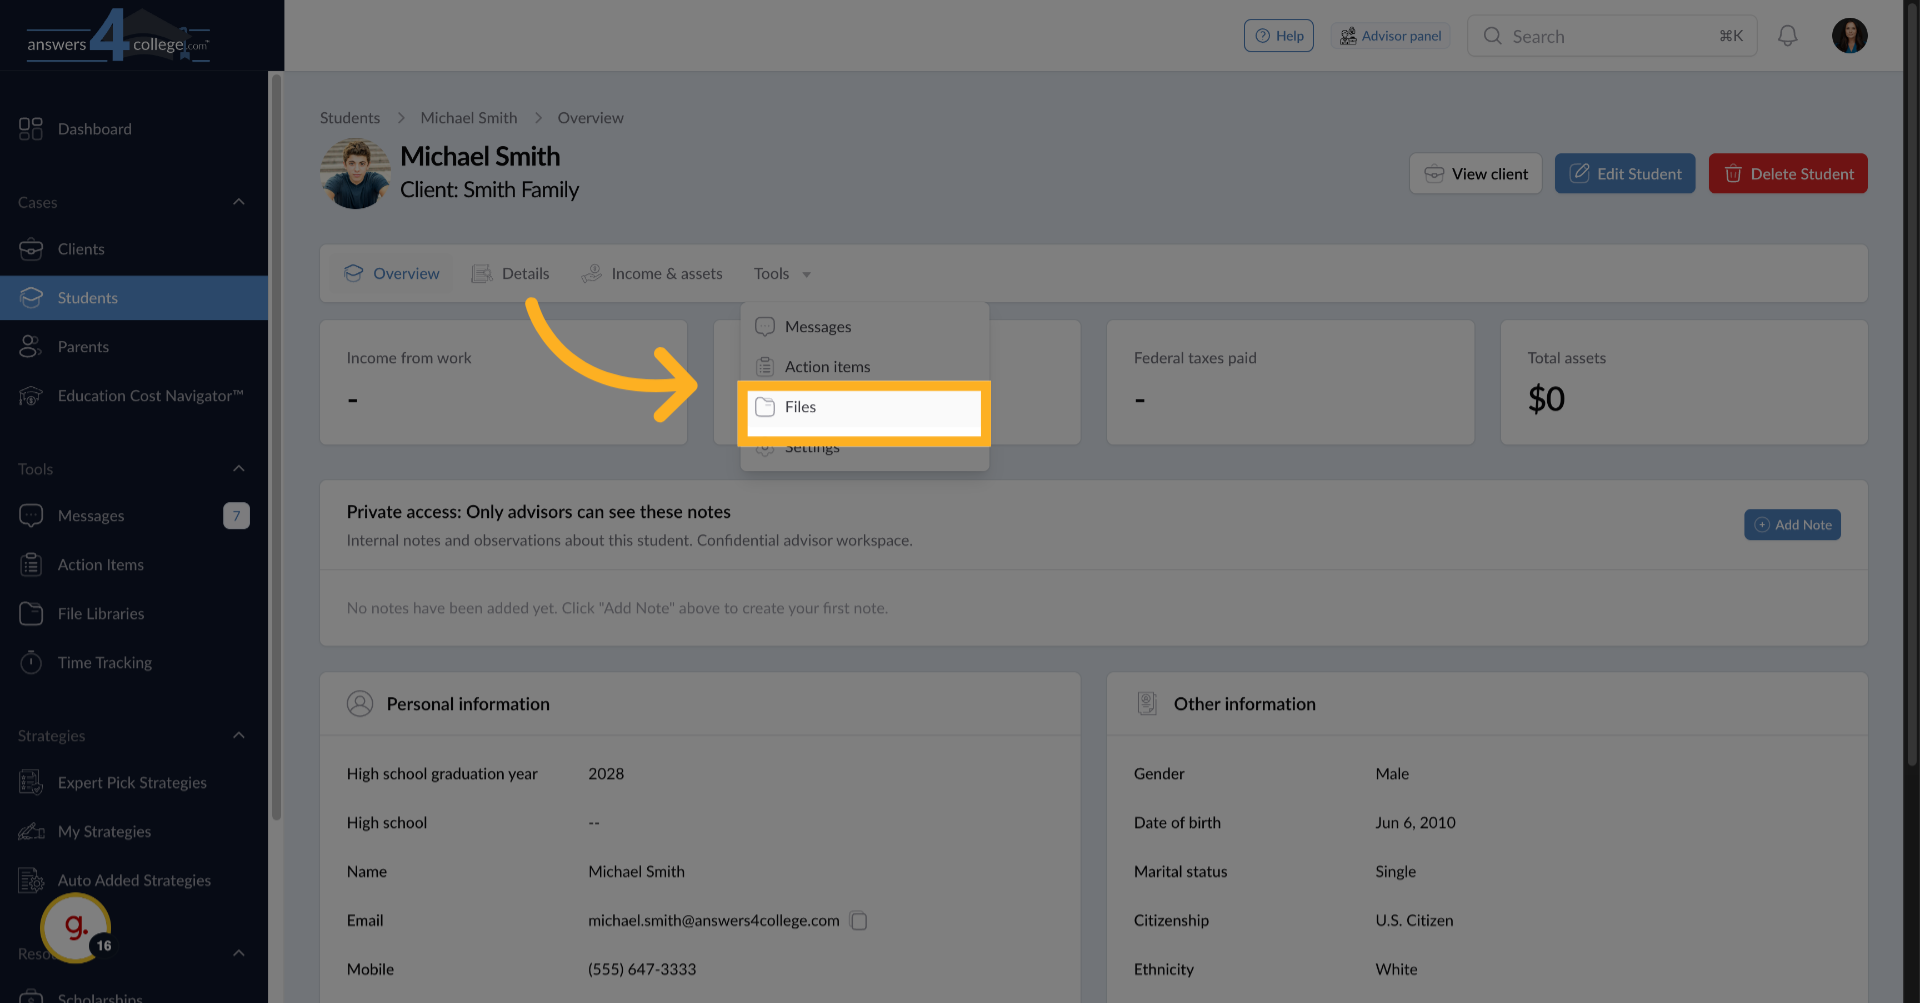
14. Accessing the Student's Files Section
then select "Files" from the dropdown. This takes you to the file management area for this specific student.
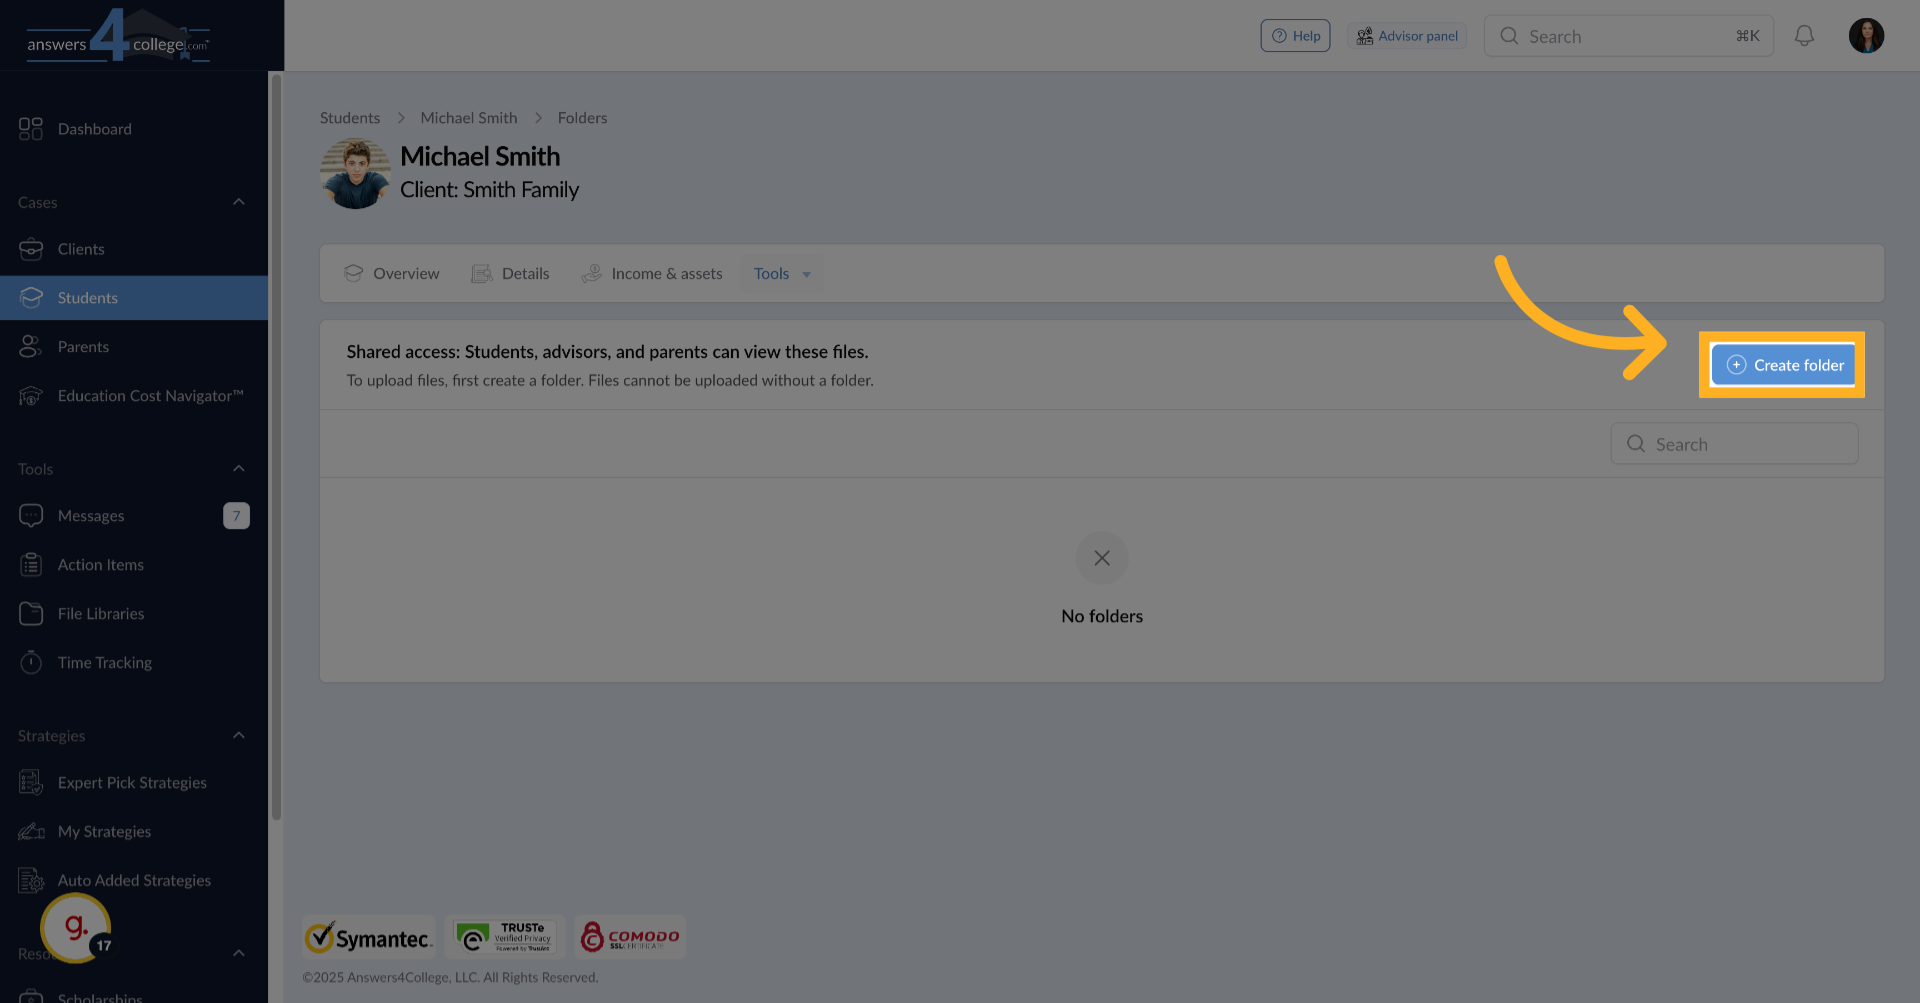
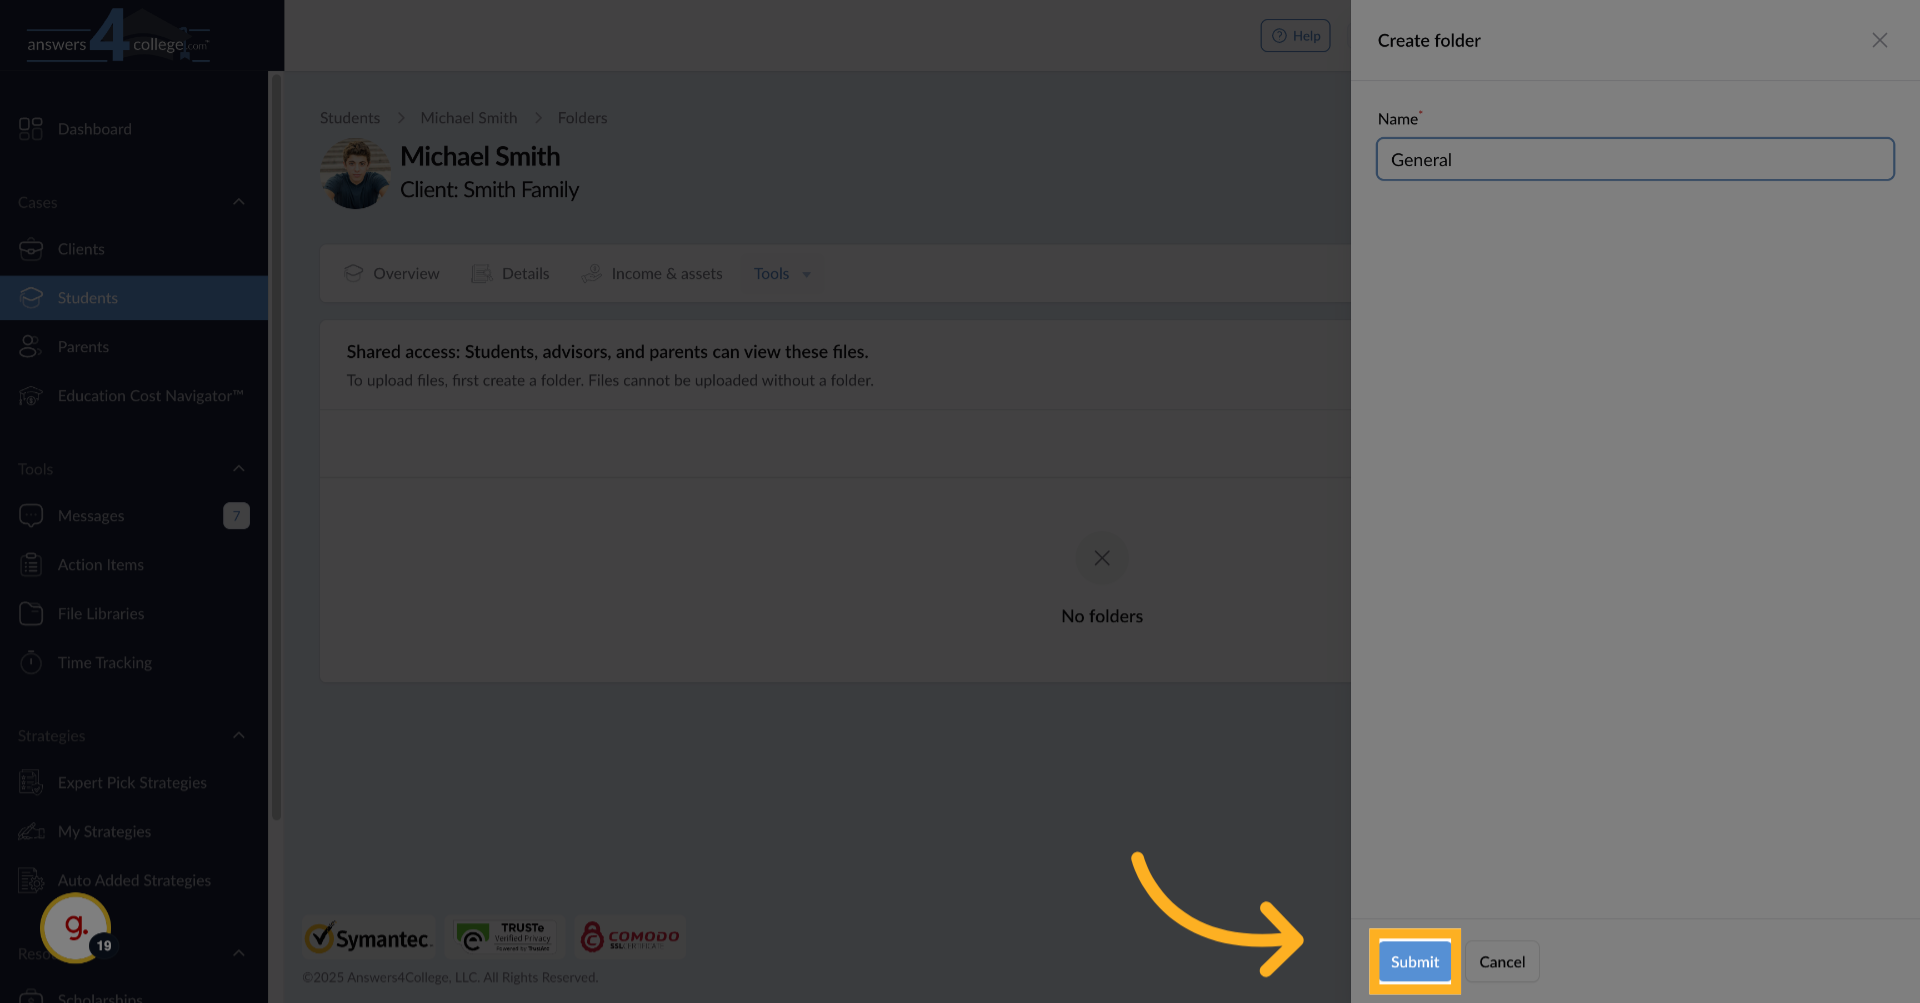
15. Creating a Destination Folder
Important note - library files can only be shared into folders, not loose in the main area. Click "Create Folder" and give it a name like "General Resources" or "Application Materials." This helps keep the student's files organized.
16. Click "Submit"
Click "Submit" to save the new folder and make it available for use.
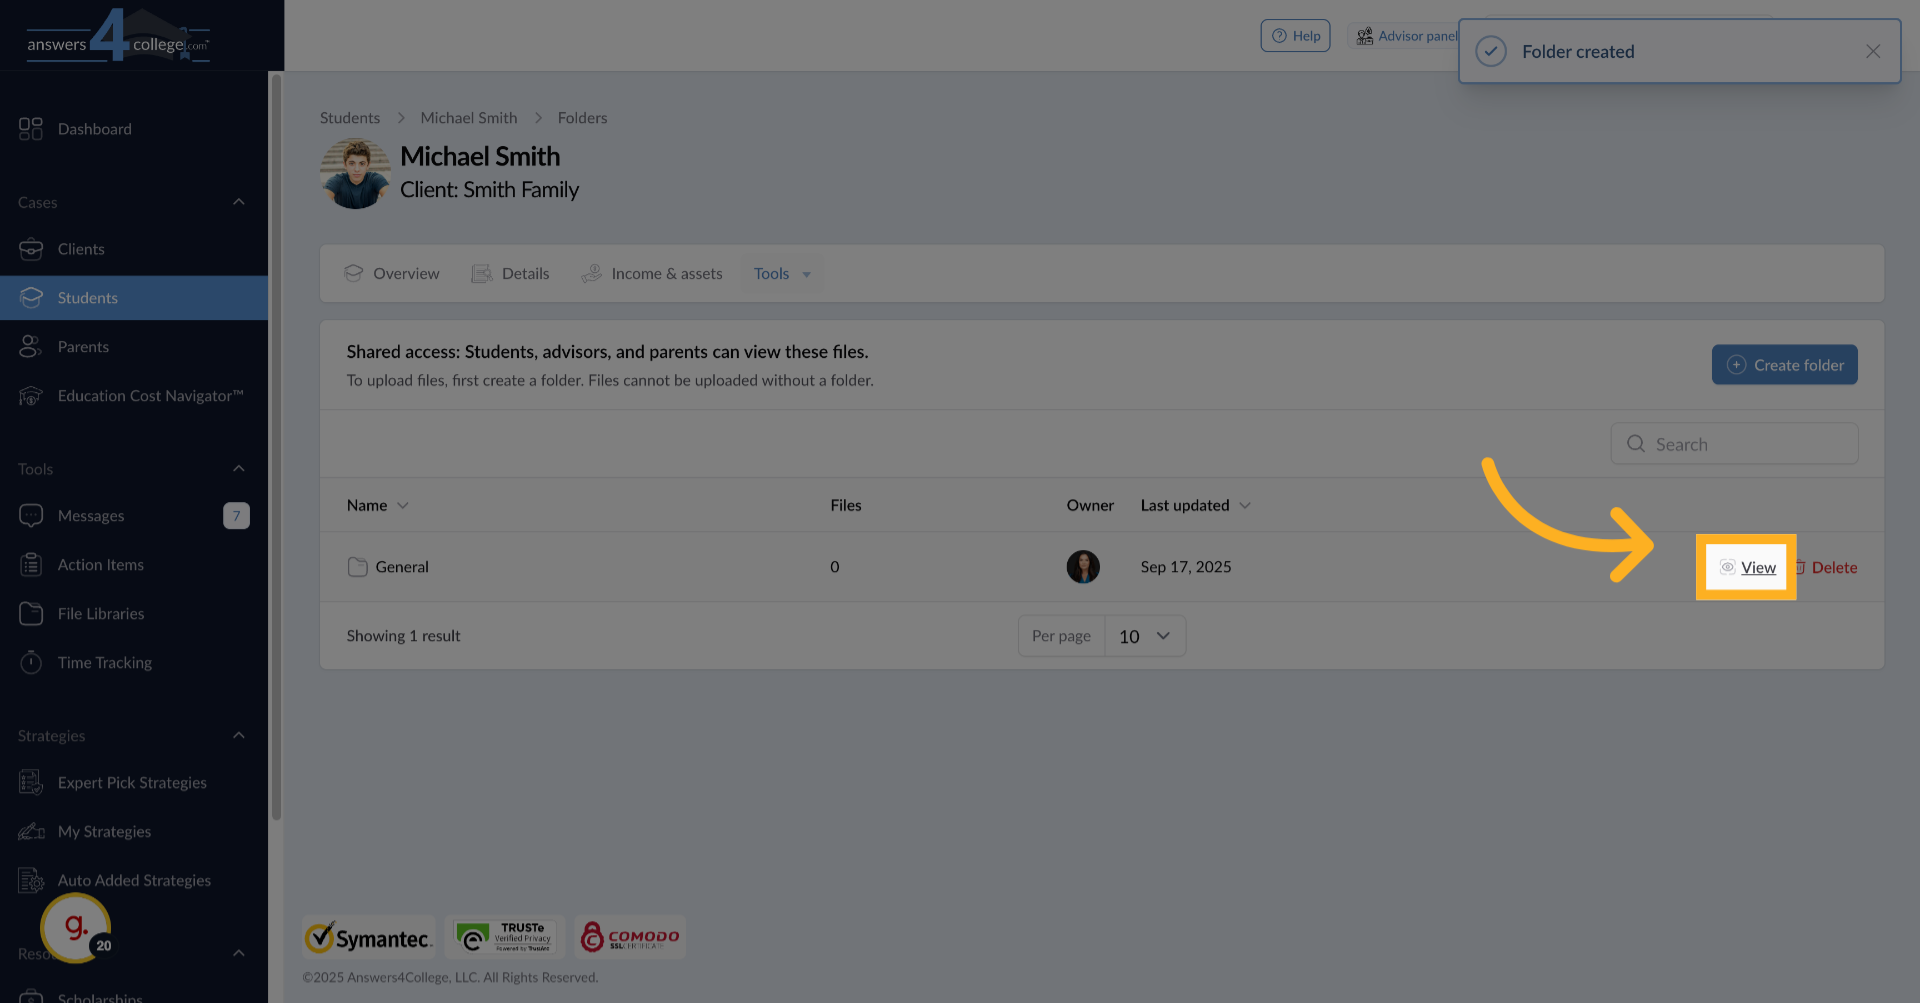
17. Opening the Student's Folder
Once the folder is created, you'll see it listed with a "View" button on the right side of the row. Click "View" to open the folder where you'll share your library resources.
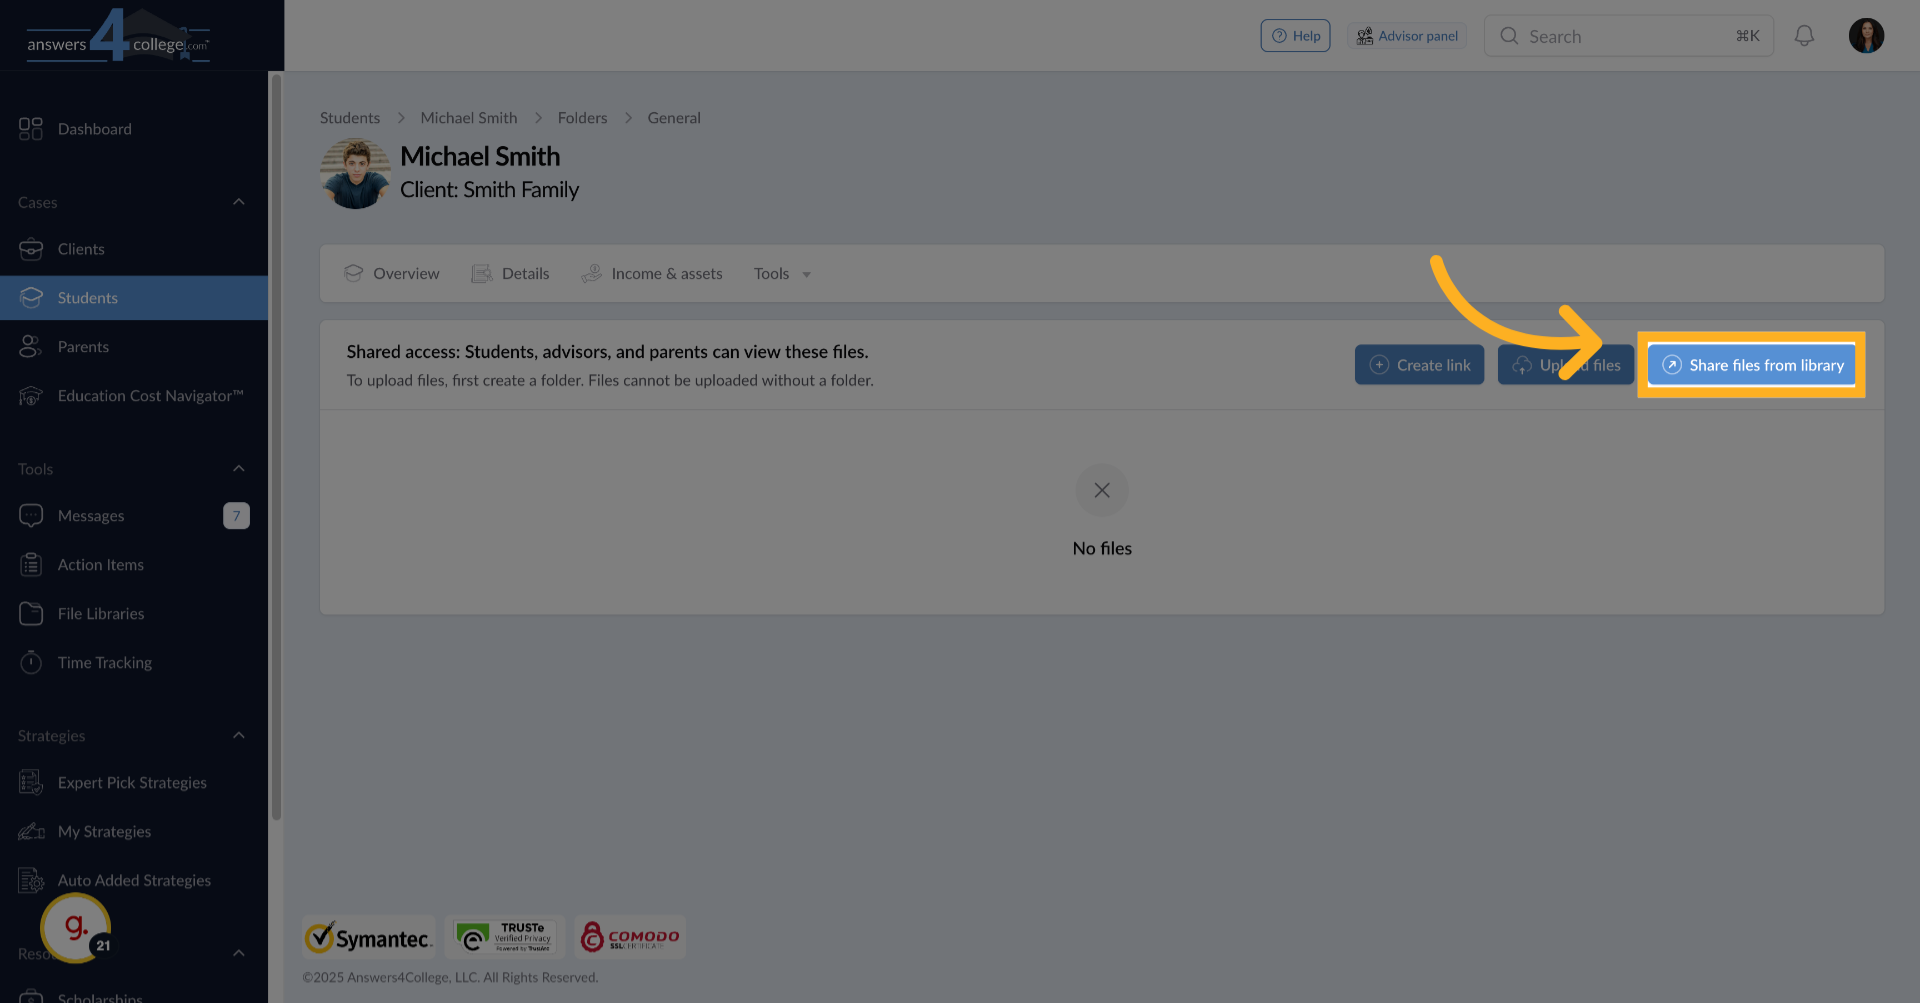
18. Initiating Library Sharing
Inside the folder, you'll now see three options at the top. The one we want is "Share Files from Library." Click this button to access your file libraries.
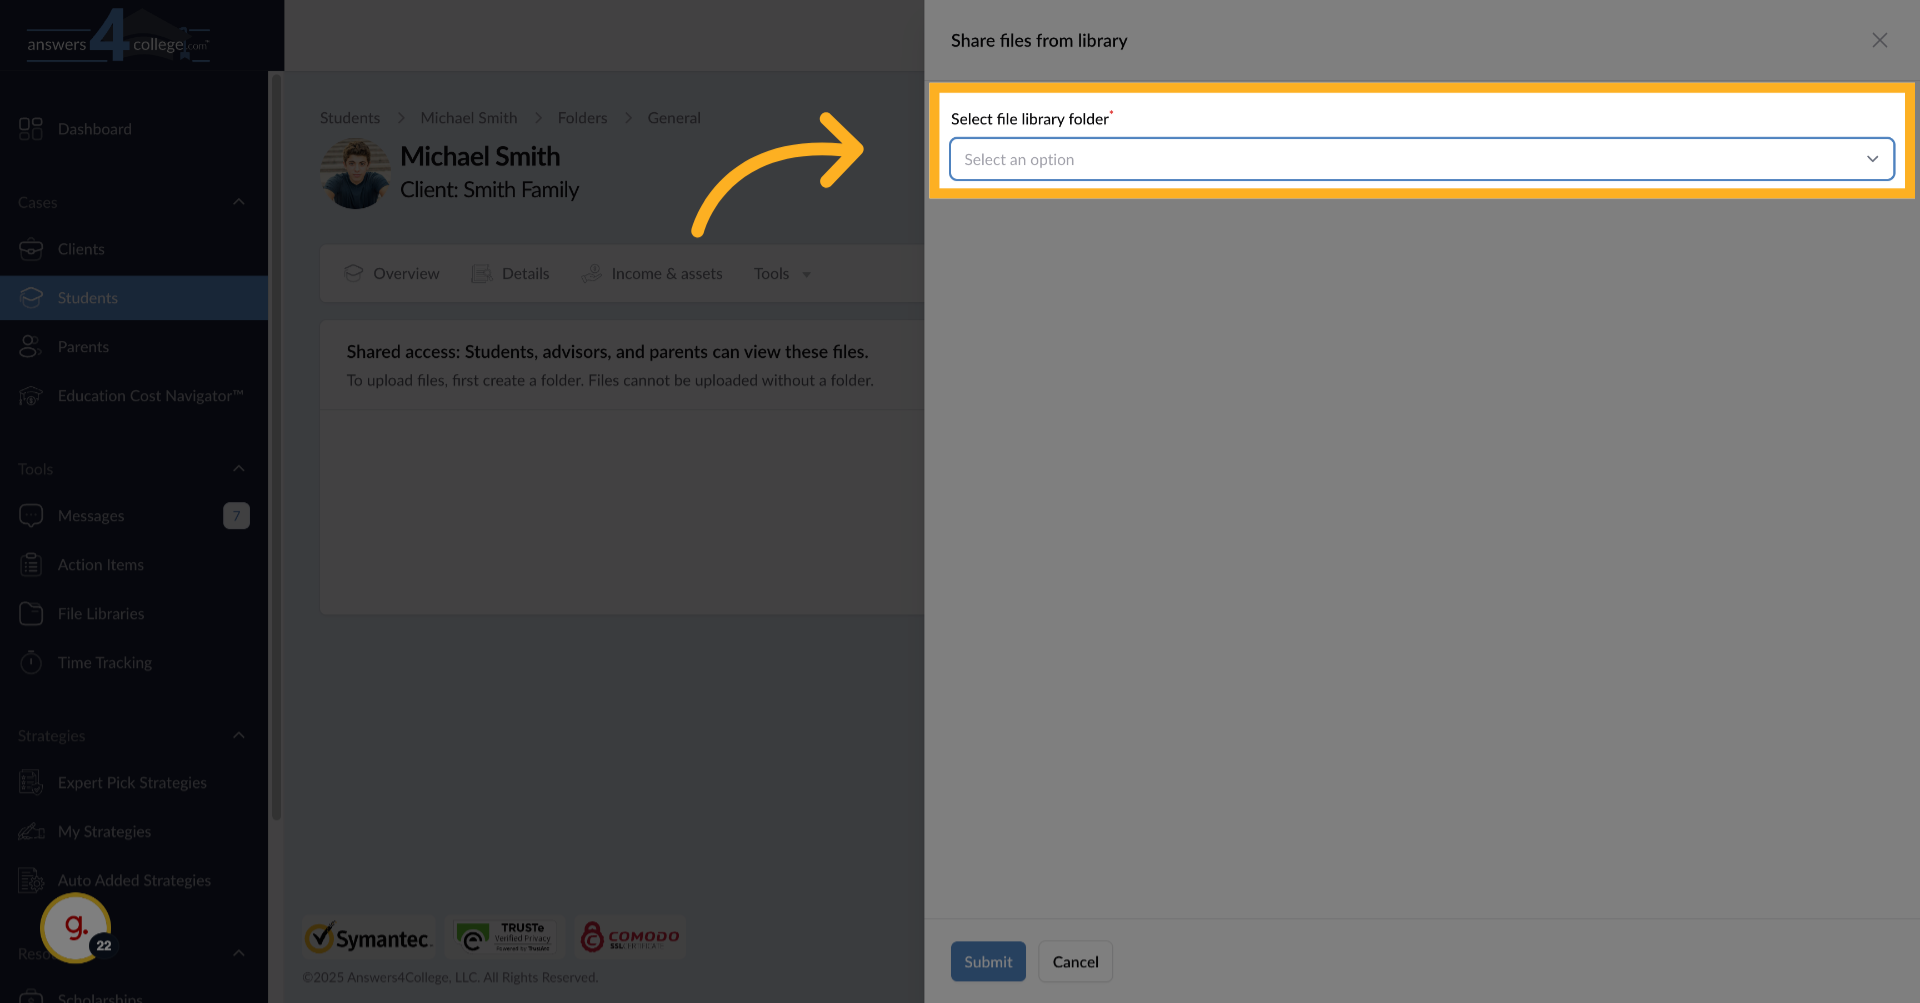
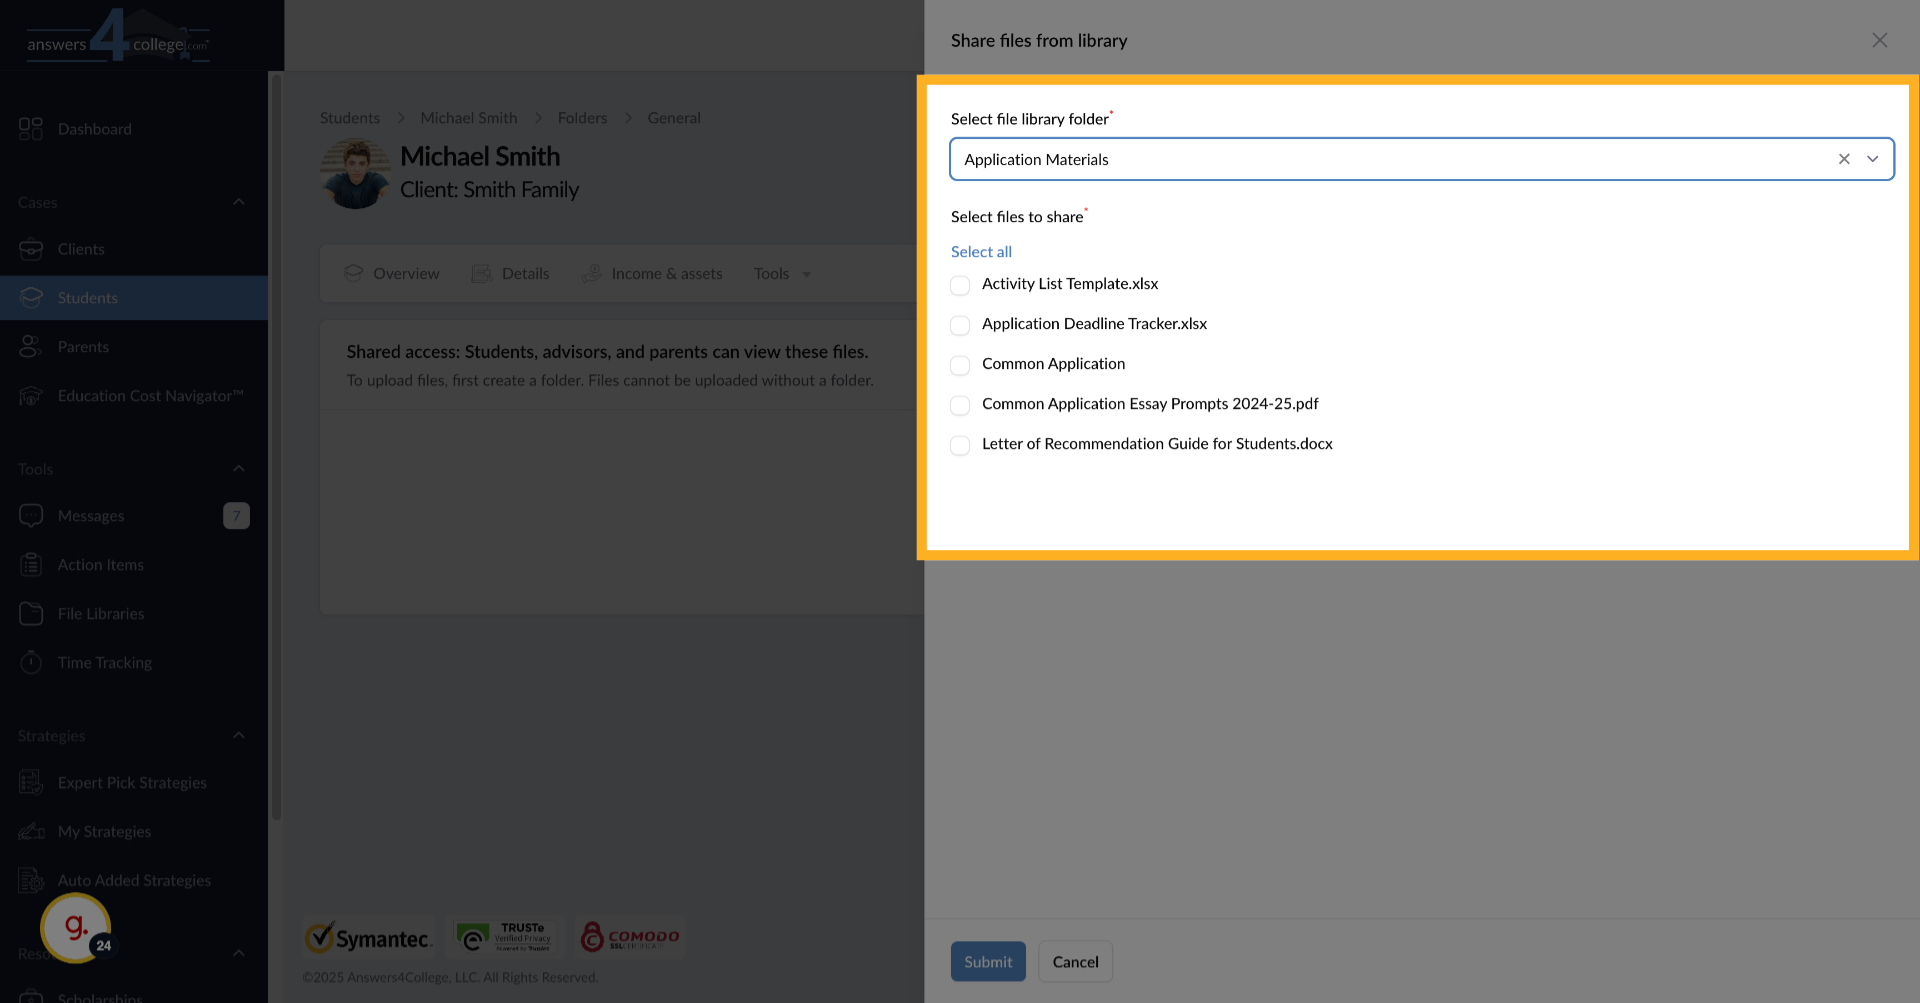
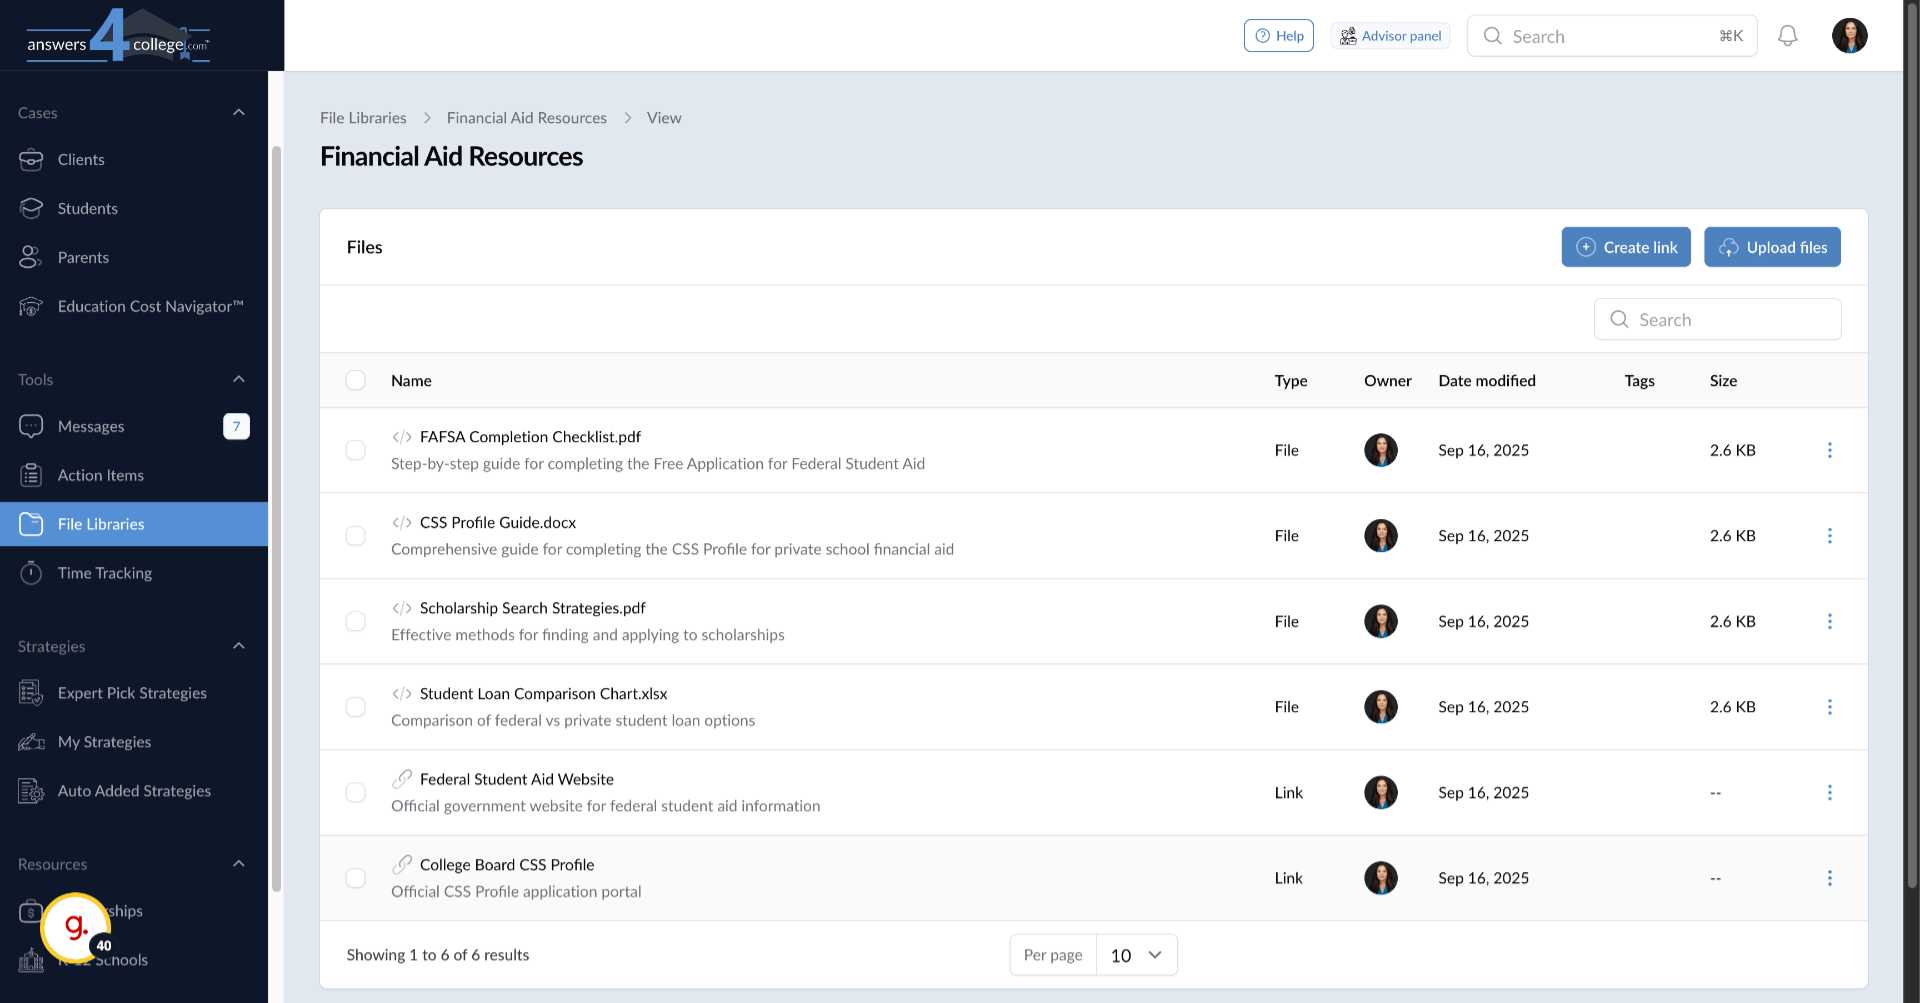
19. Selecting Your Library Folder
A modal window opens showing all your library folders. Select the folder containing the resources you want to share - for instance, click on "Application Materials."
20. Choosing Files to Share
Now you see all the files and links in that library folder. You can be selective and choose specific resources by checking individual boxes, or if all the resources are relevant, click "Select All" to share everything. This flexibility lets you customize what each student receives.
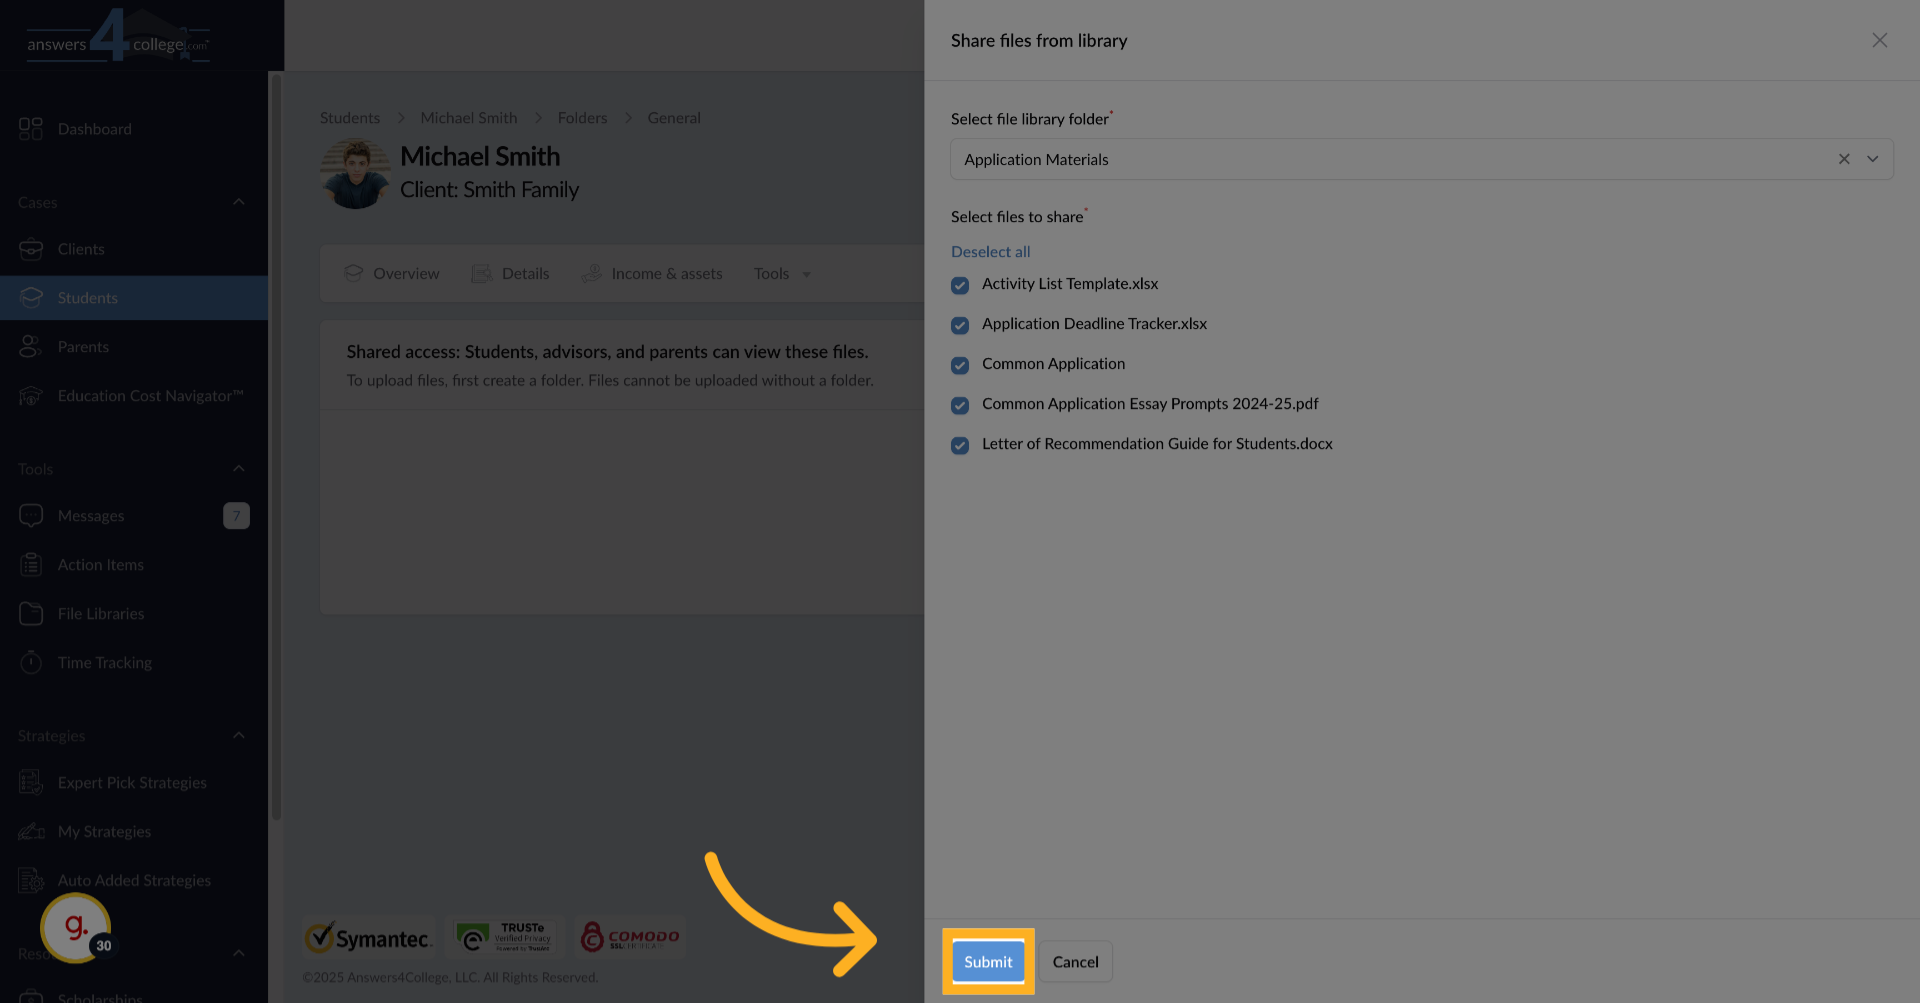
21. Completing the Share
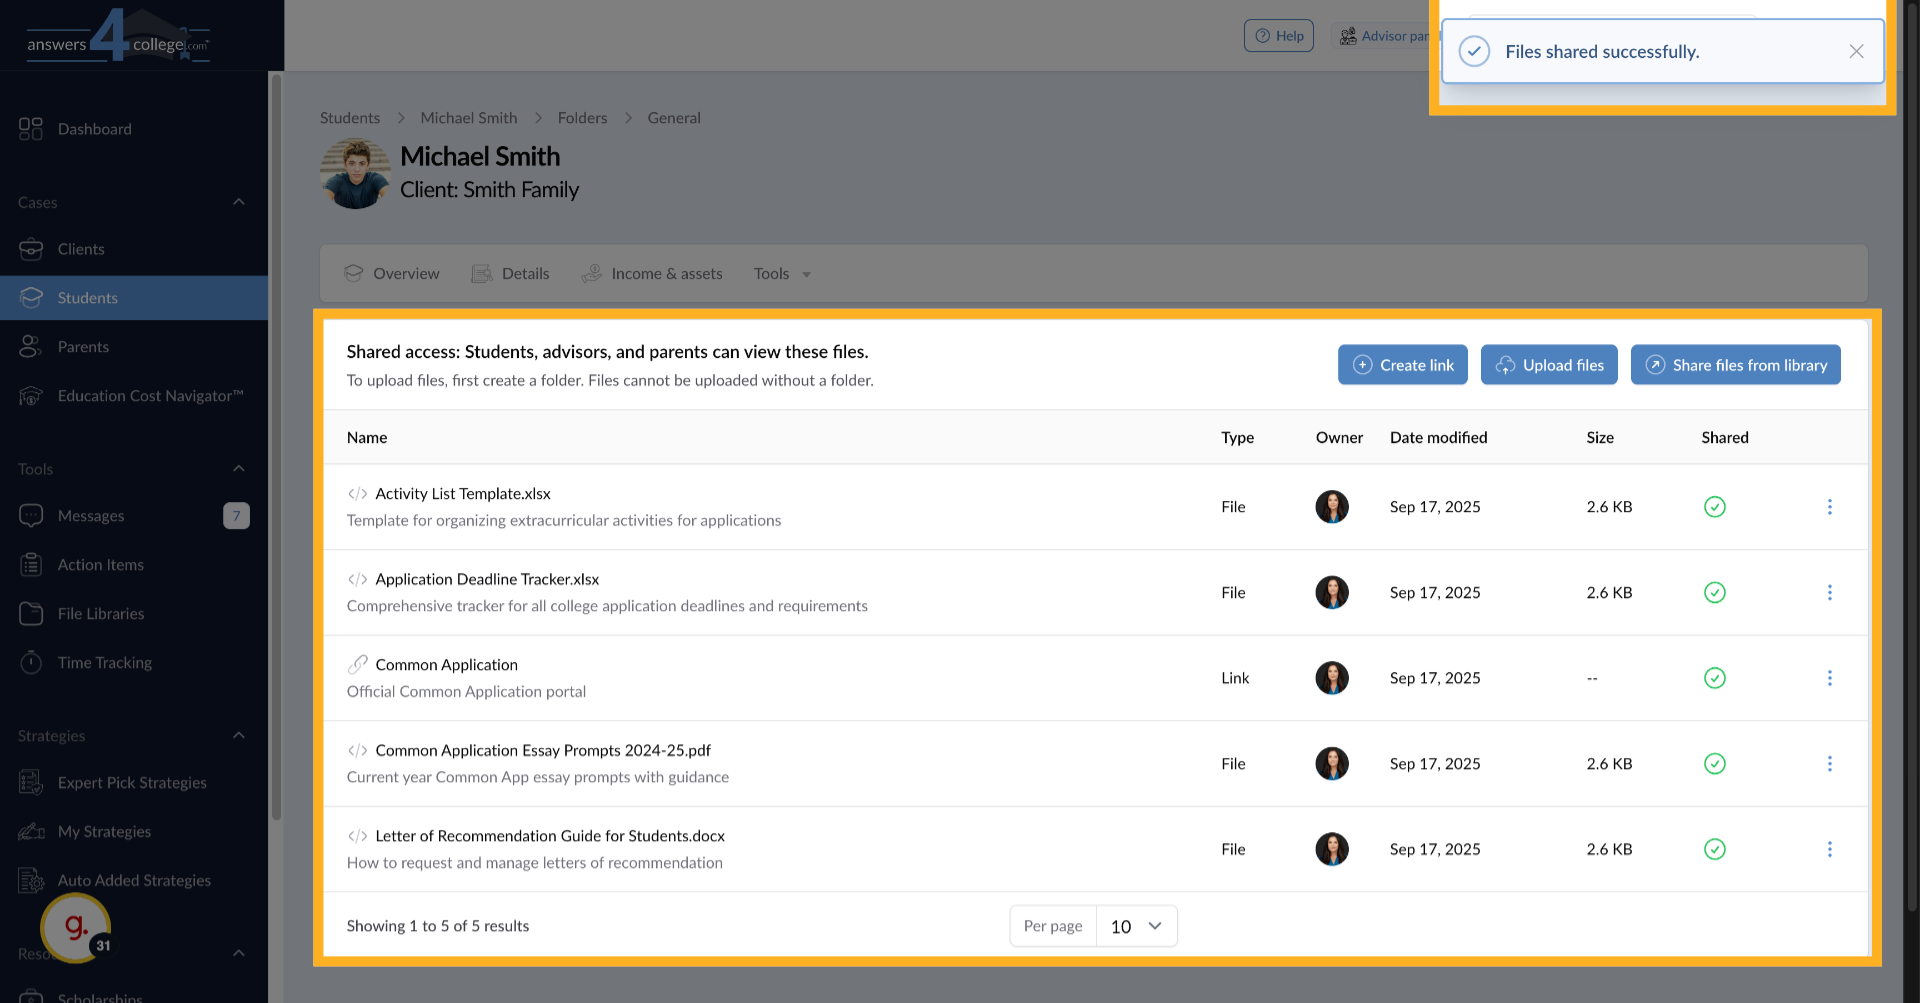
Click "Submit" to share the selected resources. You'll see a success message at the top confirming "Files shared successfully." The resources now appear in the student's folder, and they can access them immediately when they log in.
22. Viewing Shared Files
The shared files now appear in the student's folder with all the same details - names, descriptions, and links work exactly as they do in your library. Notice how this saves time compared to uploading files individually for each student.
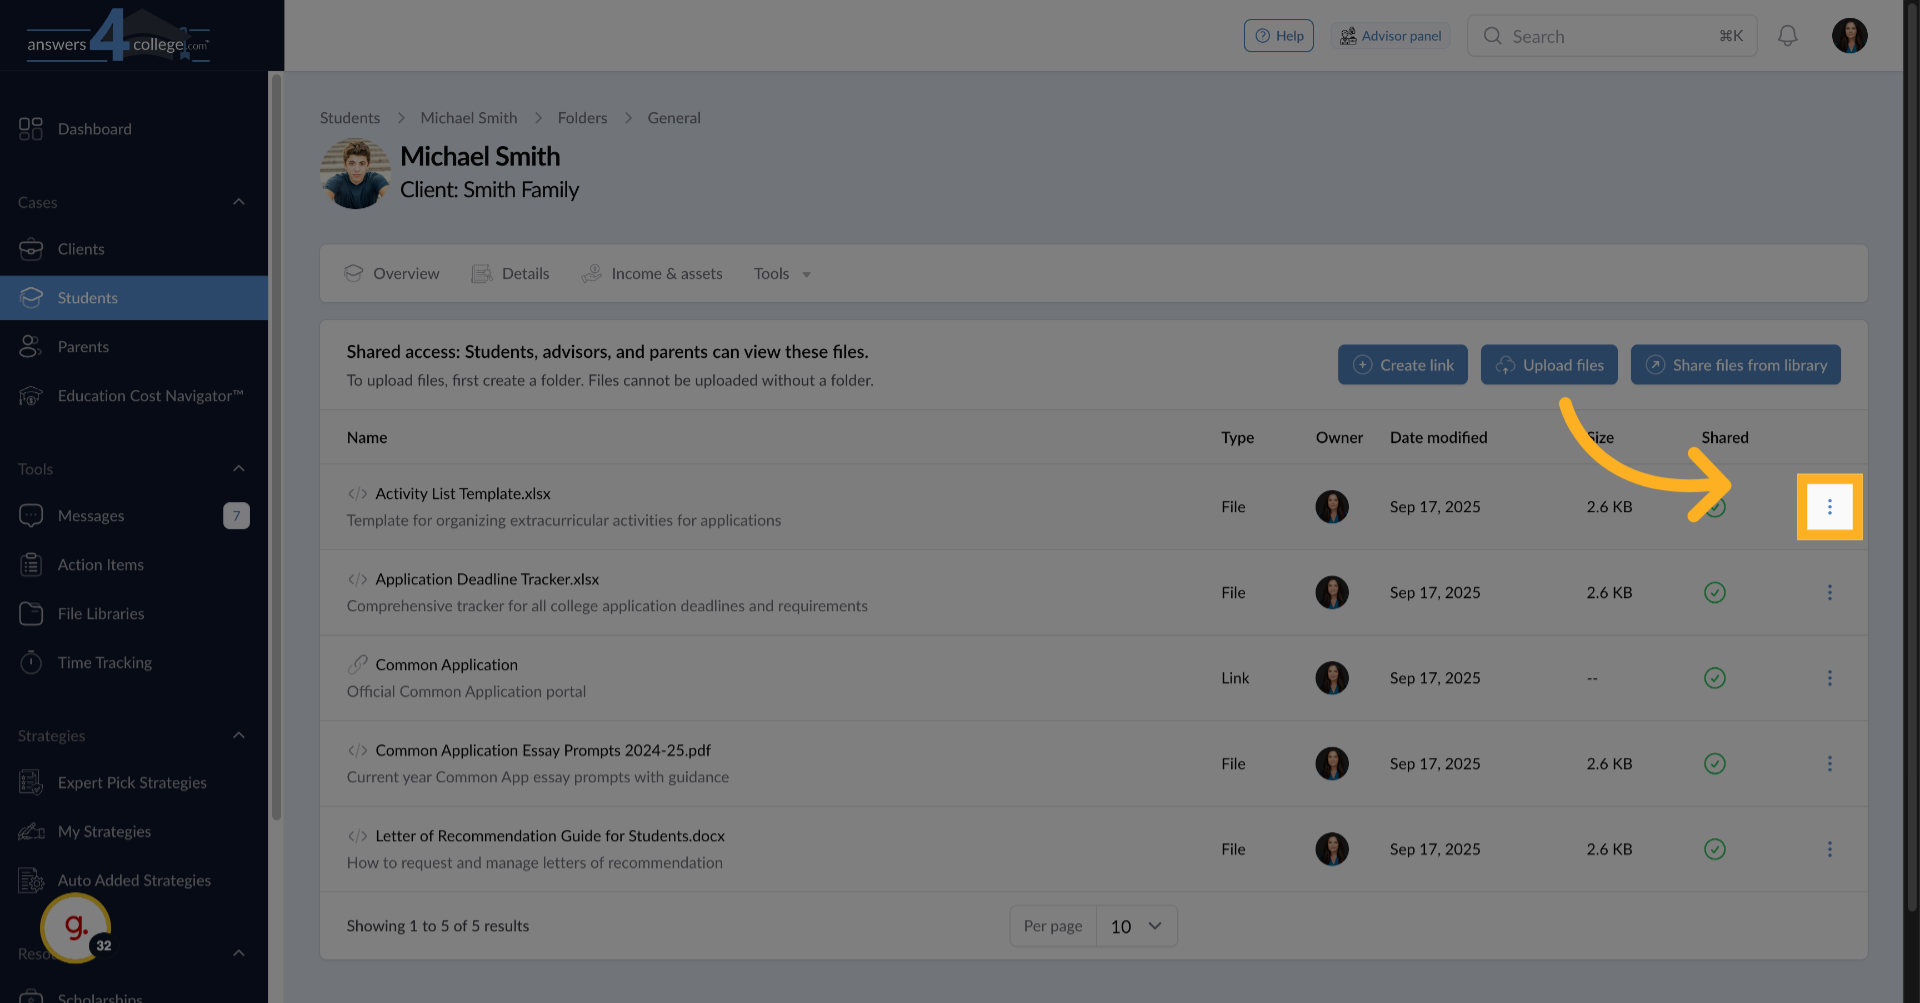
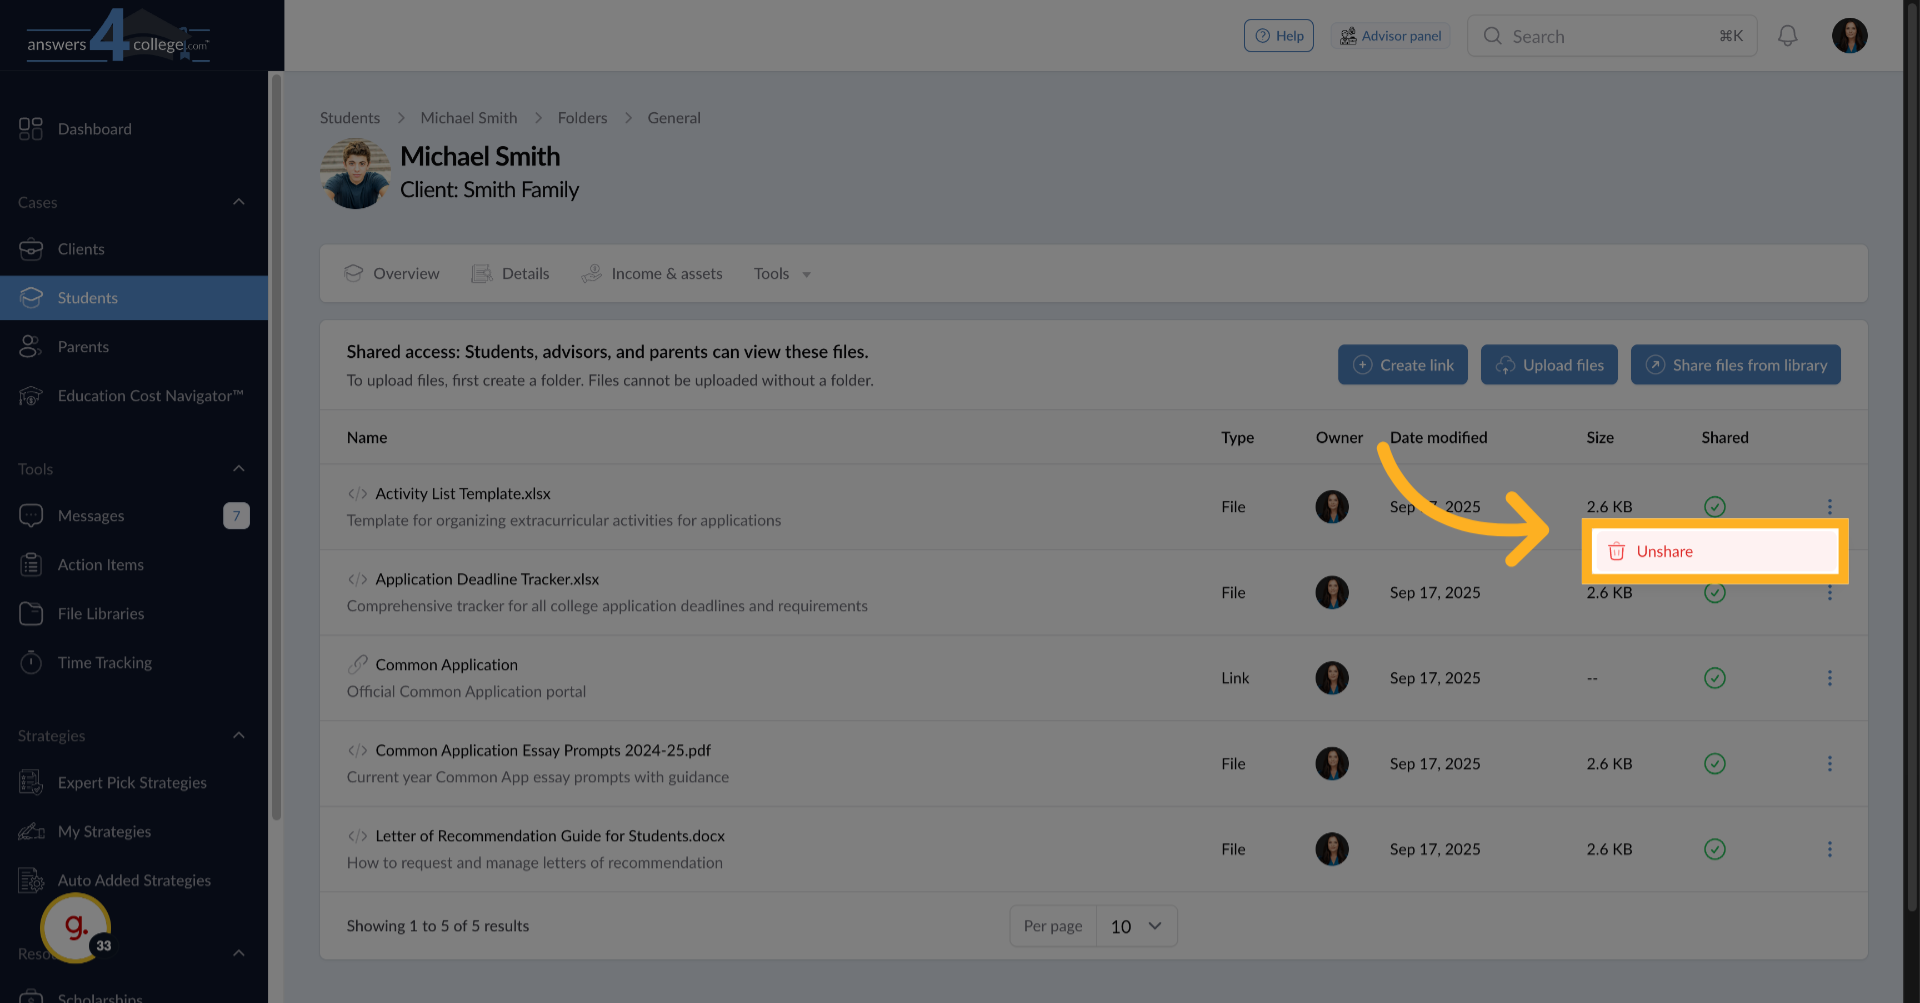
23. Unsharing Files
Need to remove a file from a student's access? Find the file in their folder, click the three dots menu on the right side of the row
24. Click "Unshare"
And select "Unshare." The file is immediately removed from the student's view but remains in your library for future use.
25. Understanding Library Deletion Impact
Here's something critical to understand - if you delete a file from your File Library, it's automatically removed from every student and parent you've shared it with. This cascade effect means you should be very careful when deleting library files. Always consider whether families might still need access before removing anything from your library.
You've now mastered File Libraries in the Answers for College Advisor Portal. This feature transforms how you distribute resources, eliminating repetitive uploads and ensuring consistency across all your families. By building a comprehensive library once, you can share professional, organized resources with any family in seconds. The power of File Libraries lies in their reusability and central management. Update a resource once in your library, and every family with access gets the updated version. This ensures everyone always has your most current materials while saving you countless hours of document management. Thank you for following along with this tutorial. Start building your File Libraries today and experience how much more efficient your resource sharing becomes.


Comments
0 comments
Please sign in to leave a comment.