In this tutorial, we’ll walk through how to manage your clients in the Answers4College advisor portal.
1. Introduction
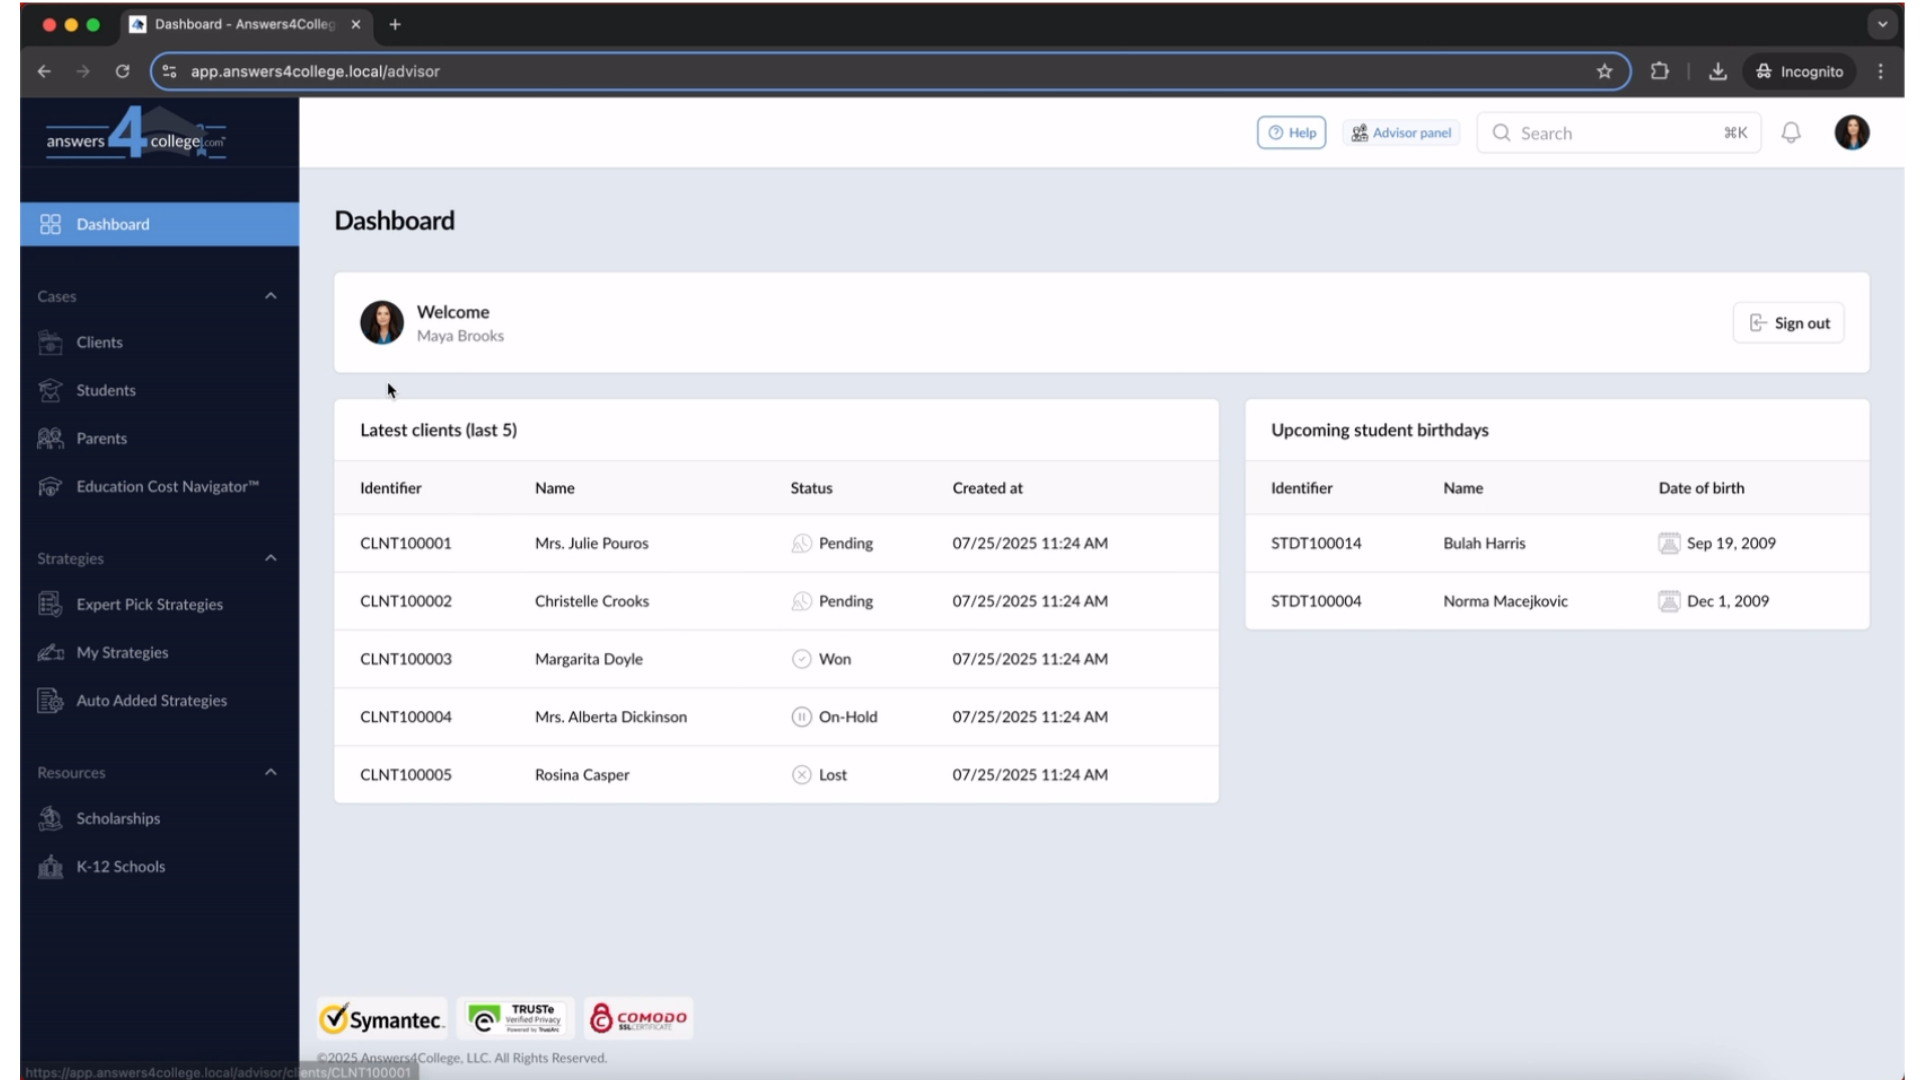
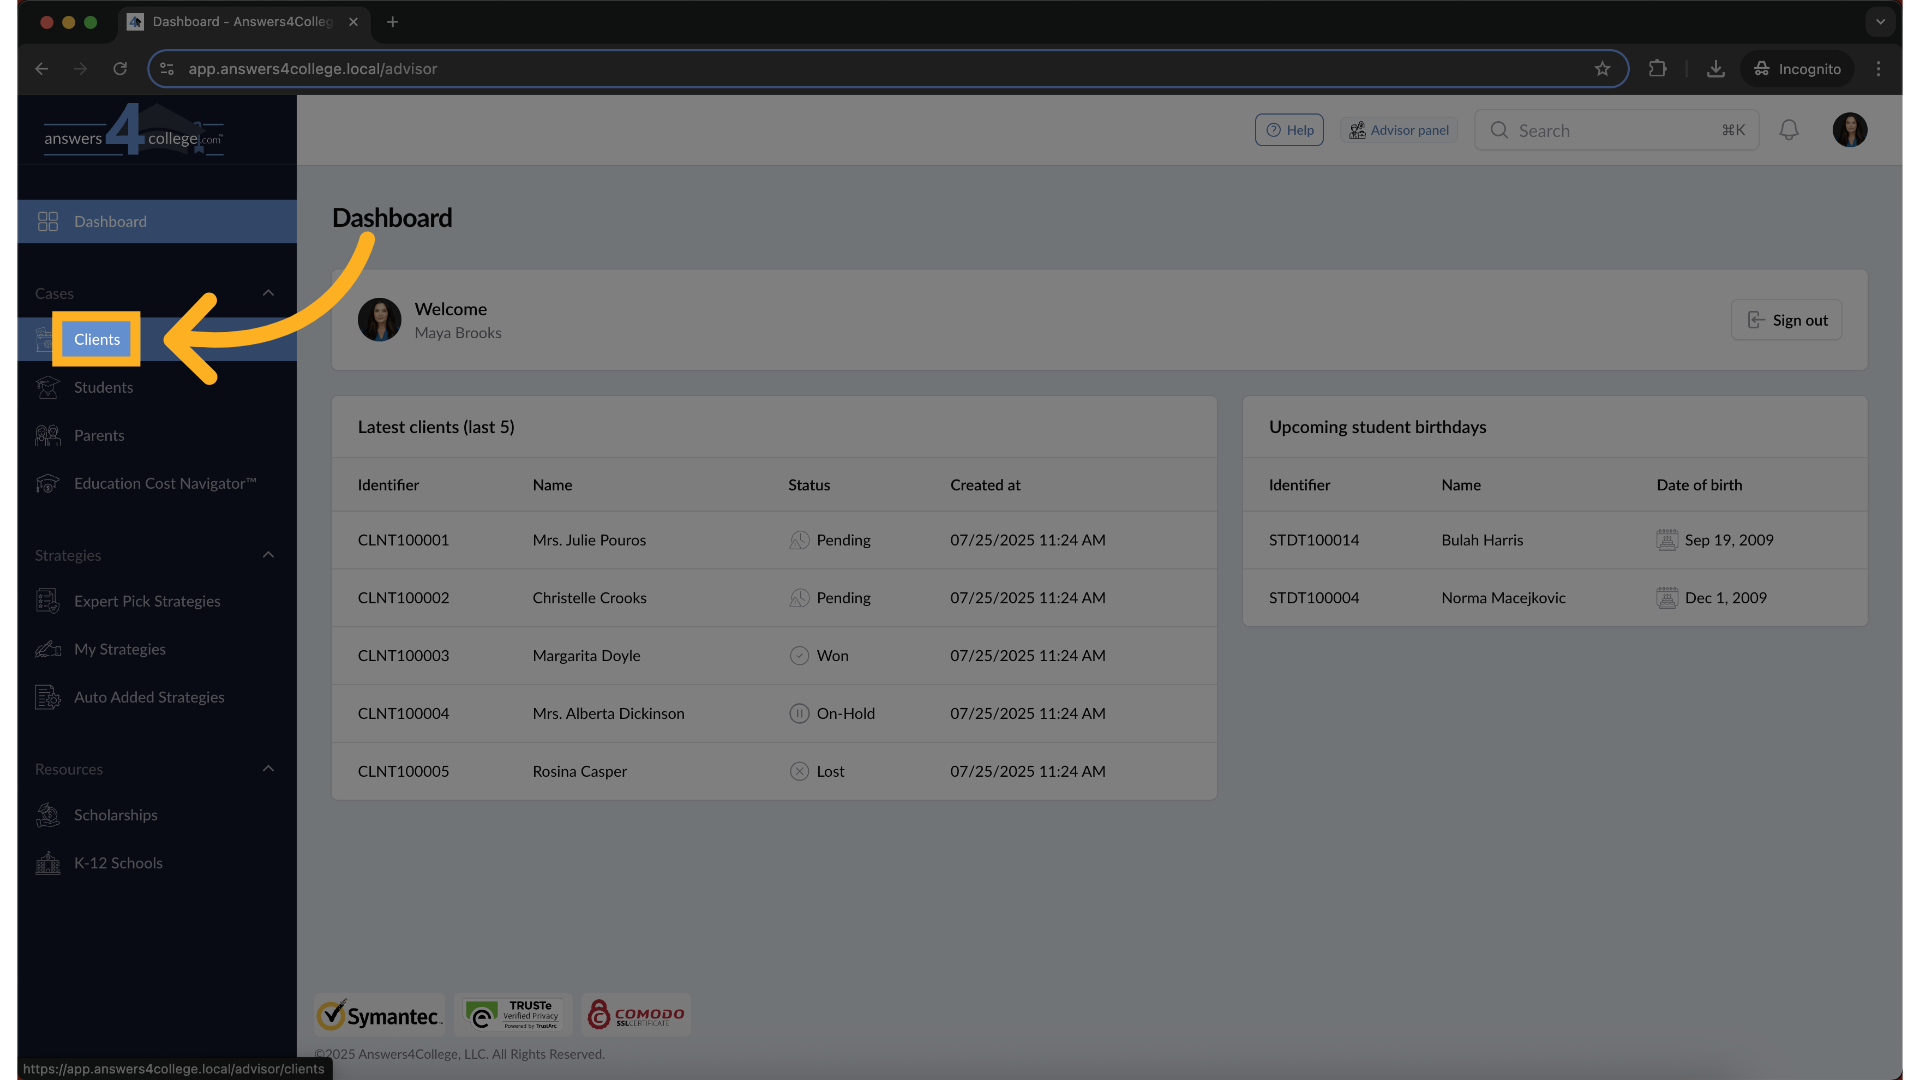
Once you're logged into your advisor portal, click on the Clients tab from the left-hand menu.This will take you to a page that provides a quick overview of all your clients.
2. Click "Clients"
Click on "Clients"
3. Using the Top Status Tabs
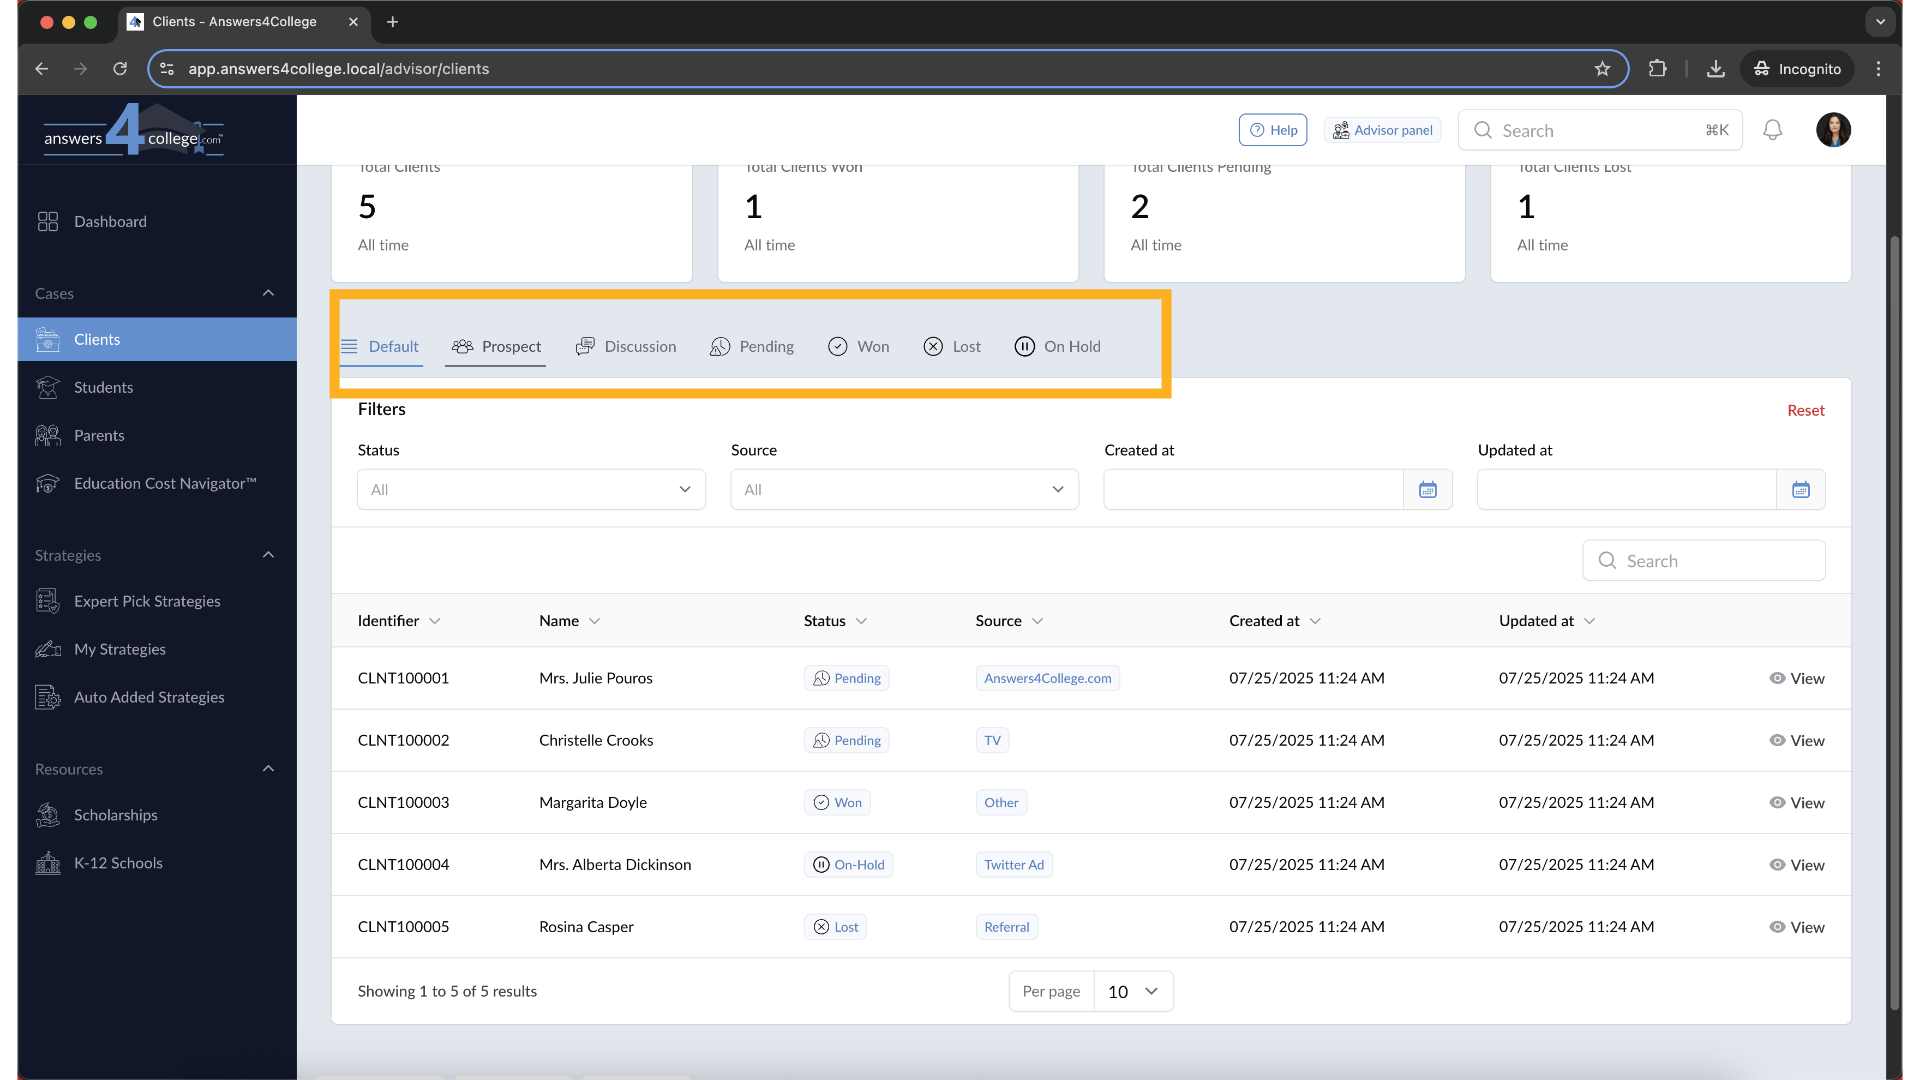
At the top of the page, you’ll find quick filter tabs that allow you to view clients by their current status. The Default tab shows all clients, regardless of their status.
4. Using the Top Status Tabs
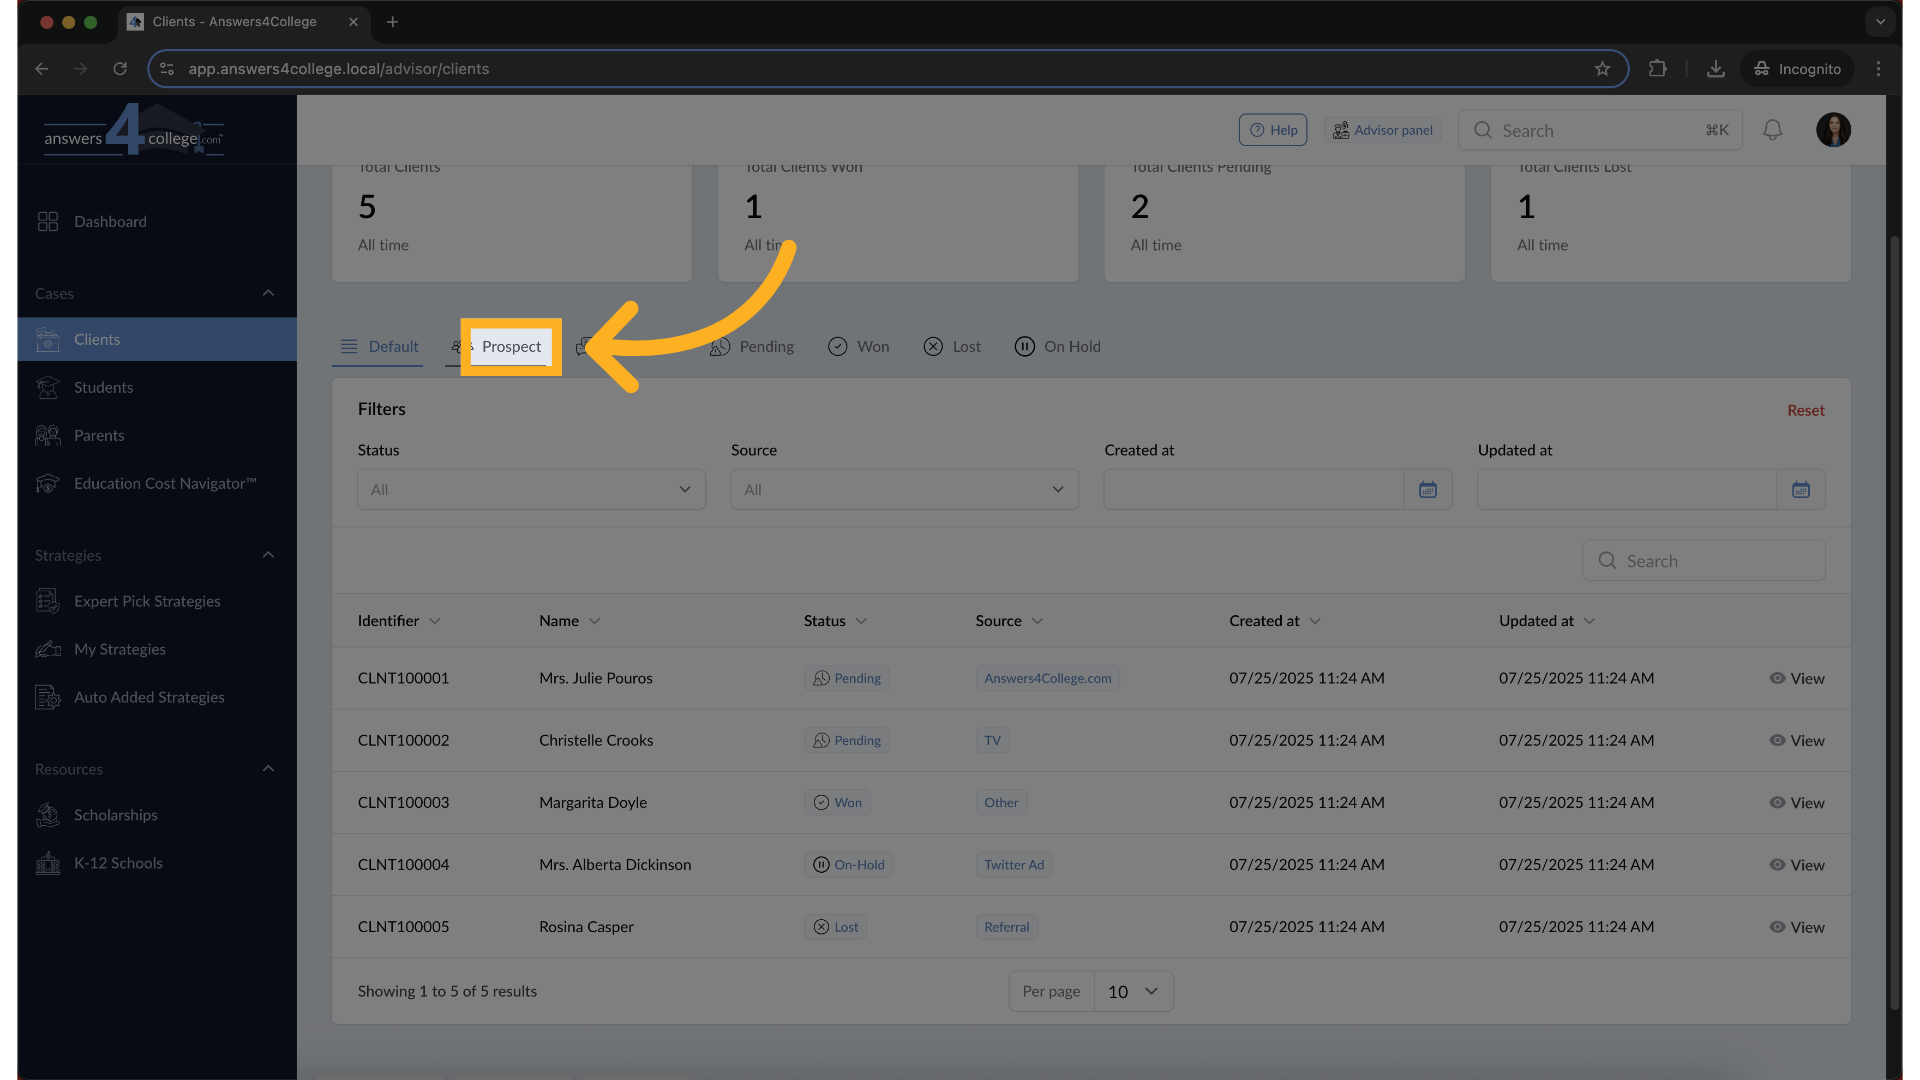
Simply click on any tab—such as Prospect, Discussion, or Pending—to instantly filter the list. For example, selecting Prospect will display only the clients marked with the Prospect status.
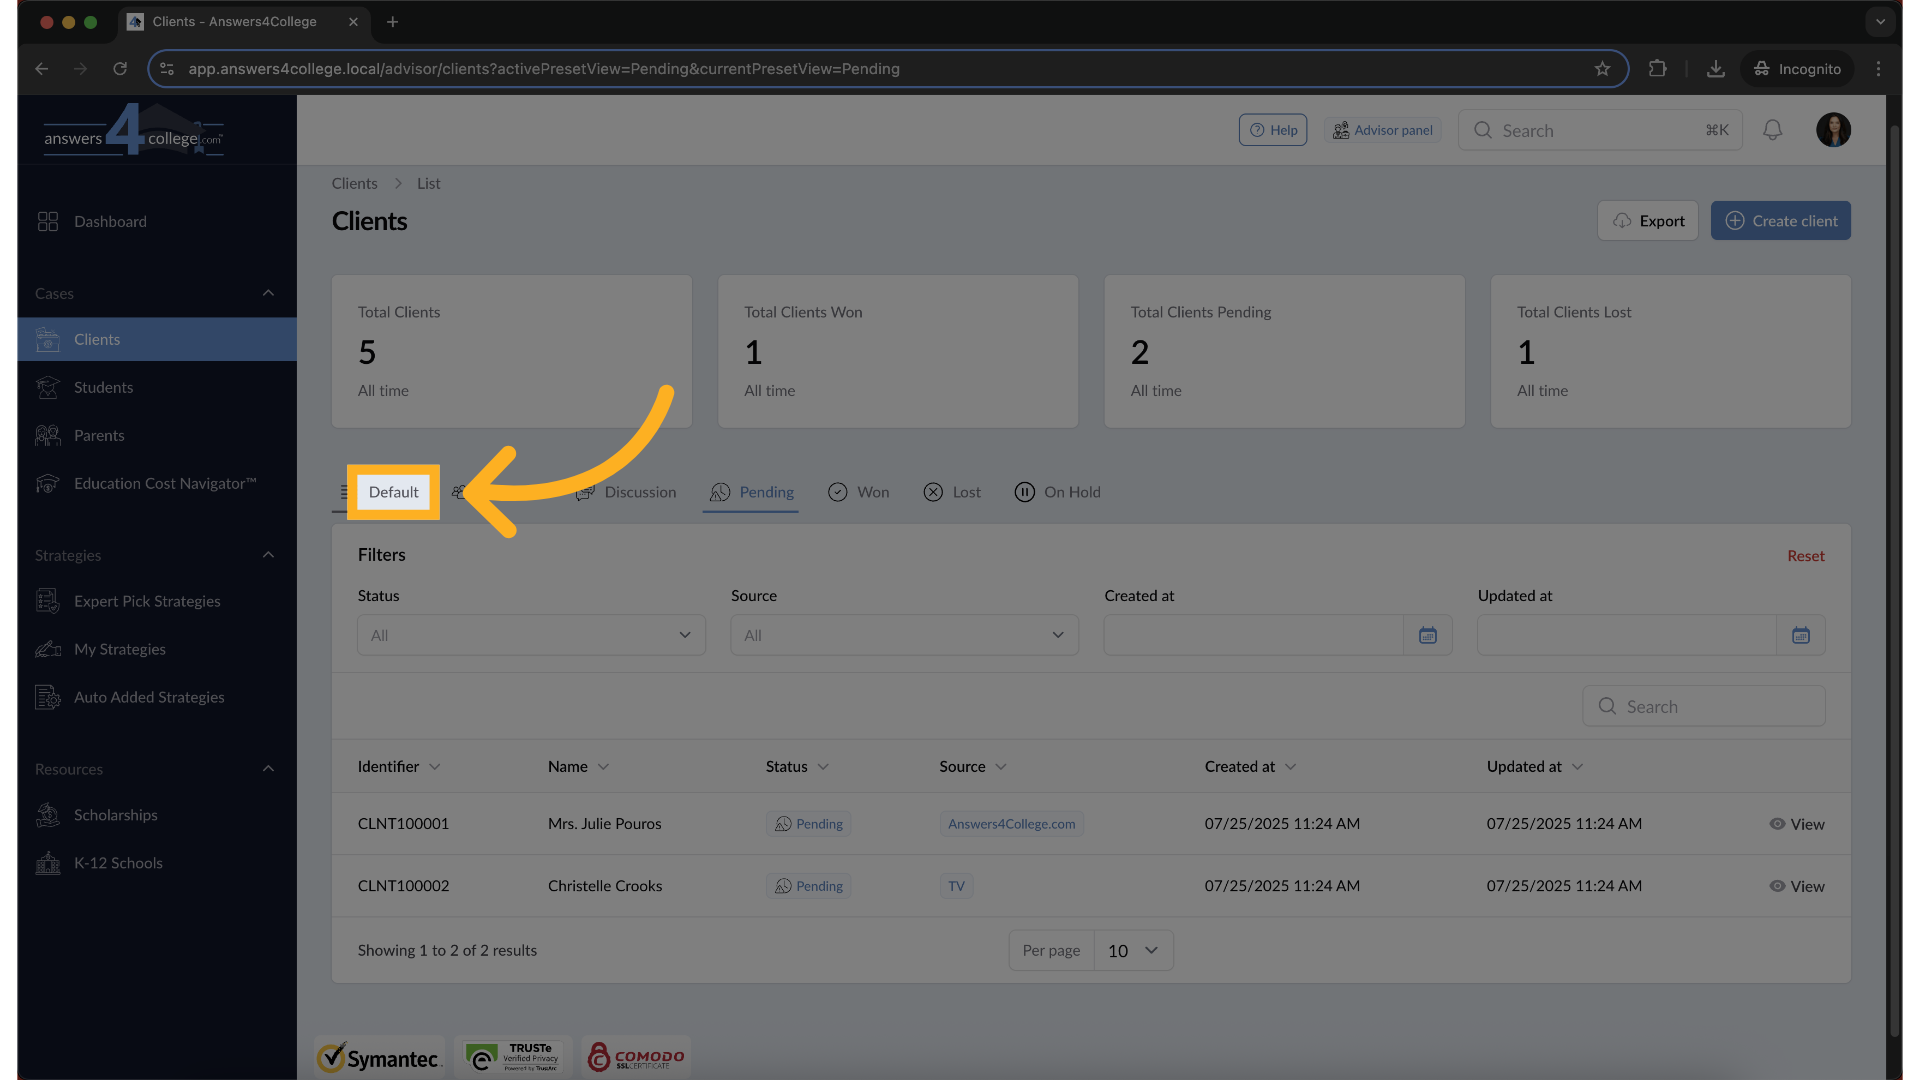
5. Returning to the Full Client List
To return to the full list of clients at any time, simply click on the Default tab.This will clear any status-based filters and display all clients in your dashboard.
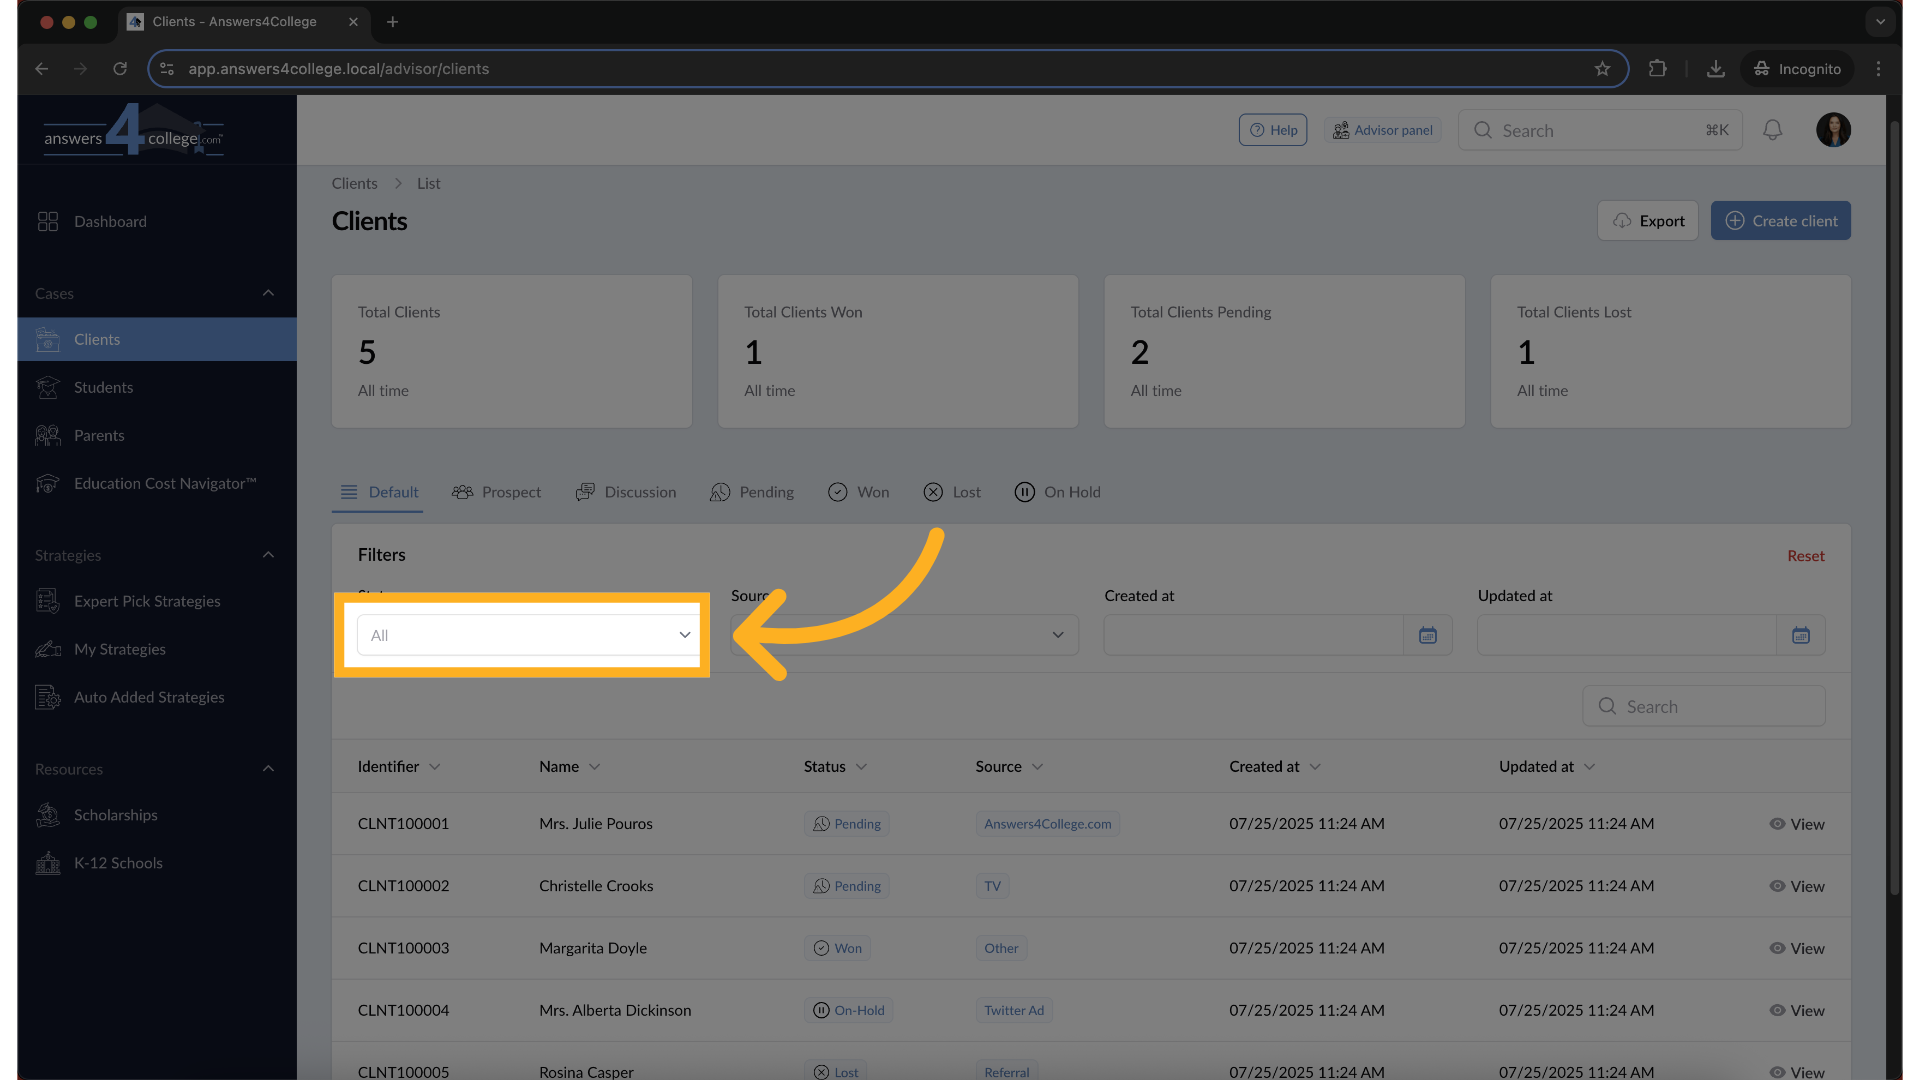
6. Filtering Your Client List
You can easily filter clients based on a few criteria:
Client Status – Click on options like Prospects, Discussion, or Pending to view clients in that specific stage.
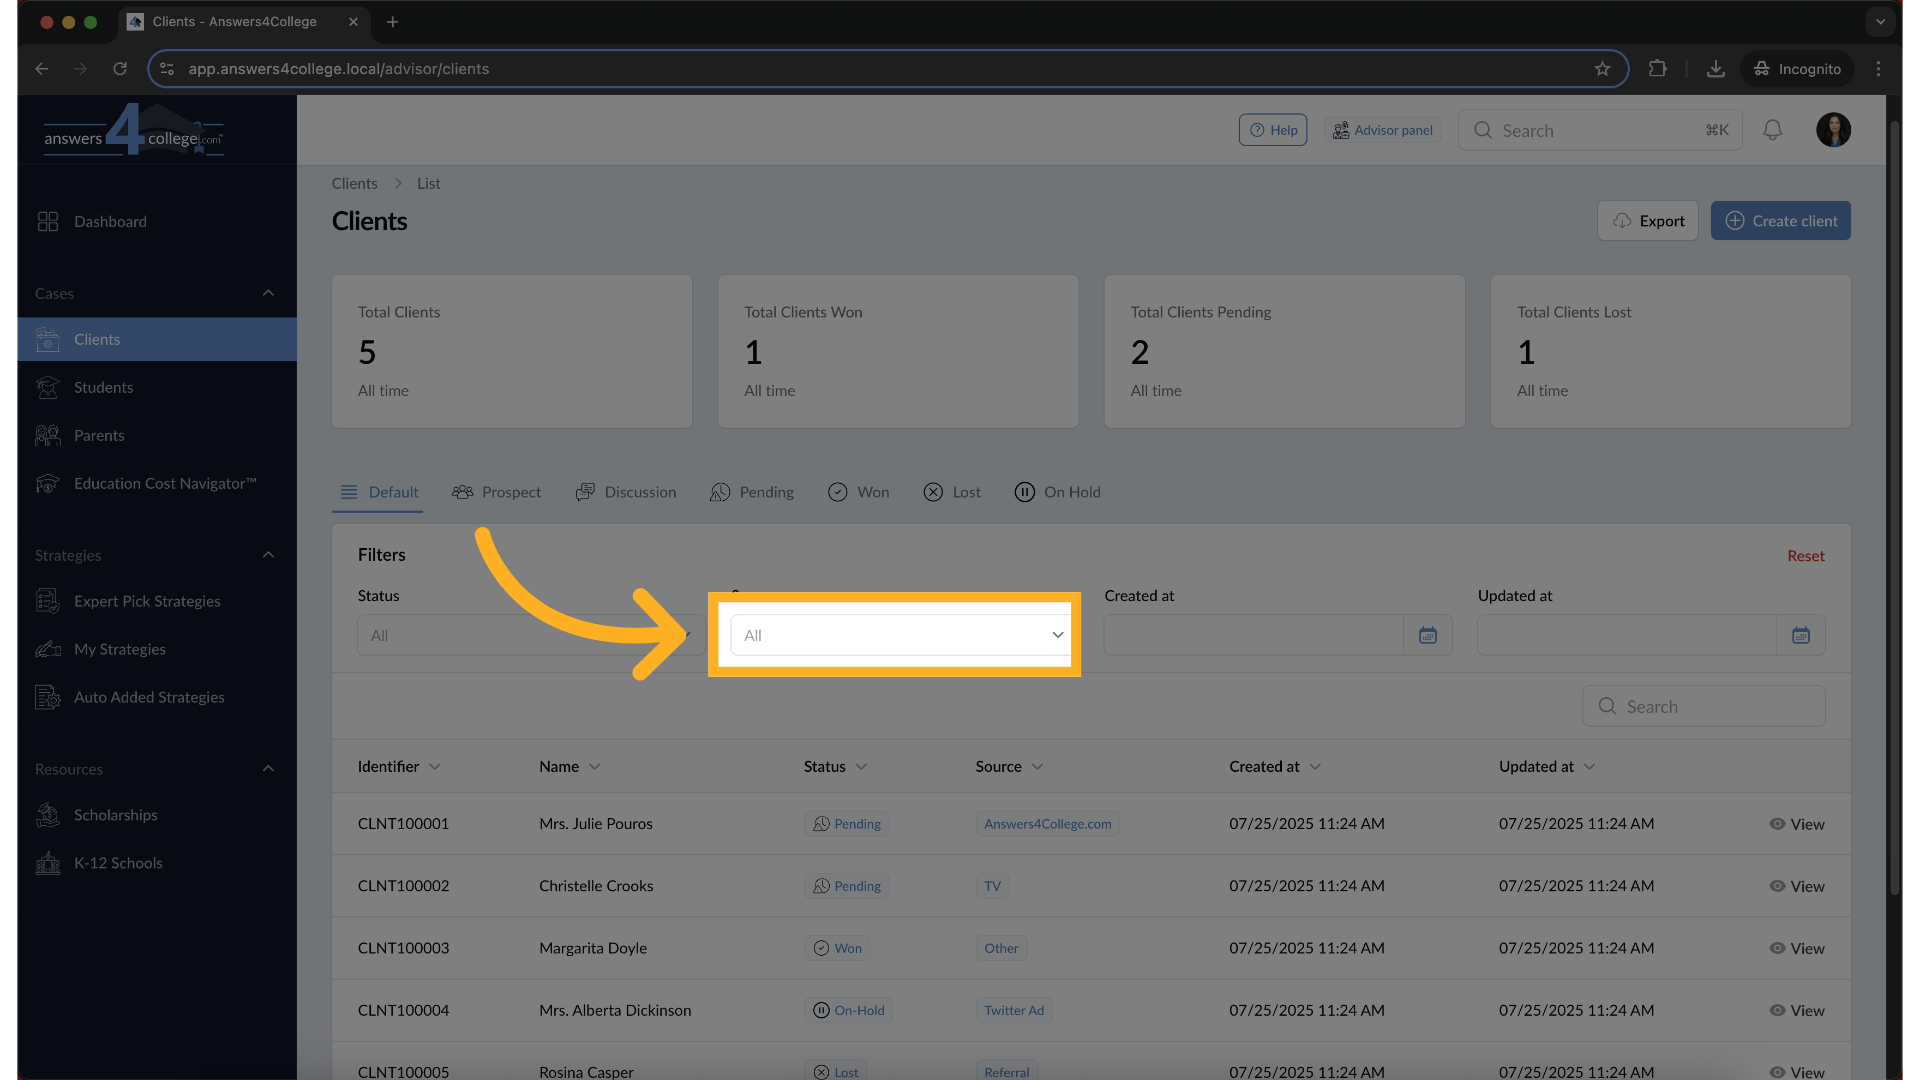
7. Filtering Your Client List
Source – Filter clients by how they came to you (e.g., referral, website, etc.).
8. Filtering Your Client List
Created At – Filter by the date the client was added.
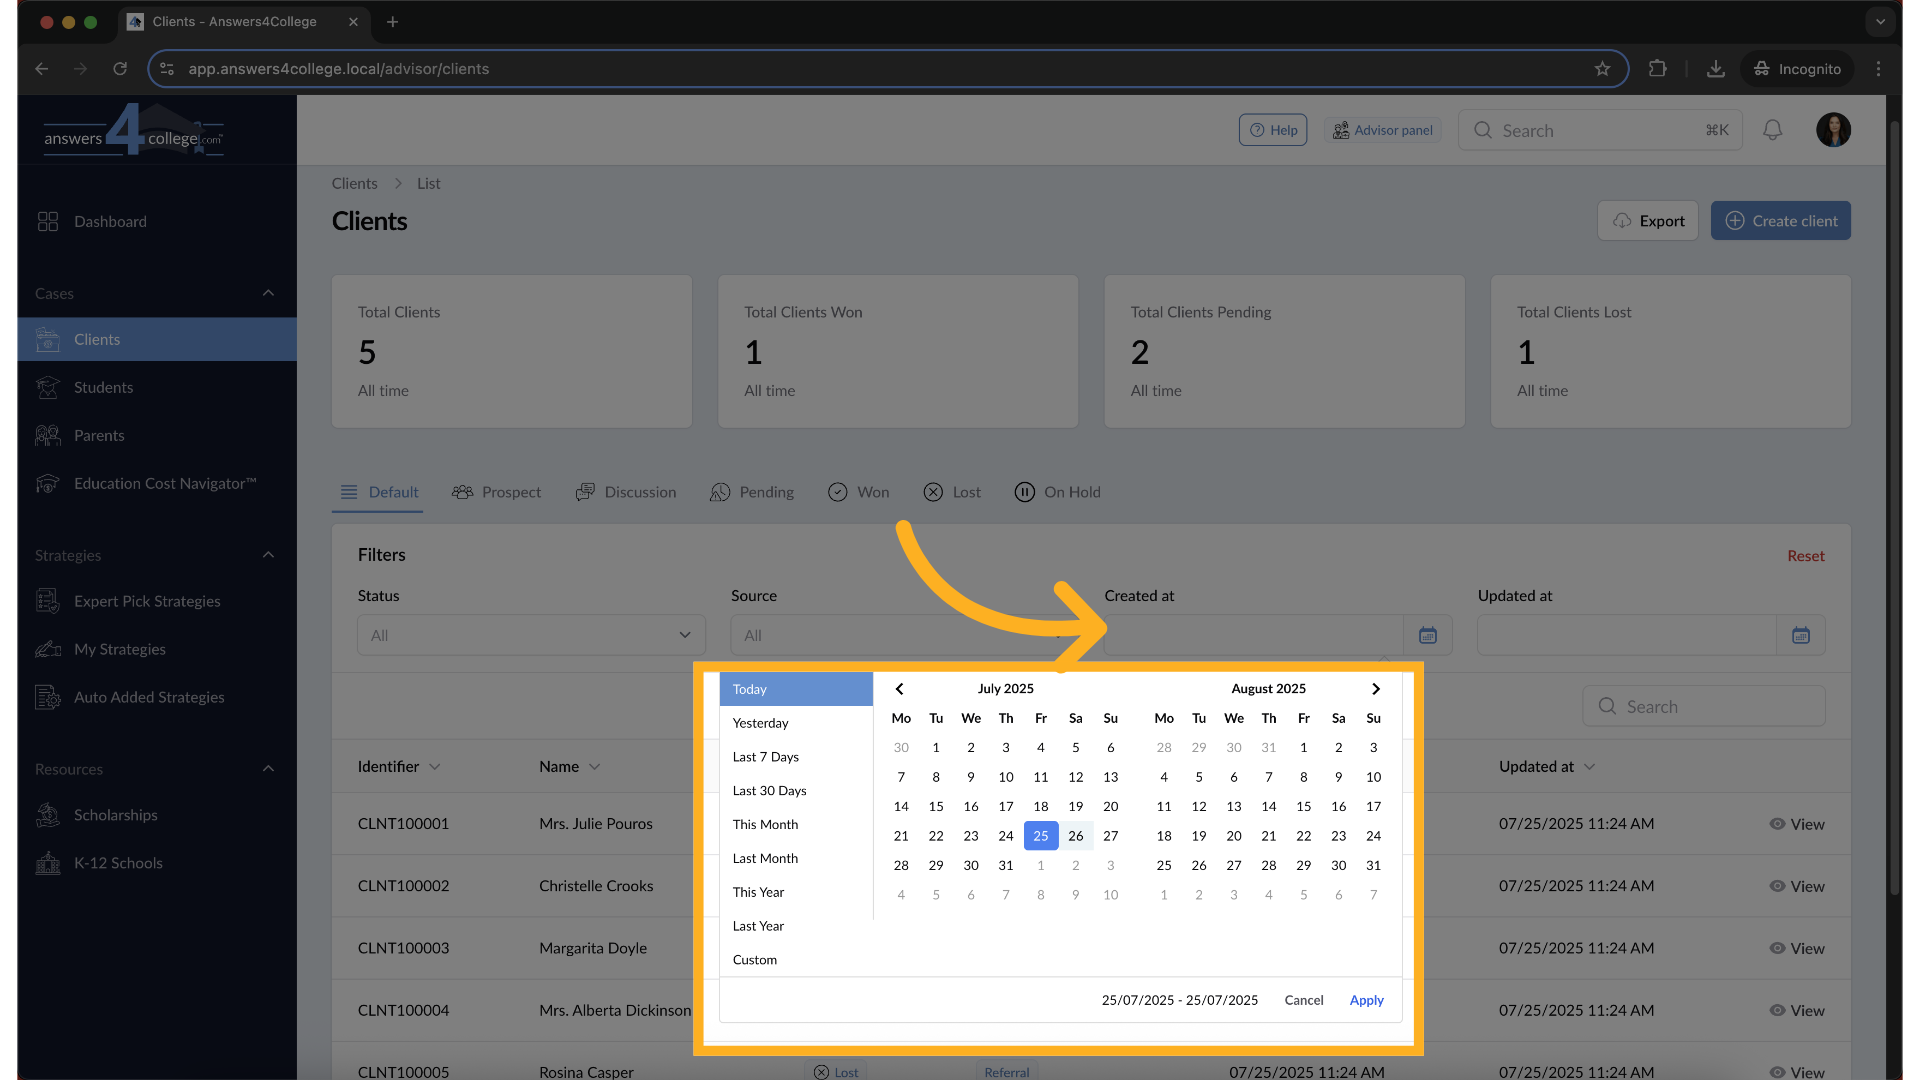
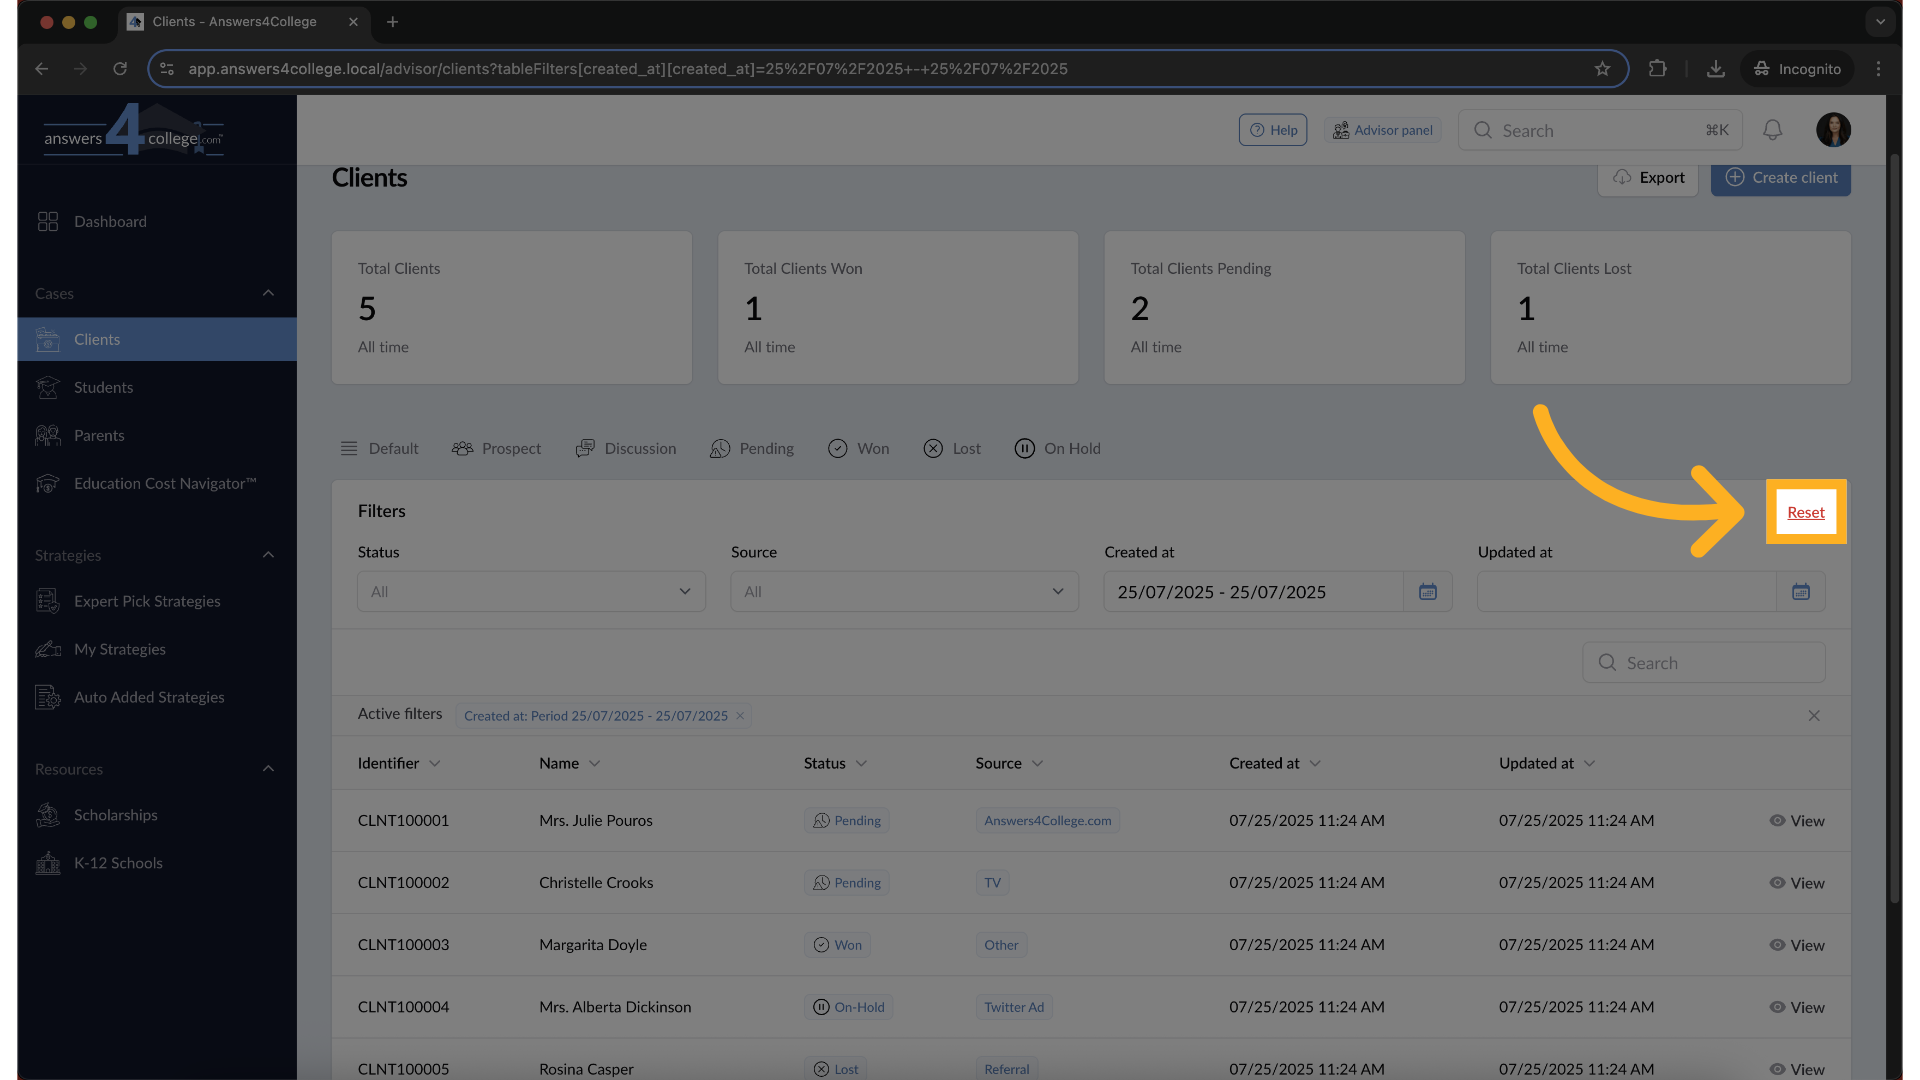
9. Filtering Your Client List
To clear any filters you've applied, press the Reset button.
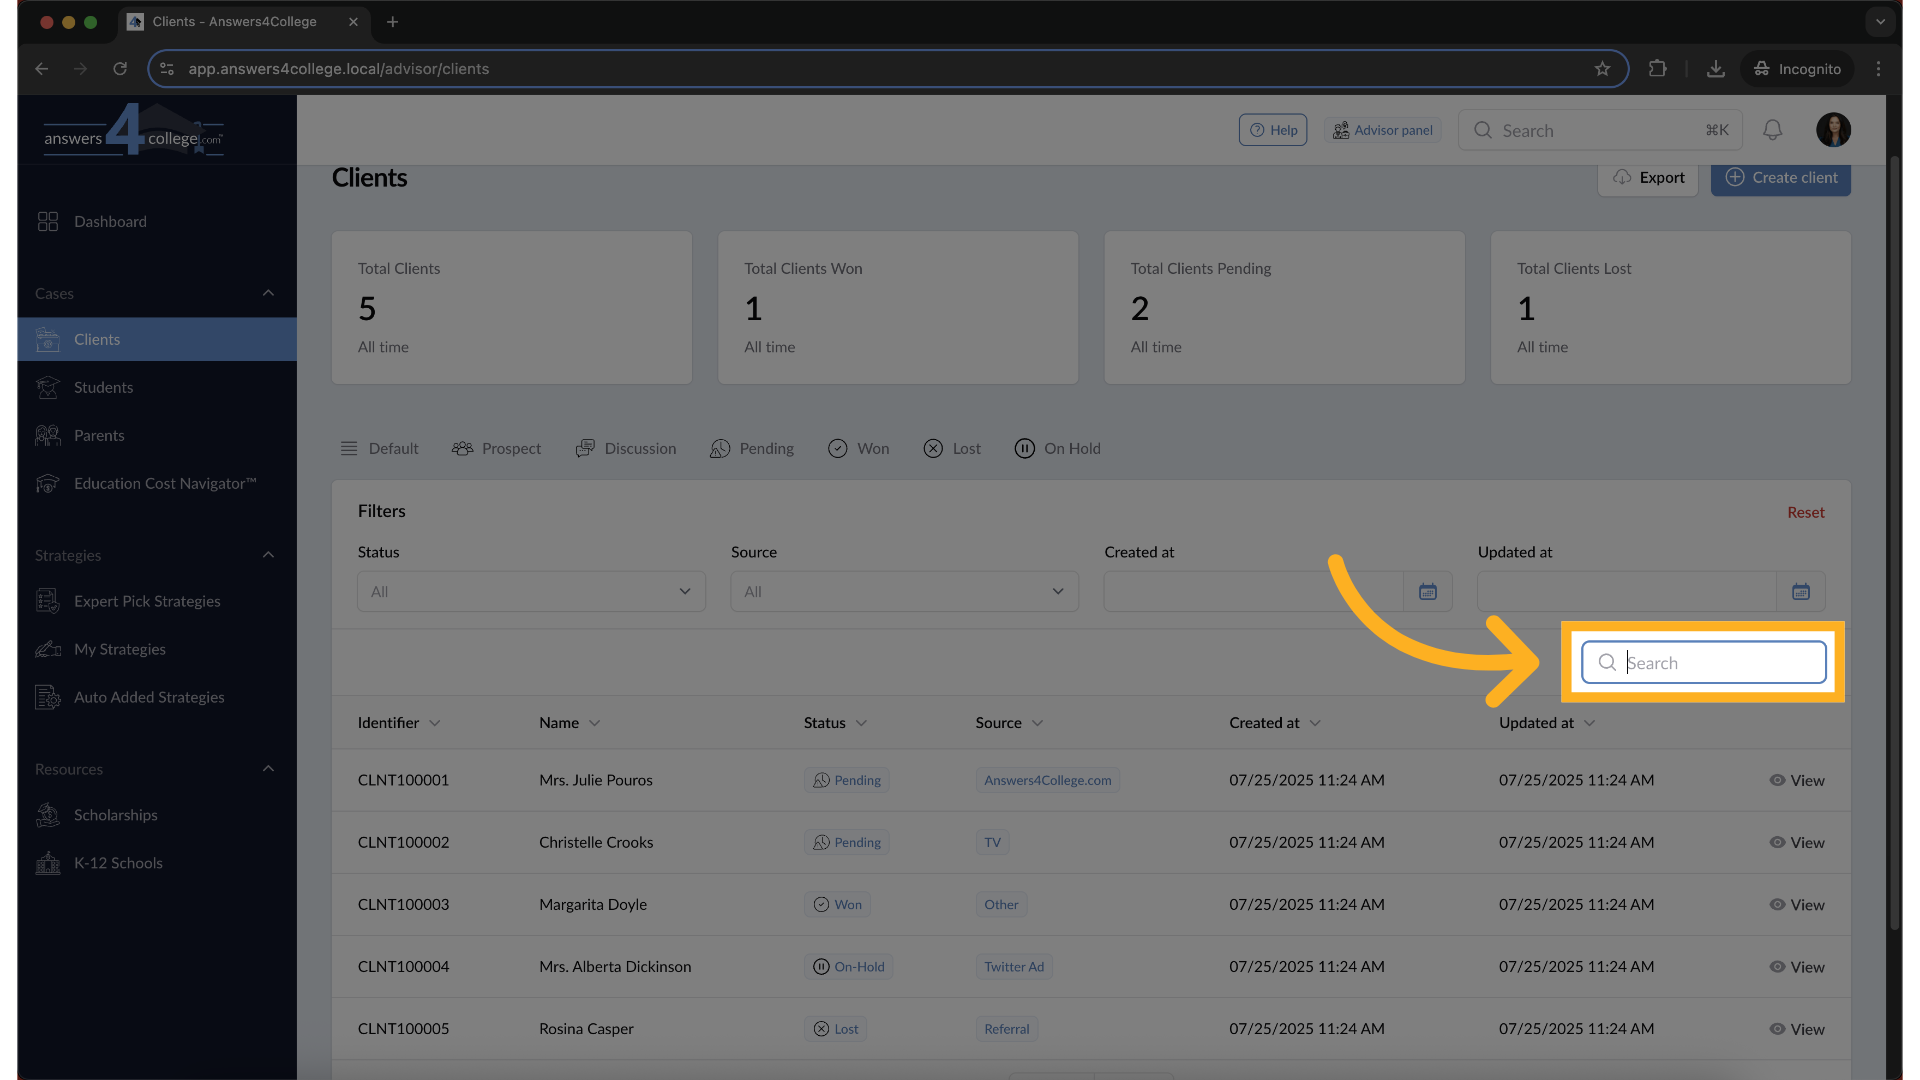
10. Quick Search
Use the search bar to quickly find a specific client by name.
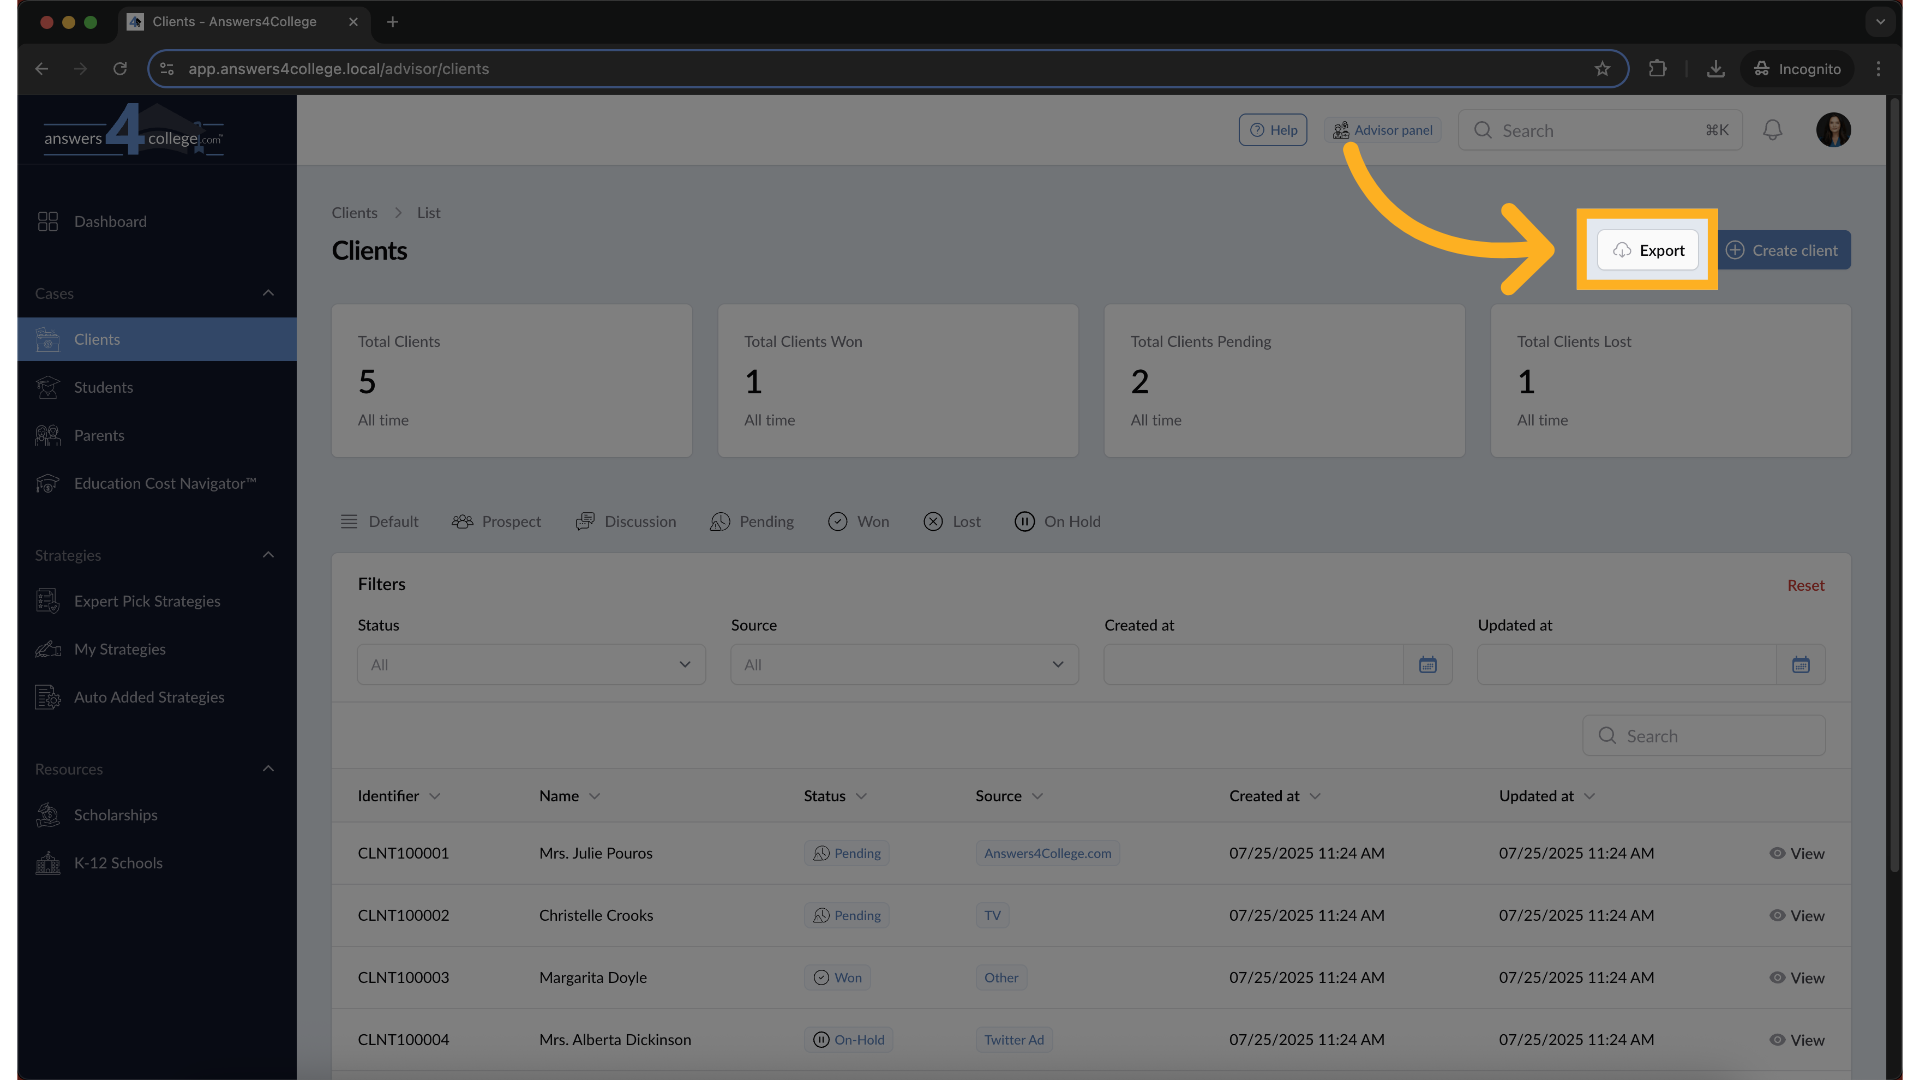
11. Export Options
If you’d like to save your client data, click the Export button to download a list of all clients.
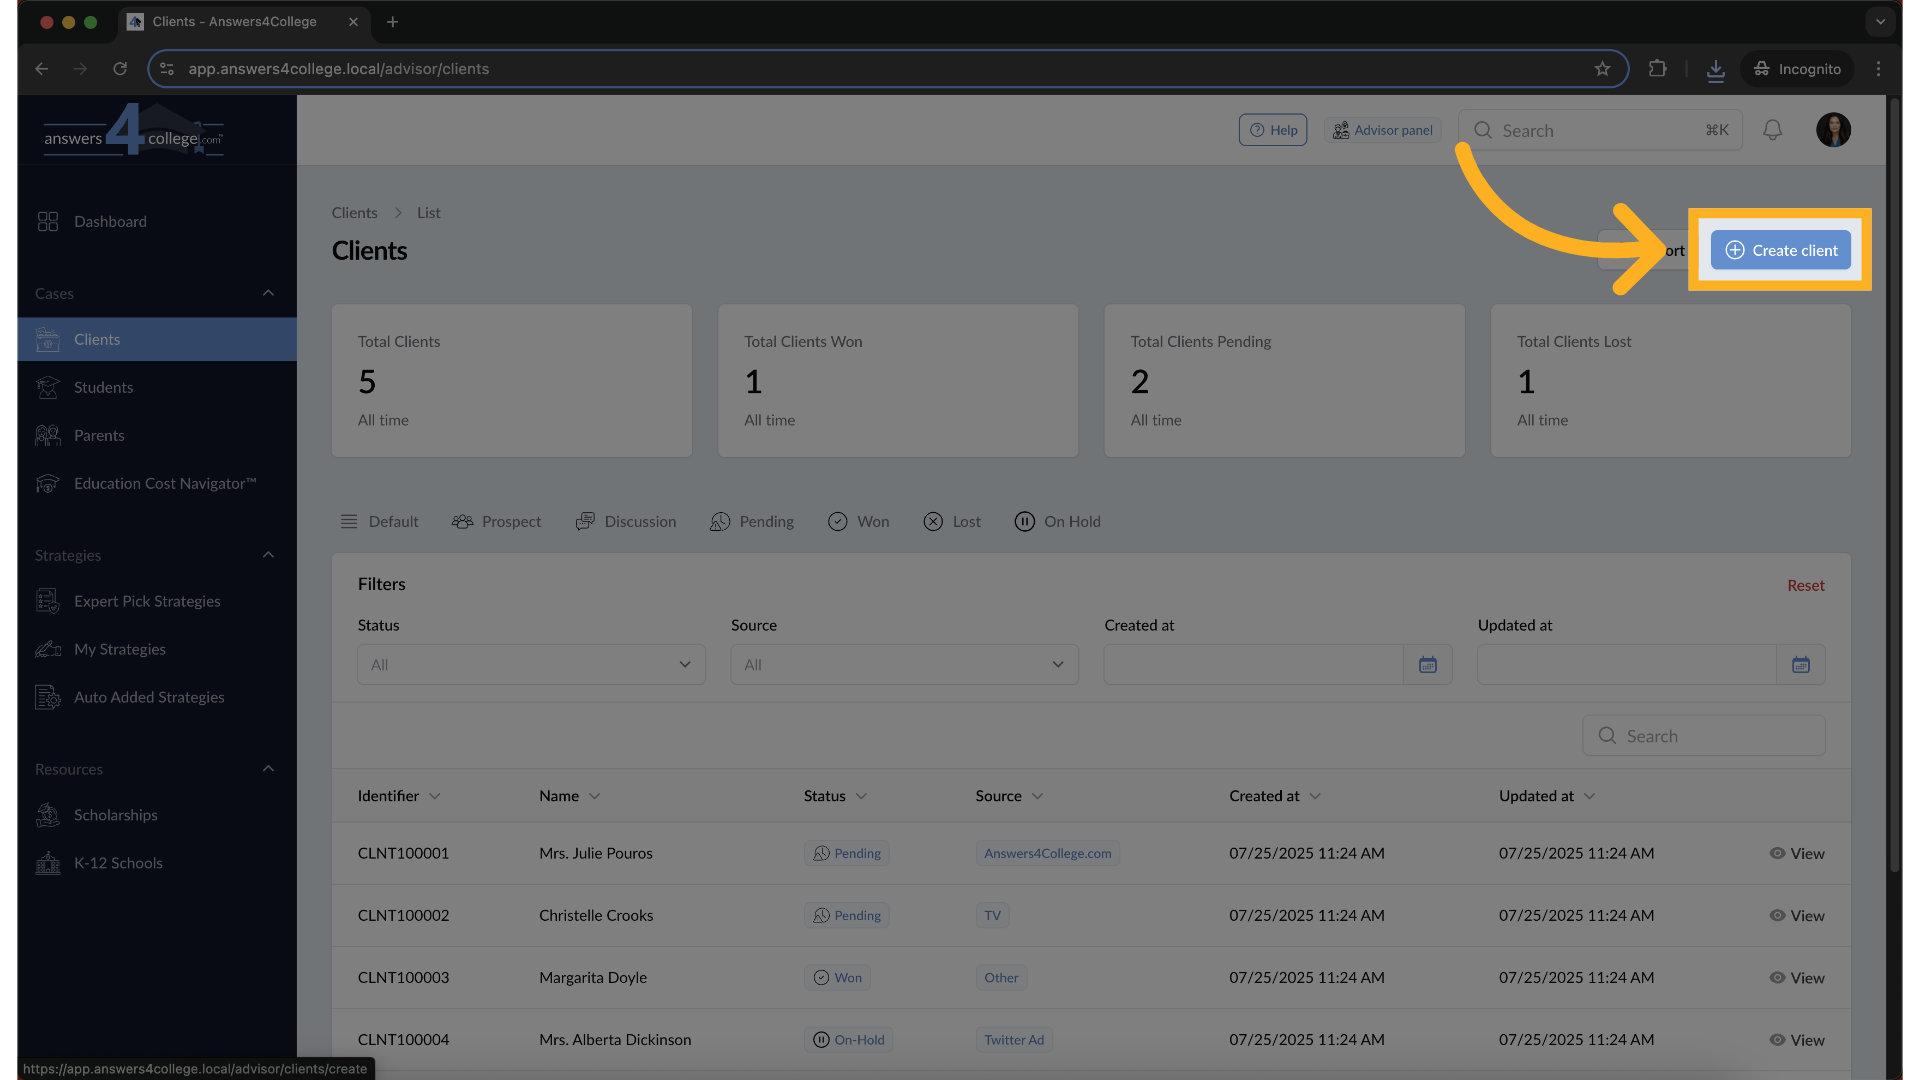
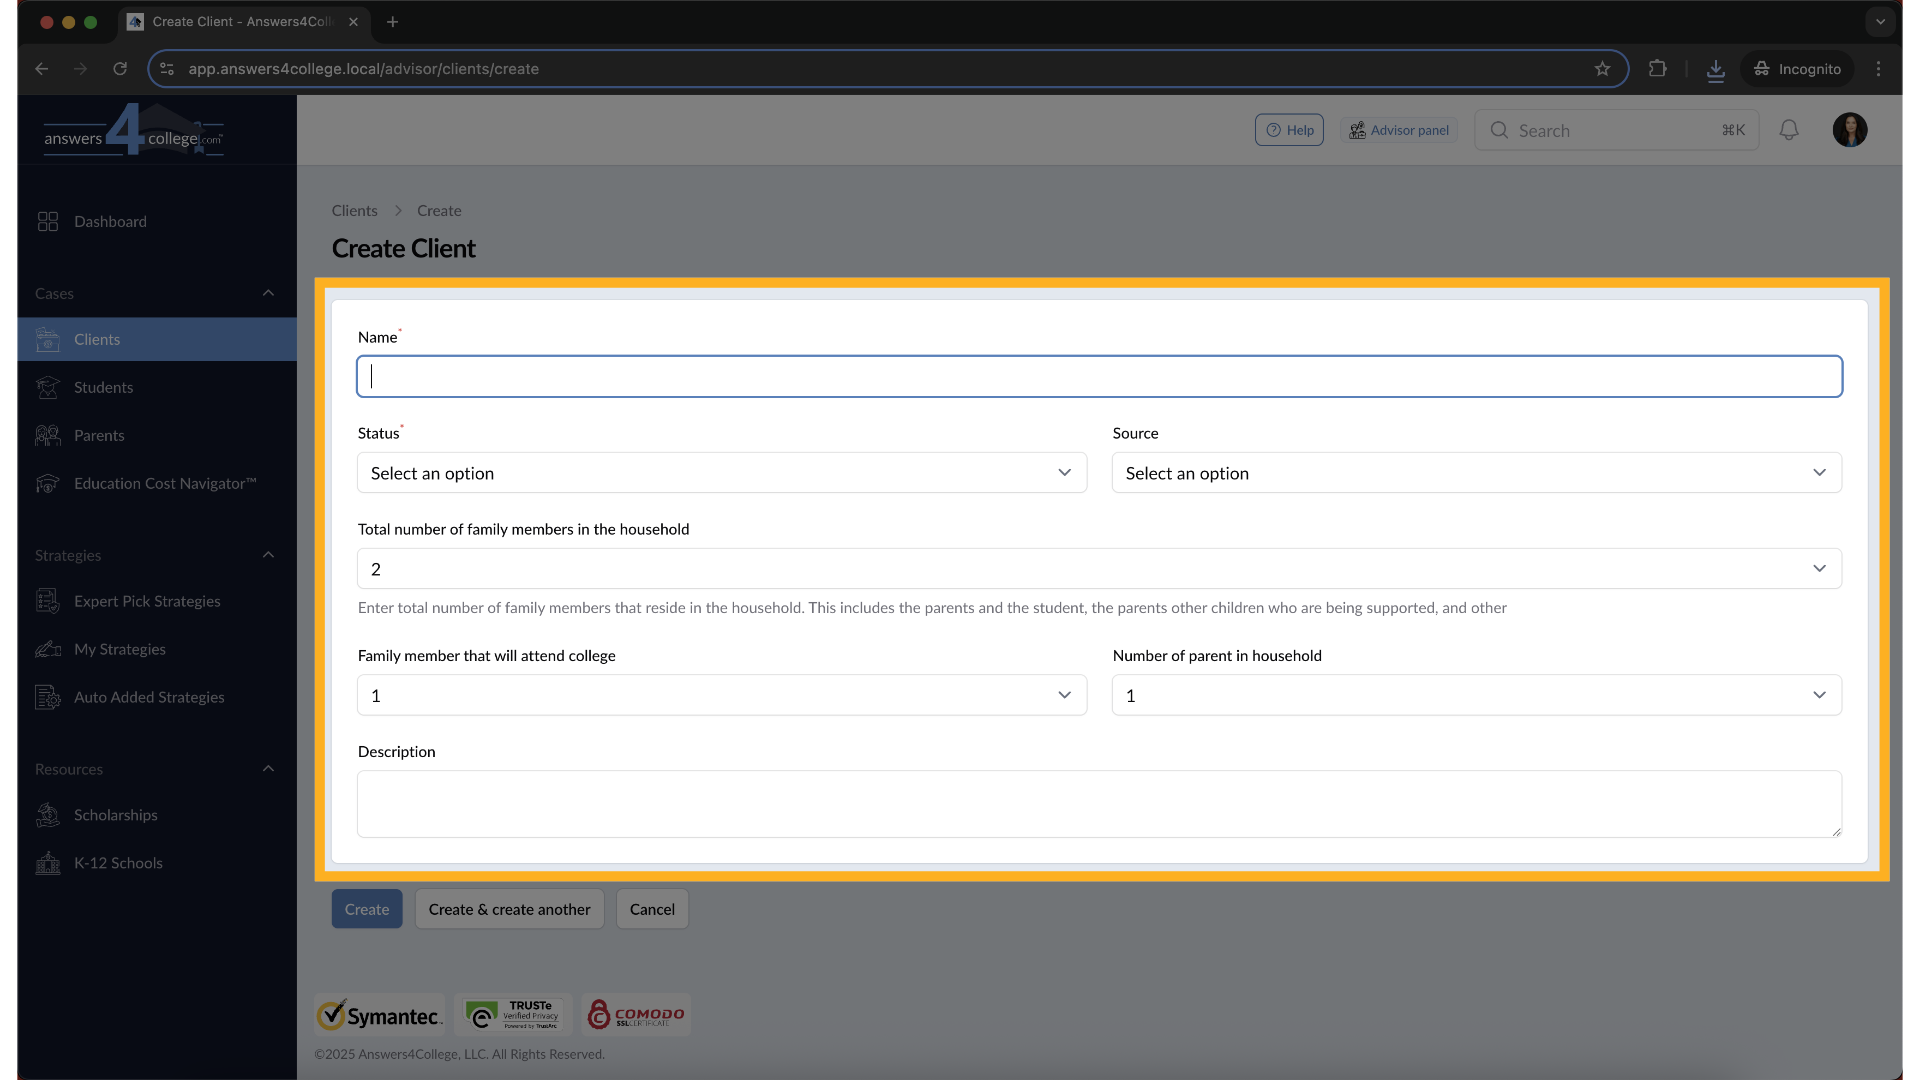
12. Creating a New Client
To add a new client, click the Create Client button.
13. Creating a New Client
Fill out the form with the following information:
Client Name – e.g., Smith Family
Status – Select the client’s current stage
Source – Choose how the client came to you
Total Household Members – Include parents, students, and any dependents
Number of Parents in Household – For example, select “2” for two-parent households
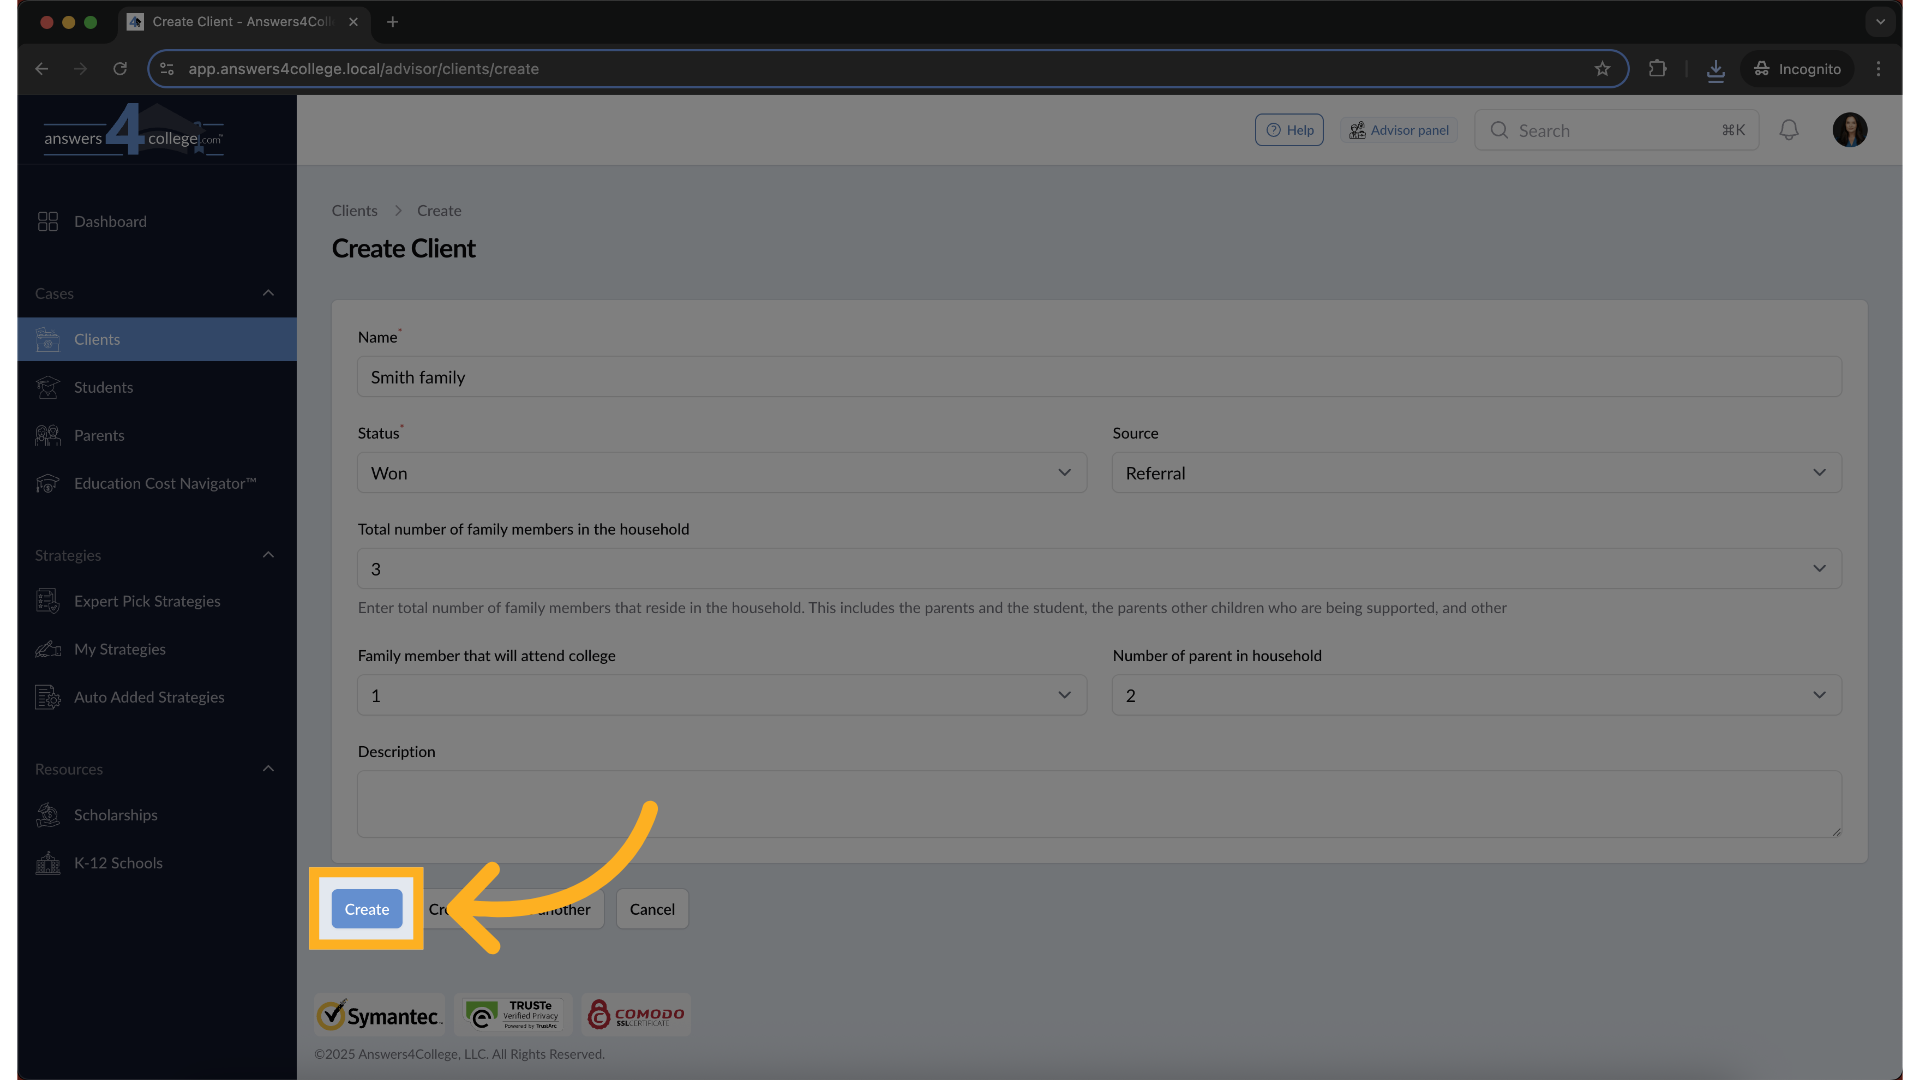
14. Creating a New Client
Once complete, click Create—and the new client will be added to your dashboard.
15. Client Created
Once you click Create, your new client profile is added to the system. You're now ready to start working with the Smith Family (or whichever client you just created).
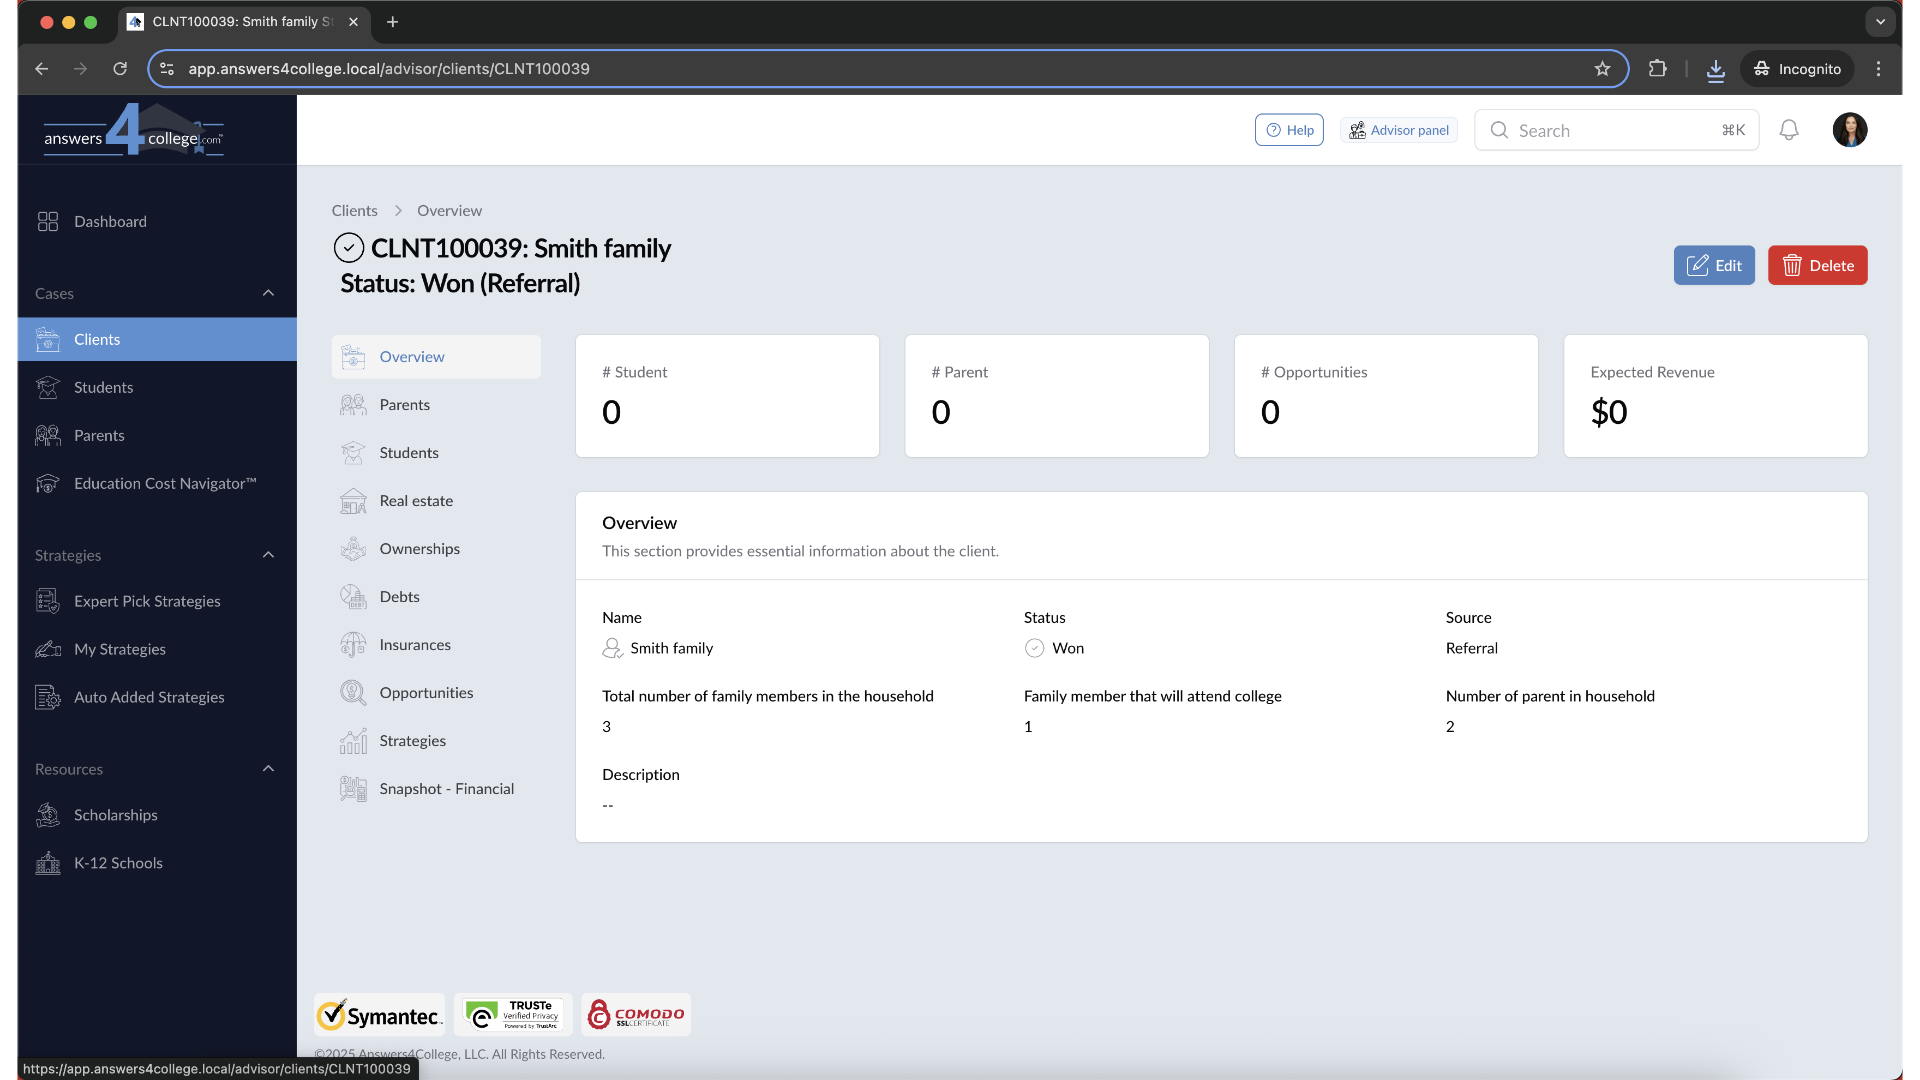
That’s how you manage your clients within the Answers4College portal—from filtering and searching to creating new clients.
Comments
0 comments
Please sign in to leave a comment.