Welcome! In this quick tutorial, we’ll walk you step-by-step through how to create,
activate, deactivate, and impersonate a student account in the Answers for College
Advisor Portal. Let’s dive in!
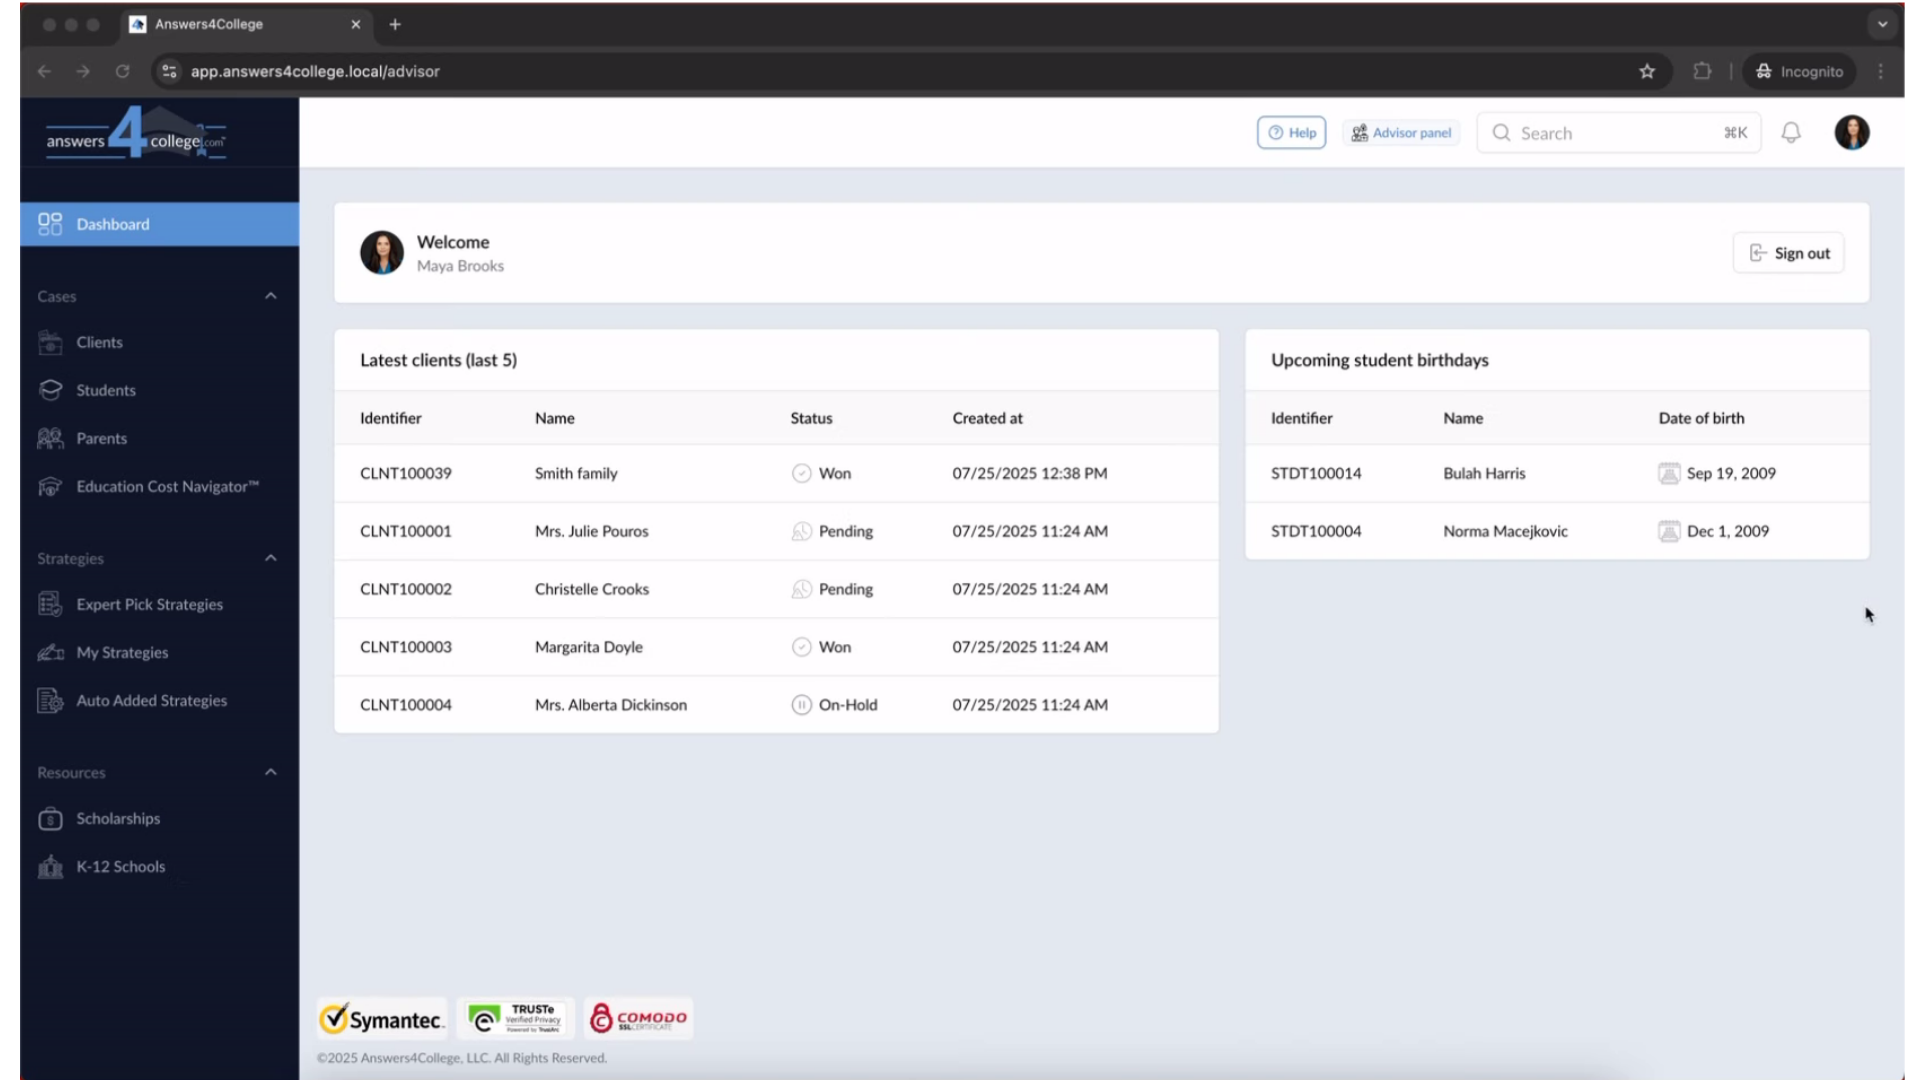
1. Log in to the Advisor Portal
First things first—log in to your Advisor Portal.
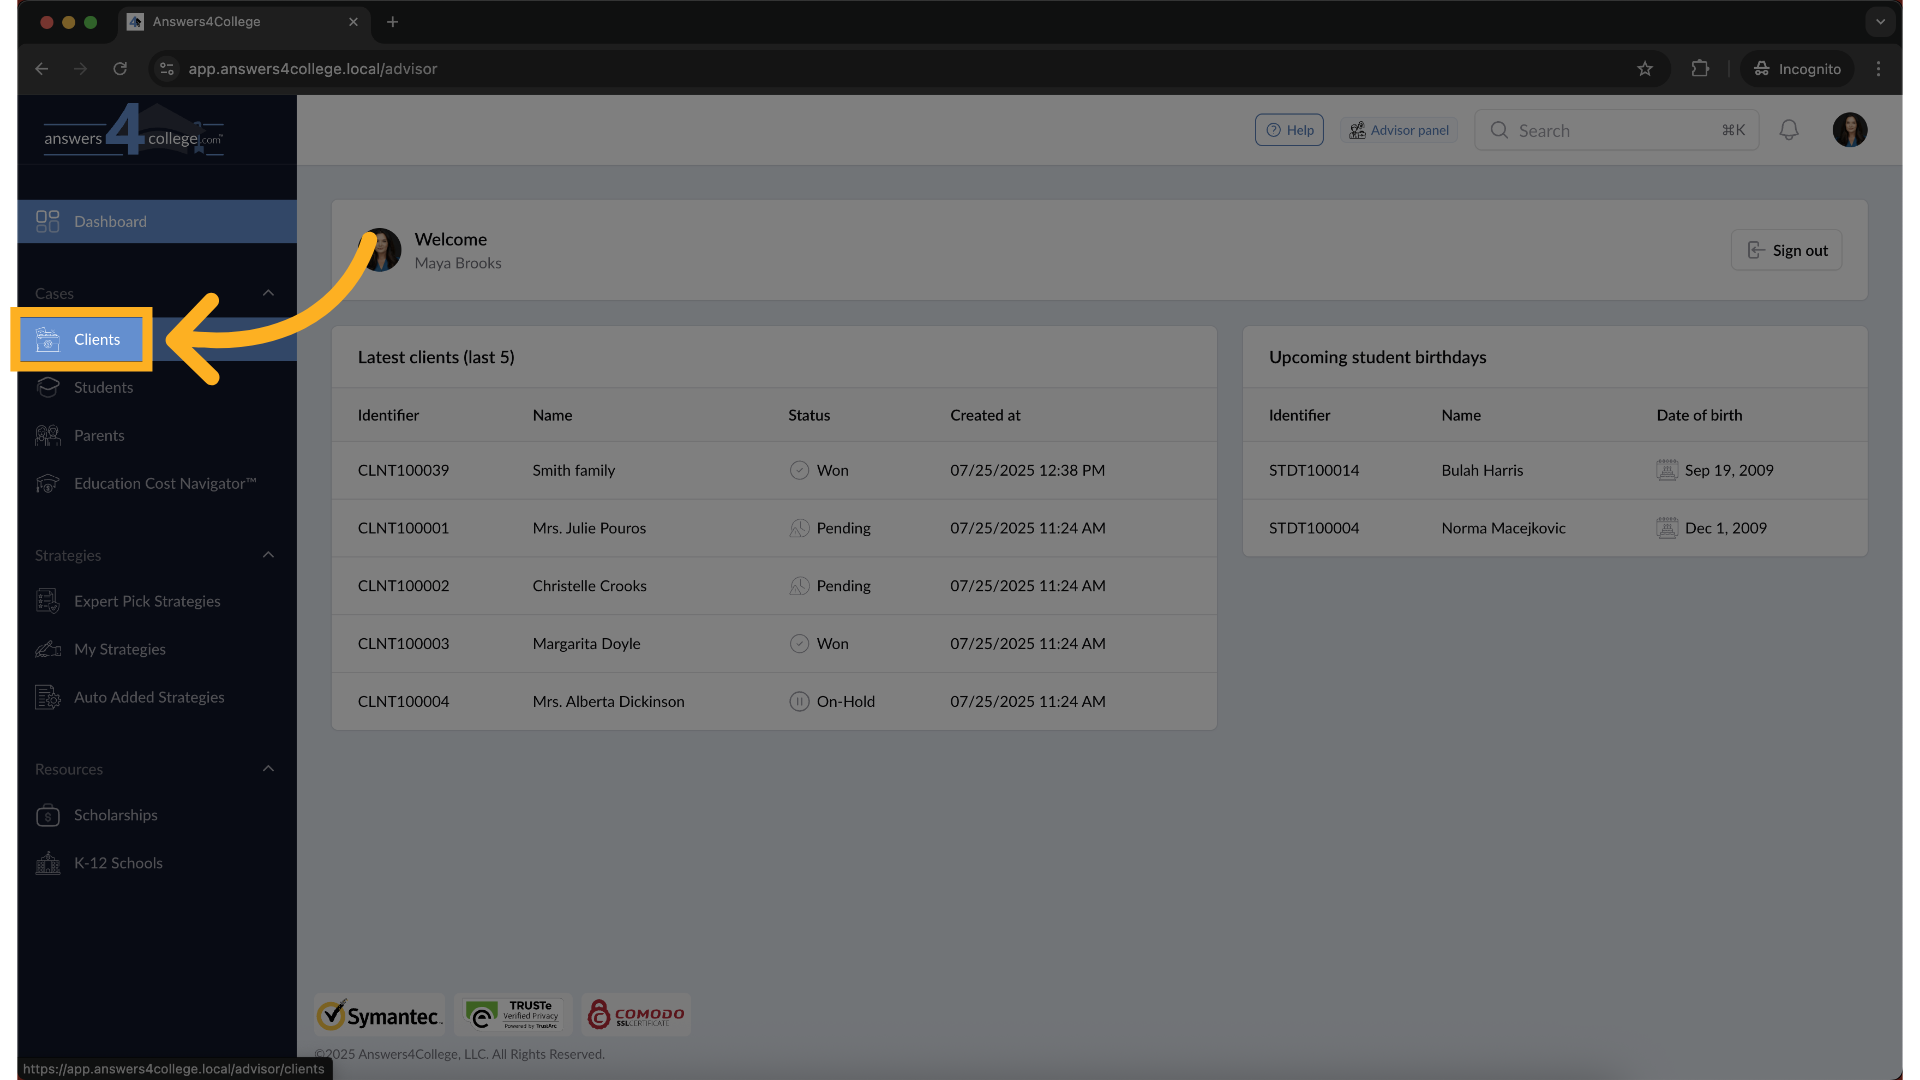
2. Open the Clients Menu
Once you’re in, look over to the left-hand menu and click on Clients. This is where all your families live.
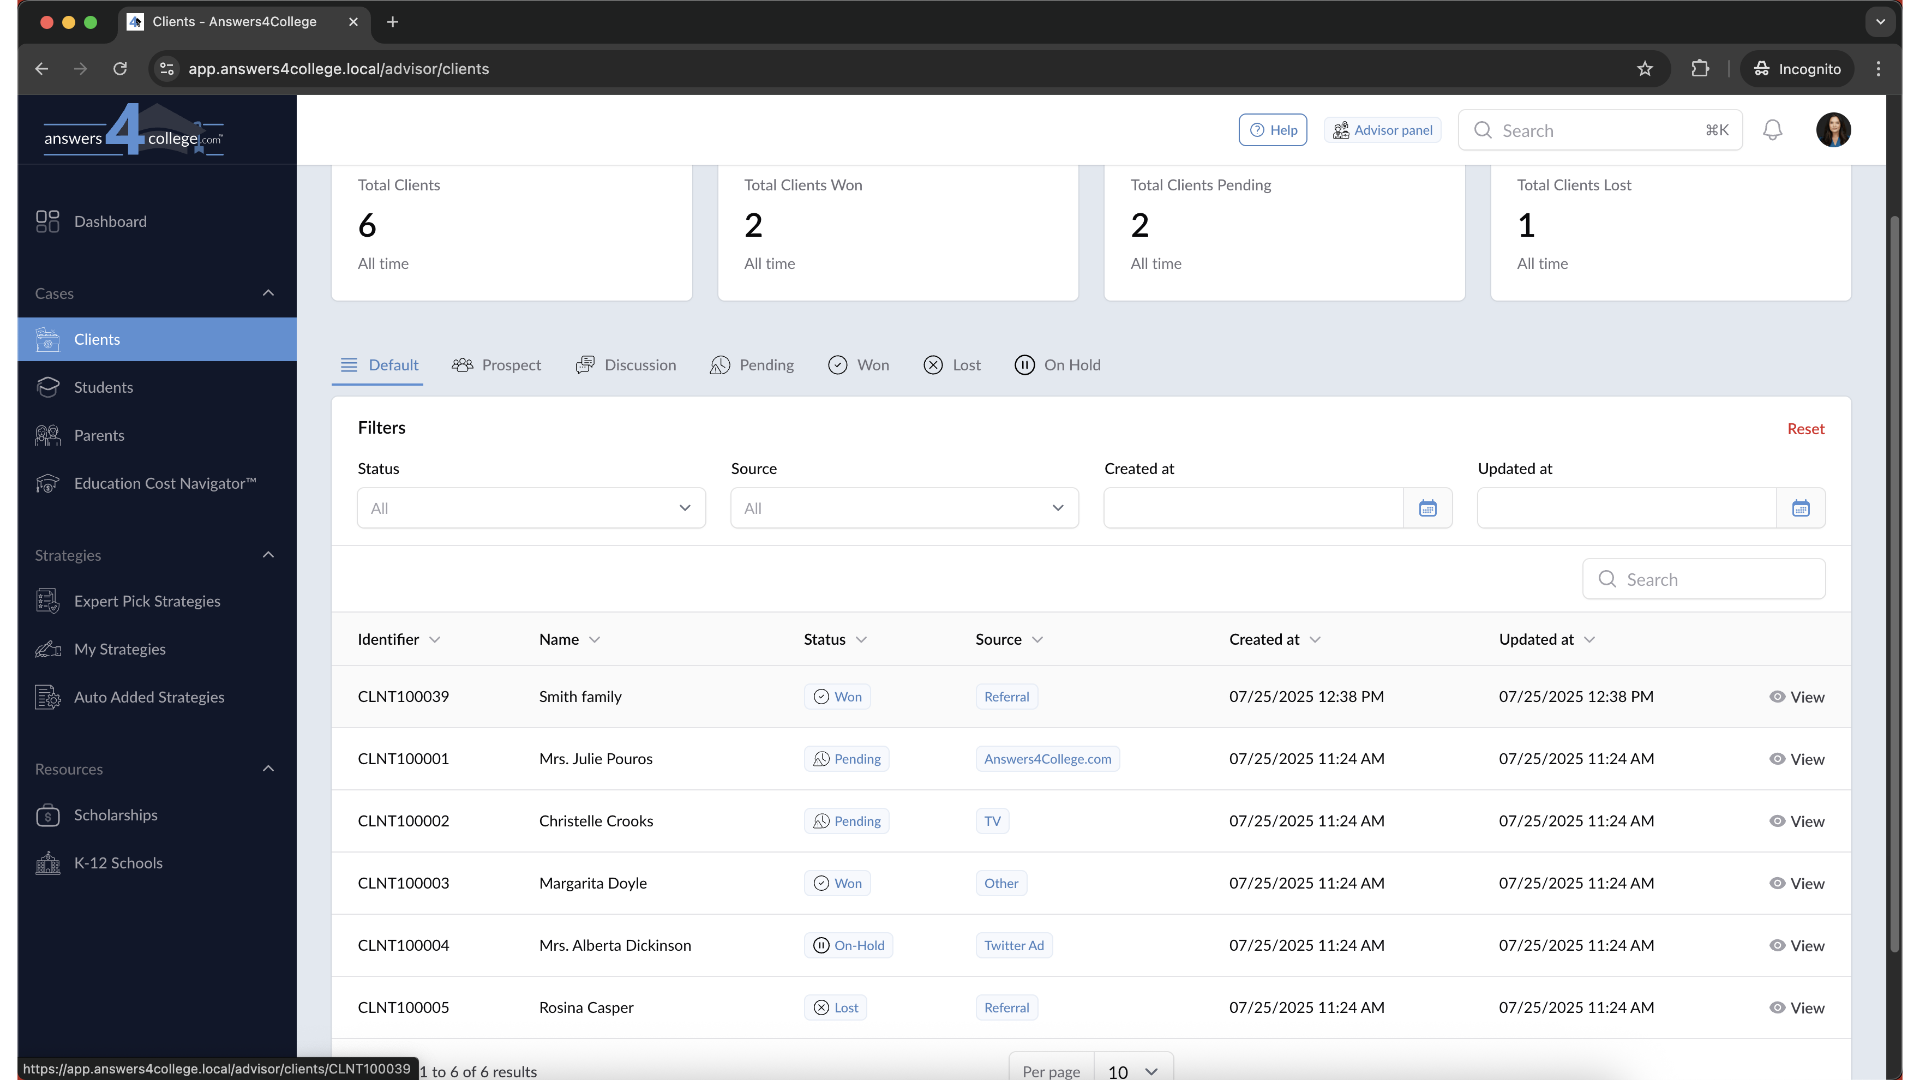
3. Open the Client List
Now you’ll see a list of all your clients. Scroll through or use the search bar to find the one you’d like to work with.
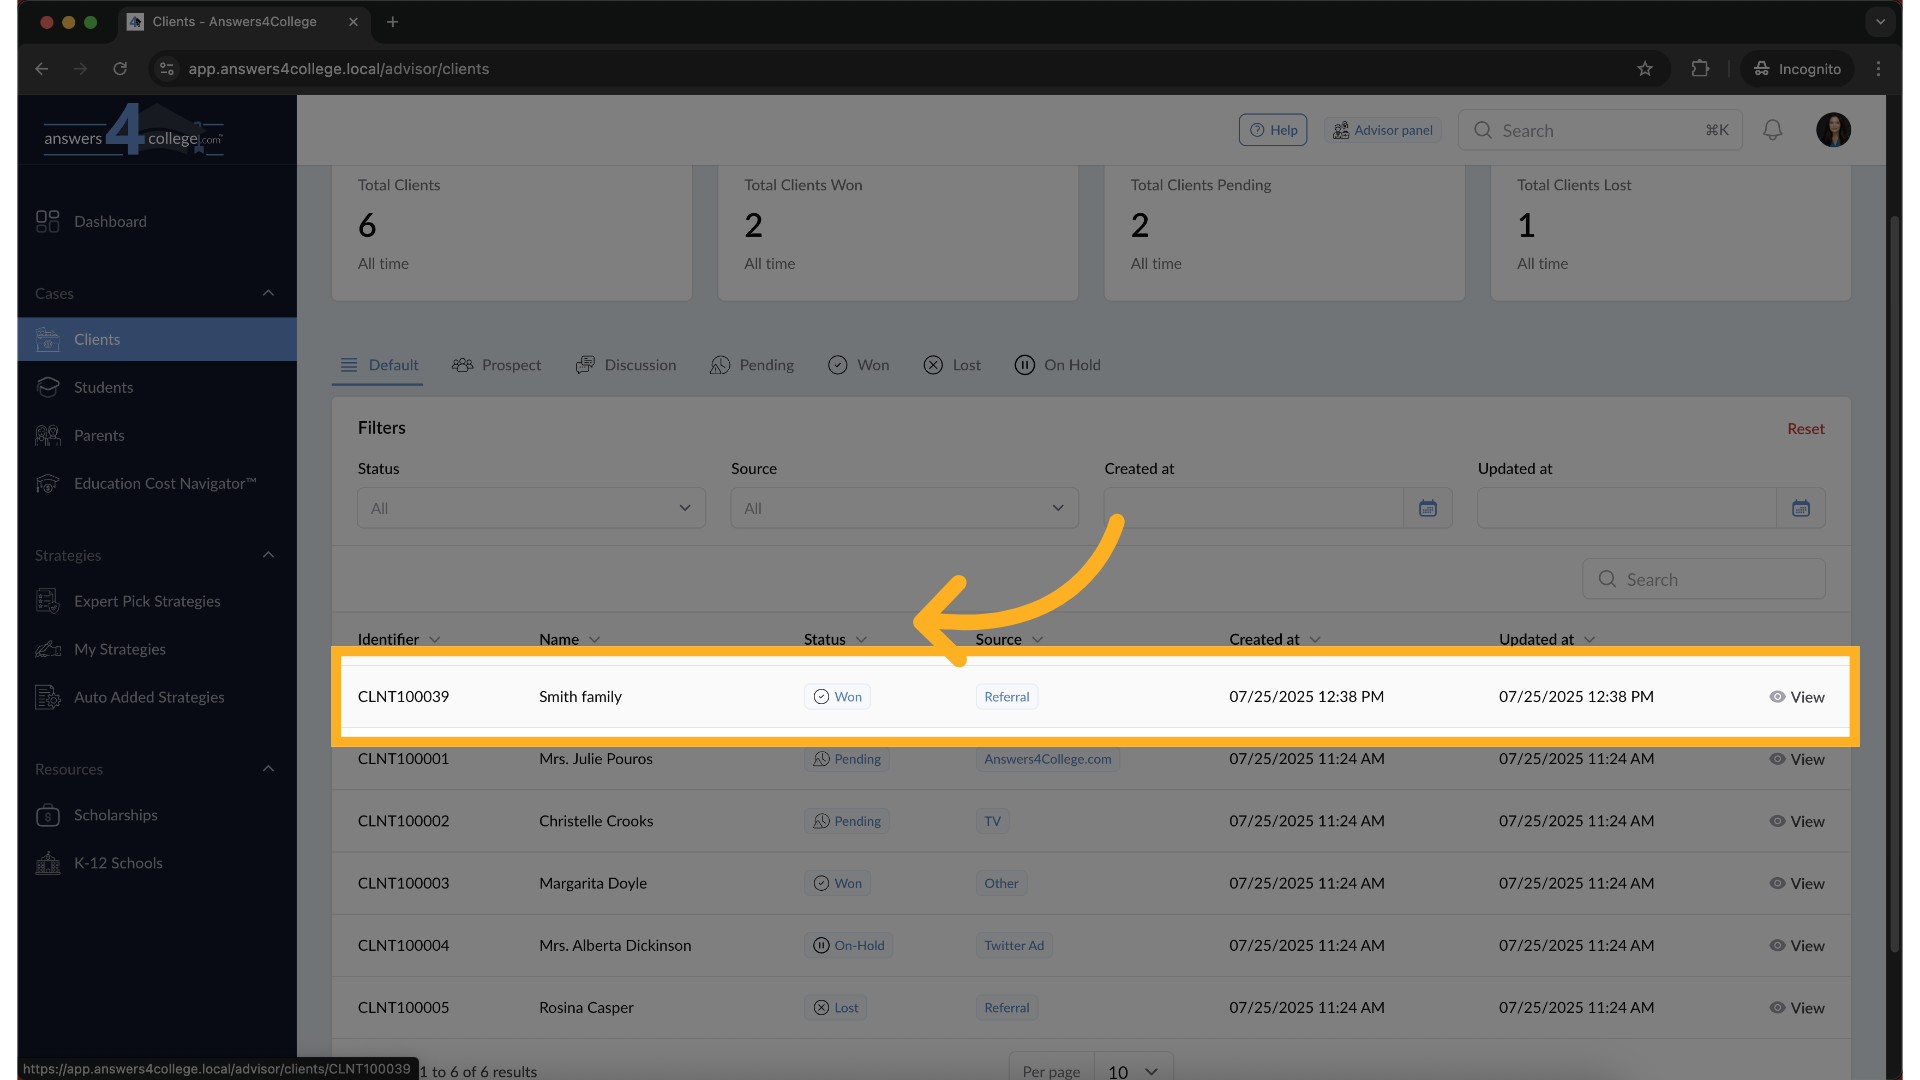
4. Select the Right Client
Click on the client’s name to open their profile. Make sure you select the client for whom the student account needs to be managed.
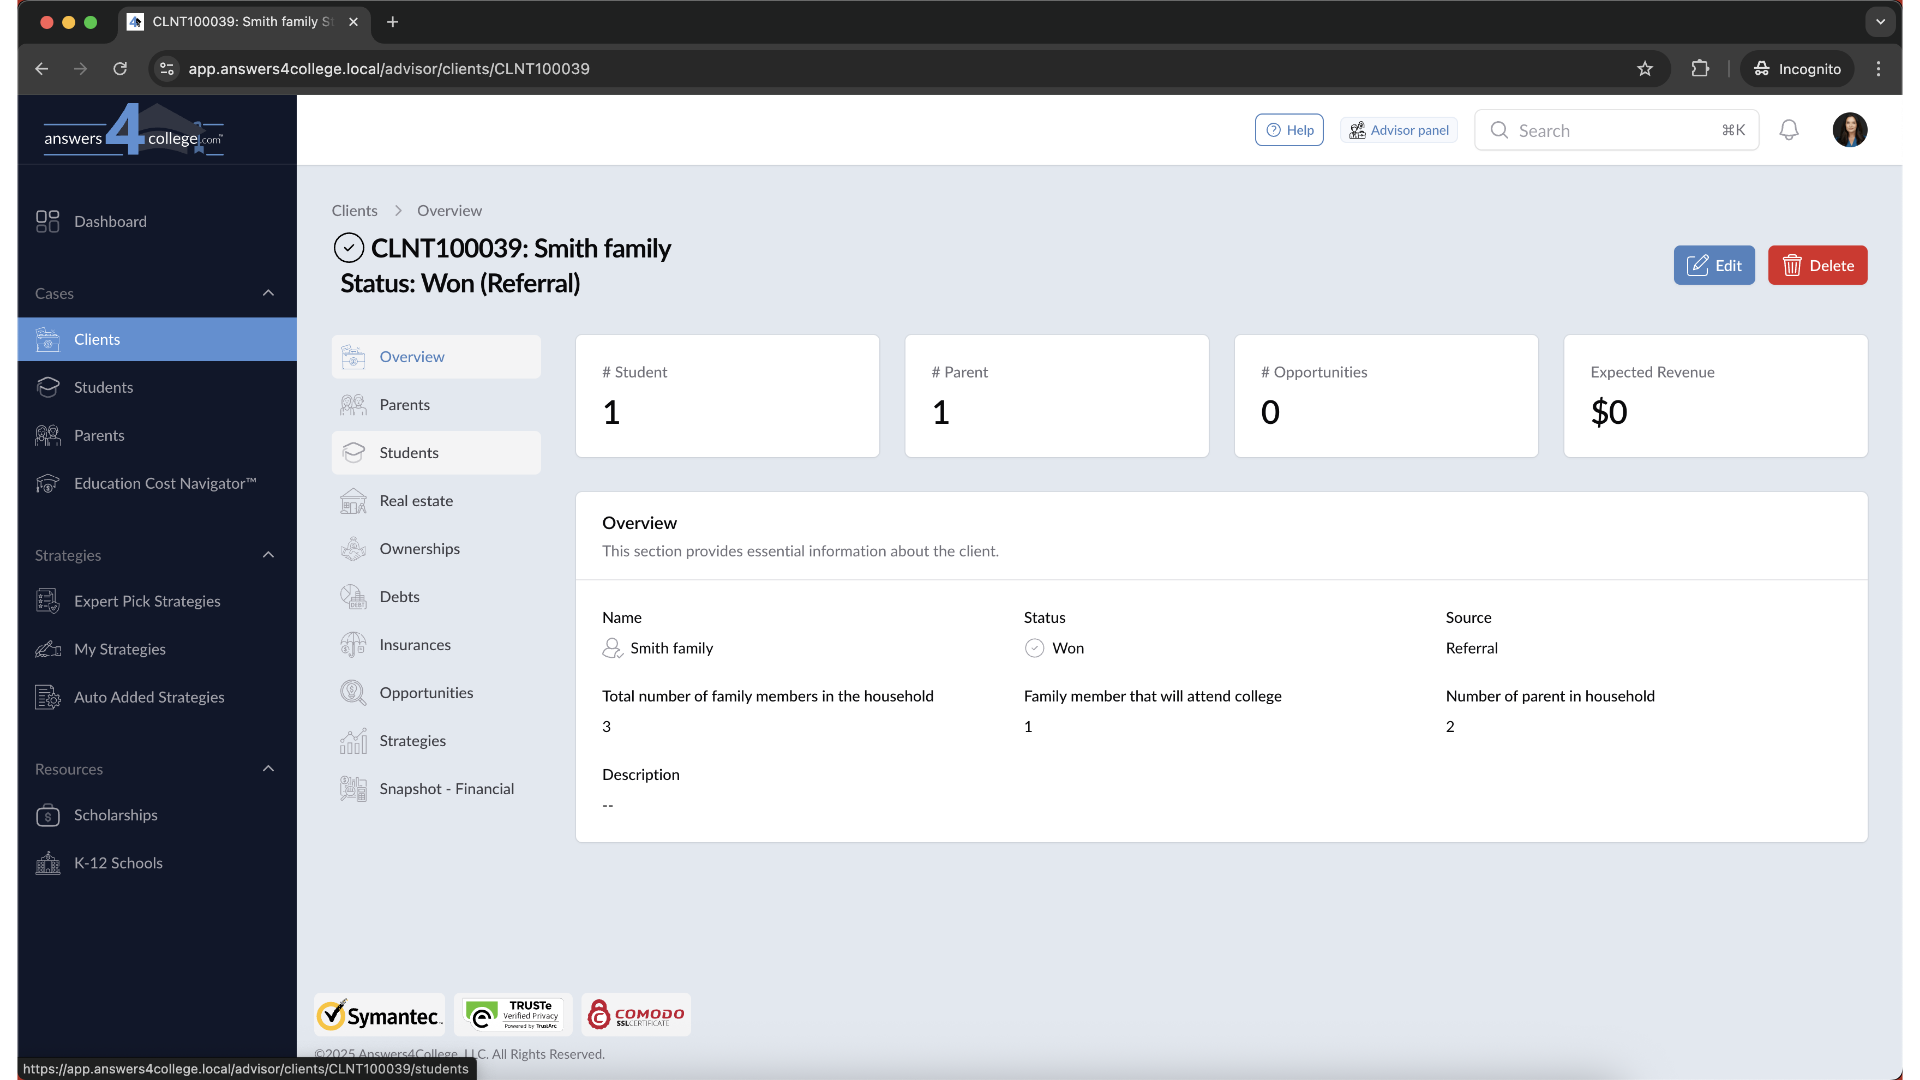
5. Explore the Client Overview
You’re now in the Client Overview—your hub for managing everything related to that family. From here, you can access students, parents, financial tools, and more.
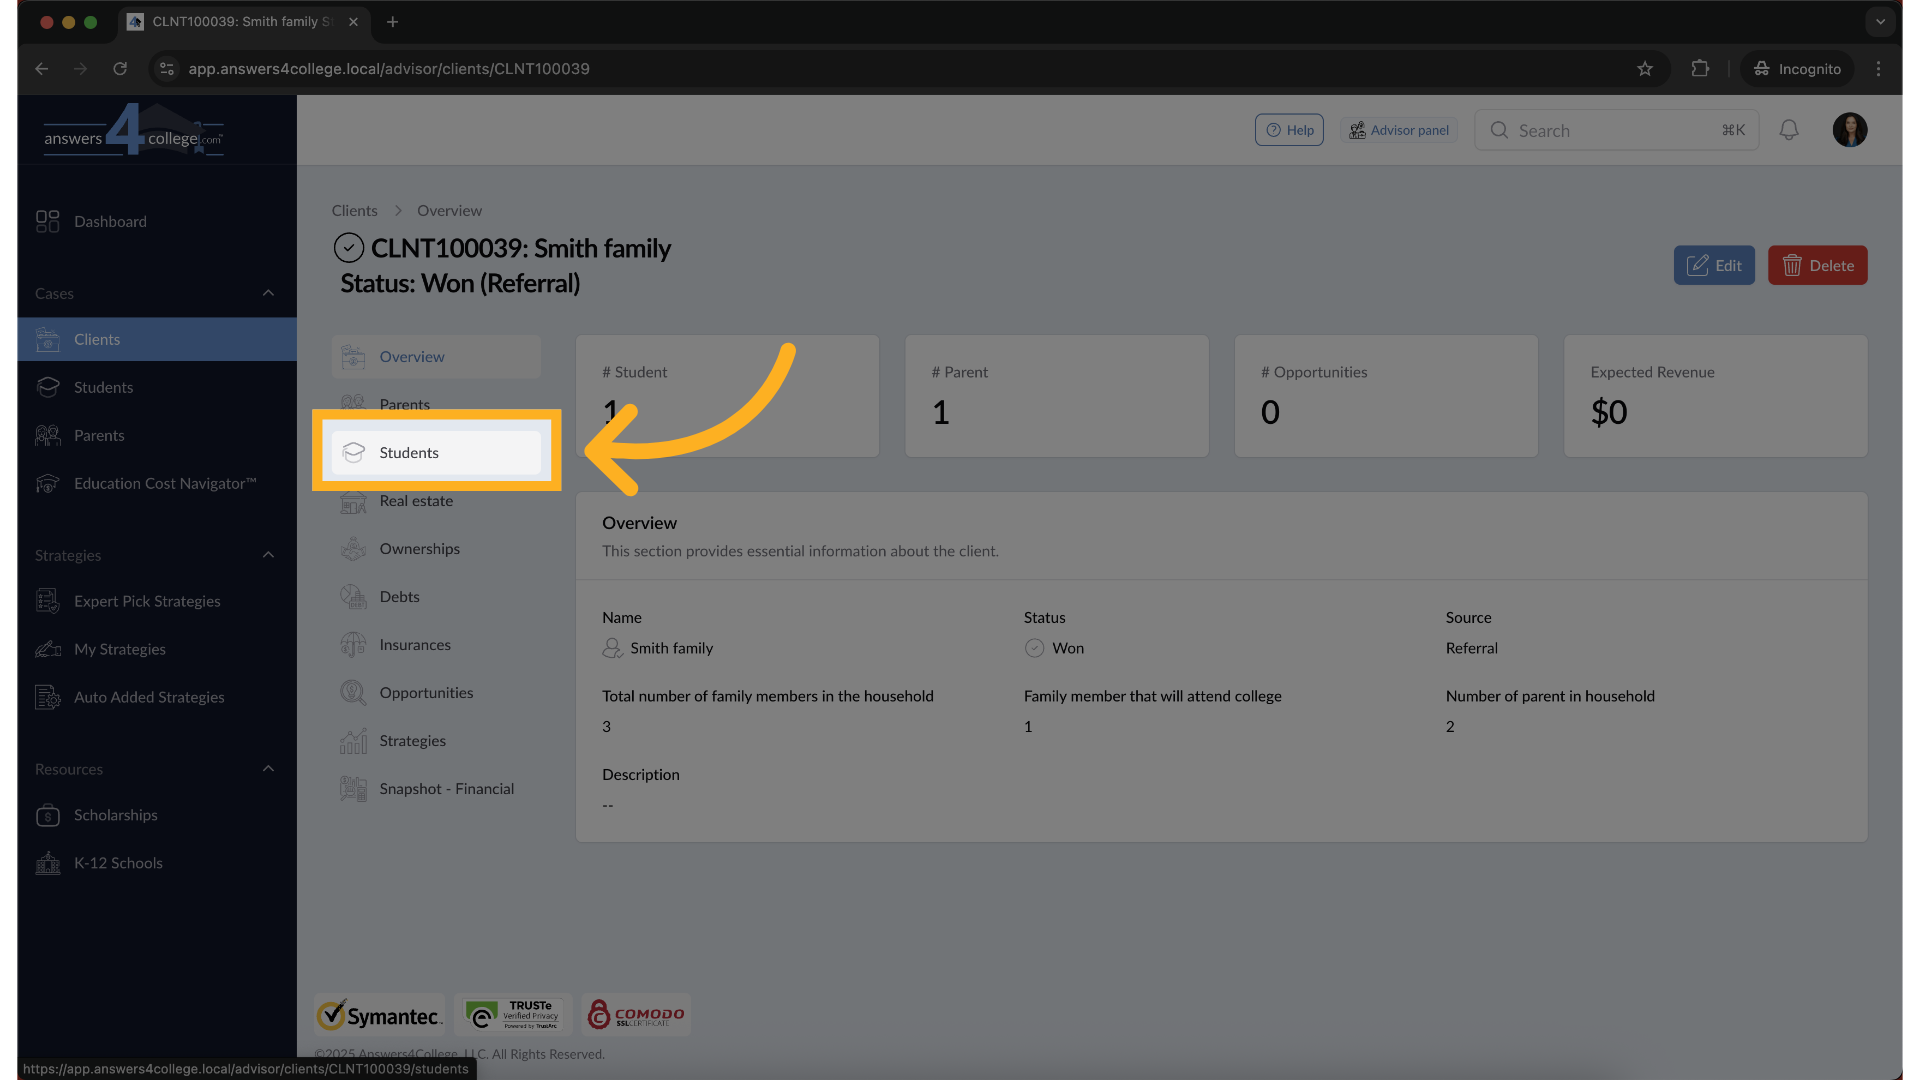
6. Head to the Students Section
From the client’s menu on the left, click on “Students.” This section shows all the students connected to that client.
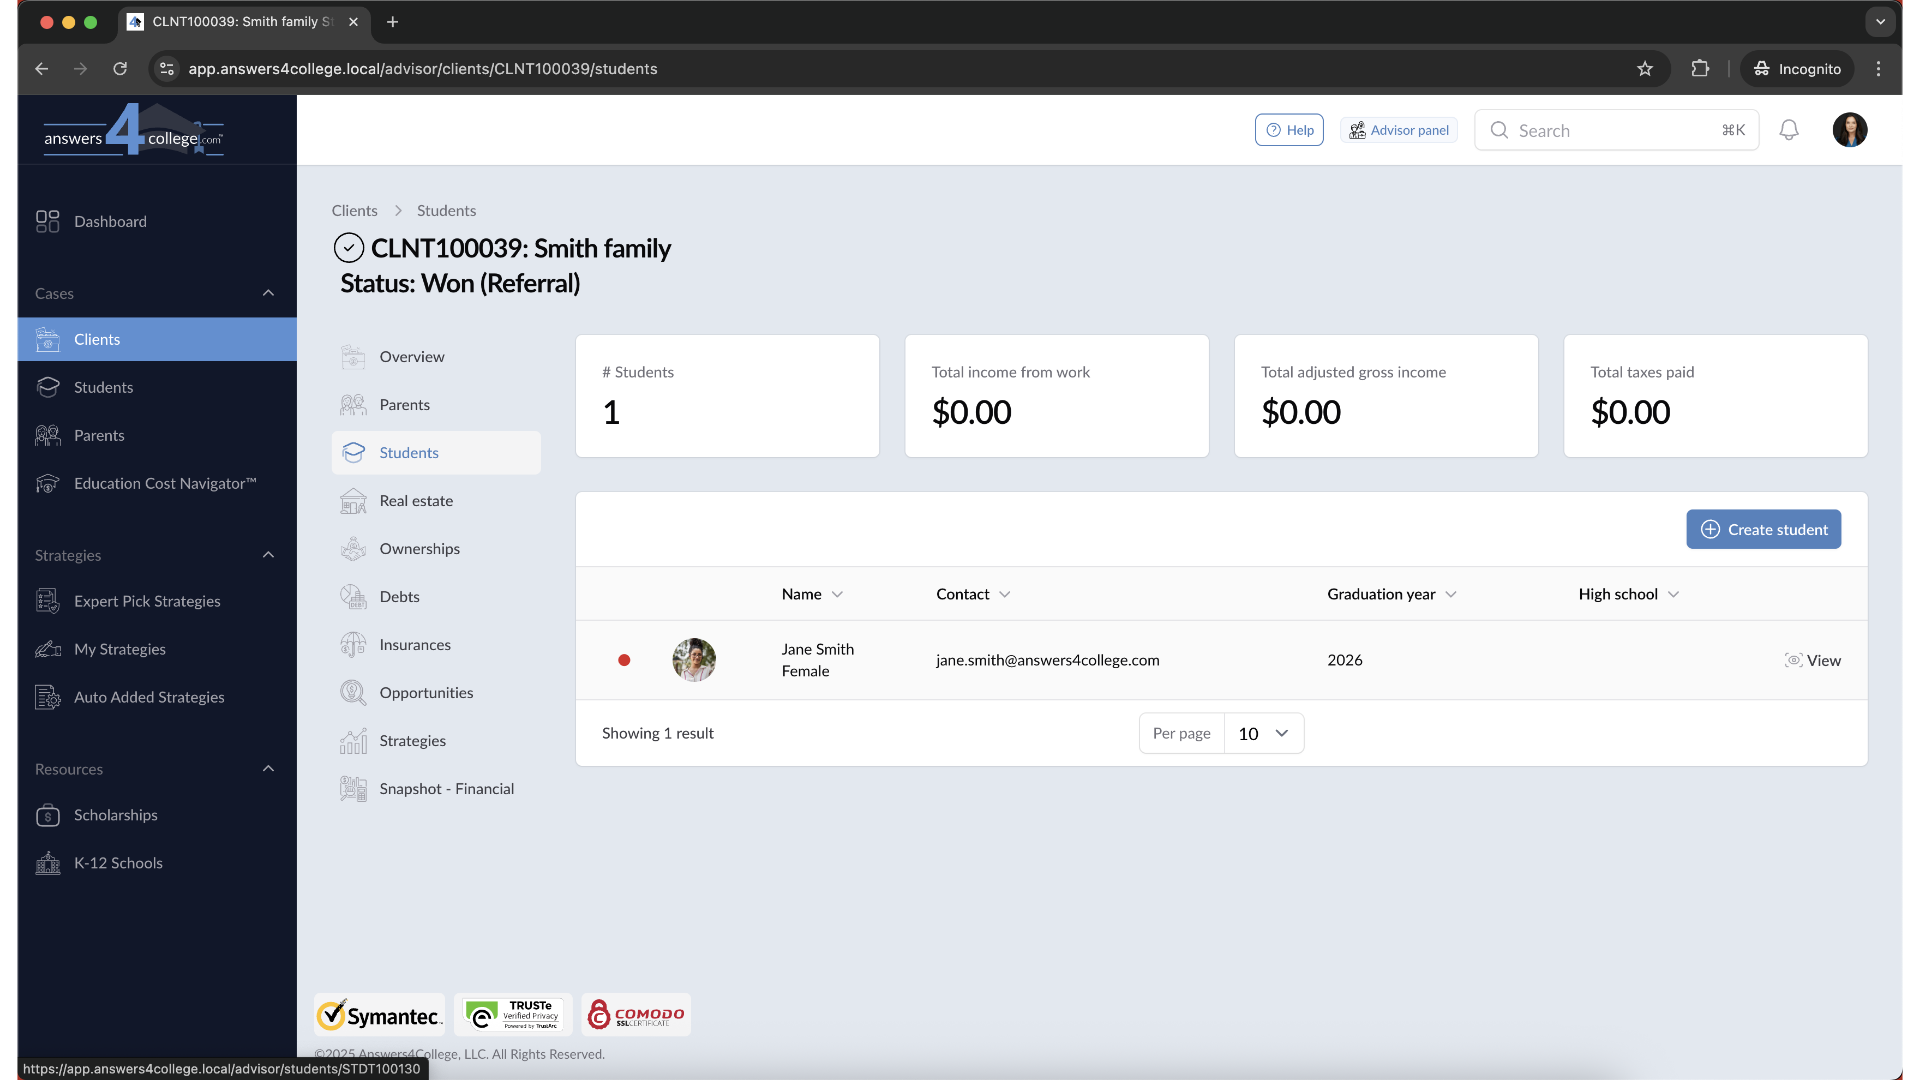
7. Check the Student’s Status
You’ll now see a list of students along with their account status—Inactive, Invited, or Active. Take a moment to review the list and identify the student whose account needs to be activated.
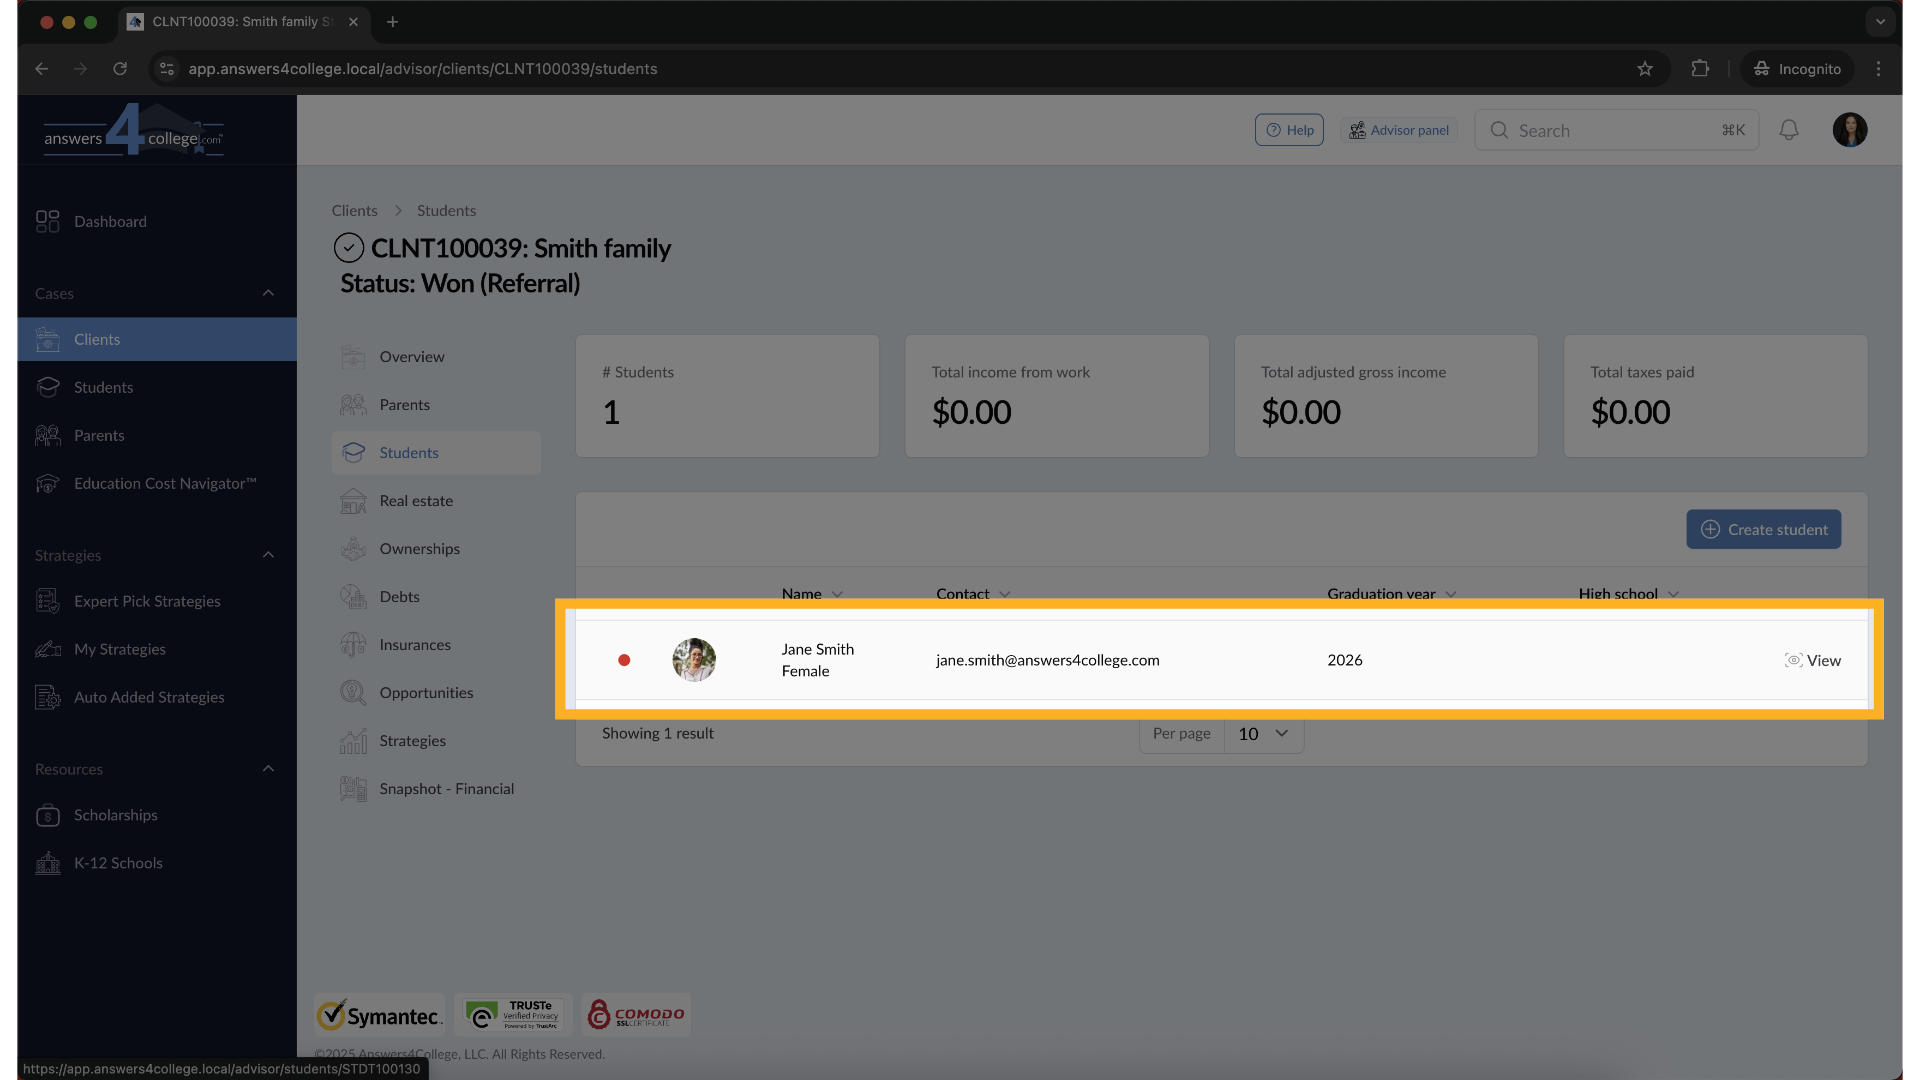
8. Open the Student Profile
Click on the student’s name to open their dashboard. This is where you’ll manage their account settings and personal information.
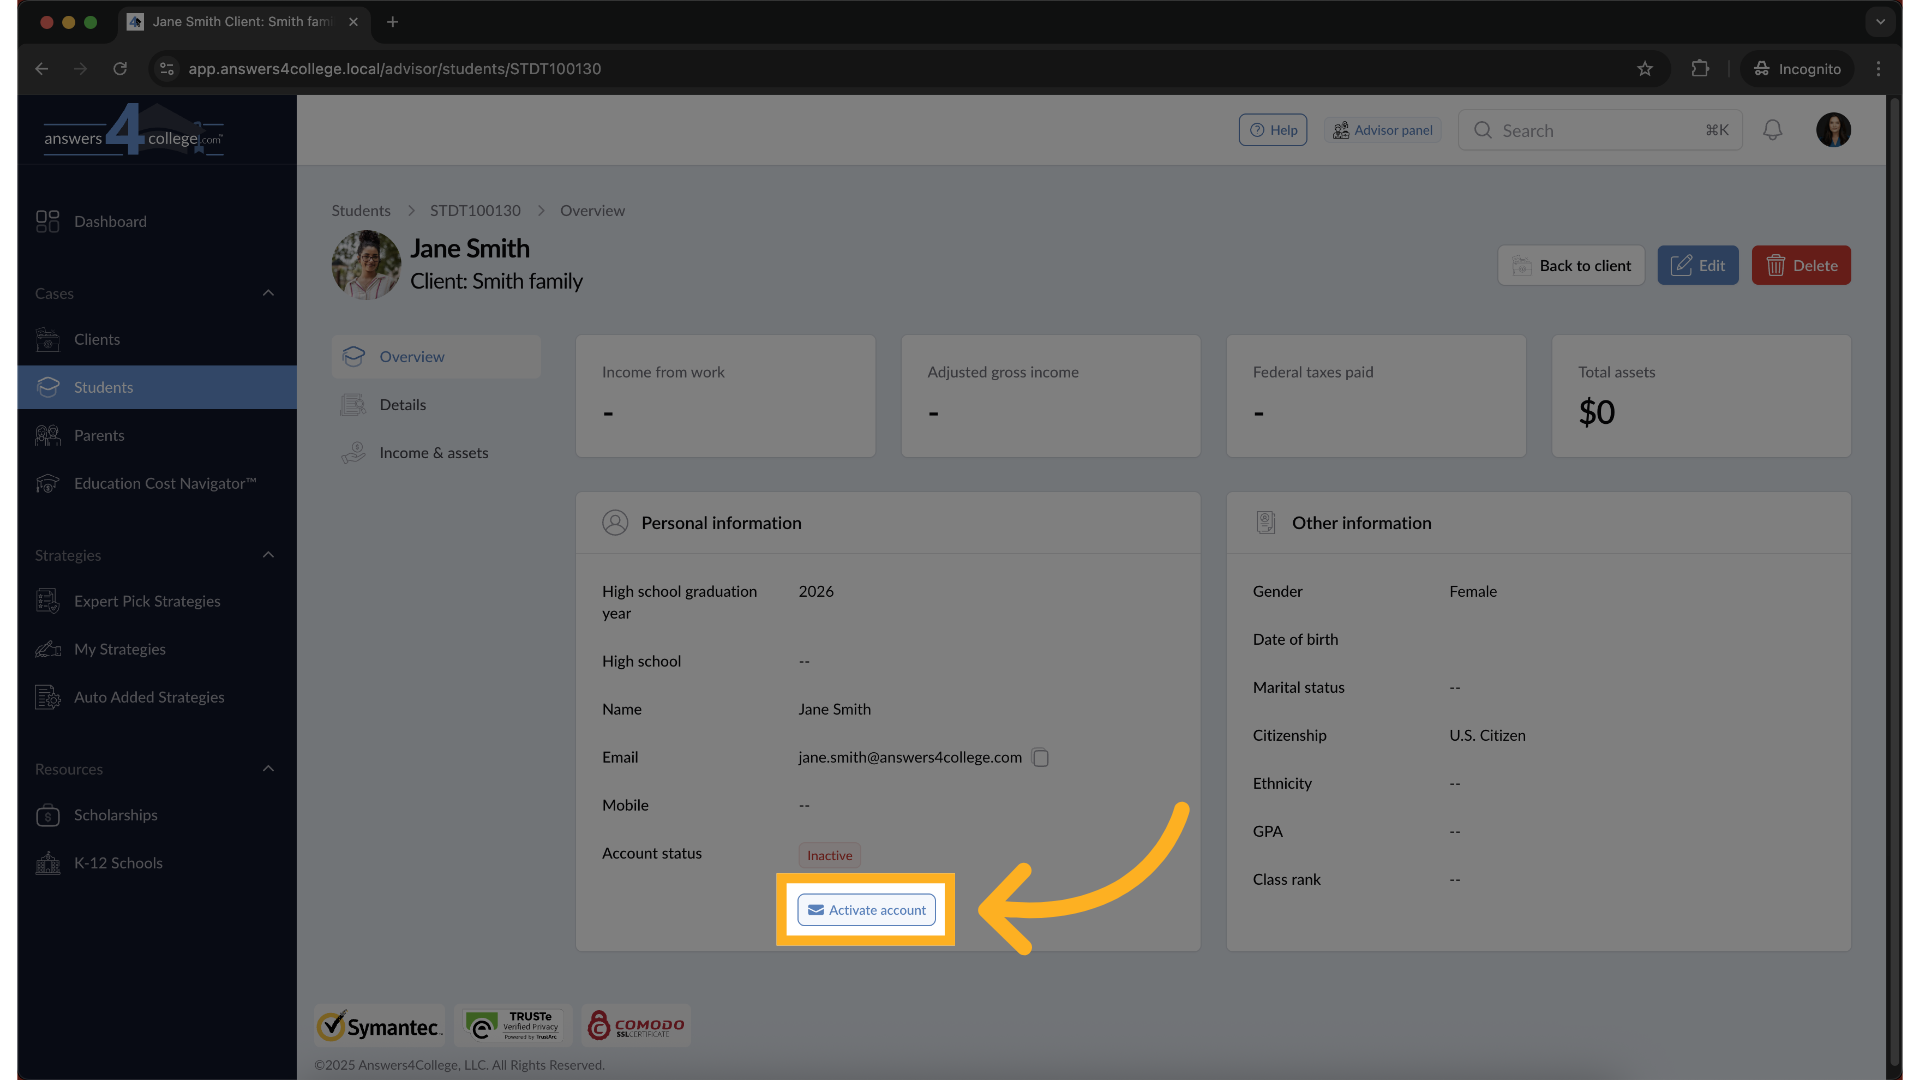
9. Activate the Student Account
On the student dashboard, look for the Account Status under the Personal Information section. If it shows “Inactive,” click on Activate Account to begin the activation process.
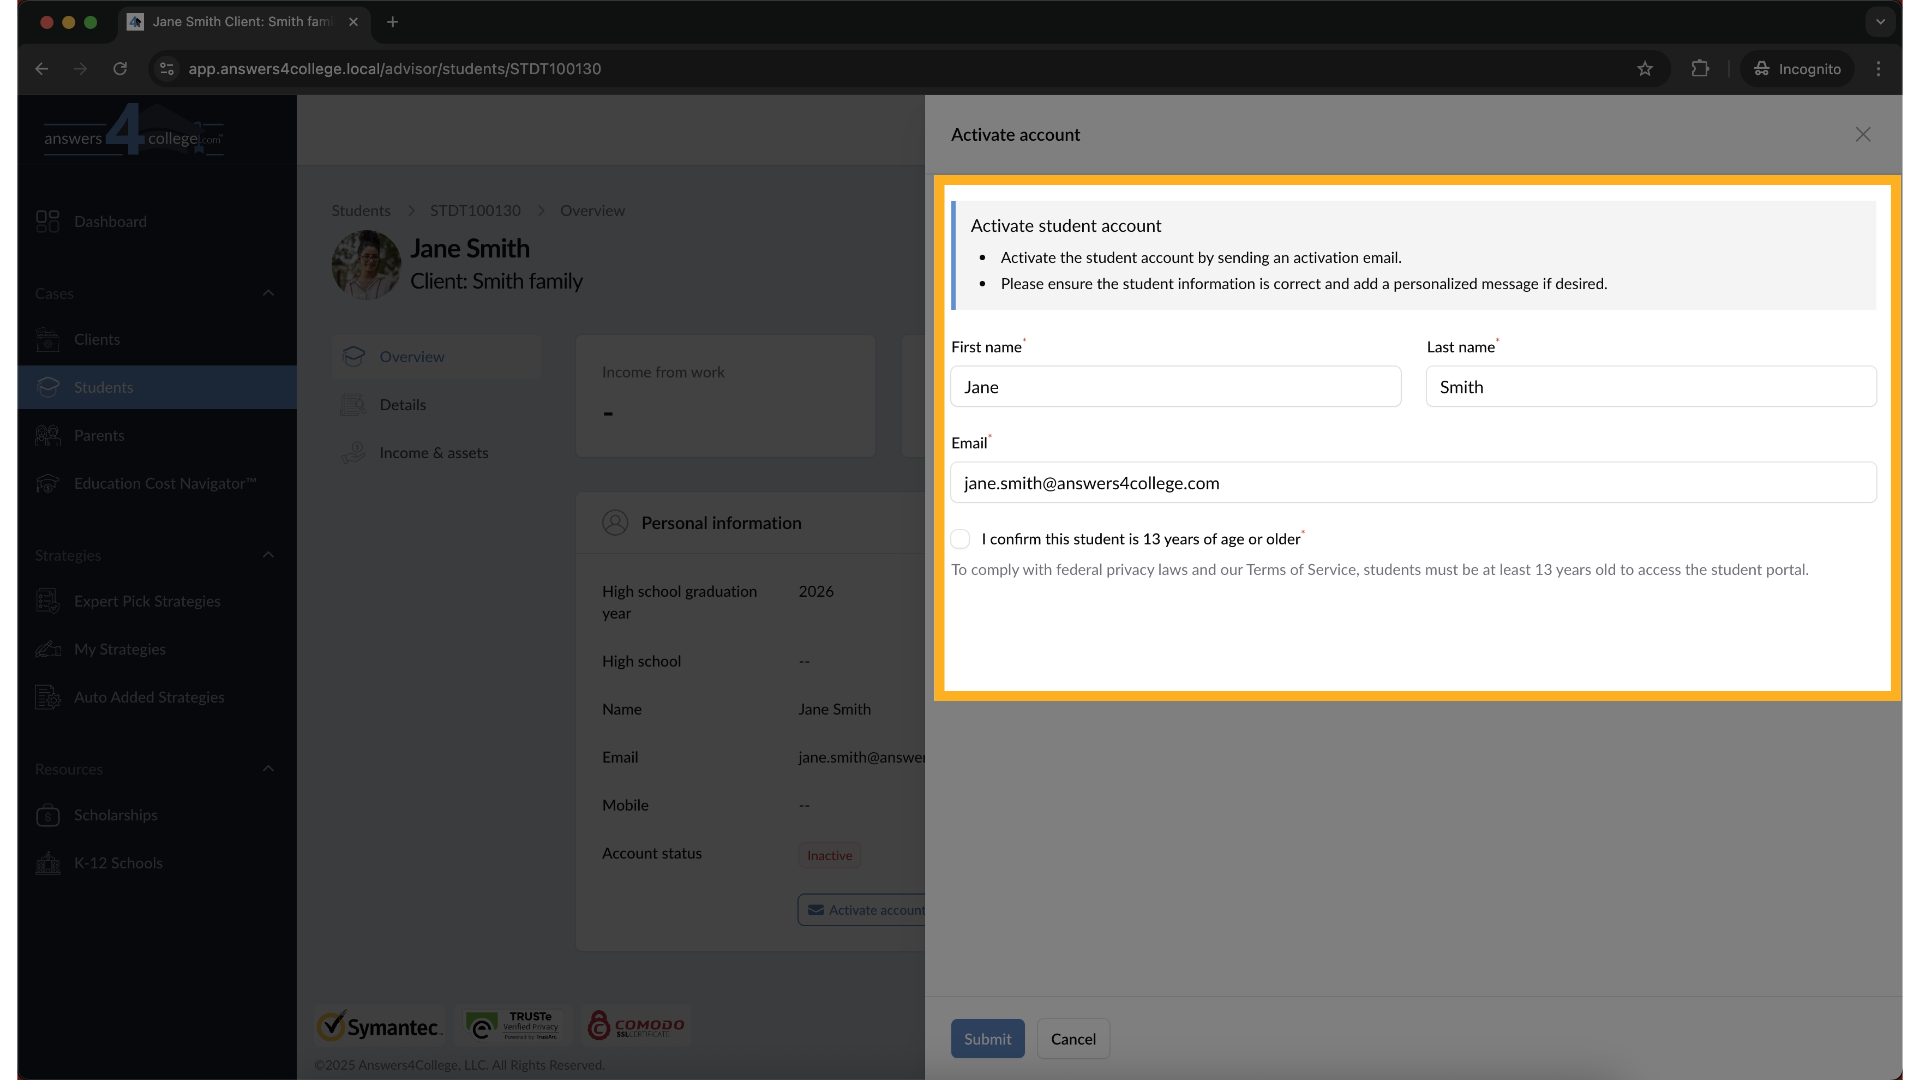
10. Enter Student Details
A short form will appear asking for the student’s First Name, Last Name, and Email Address. You’ll also need to confirm that the student is 13 years or older.
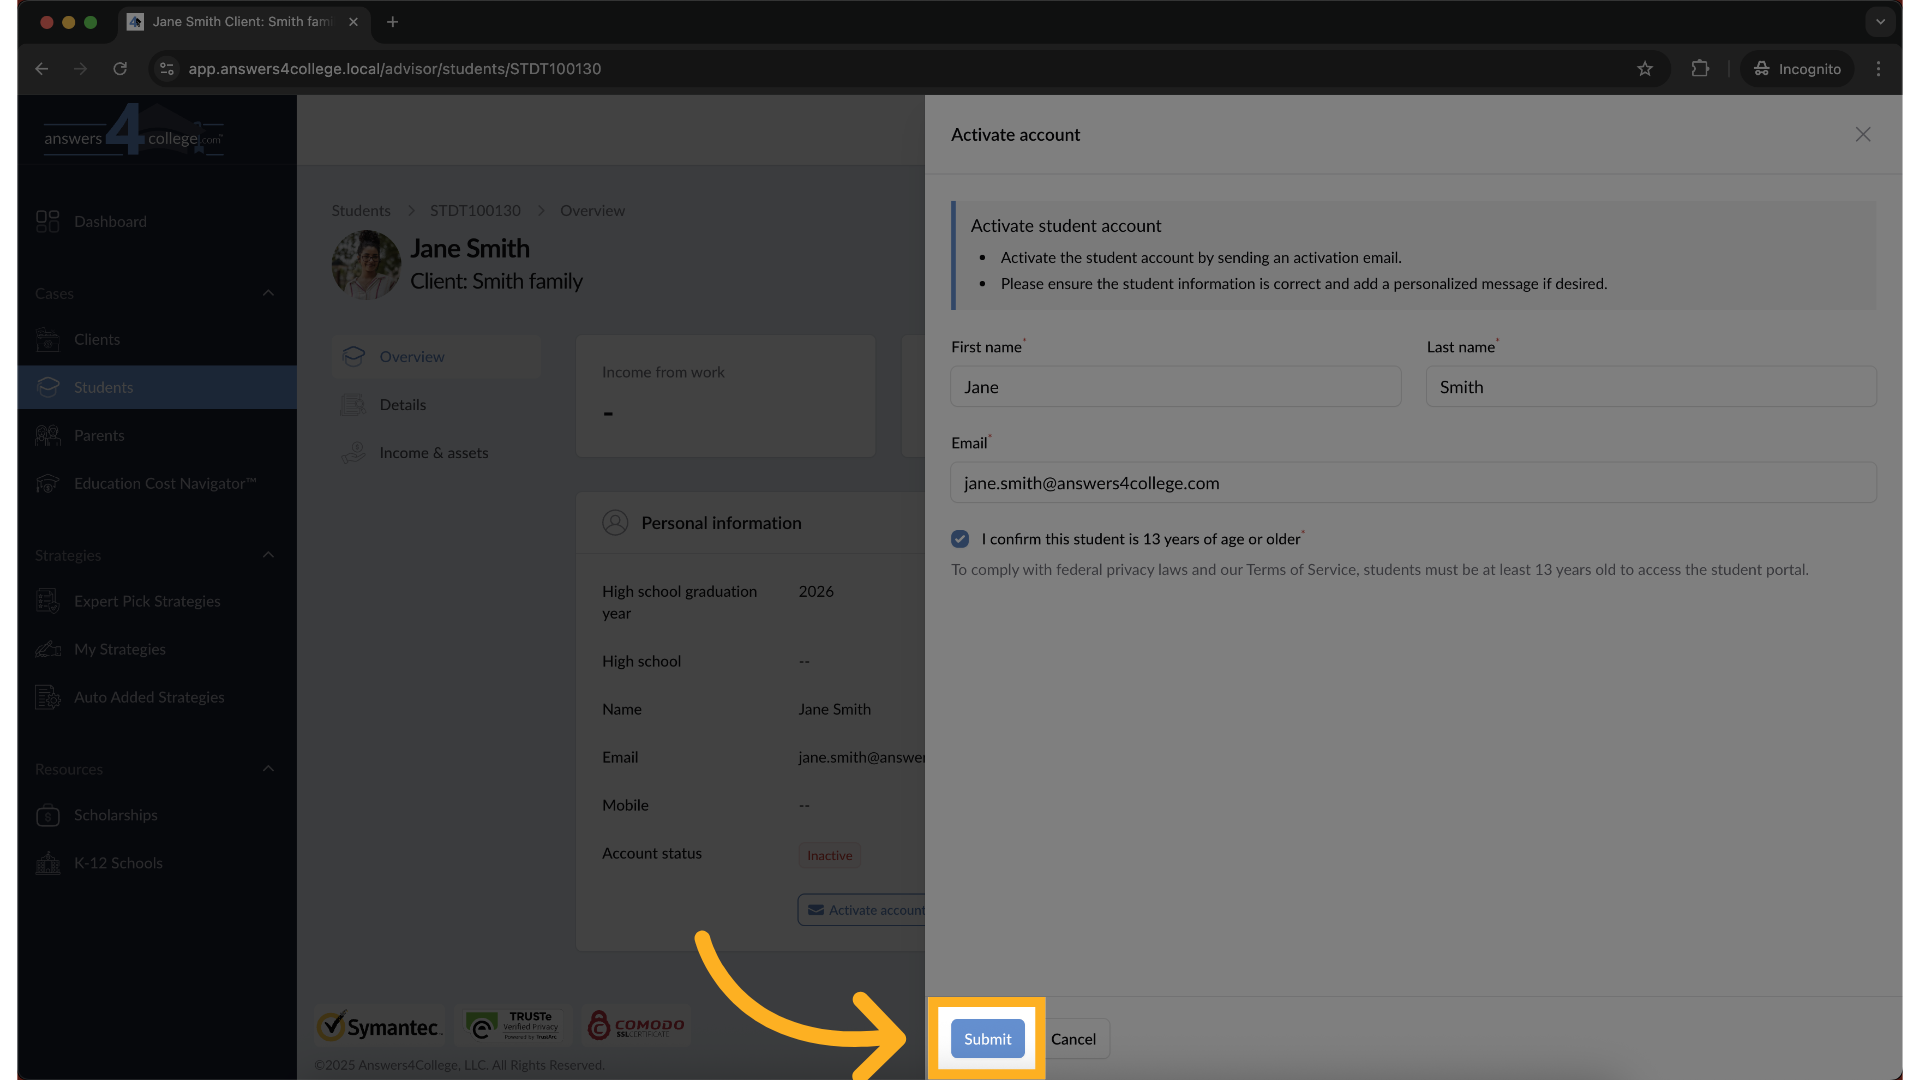
11. Click "Submit"
Once all the required information is entered, click Submit to send the activation email to the student.
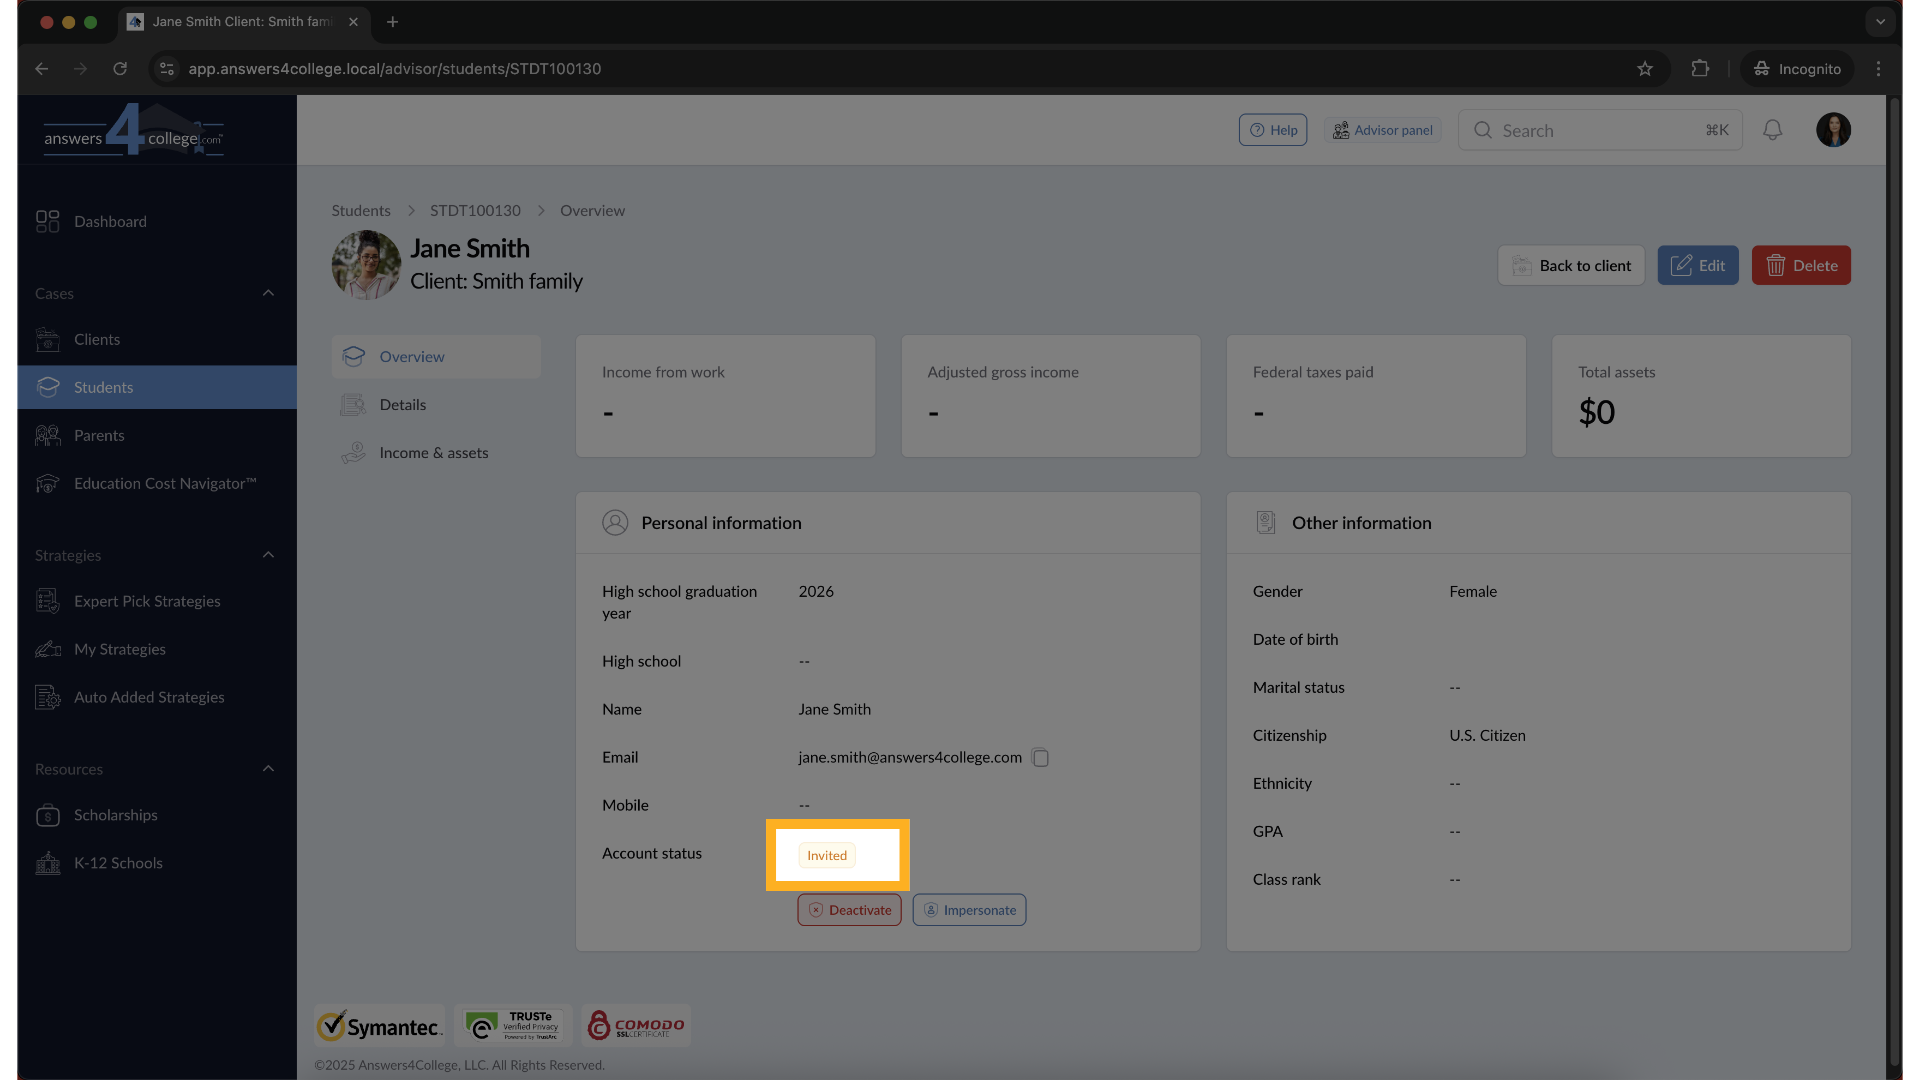
12. Account Status Updates to "Invited"
After submission, the student will receive an activation email. Their account status will automatically update to Invited, indicating that their account setup is in progress. Once the student receives the email and completes the activation process, their status will update from Invited to Active. This means the student now has full access to their portal.
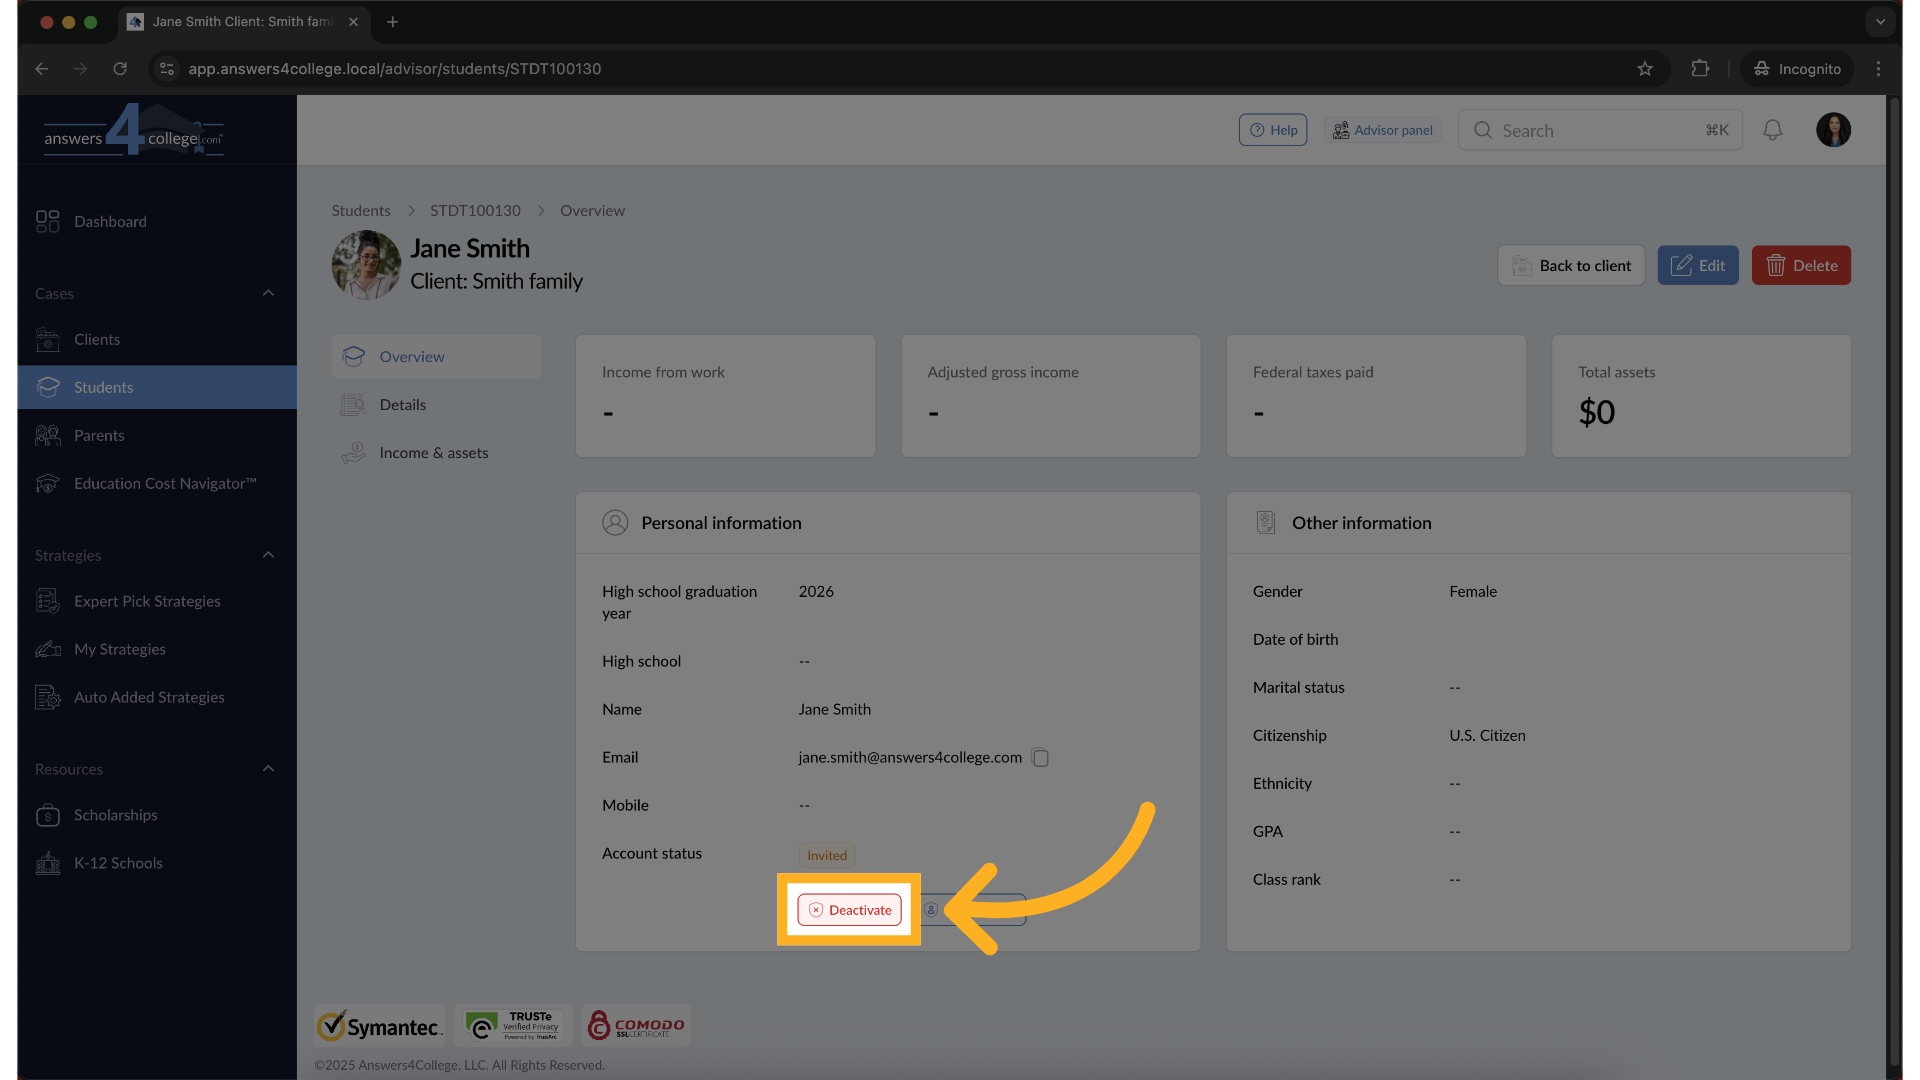
13. Deactivate a Student Account
If you ever need to remove access, you can deactivate the student’s account. Just click Deactivate on their profile, then confirm by clicking Deactivate again. The account will be disabled, but the data remains saved.
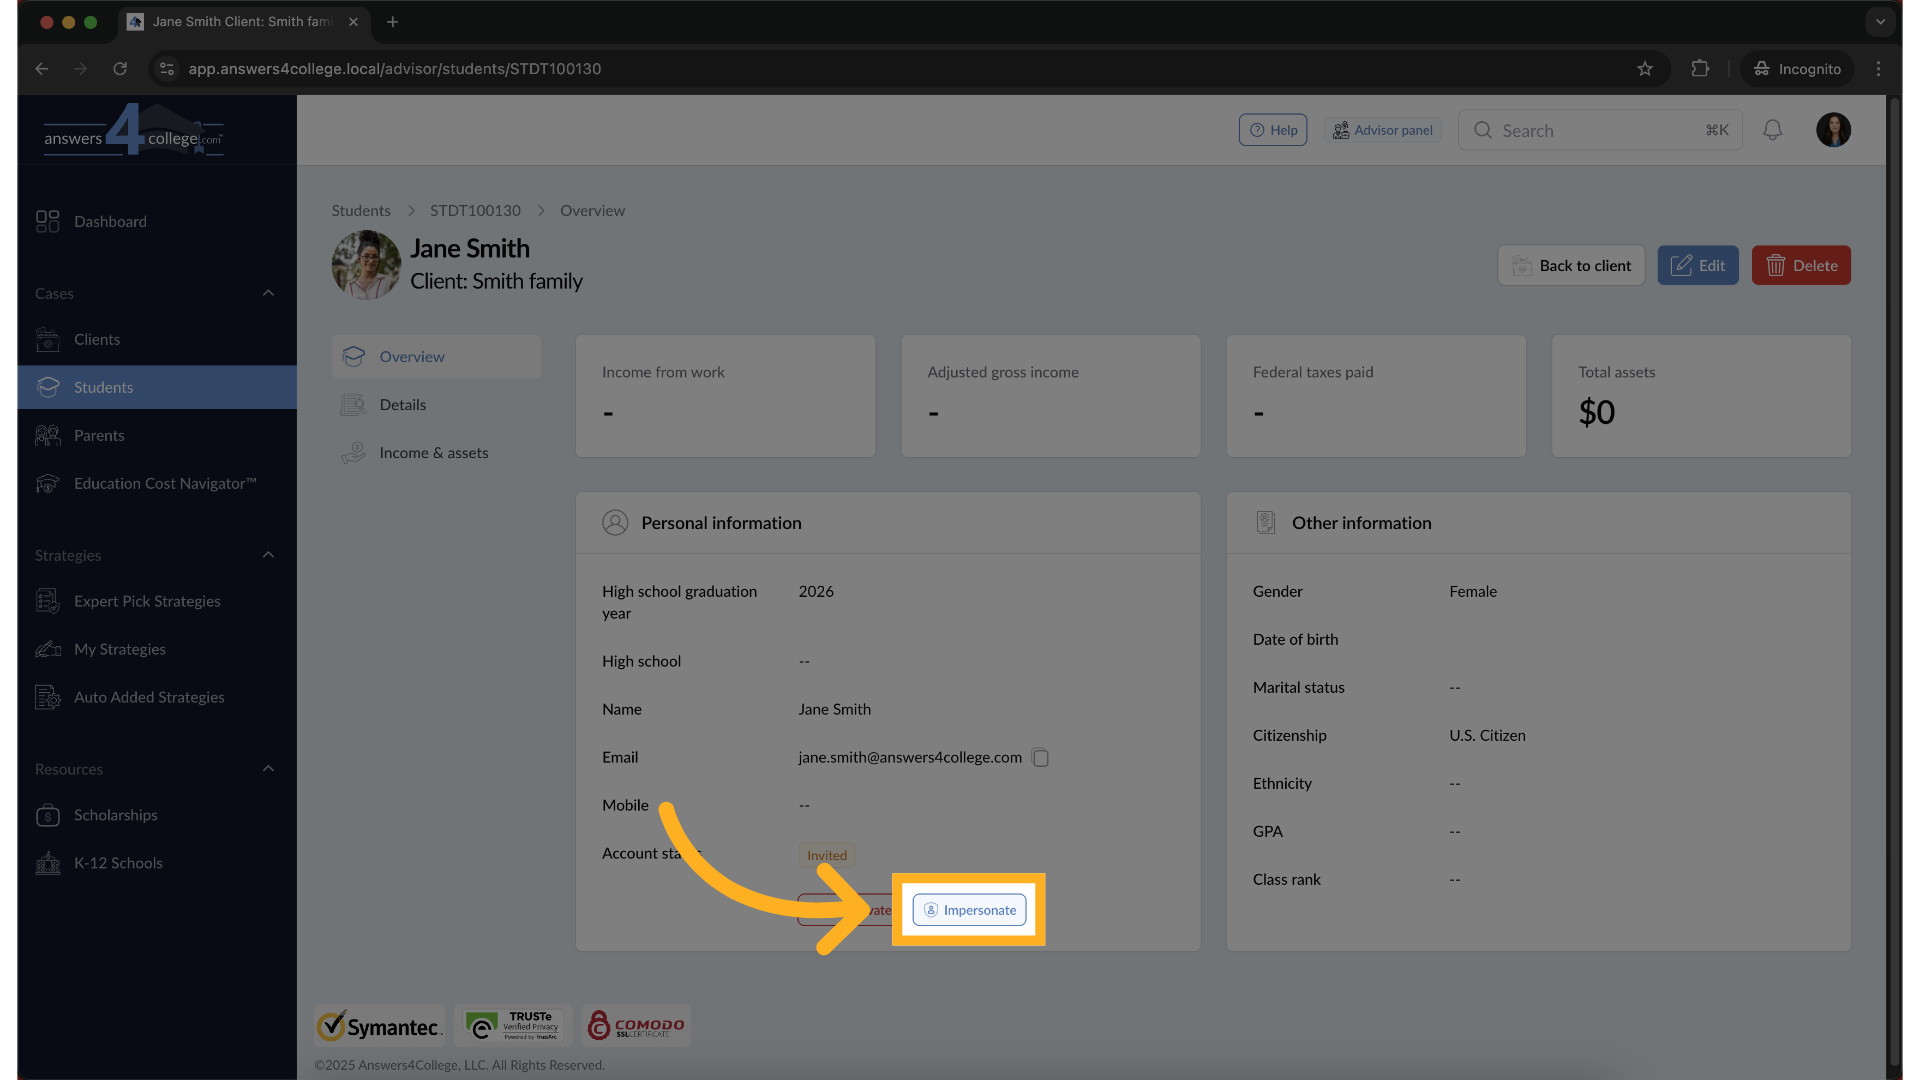
14. Impersonate a Student Account
To view the portal exactly as the student sees it, click Impersonate.
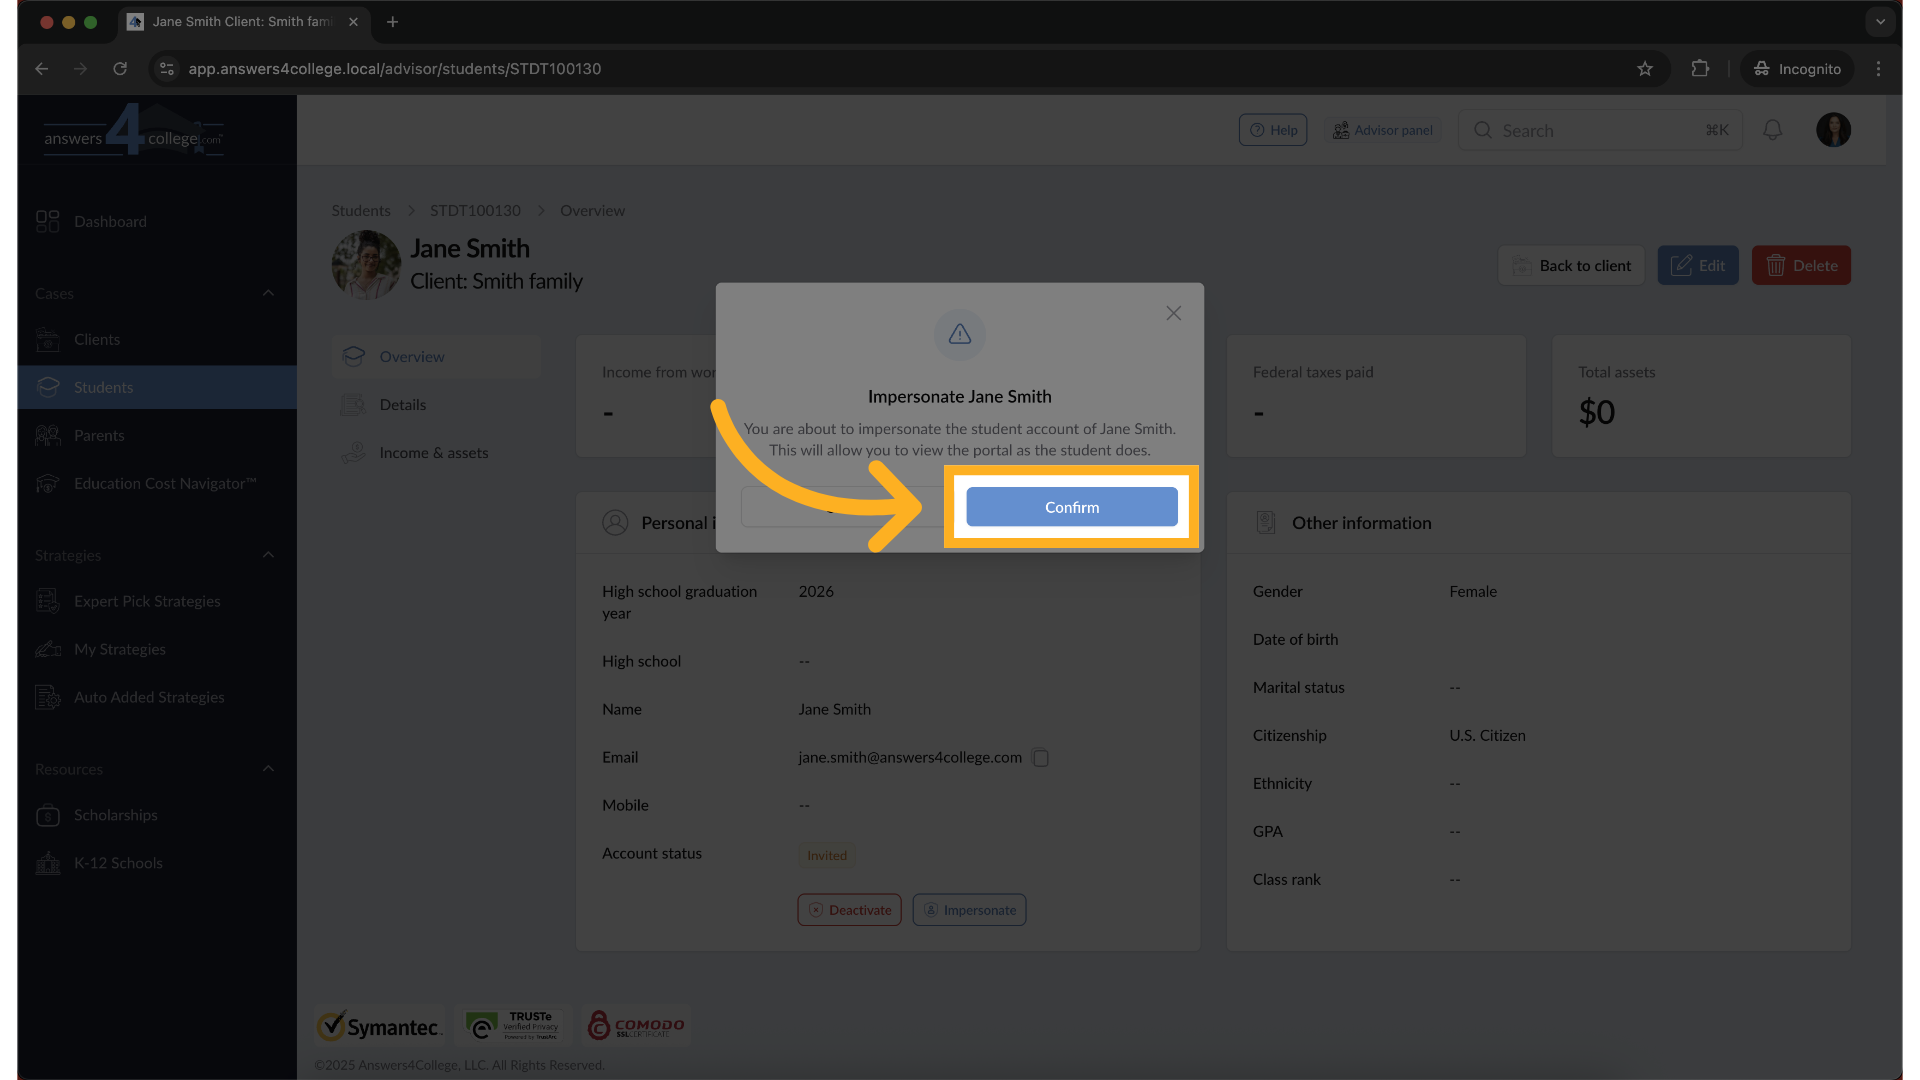
15. Click "Confirm"
Then hit confirm.
16. Impersonate started
This will open the student dashboard in impersonation mode, allowing you to explore and assist as if you were the student.
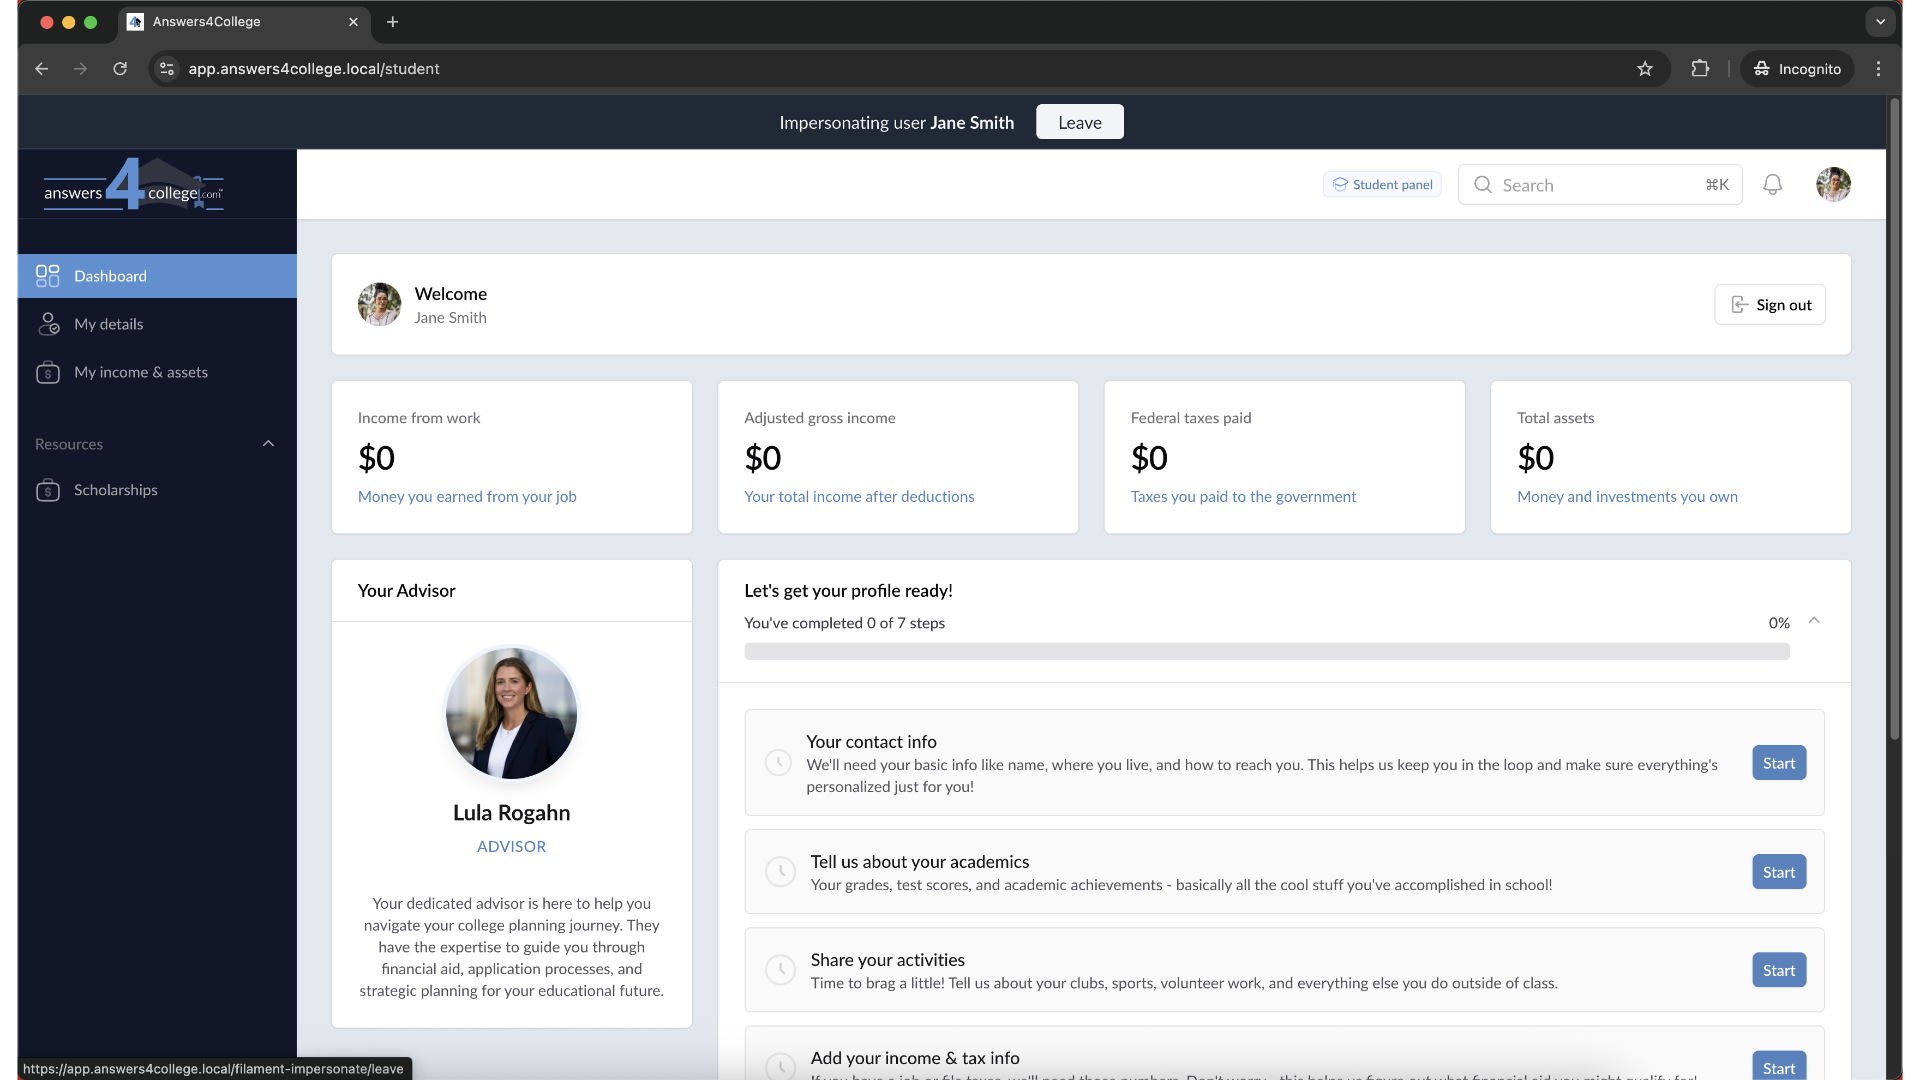
17. Exit Impersonation Mode
When you're done viewing the student’s portal, click the Leave button at the top of the screen. This will return you to your advisor view.

You’ve now successfully created, activated, deactivated, and impersonated a student account. These tools give you full control to support your students every step of the way.
Comments
0 comments
Please sign in to leave a comment.