Welcome to this tutorial on creating and managing internal notes in the Advisor
Portal. Notes are powerful tools that help you track important information about
your clients, students, and parents. I'll show you how to create, edit, and organize
these notes effectively. Let's get started.
1. Getting Started with Notes
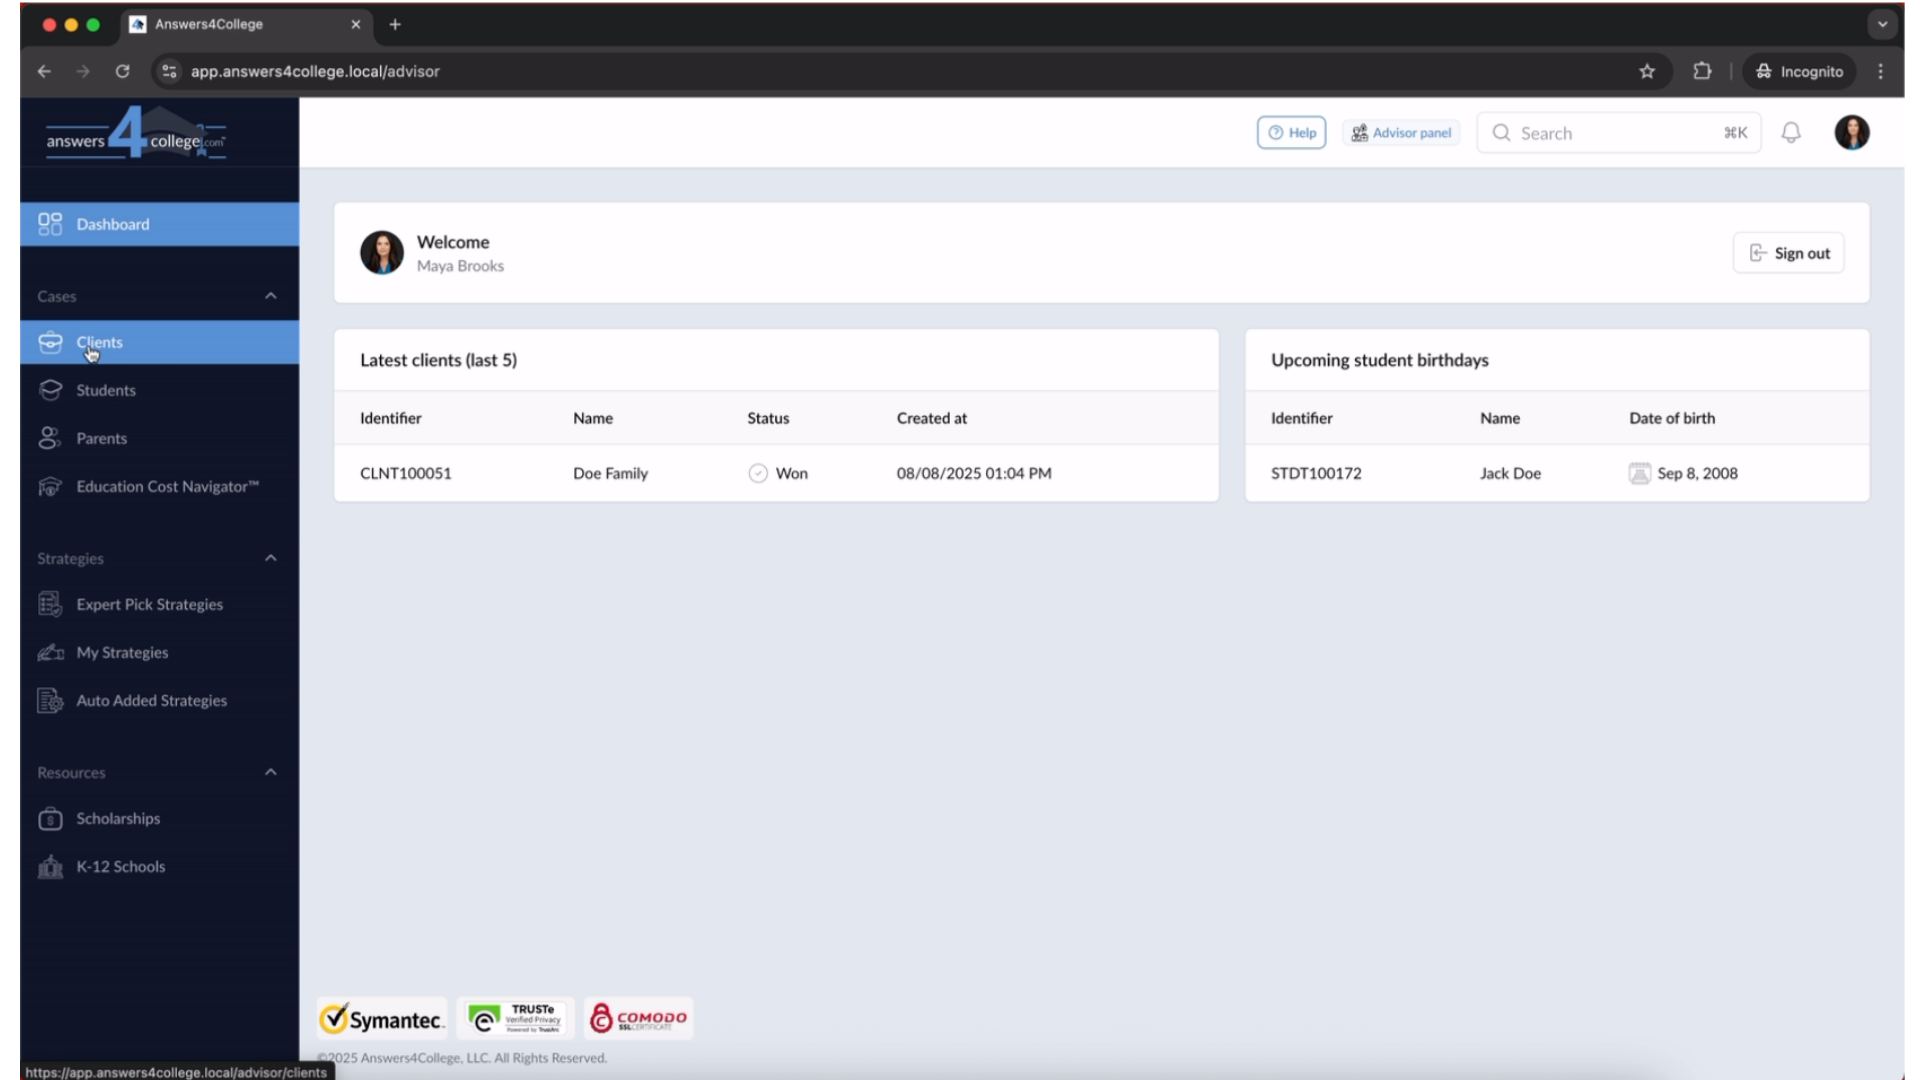
Before we begin, make sure you're logged into the Advisor Portal. Once you're
in, we'll explore how notes work and why they're so valuable for keeping track
of important information about your families.
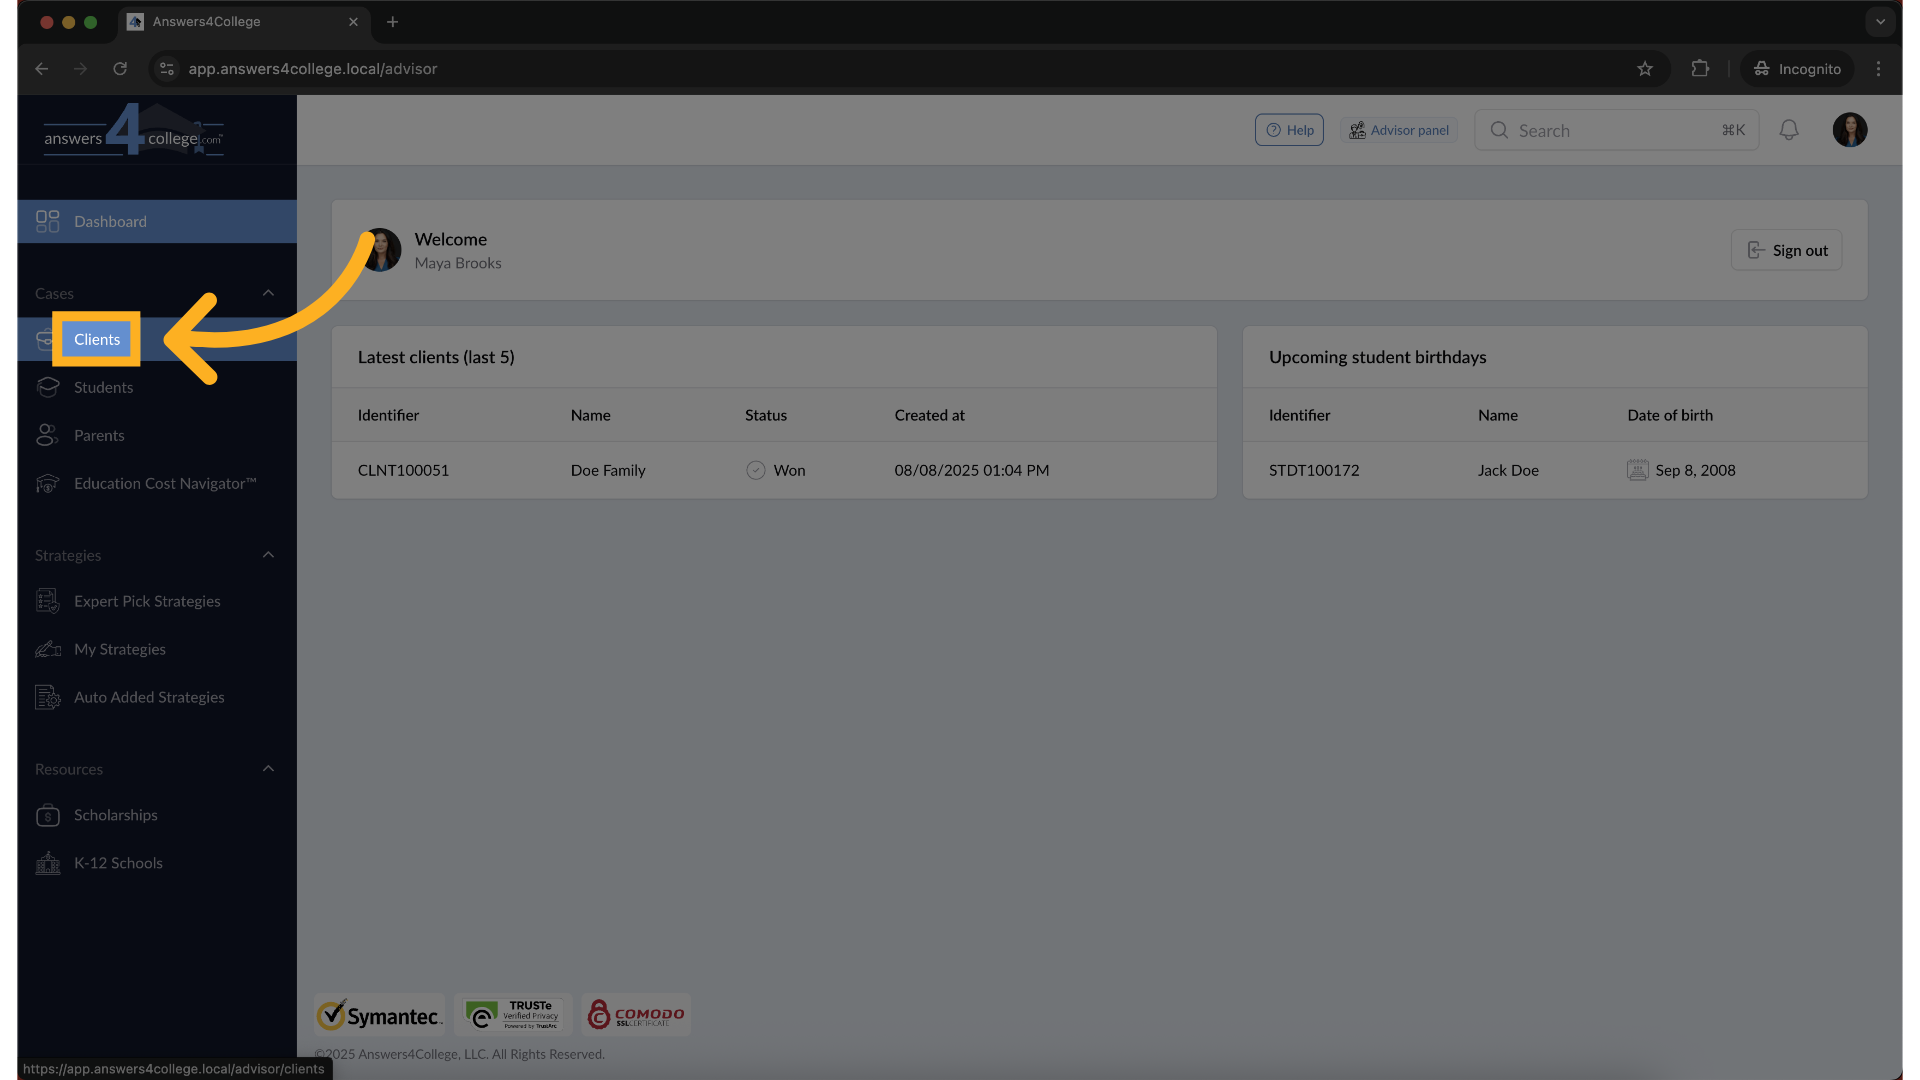
2. Opening the Clients Menu
Look at the left side of your screen where you'll find the navigation menu. You'll see an option labeled "Clients" - go ahead and click on that. This takes you to where all your client families are stored.
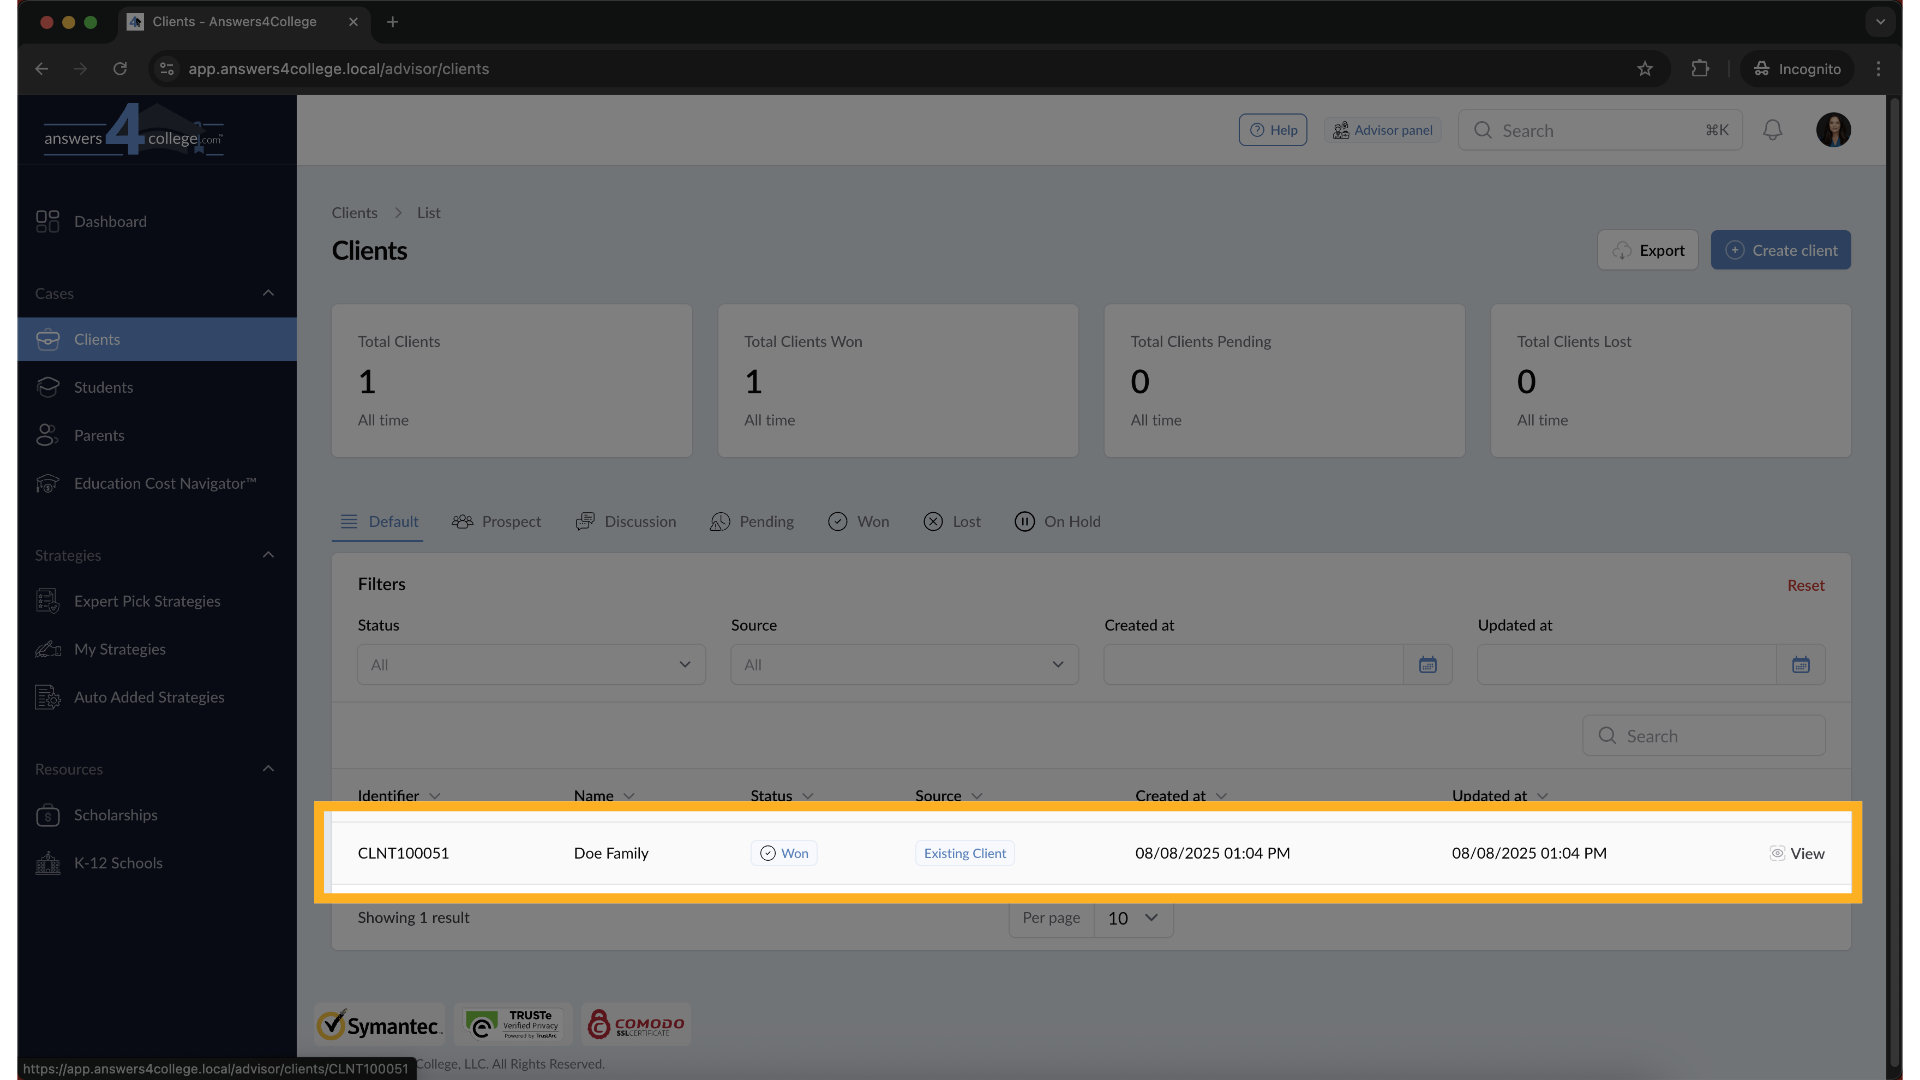
3. Selecting Your Client
Great! You're now looking at your complete client list. You can either scroll through to find the family you need, or if you know their name, use the search bar at the top to find them quickly. Once you've located the client you want to work with, click on their name to open their dashboard.
4. Locating the Internal Notes Section
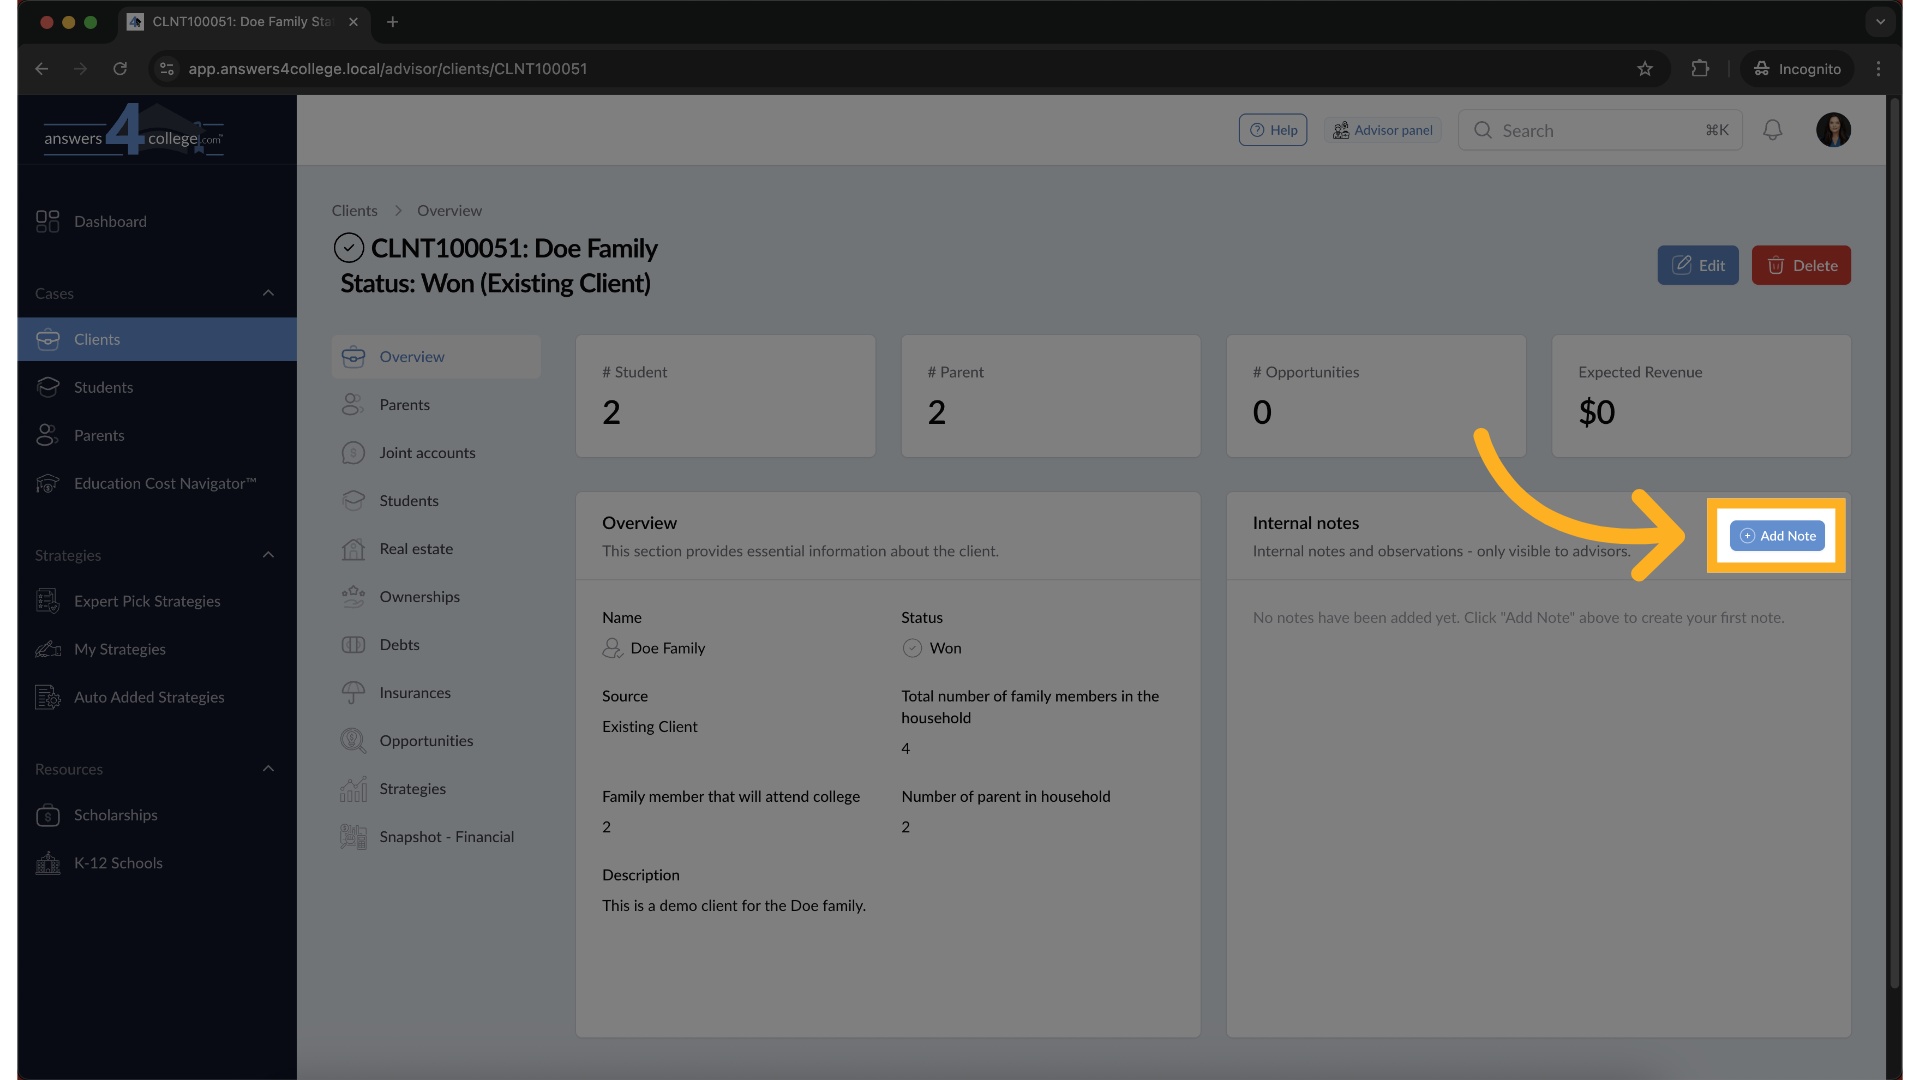
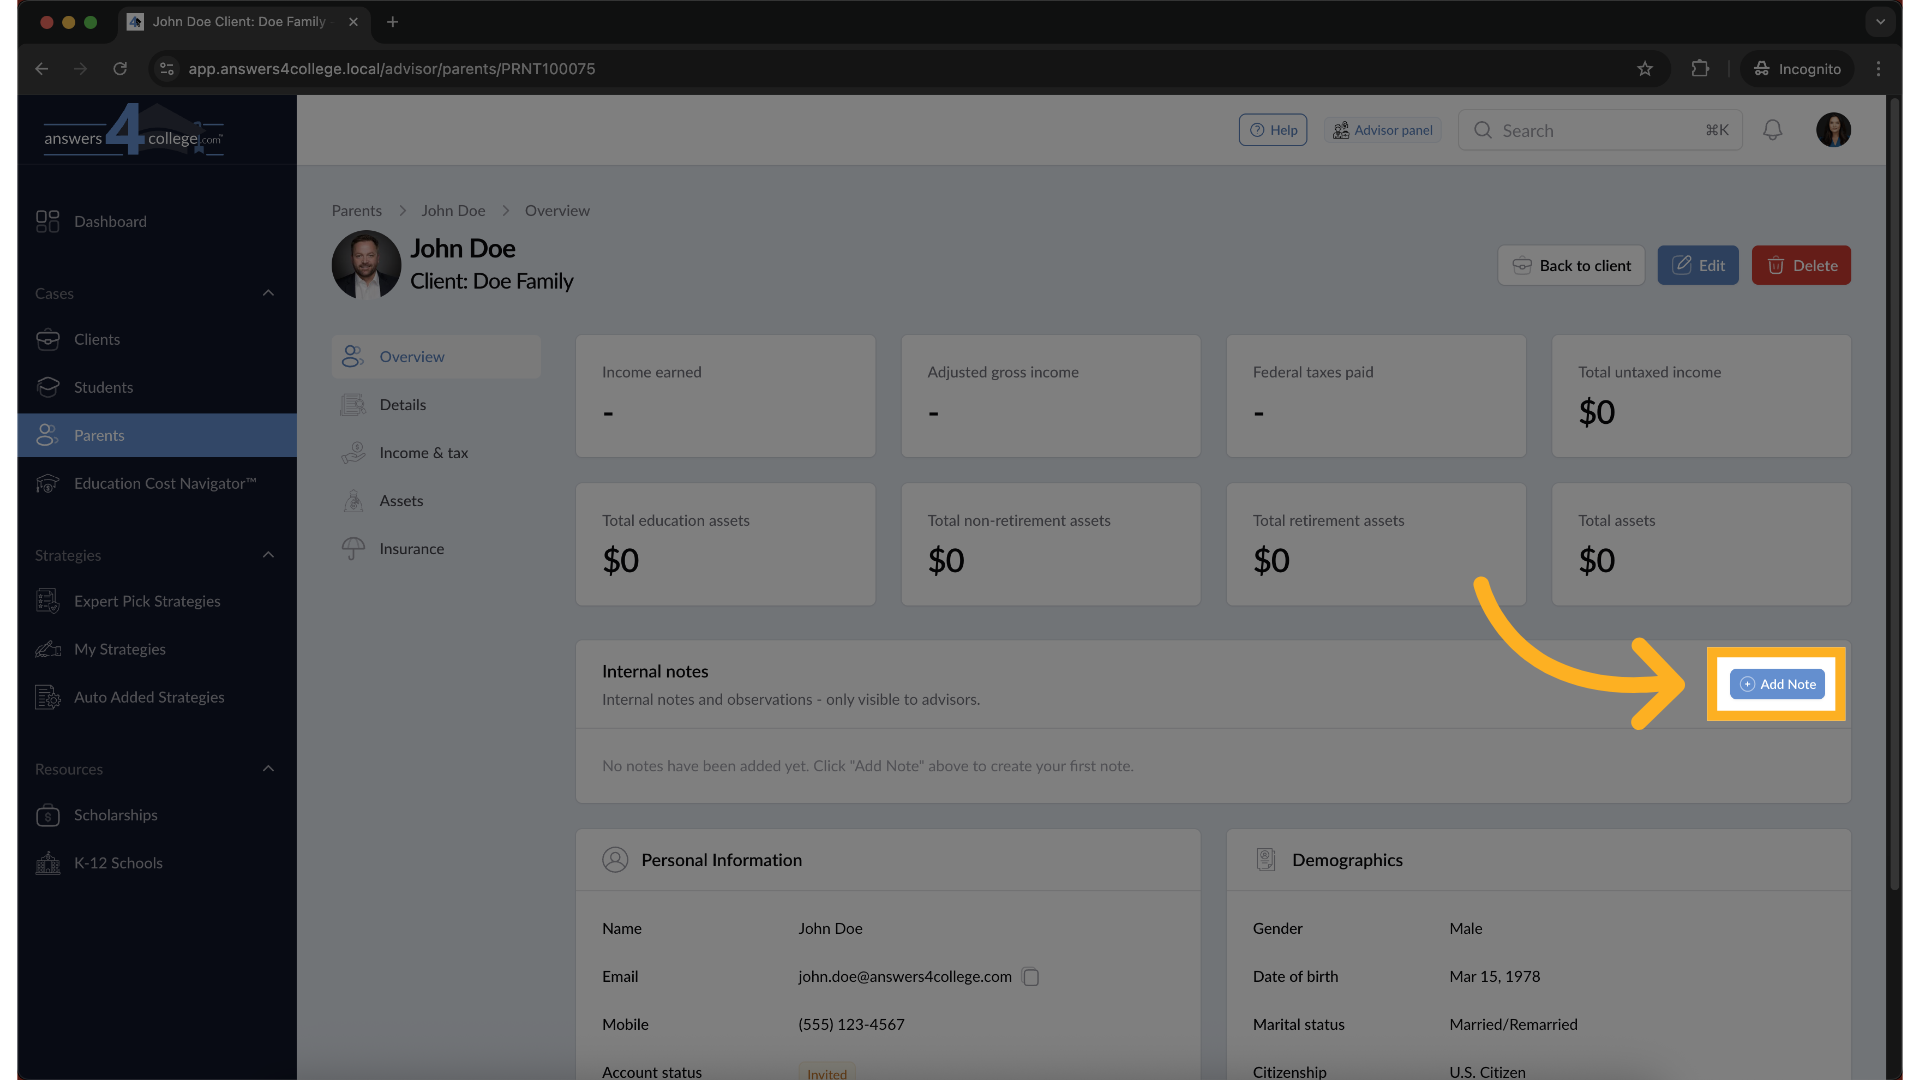
Perfect! Now that you're in the client dashboard, direct your attention to the right side of your screen. You'll see a section labeled "Internal Notes." These notes are completely private to you as the advisor - your families, parents, and students cannot see them. Think of them as your personal workspace for tracking important information about each family.
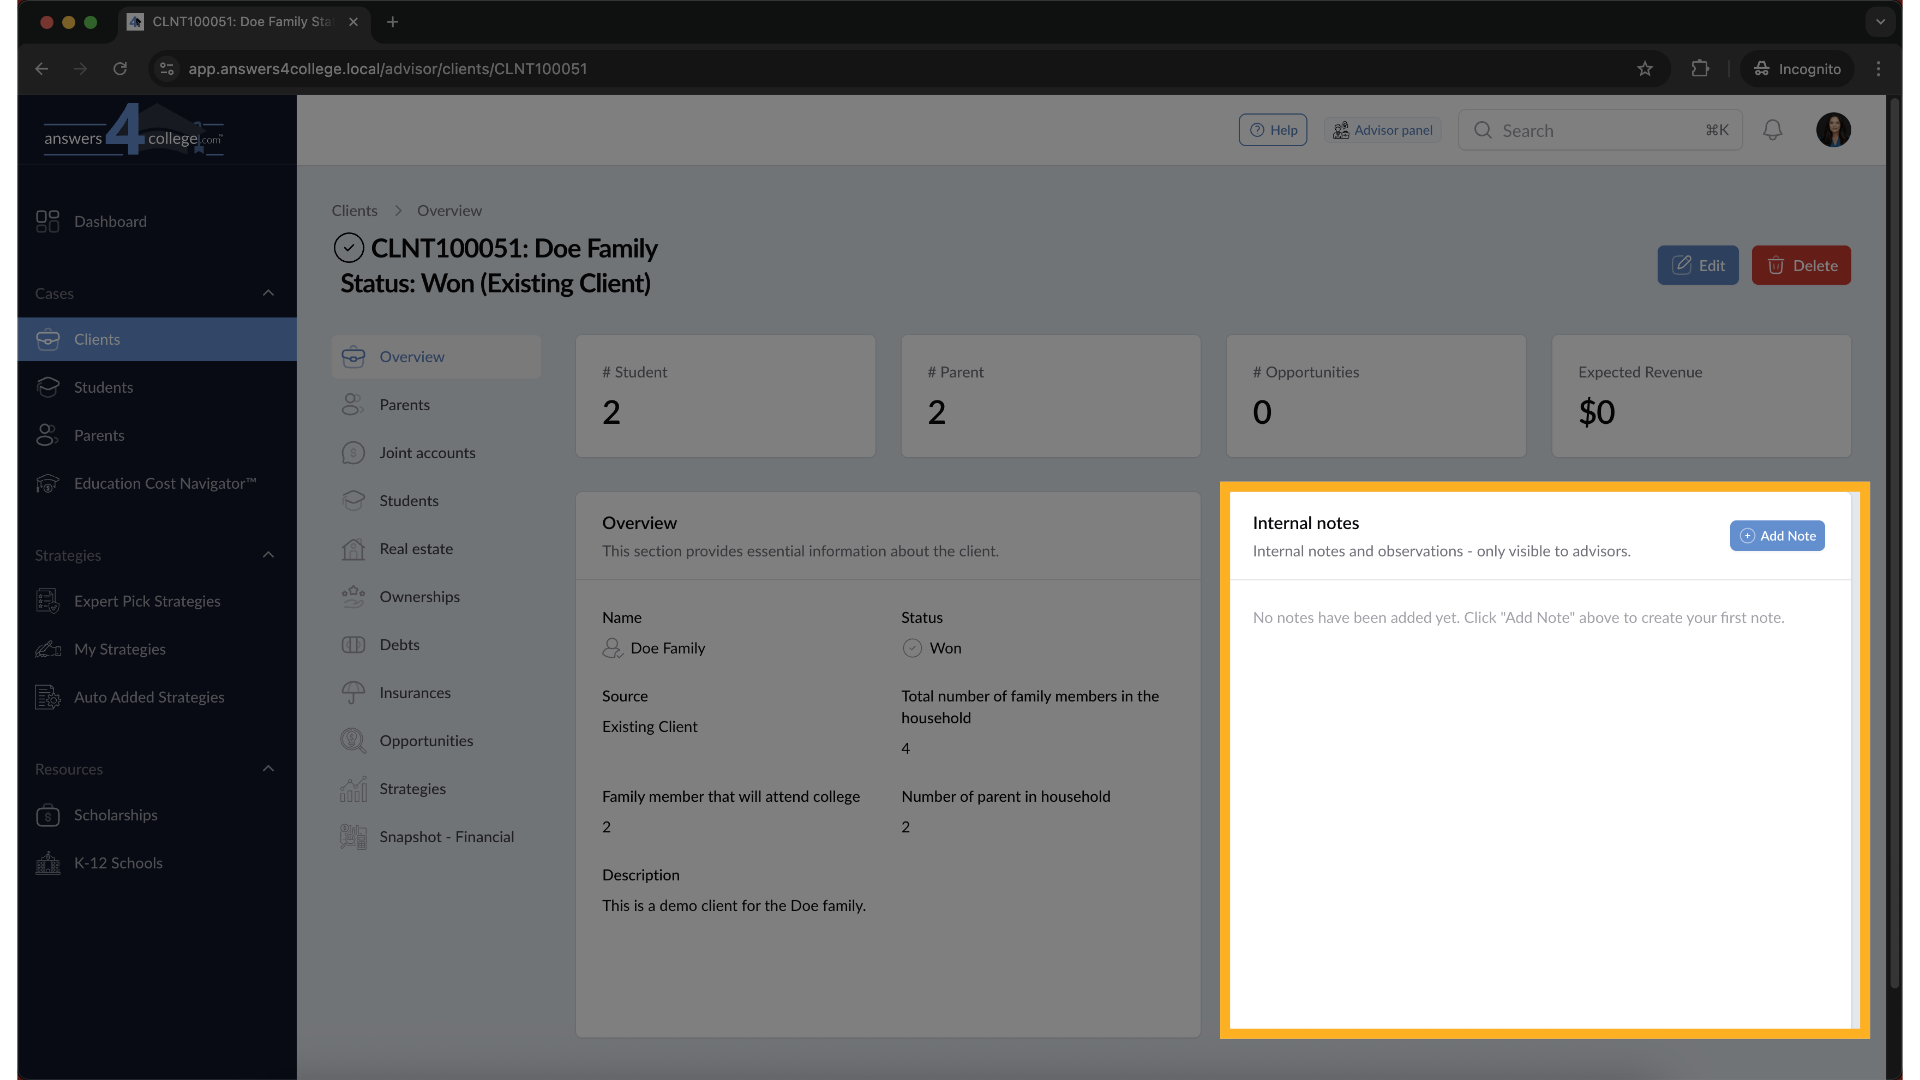
5. Initiating a New Note
Let's create your first note. Click on the "Add Note" button in that Internal Notes section. This will open up a form with several options for you to configure.
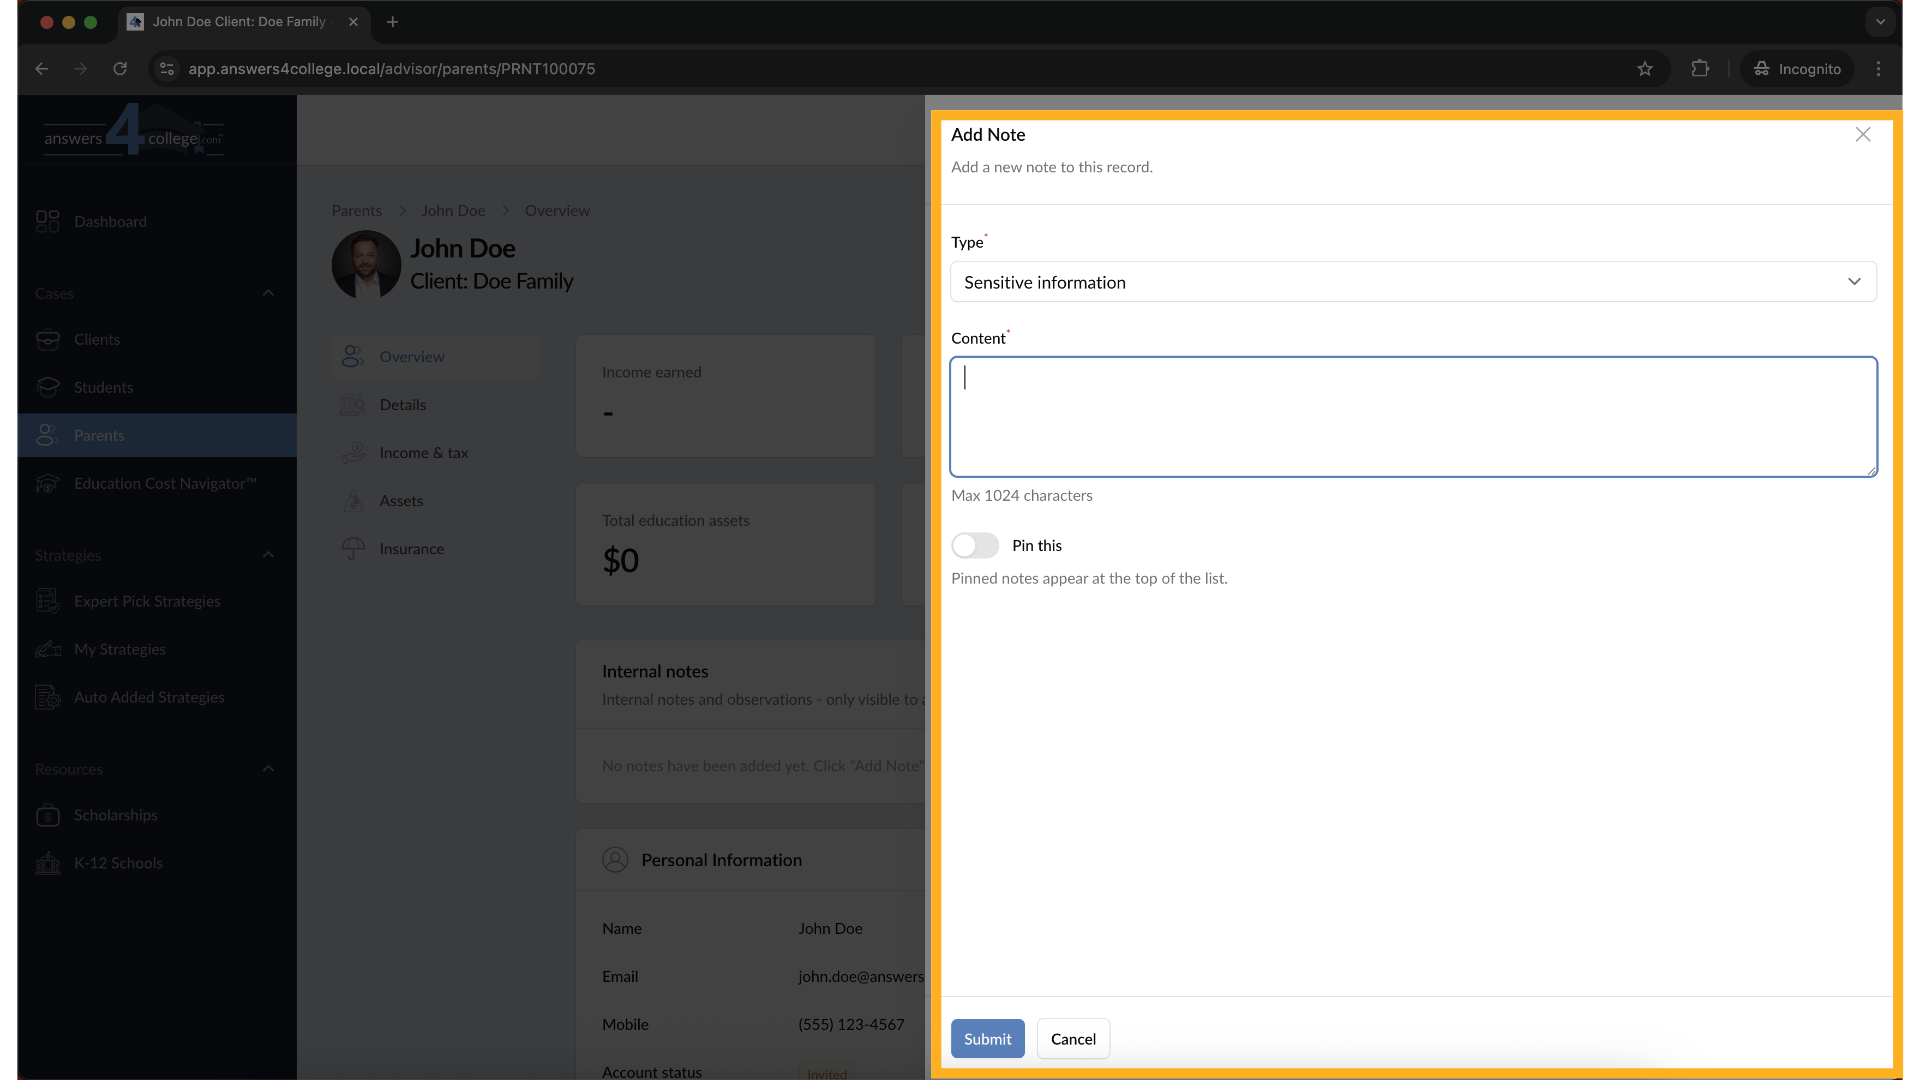
6. Configuring Your Note
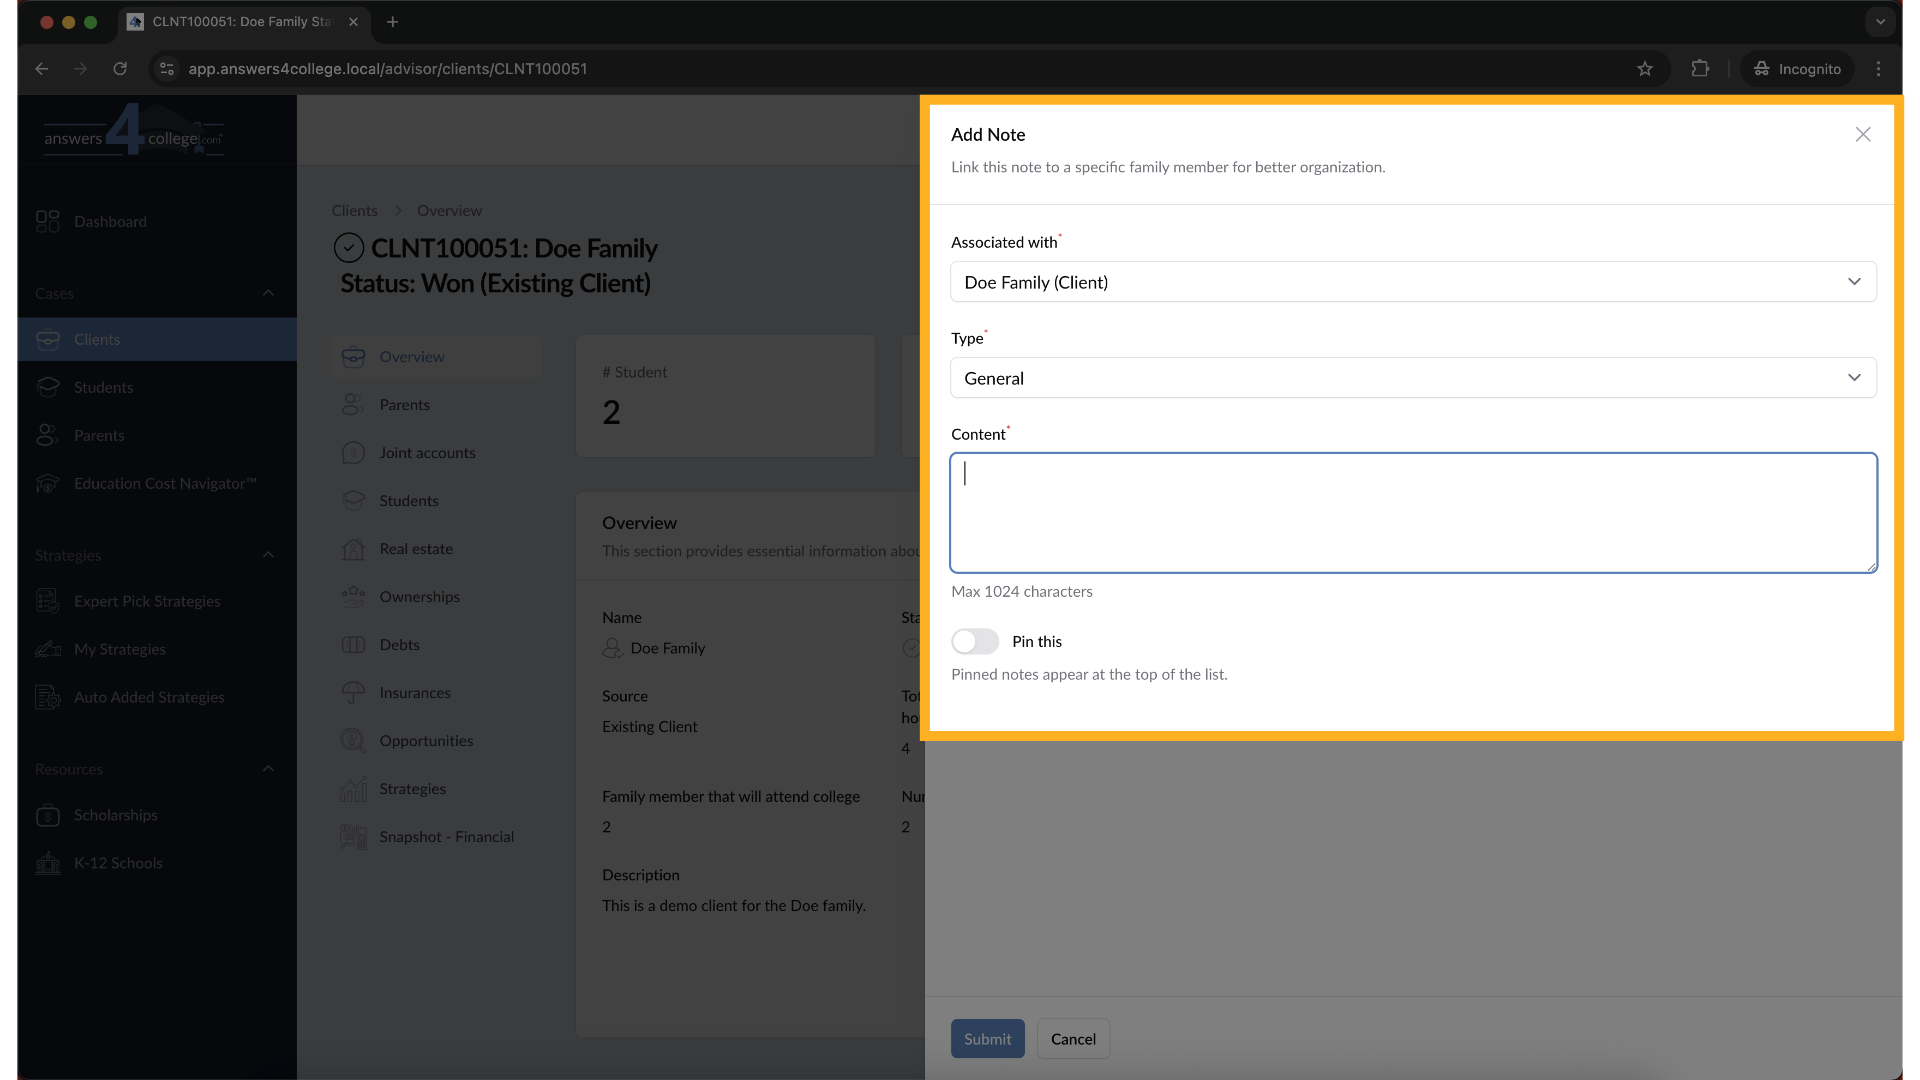
Now let's fill out this form. First, you'll see the option to choose who to associate this note with - you can attach it to the client level, a specific parent, or a specific student. For now, we'll keep it associated with the client, which is already selected by default.
Next, look at the dropdown menu labeled "Note Type." You have eight different categories to choose from: General Note for basic information, Meeting Log for documenting meetings, Call Log for phone conversations, Observation for things you've noticed, Life Event for major milestones, Financial Context for money-related information, Relationship for family dynamics, and Sensitive Information for confidential matters. Select the type that best fits your note - watch how the color changes based on your selection. This color coding will help you quickly identify different types of notes later.
In the content field below, type the information you need to record. Be as detailed as necessary - remember, this is your private workspace, so include anything that will help you better serve this family.
One more option before we save - notice the "Pin" checkbox. If you check this box, this note will always appear at the top of your notes list. This is perfect for critical information you need to reference frequently or important reminders. If this note is particularly important, go ahead and check that pin option.
7. Saving Your Note
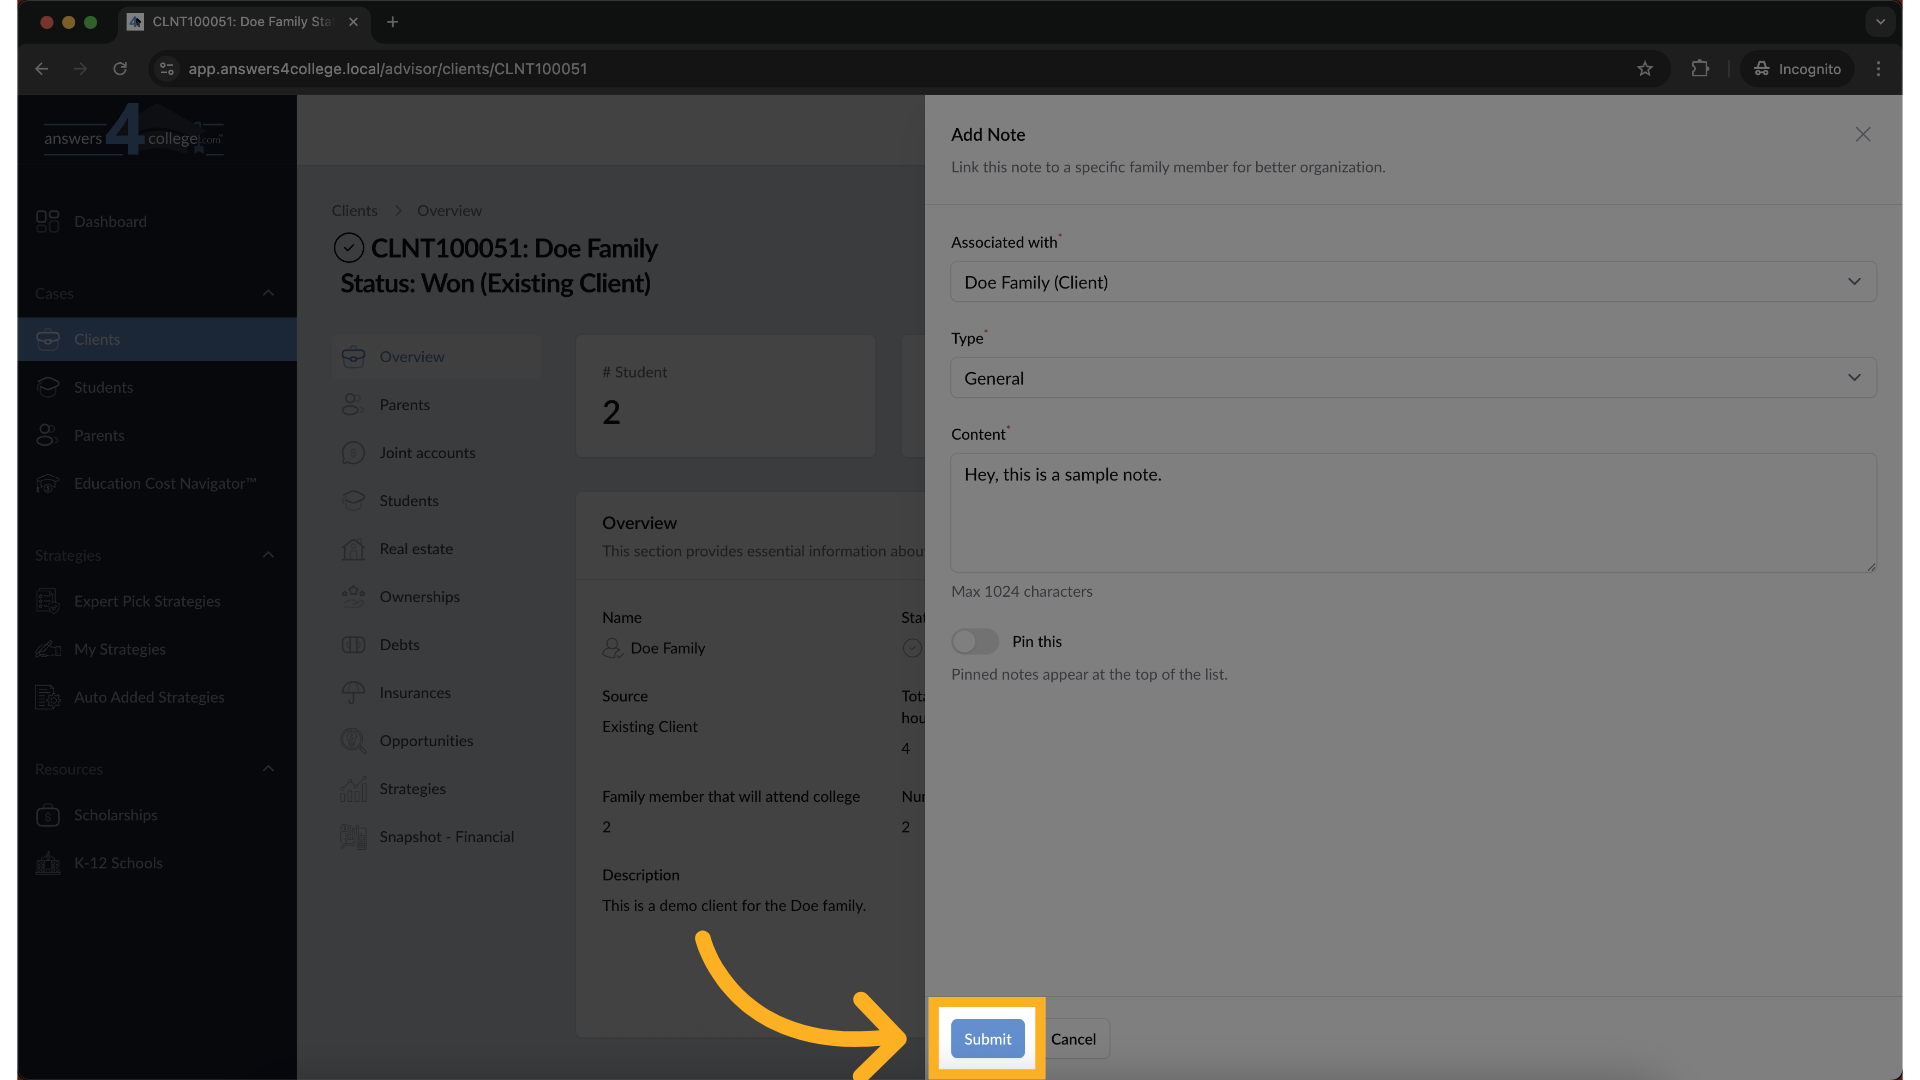
Once you've added your content and selected all your options, click the "Submit" button to create the note. The system will save it immediately.
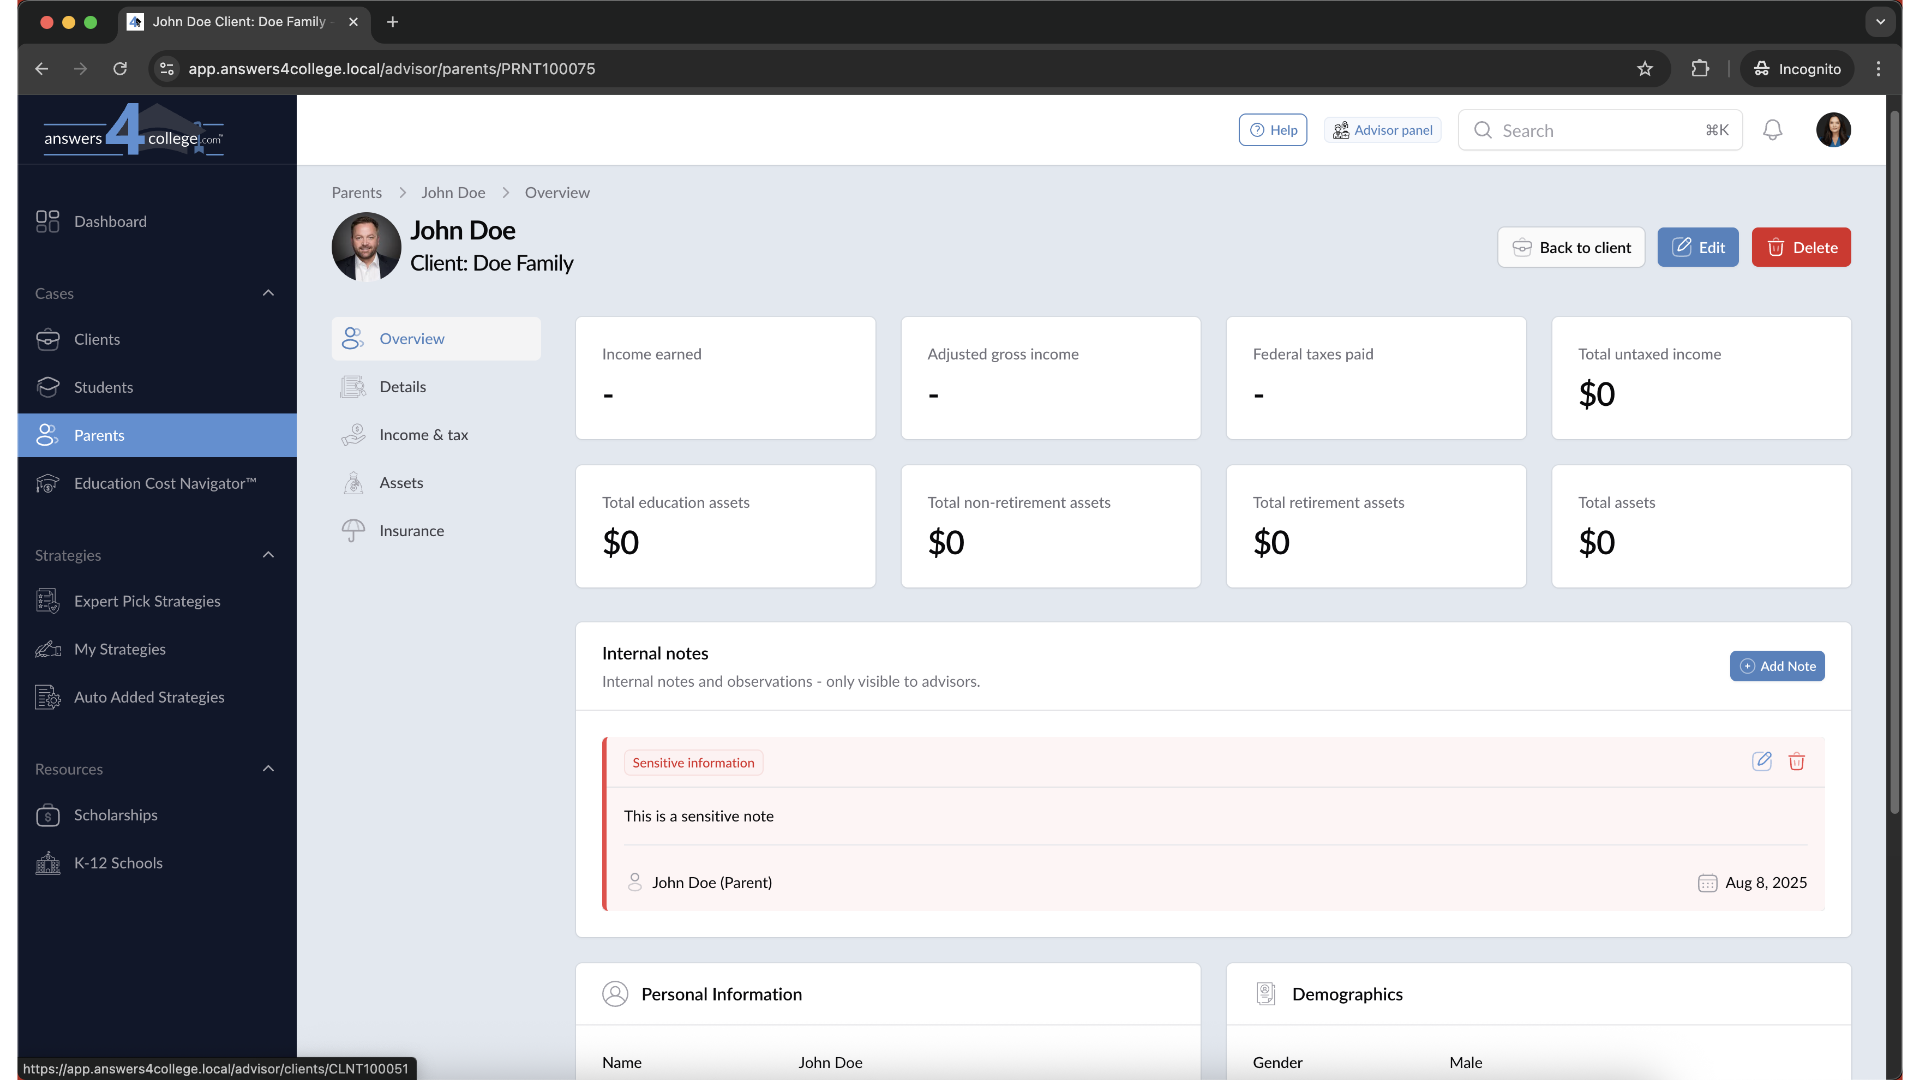
8. Viewing Your Created Note
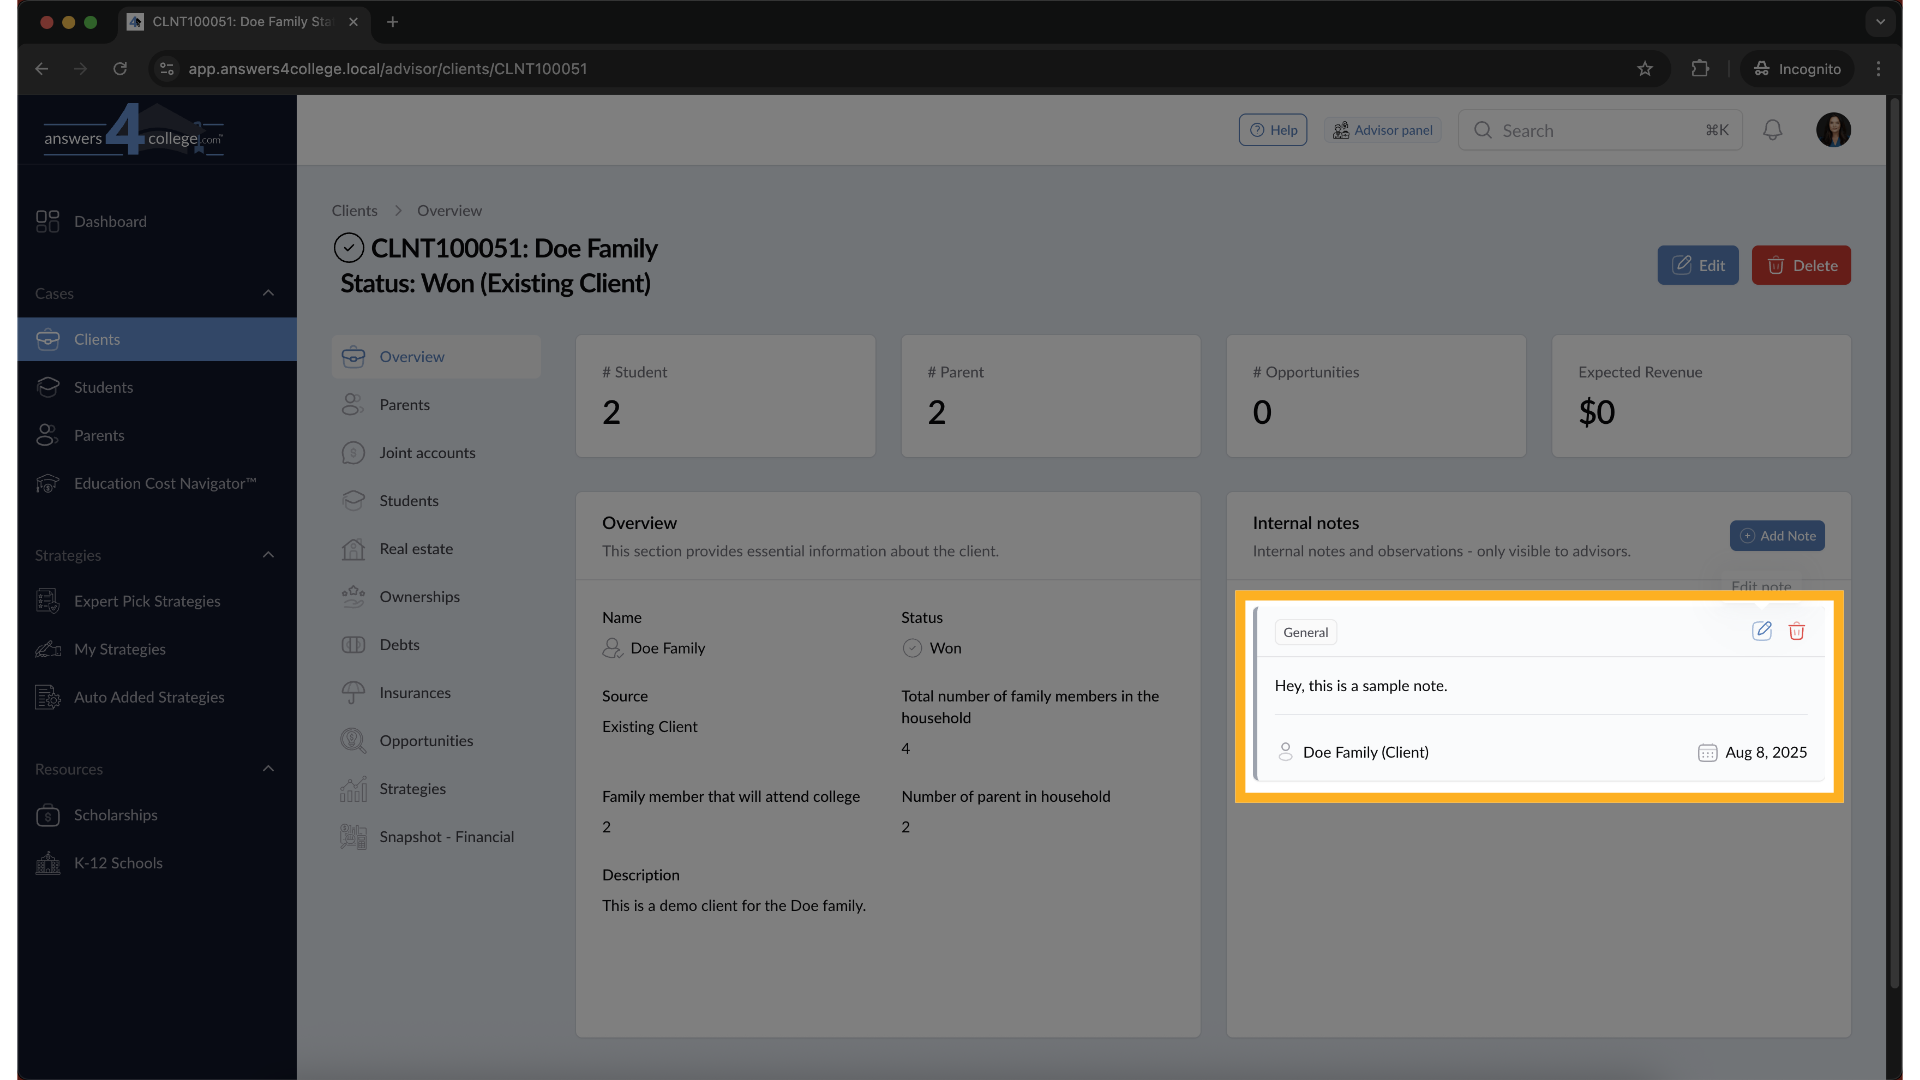
Excellent! Your note has been created and you can now see it listed in the Internal Notes section. Notice how it displays the type you selected with its corresponding color, and if you pinned it, it appears at the top of the list.
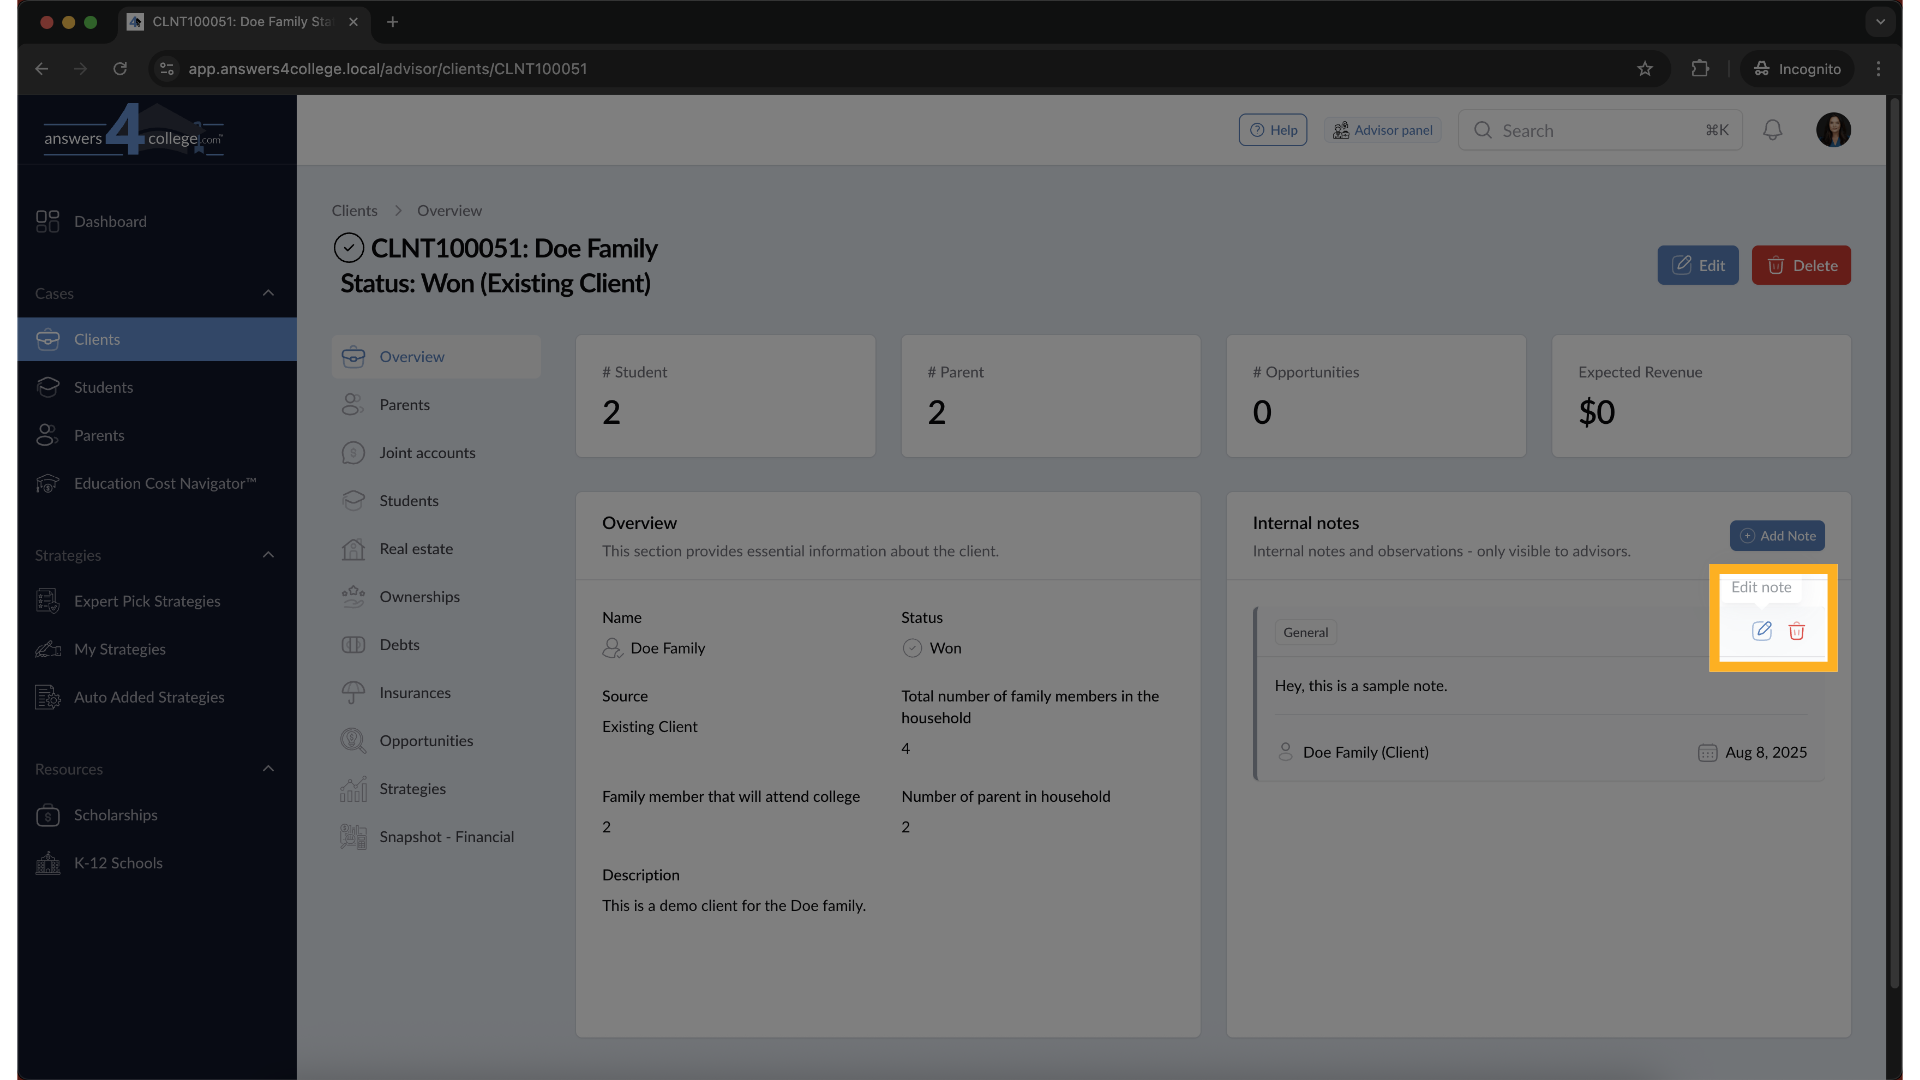
9. Editing an Existing Note
If you need to make changes to any note, simply locate it in your list and click the "Edit Note" button next to it. This will reopen the note form with all the current information, allowing you to modify any field - the content, the type, or even the pin status. Make your changes and click "Submit" again to save.
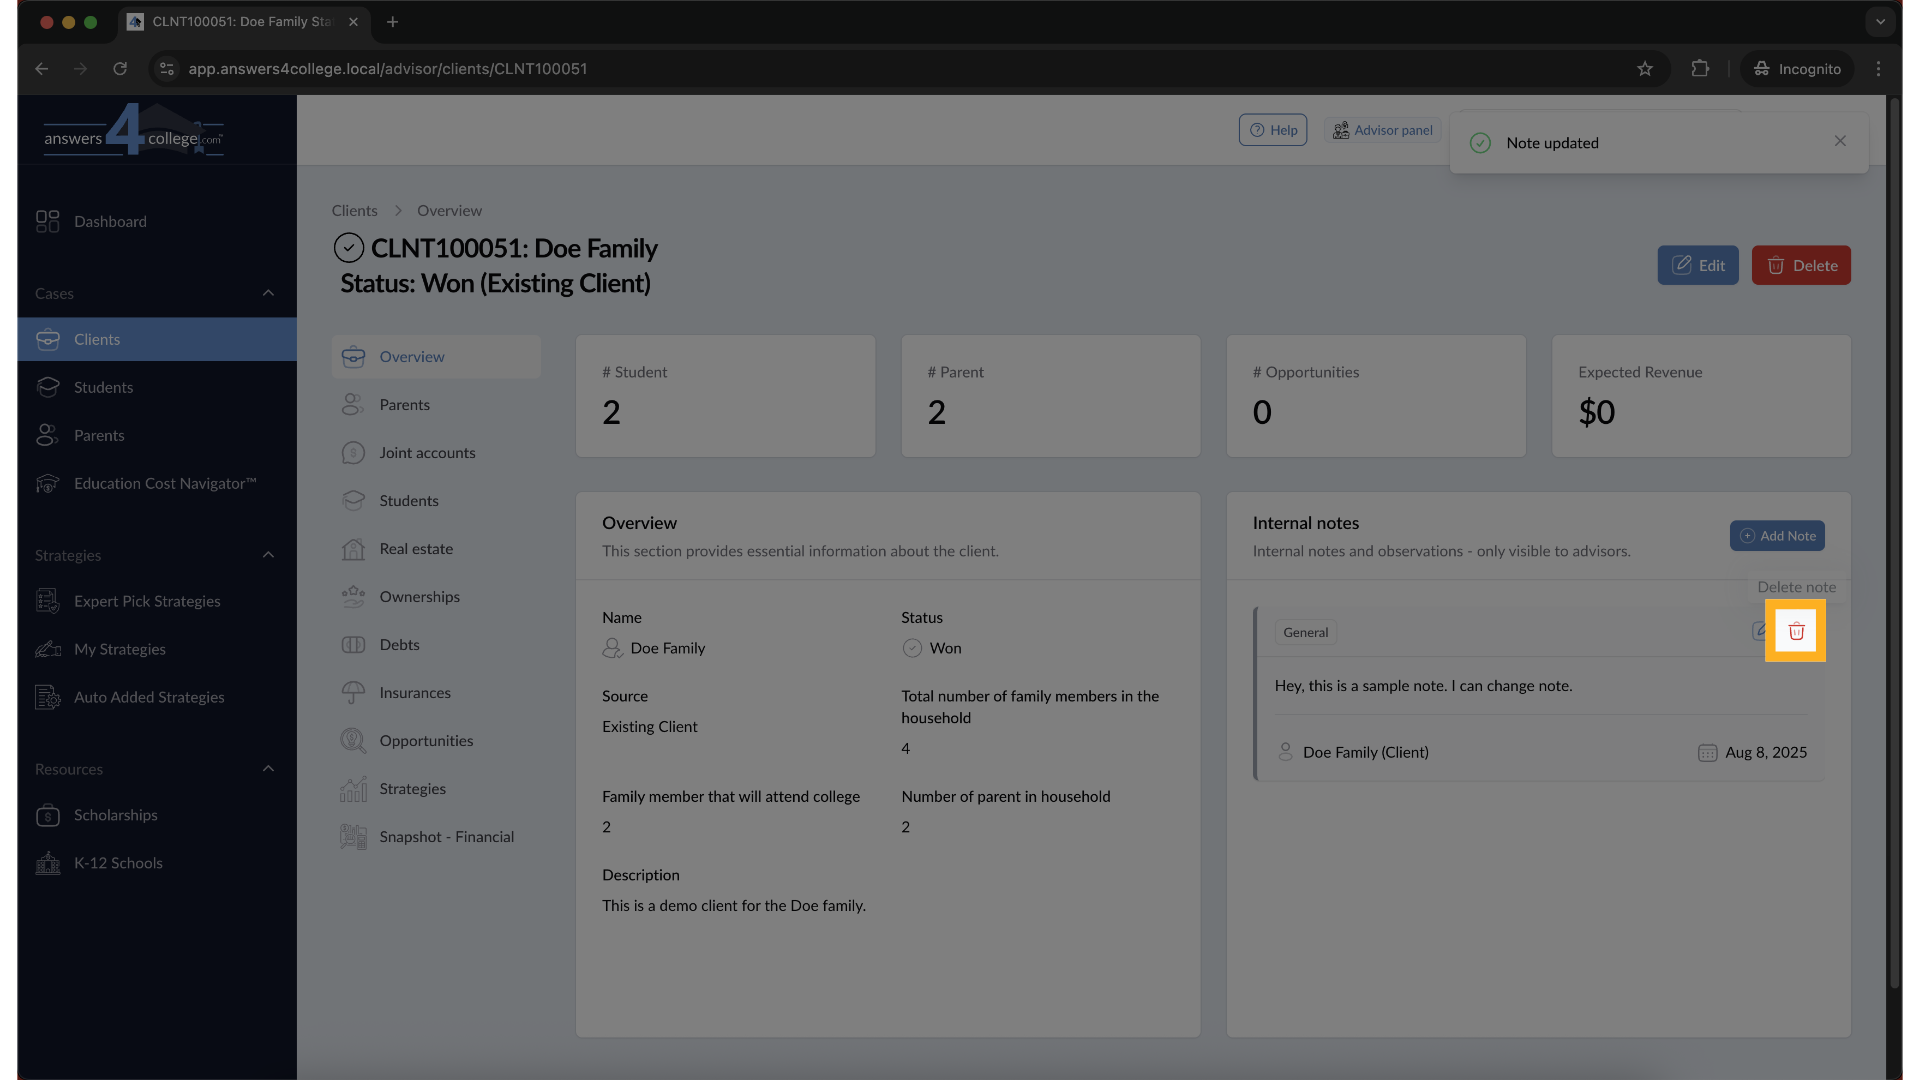
10. Deleting a Note
If you no longer need a note, find it in your list and click the "Delete" button. The system will ask you to confirm this action. Click "Delete" again to permanently remove the note. Be careful with this action as it cannot be undone.
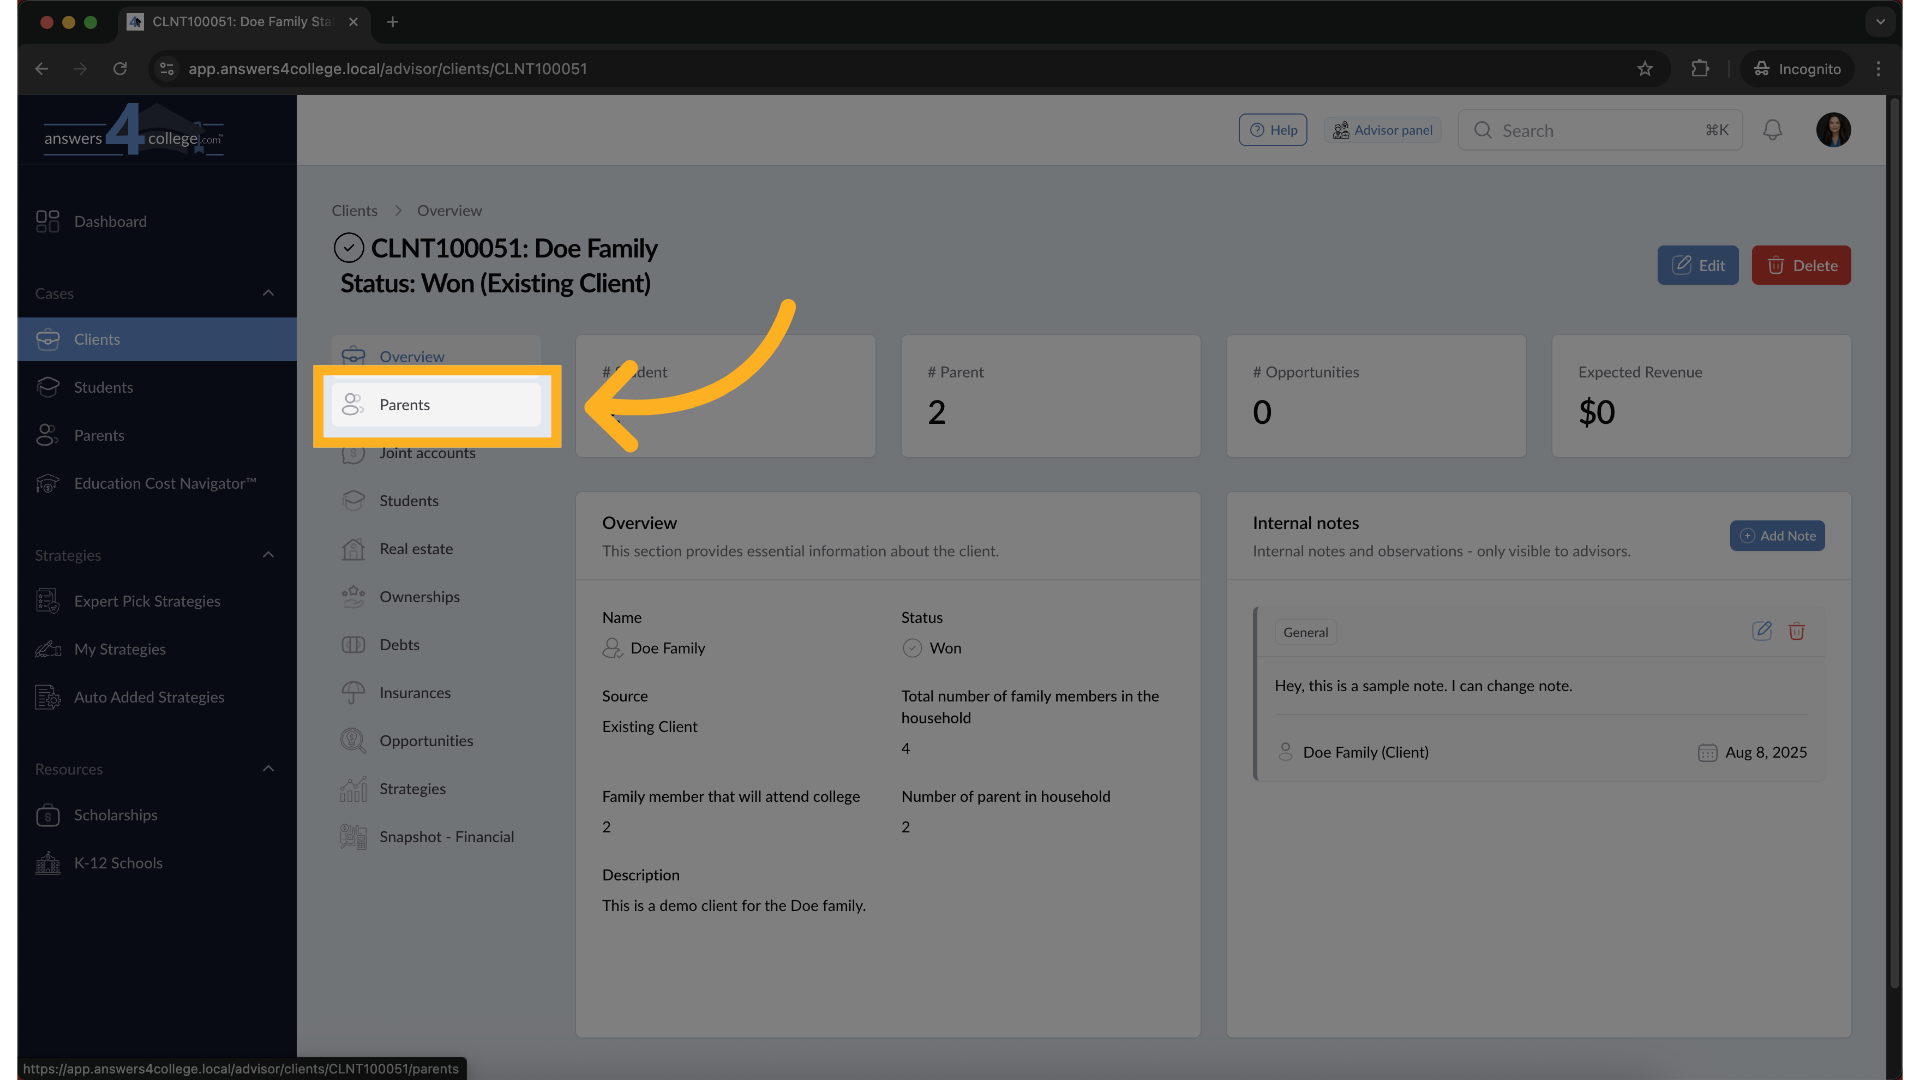
11. Creating Notes for Parents
Now let's create a note specifically for a parent. Navigate to the "Parents" tab in the left-side client menu. You'll see a list of parents associated with this client.
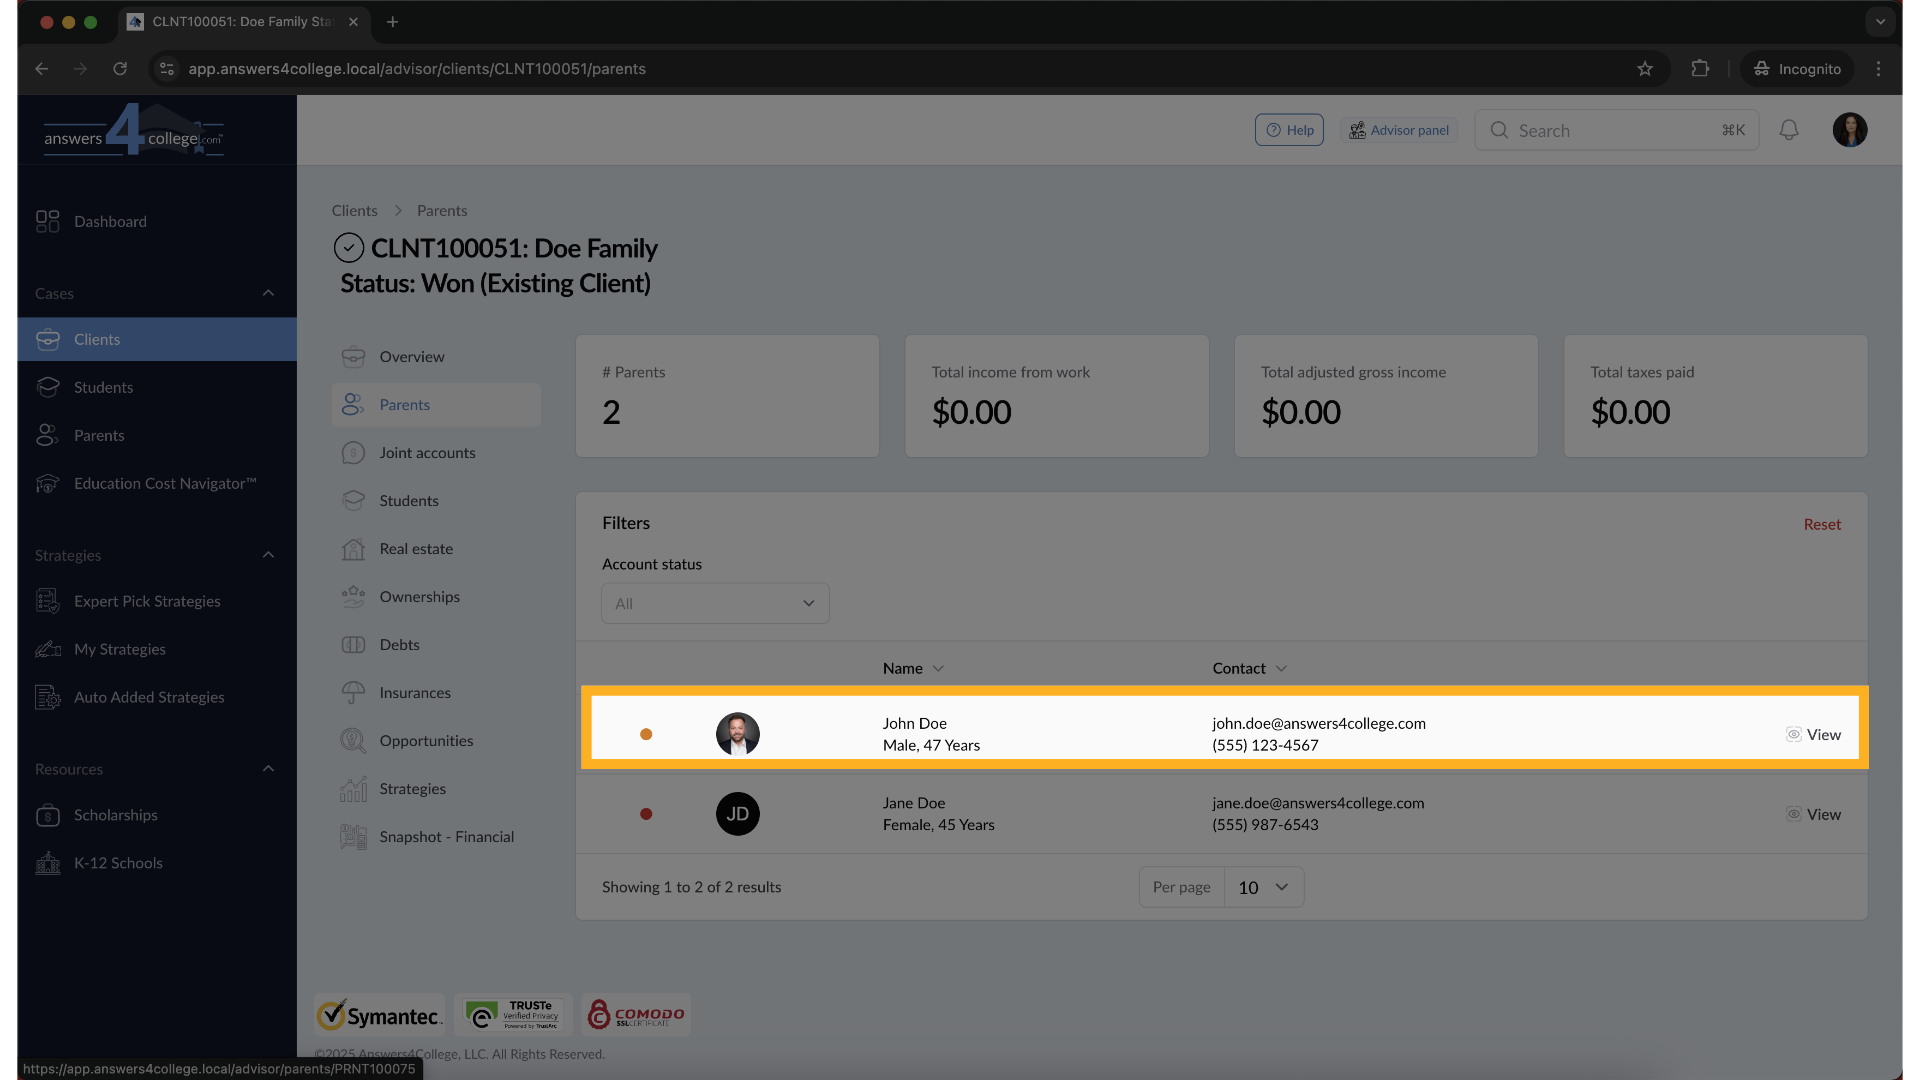
12. Selecting a Parent
Click on the specific parent you want to add a note about. This opens their individual dashboard, and you'll notice the same Internal Notes section appears here, but specifically for this parent.
13. Adding a Parent-Specific Note
Click "Add Note" again. The process is the same, but this time the note will be associated specifically with this parent. Let's select "Sensitive Information" from the type dropdown to demonstrate how you might document confidential information. You'll see the color changes to indicate this is a sensitive note.
14. Completing the Parent Note
Add your content about this parent, decide if it needs to be pinned, and click "Submit." The note is now created and linked specifically to this parent, not the overall client.
15. Creating Notes for Students
The process works exactly the same for students. From the client dashboard, click on the "Students" tab, select the specific student, and you'll find their Internal Notes section. Any notes you create here will be associated specifically with that student.
16. Viewing All Family Notes
Here's a powerful feature - go back to the main client view by clicking on the client's name in the navigation. In the Internal Notes section, you'll now see ALL notes that have been created across the entire family. This includes notes attached to the client level, any parents, and any students. Each note is clearly labeled to show who it's associated with.
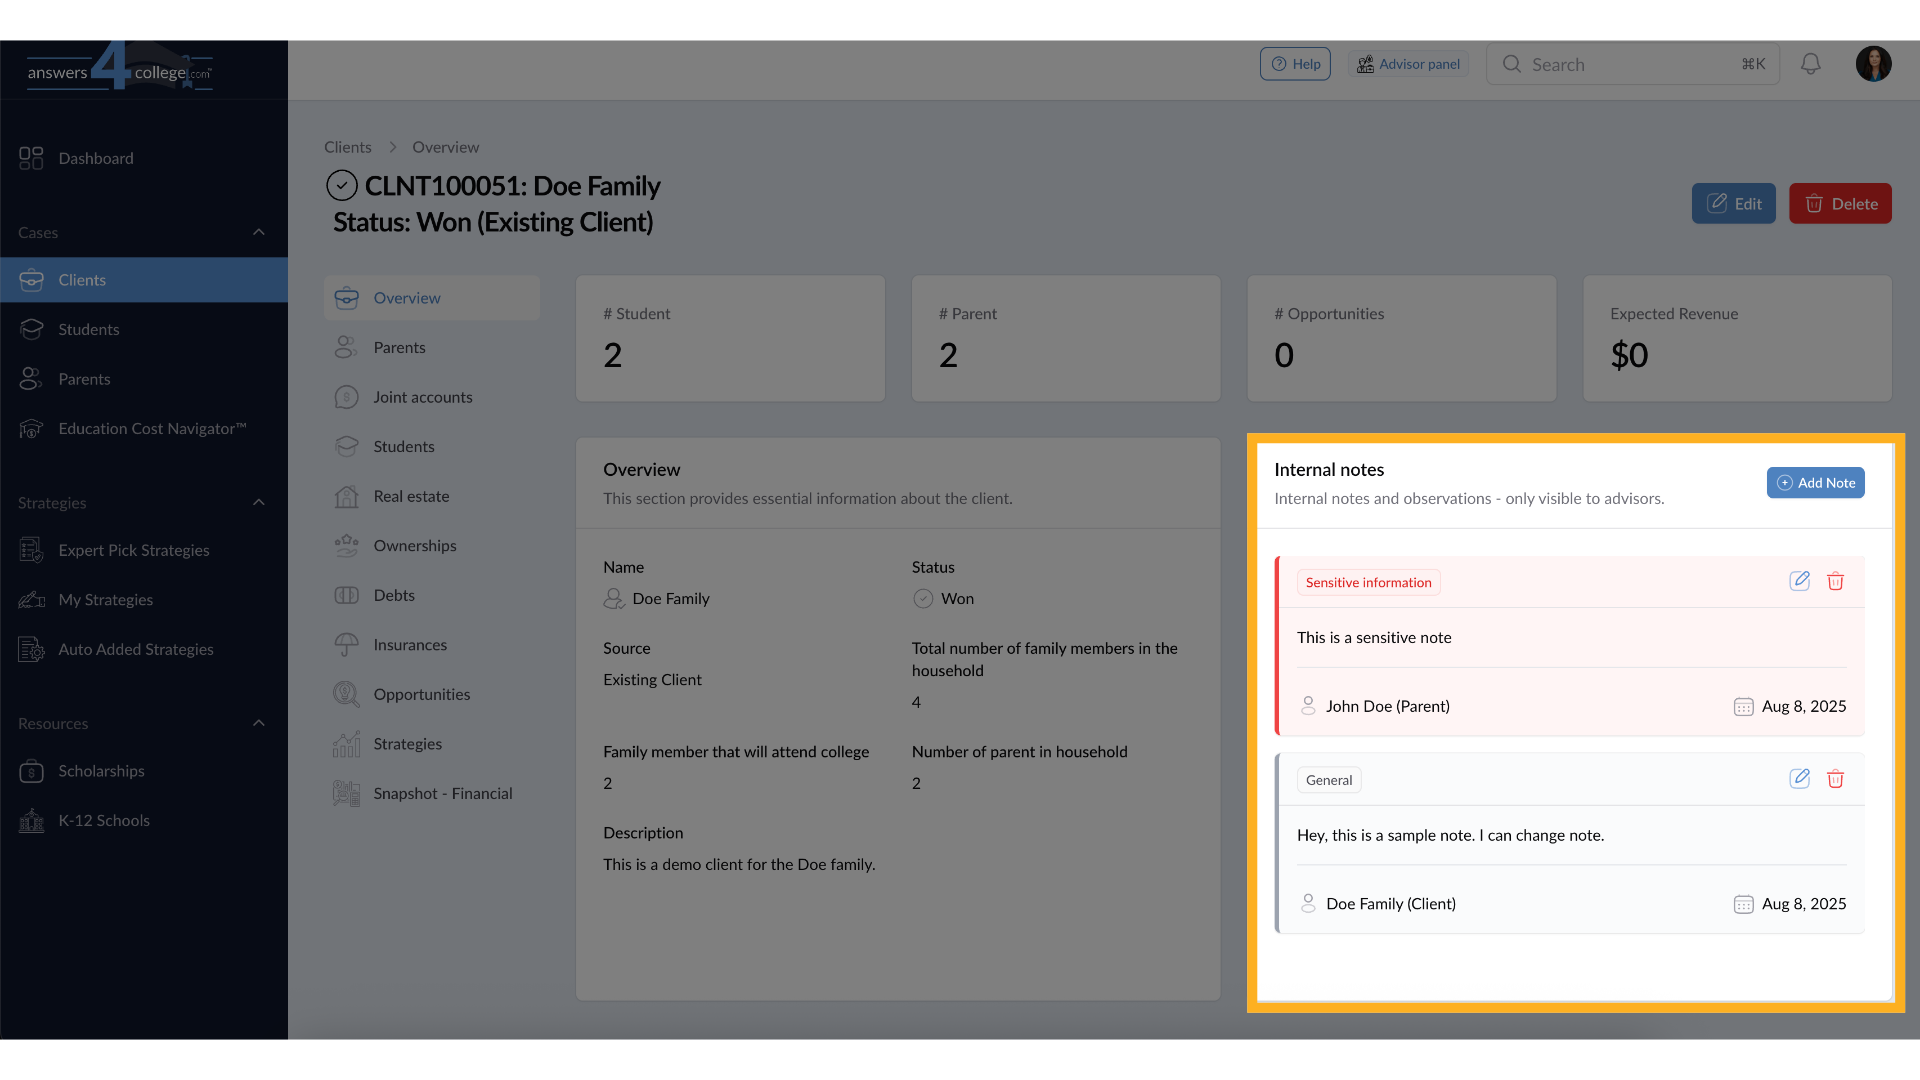
This comprehensive view is incredibly valuable. Before any meeting or phone call, you can quickly review all the notes for an entire family in one place. The color coding helps you identify different types of information at a glance, and the labels show you whether a note is about the client, a parent, or a student. This complete picture helps you provide more personalized and informed service.
Comments
0 comments
Please sign in to leave a comment.