Welcome to this tutorial on using the messaging feature in the Answers for
College Advisor Portal. This powerful communication tool allows you to send
direct messages to individual parents and students, as well as create group
chats for entire families. I'll walk you through everything you need to know
to start messaging effectively. Let's begin.
1. Logging Into Your Dashboard
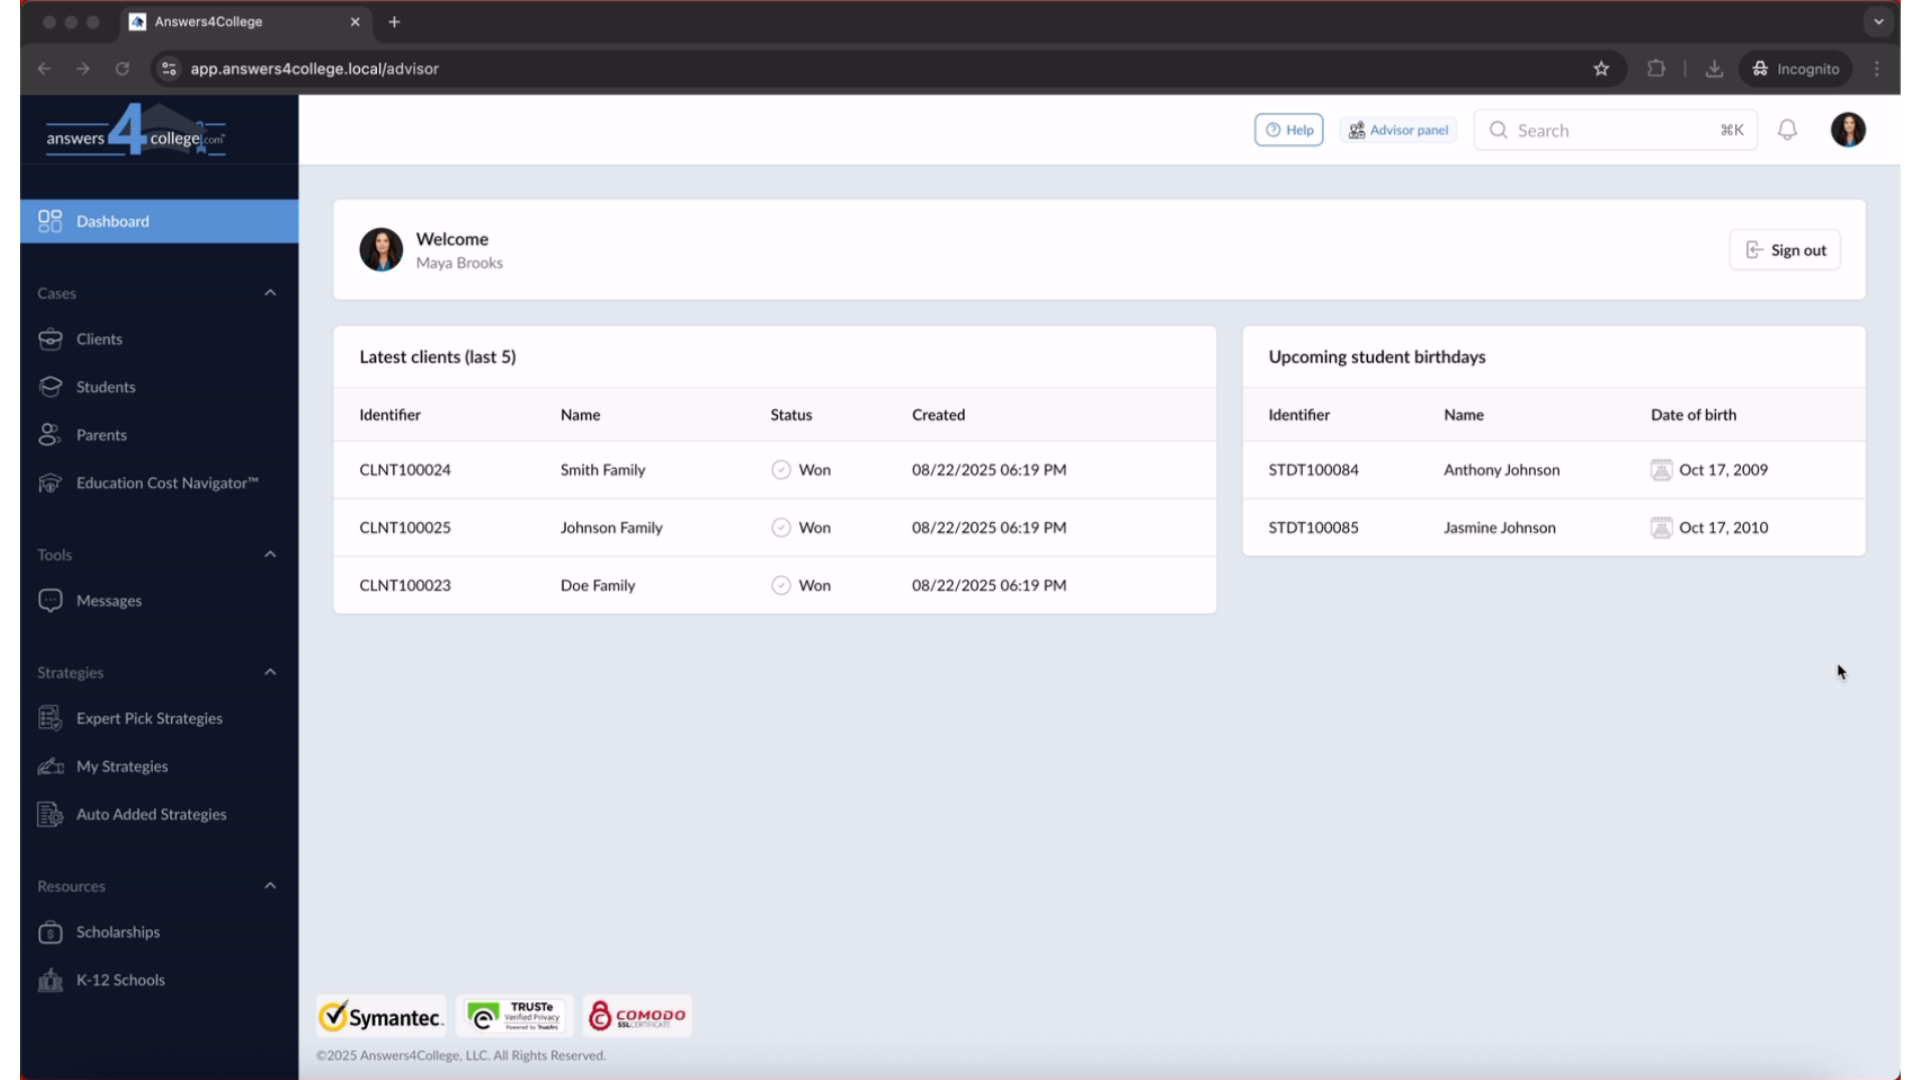
First, make sure you're logged into your Advisor Portal with your credentials.
Once you're in and see your main dashboard, we're ready to explore the messaging
feature.
2. Finding the Messages Section
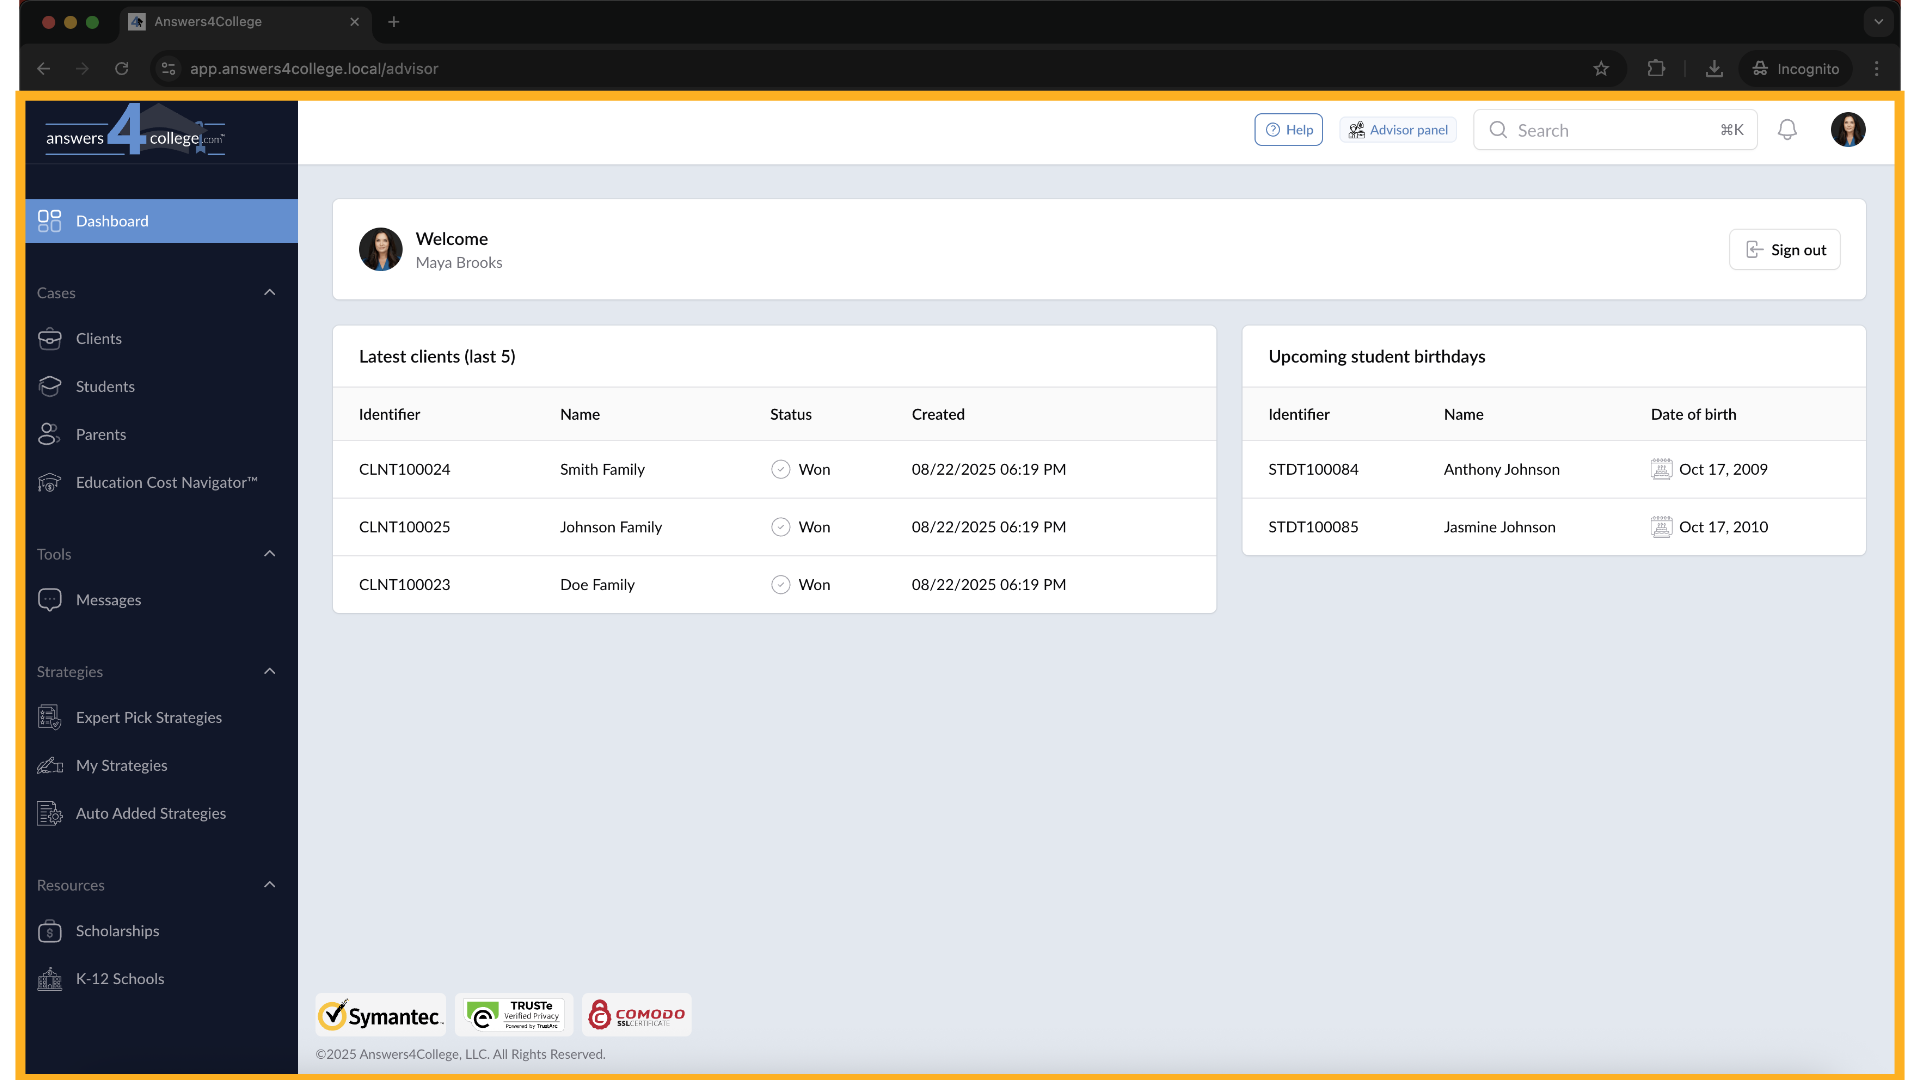
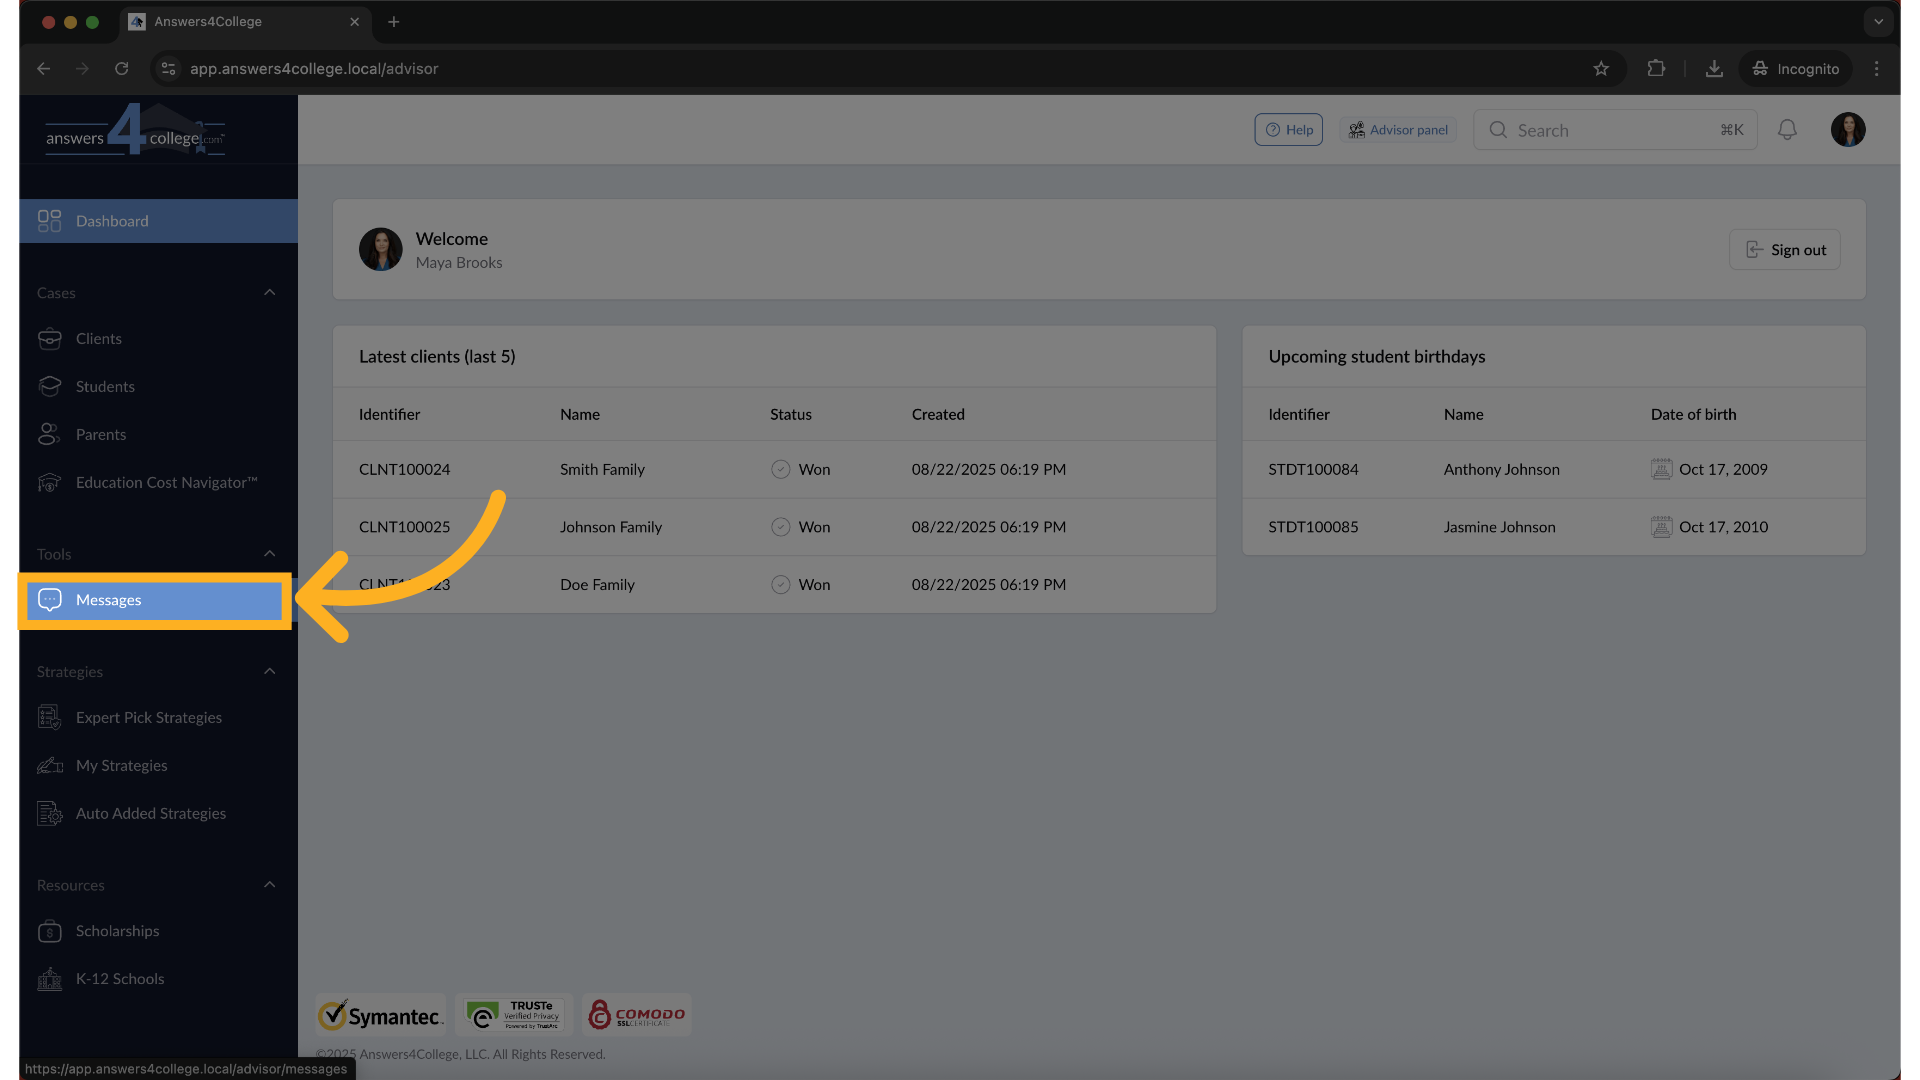
Look at your navigation menu and locate the "Tools" section. You'll notice
a new item here called "Messages."
3. Click "Messages"
Click on "Messages" to enter the messaging center.
4. Understanding the Messages Interface
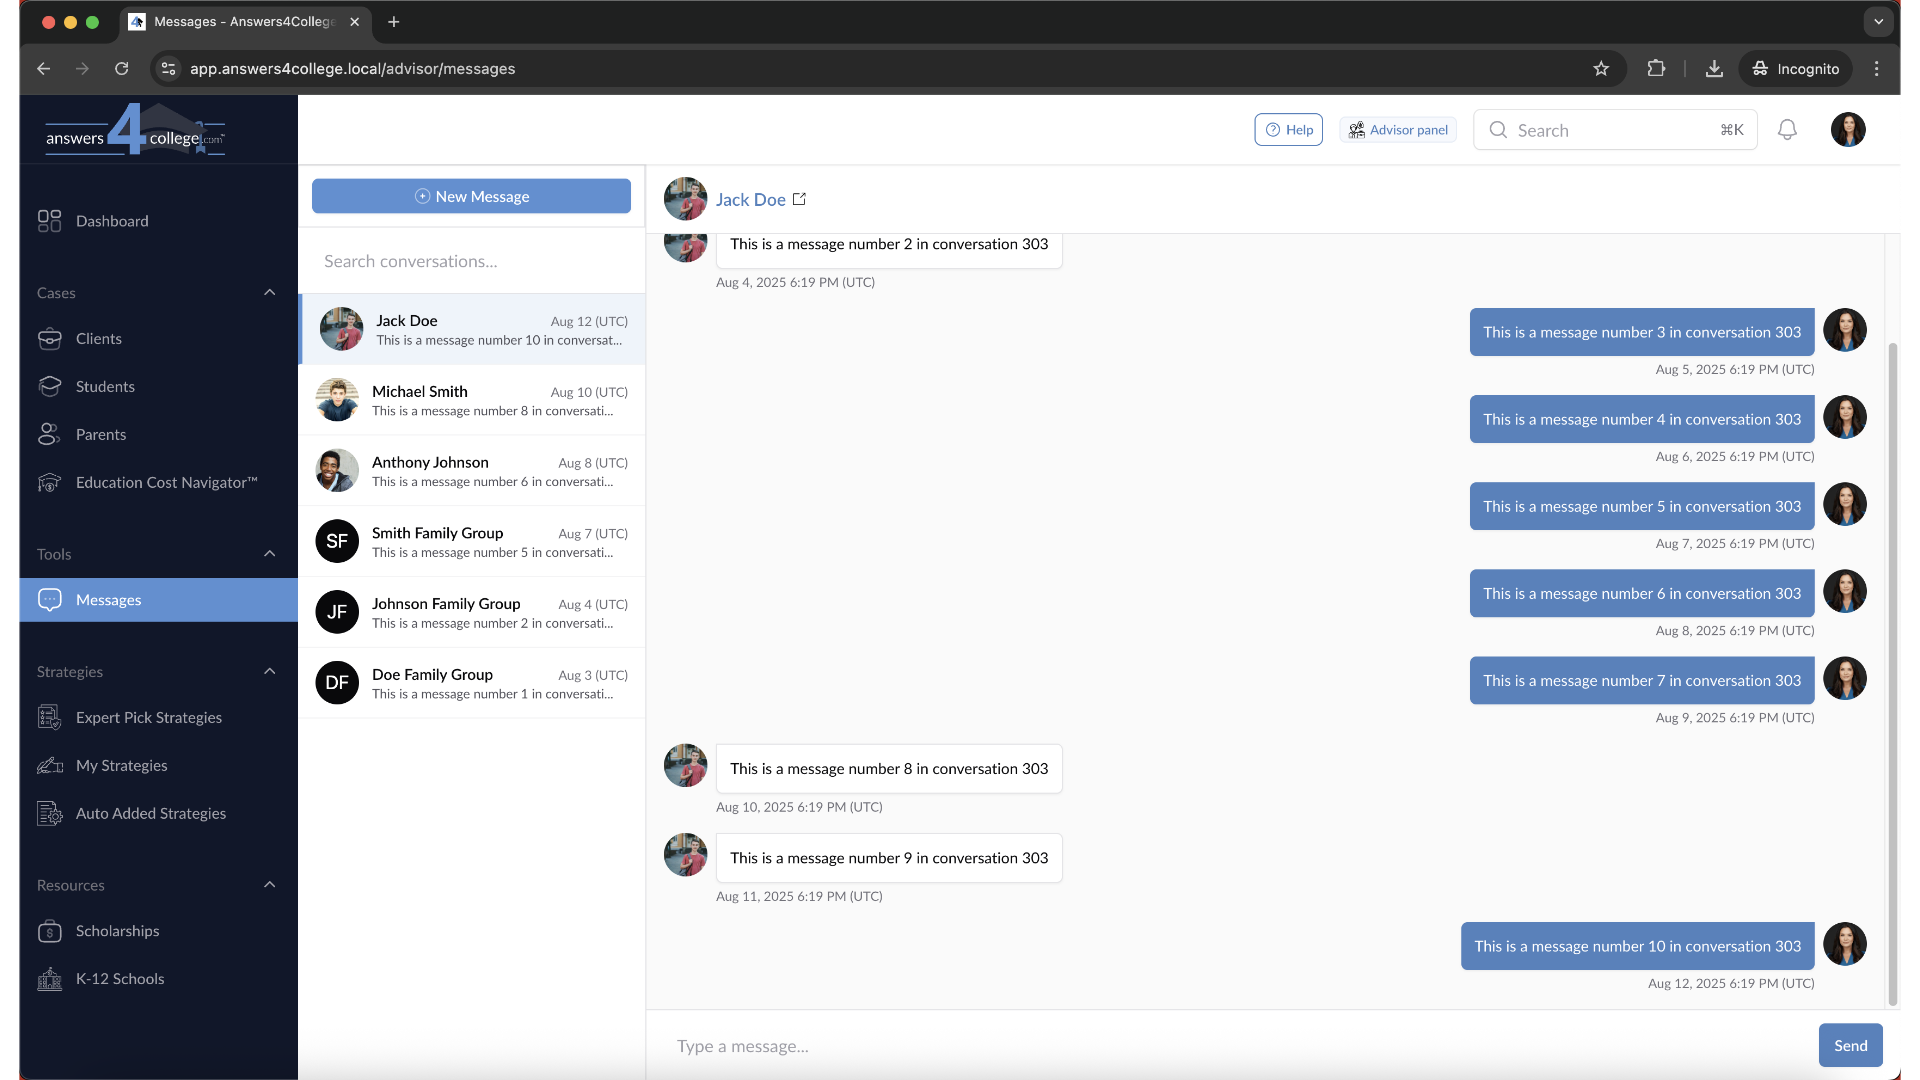
Great! You're now in your messaging hub. This is your central location for
all communications. Here you can see every message you've sent and received,
all organized in one convenient place. Think of it as your inbox for all
student and parent communications within the portal.
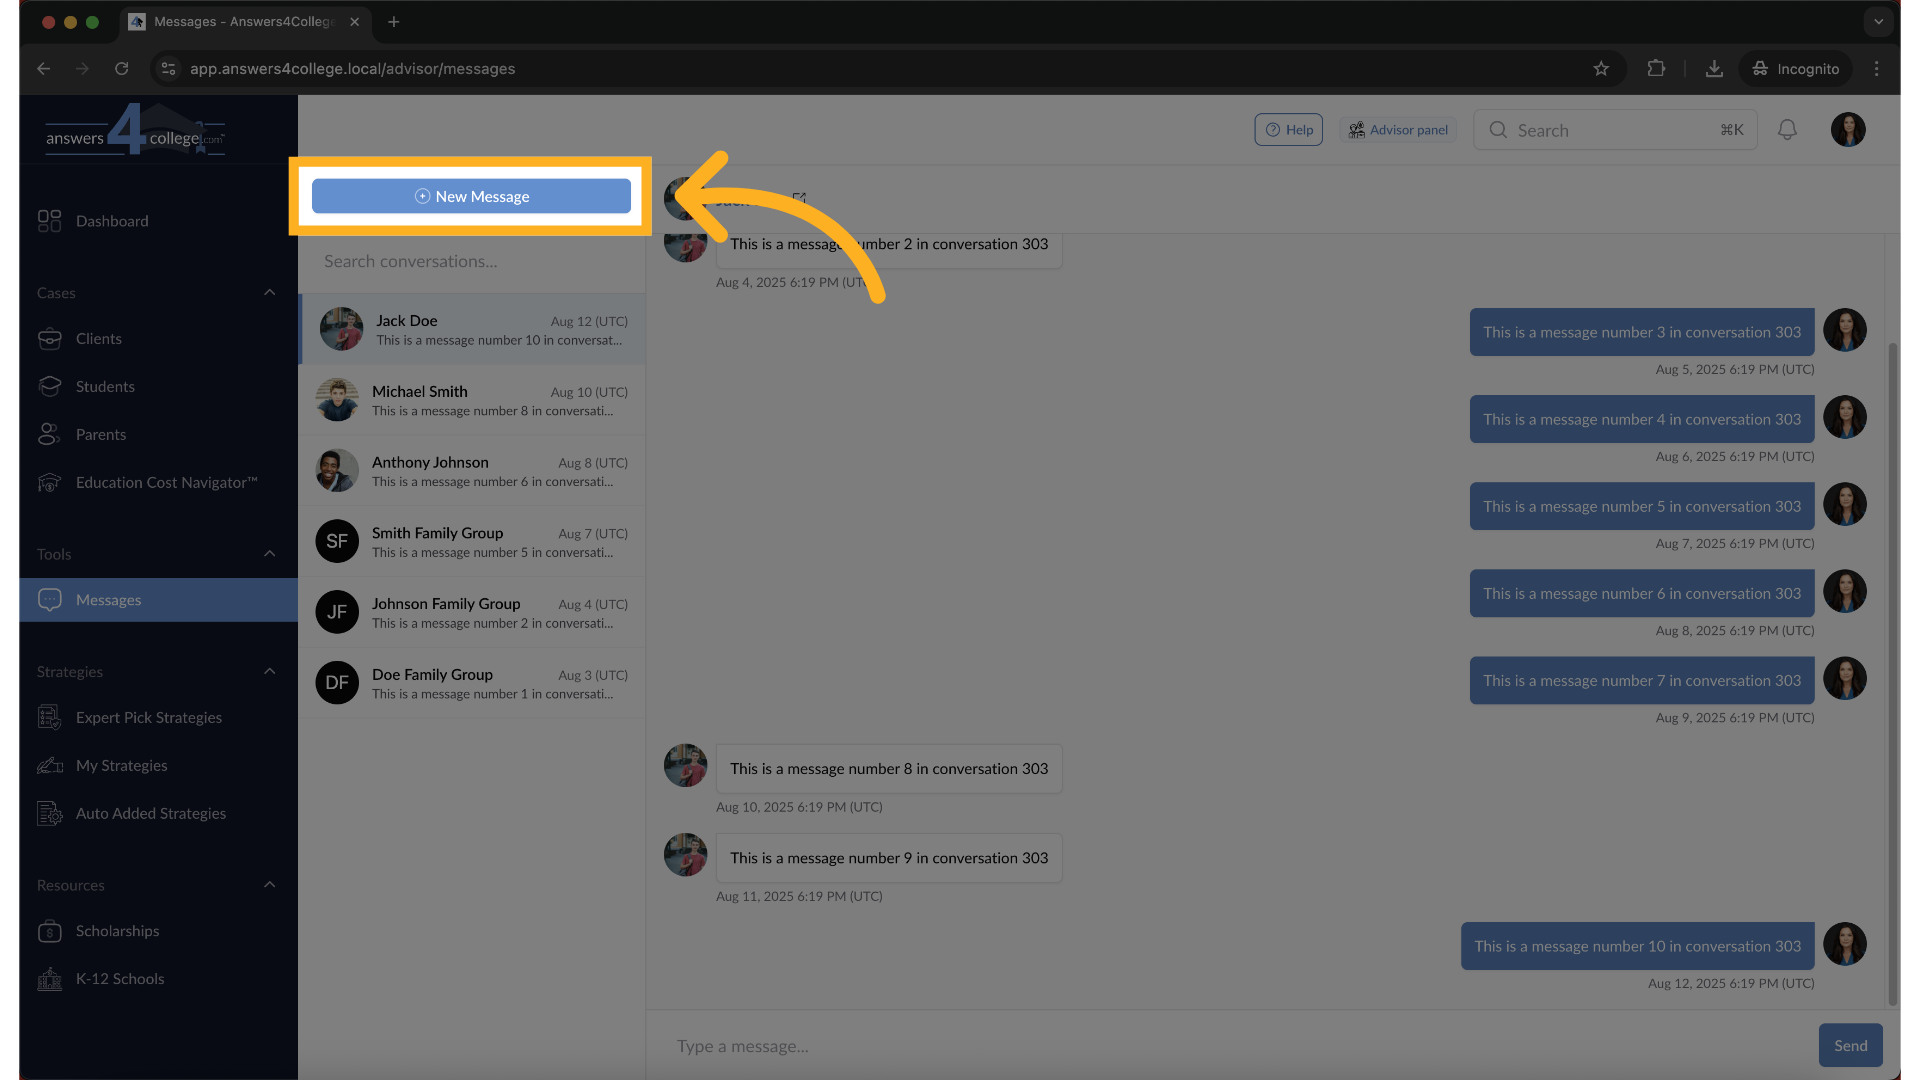
5. Starting a New Direct Message
To create your first message, look for the "New Message" button on the left
side of the screen. Click it, and a modal window will pop up with your messaging
options.
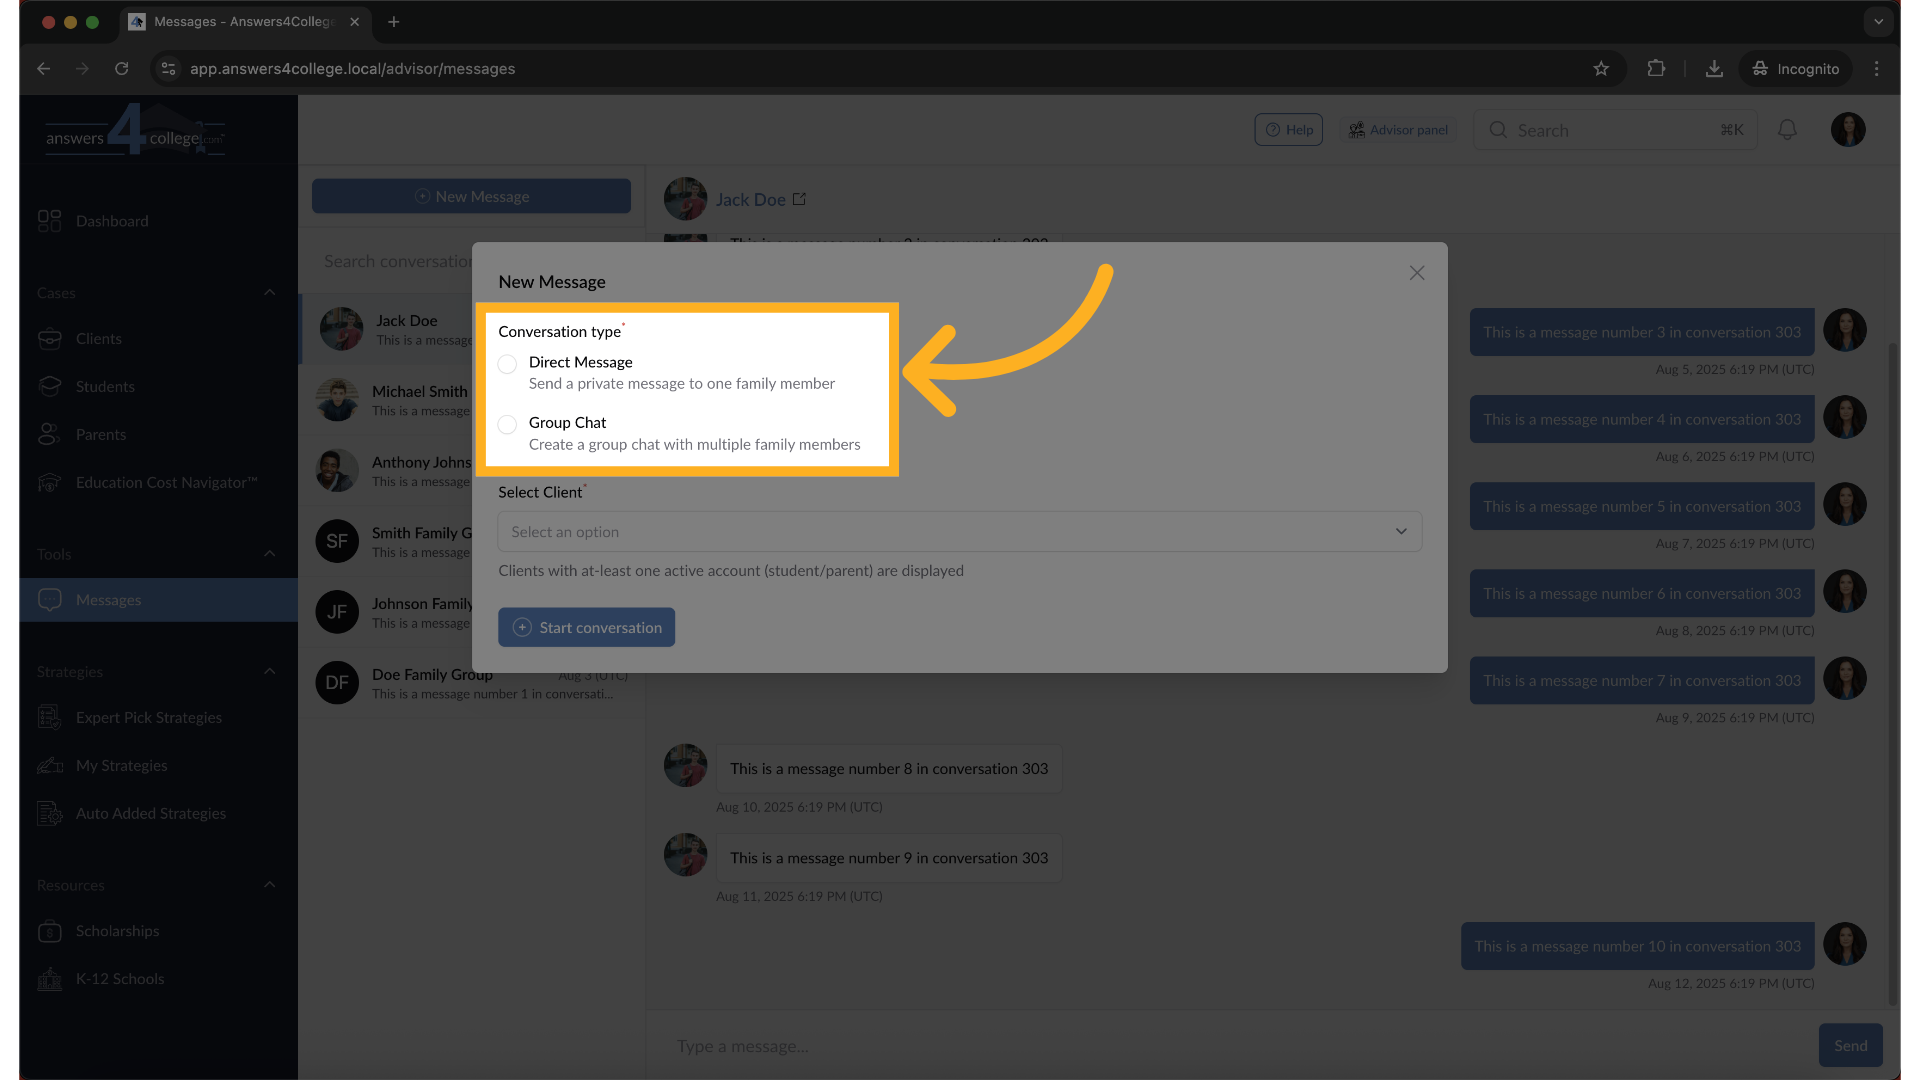
6. Choosing Conversation Type
The first thing you'll need to select is the conversation type. Answers for
College supports two types of messaging: Direct Messages for one-on-one conversations,
and Group Messages for communicating with multiple family members. For now,
let's select "Direct Message" to start a one-on-one conversation.
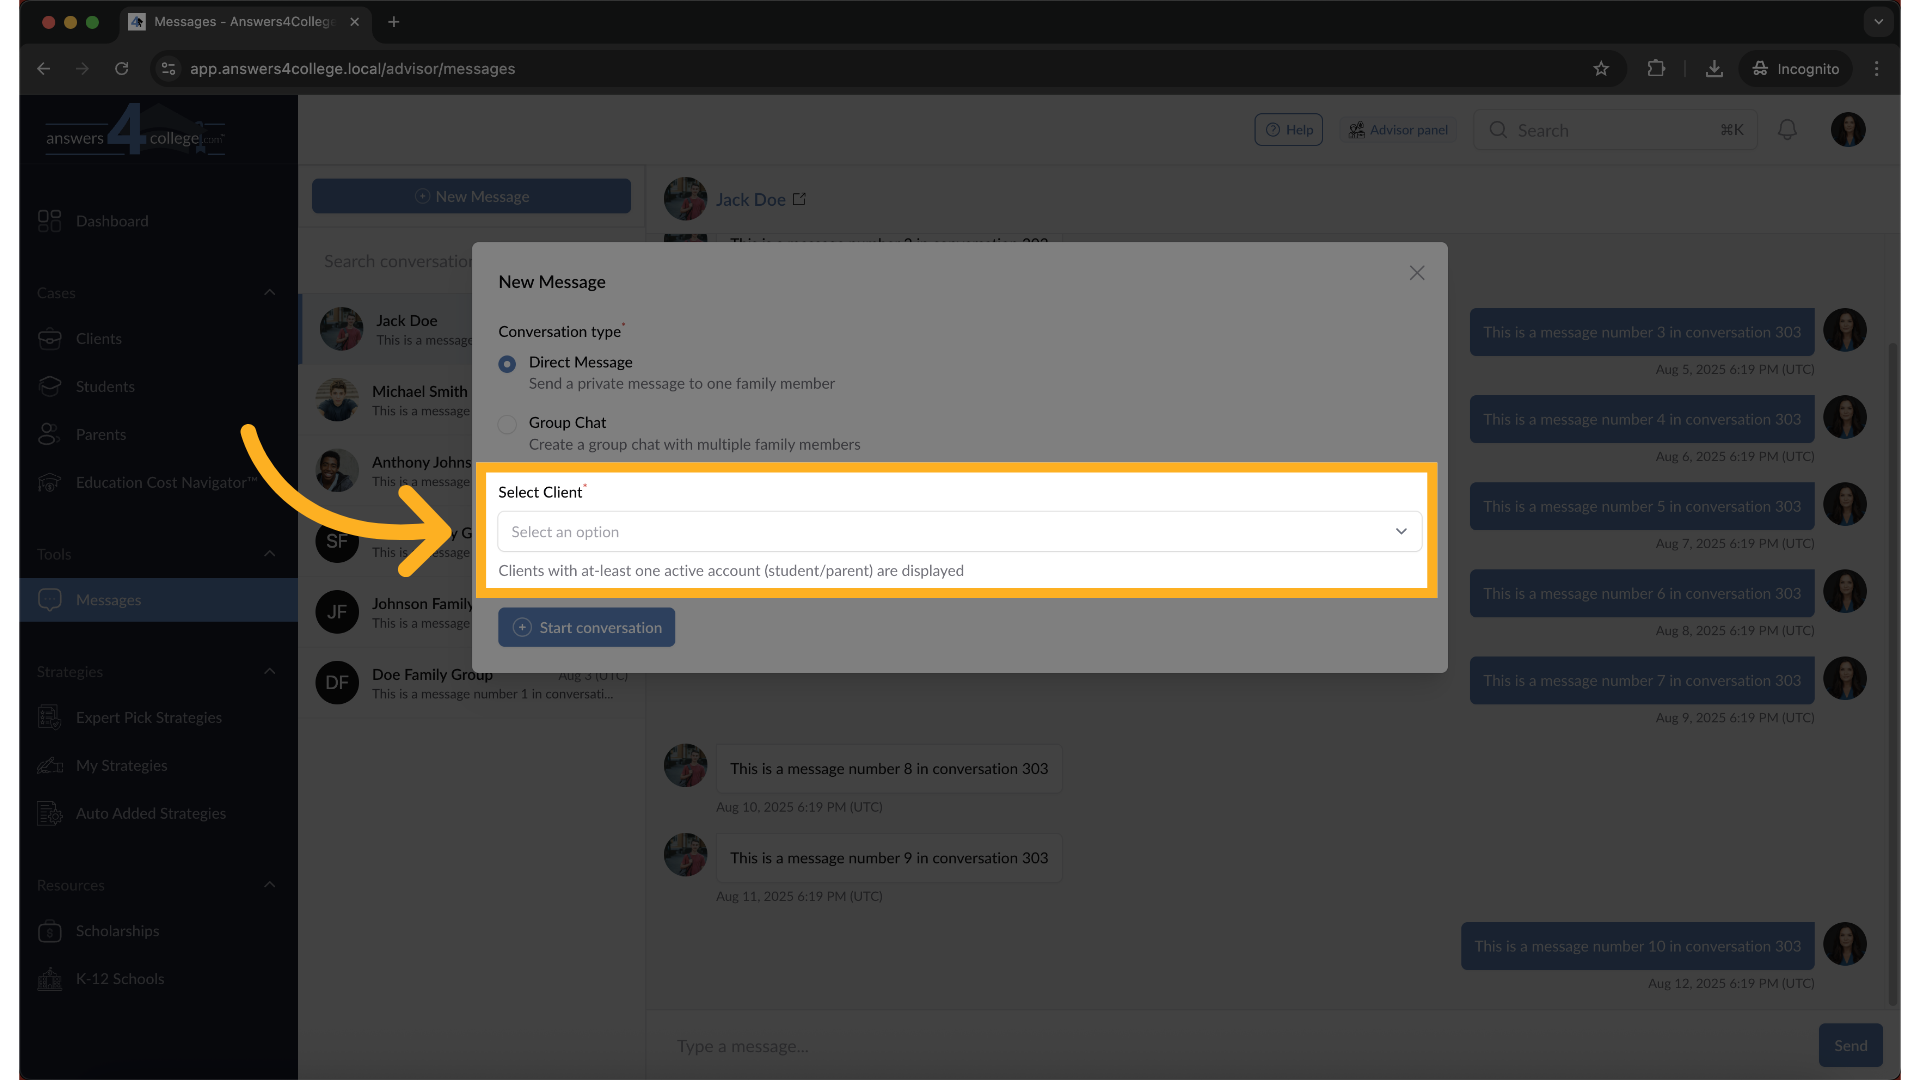
7. Selecting the Client Family
After choosing Direct Message, you'll need to select which client family
you want to message. Click on the dropdown and choose your client - let's
say we're selecting the Doe family for this example.
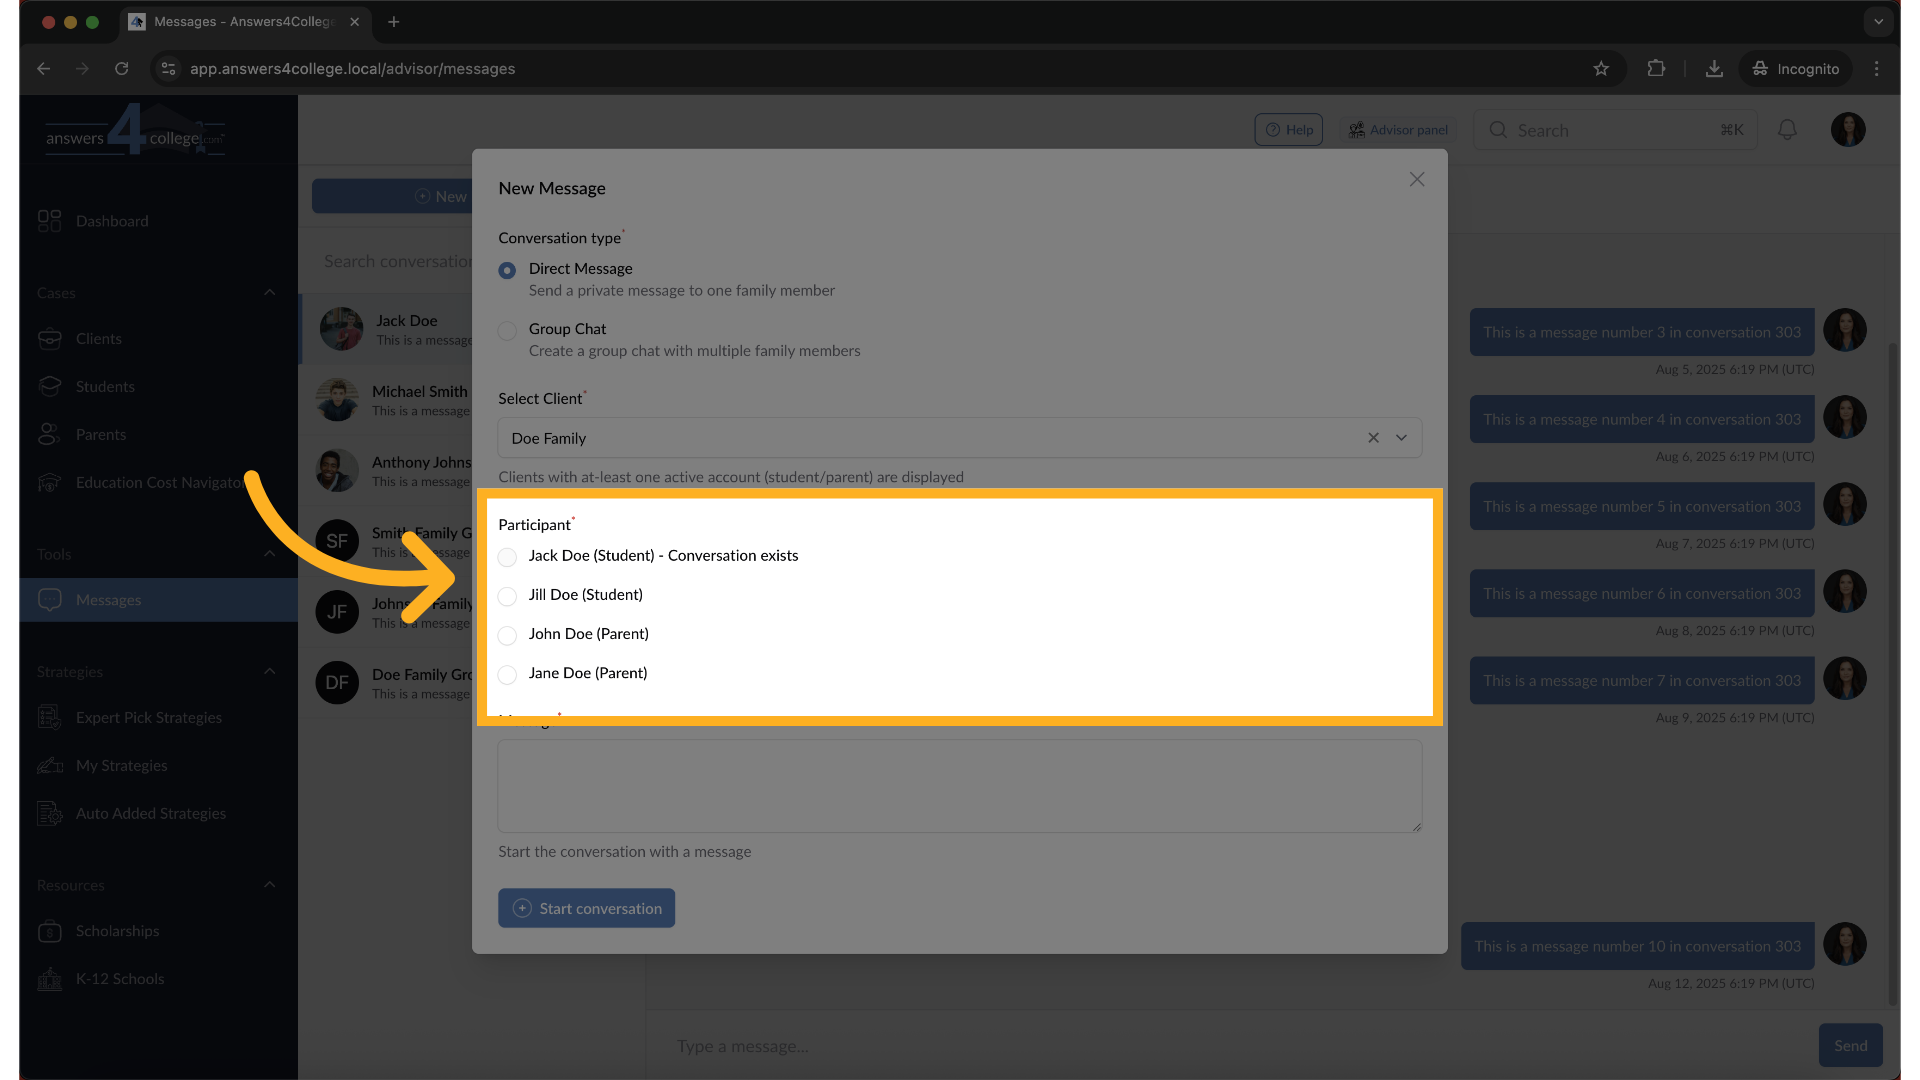
8. Choosing the Participant
Now you'll see a list of available participants from that family. Here's
something important to note - if someone's name appears grayed out or unselectable,
it means you already have an existing direct message conversation with them.
The system prevents duplicate conversations to keep your messages organized.
Select an available participant - let's choose Jill Doe.
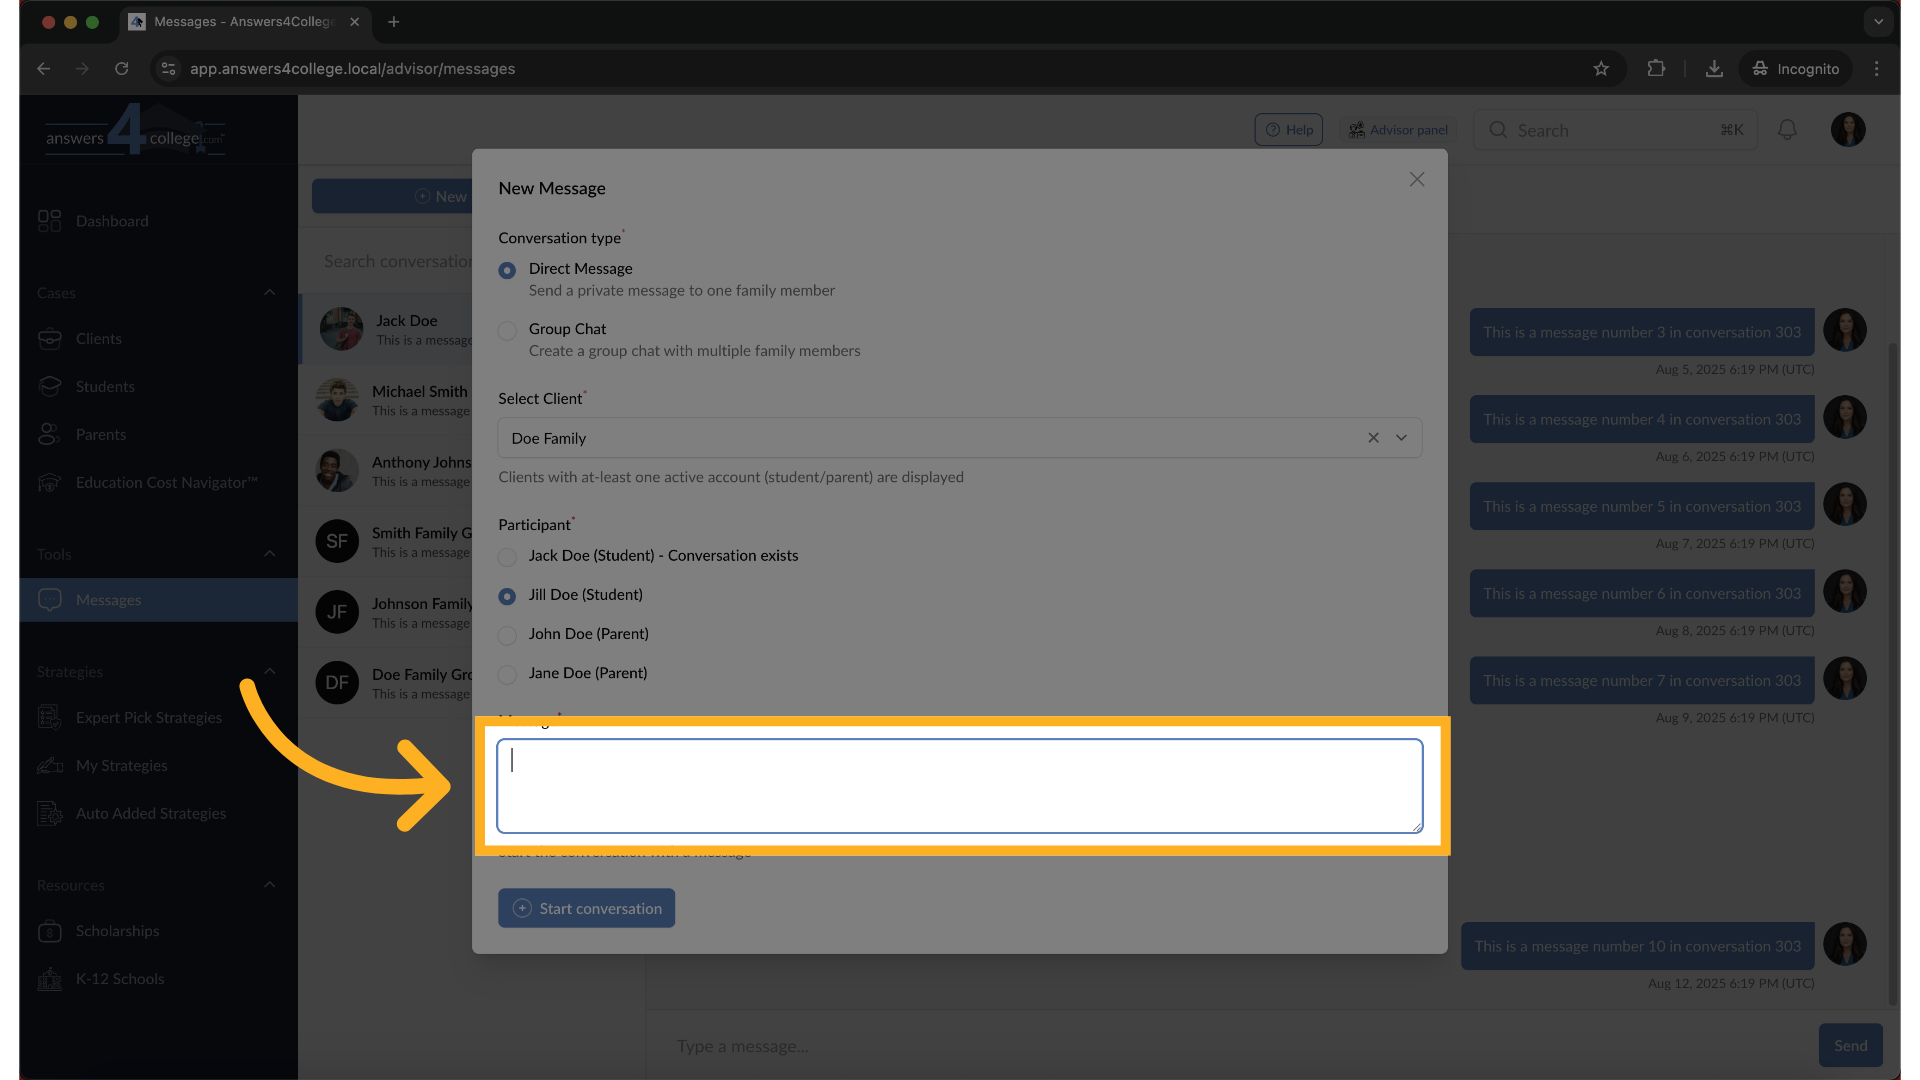
9. Composing Your Message
In the message field, type your message. Keep it clear and professional.
You might write something like "Hi Jill, I wanted to check in about your
college essay progress" or any other relevant message.
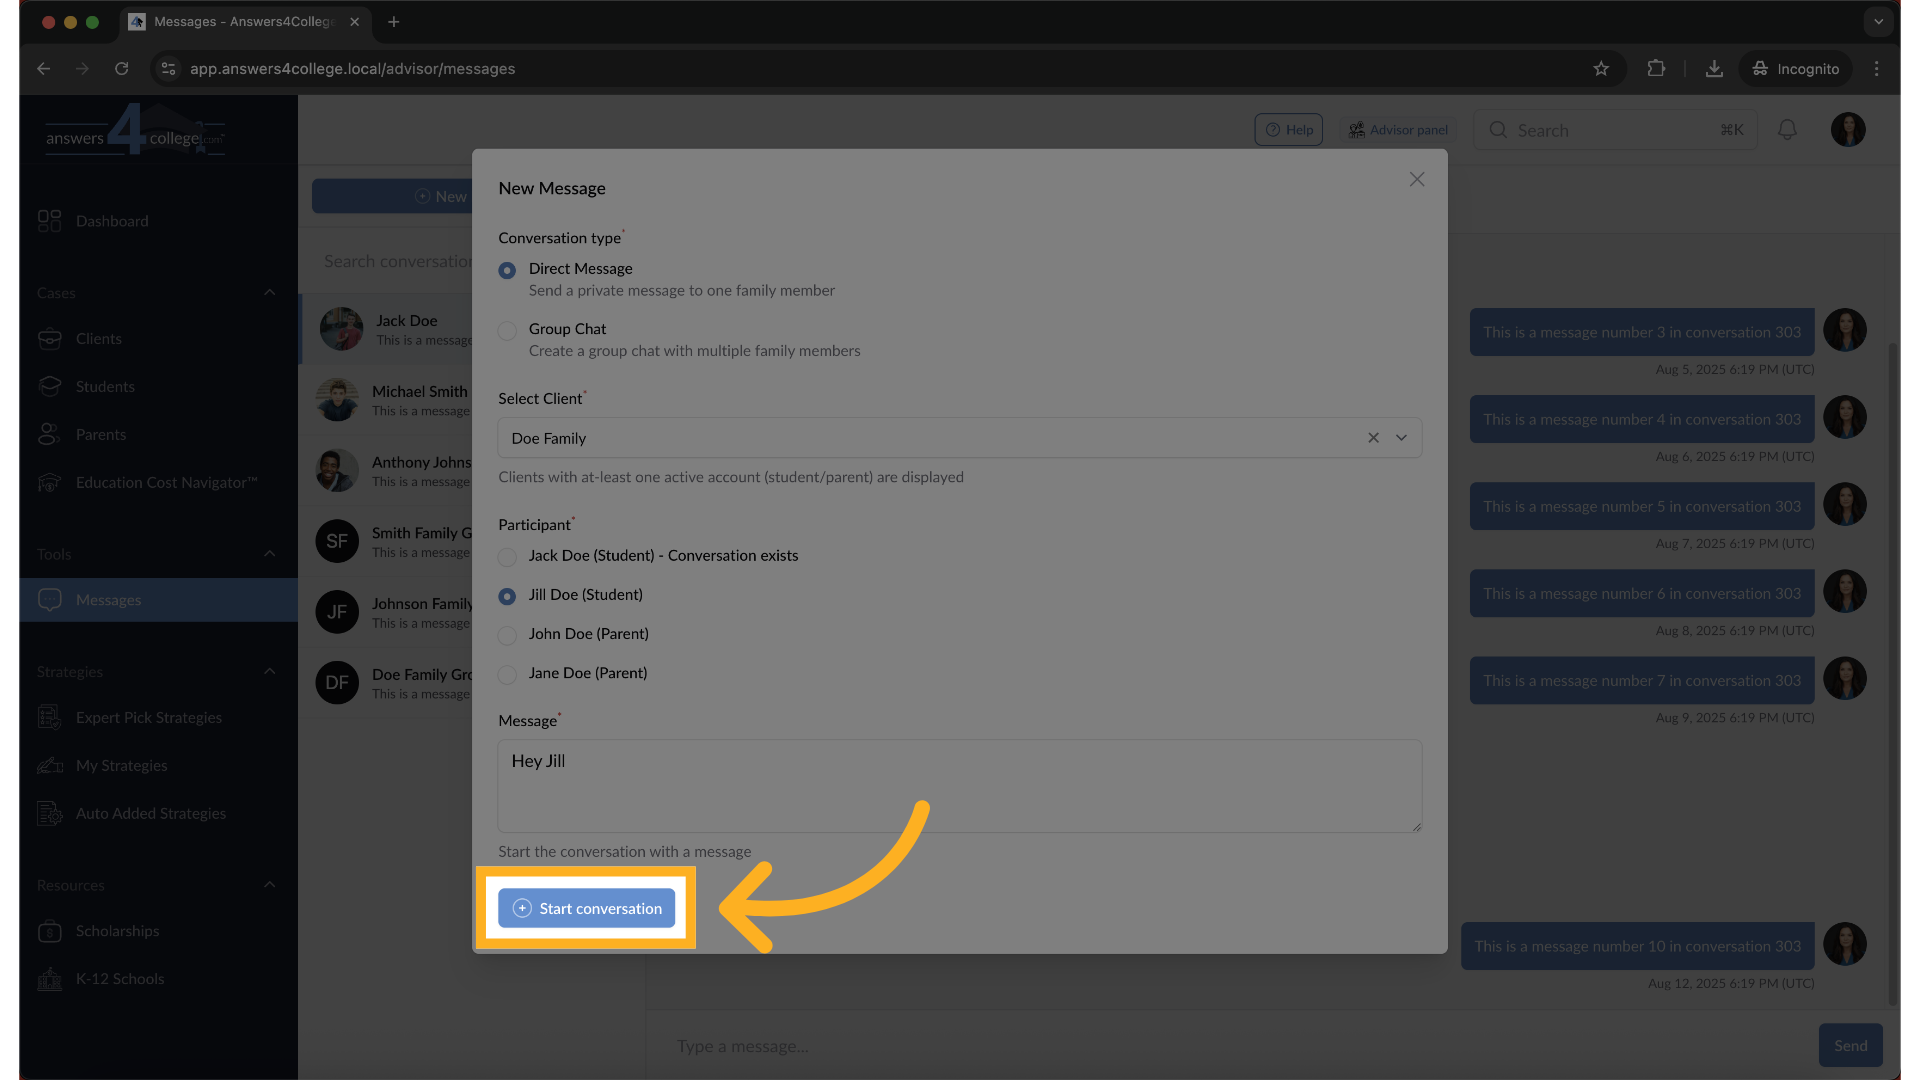
10. Start conversation
Once you've typed your message, click "Start Conversation."
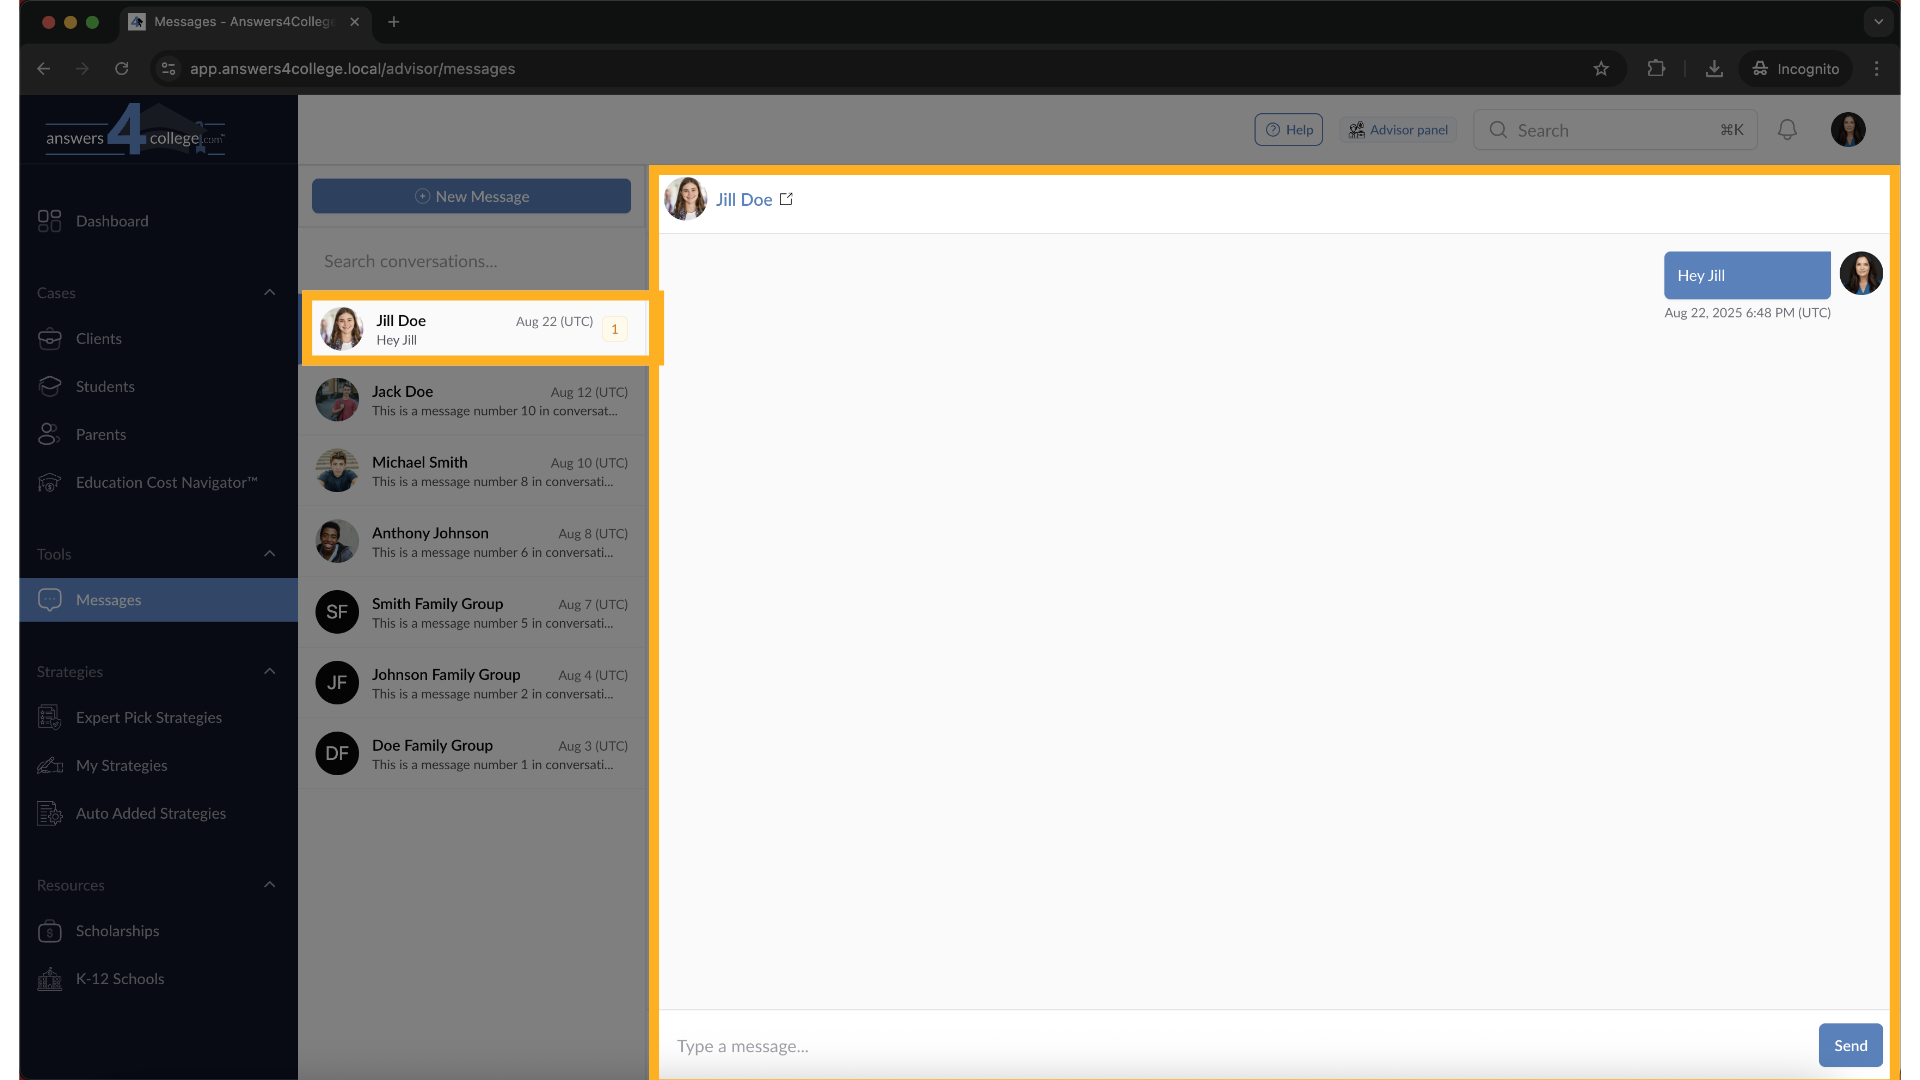
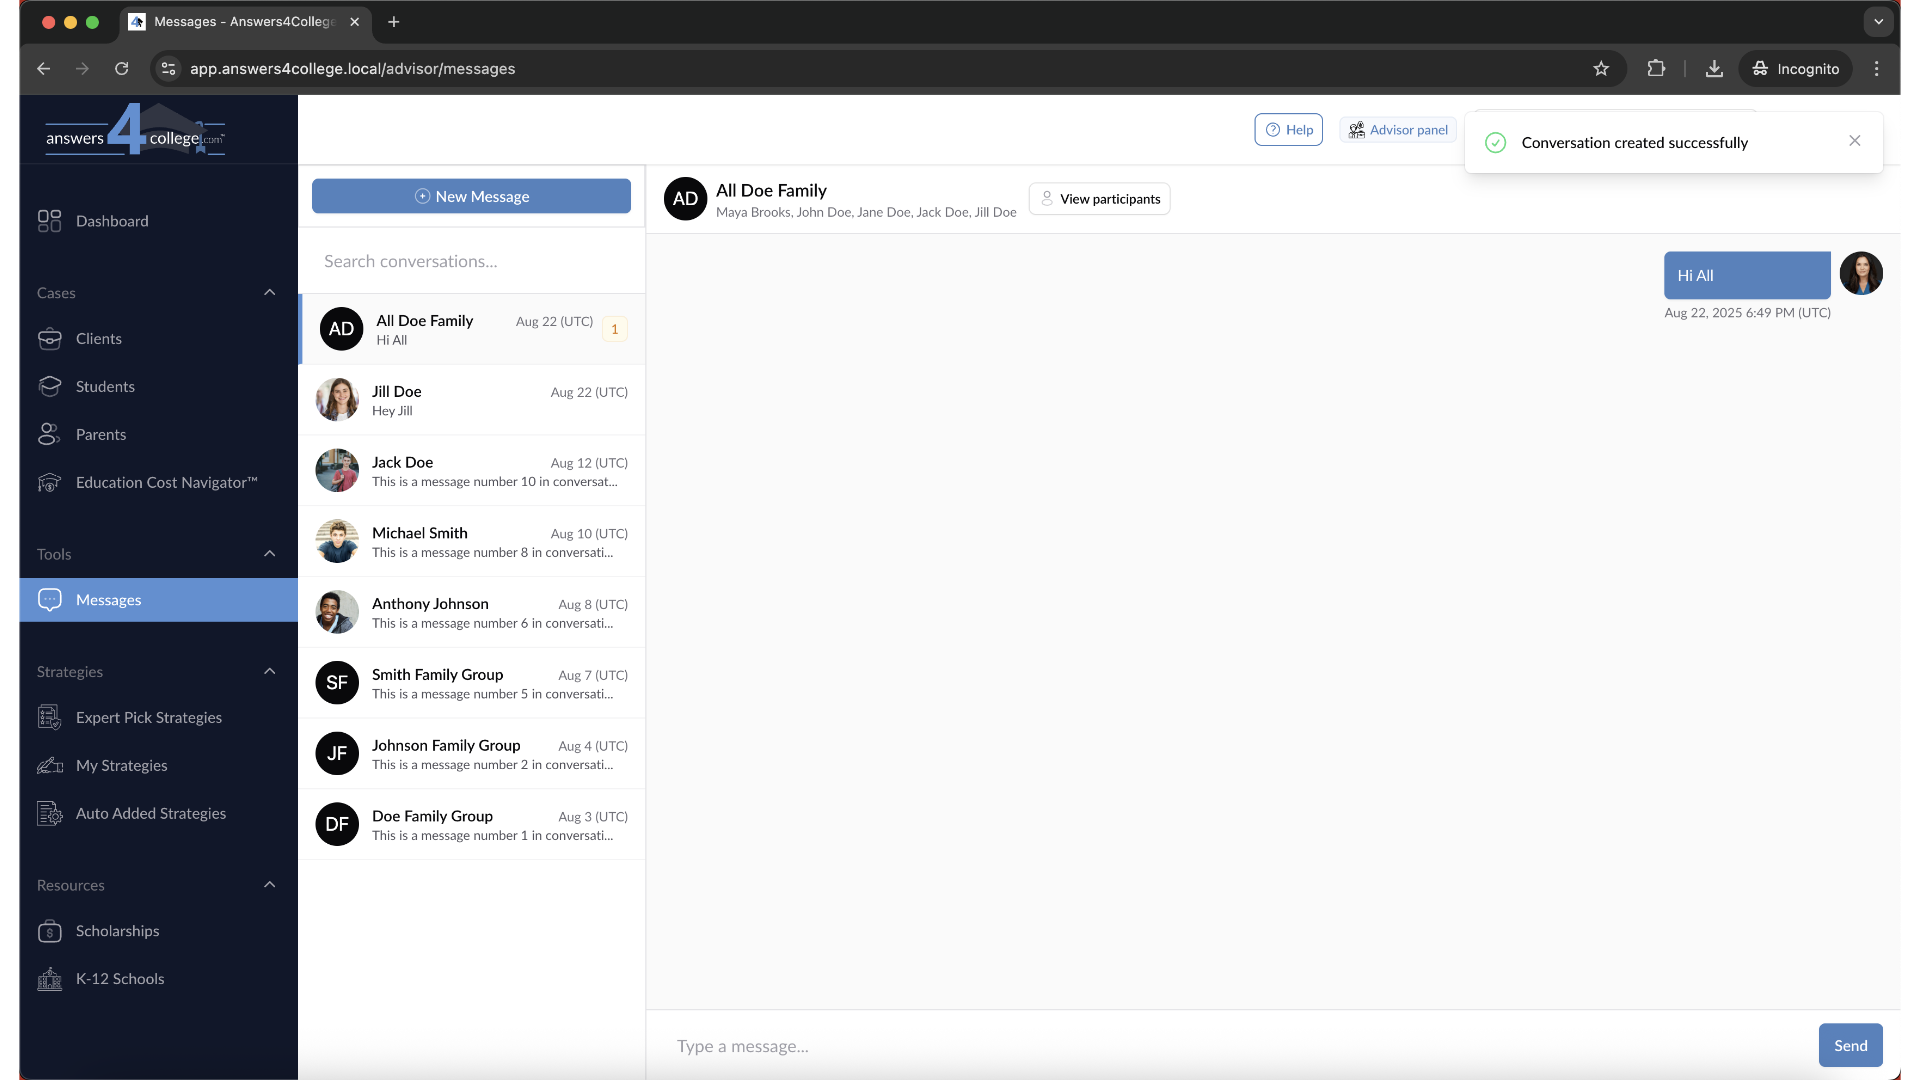
11. Viewing Your New Conversation
Perfect! Your conversation has been created and appears at the top of your
messages list. You'll see the participant's name, and below it, the message
you just sent.
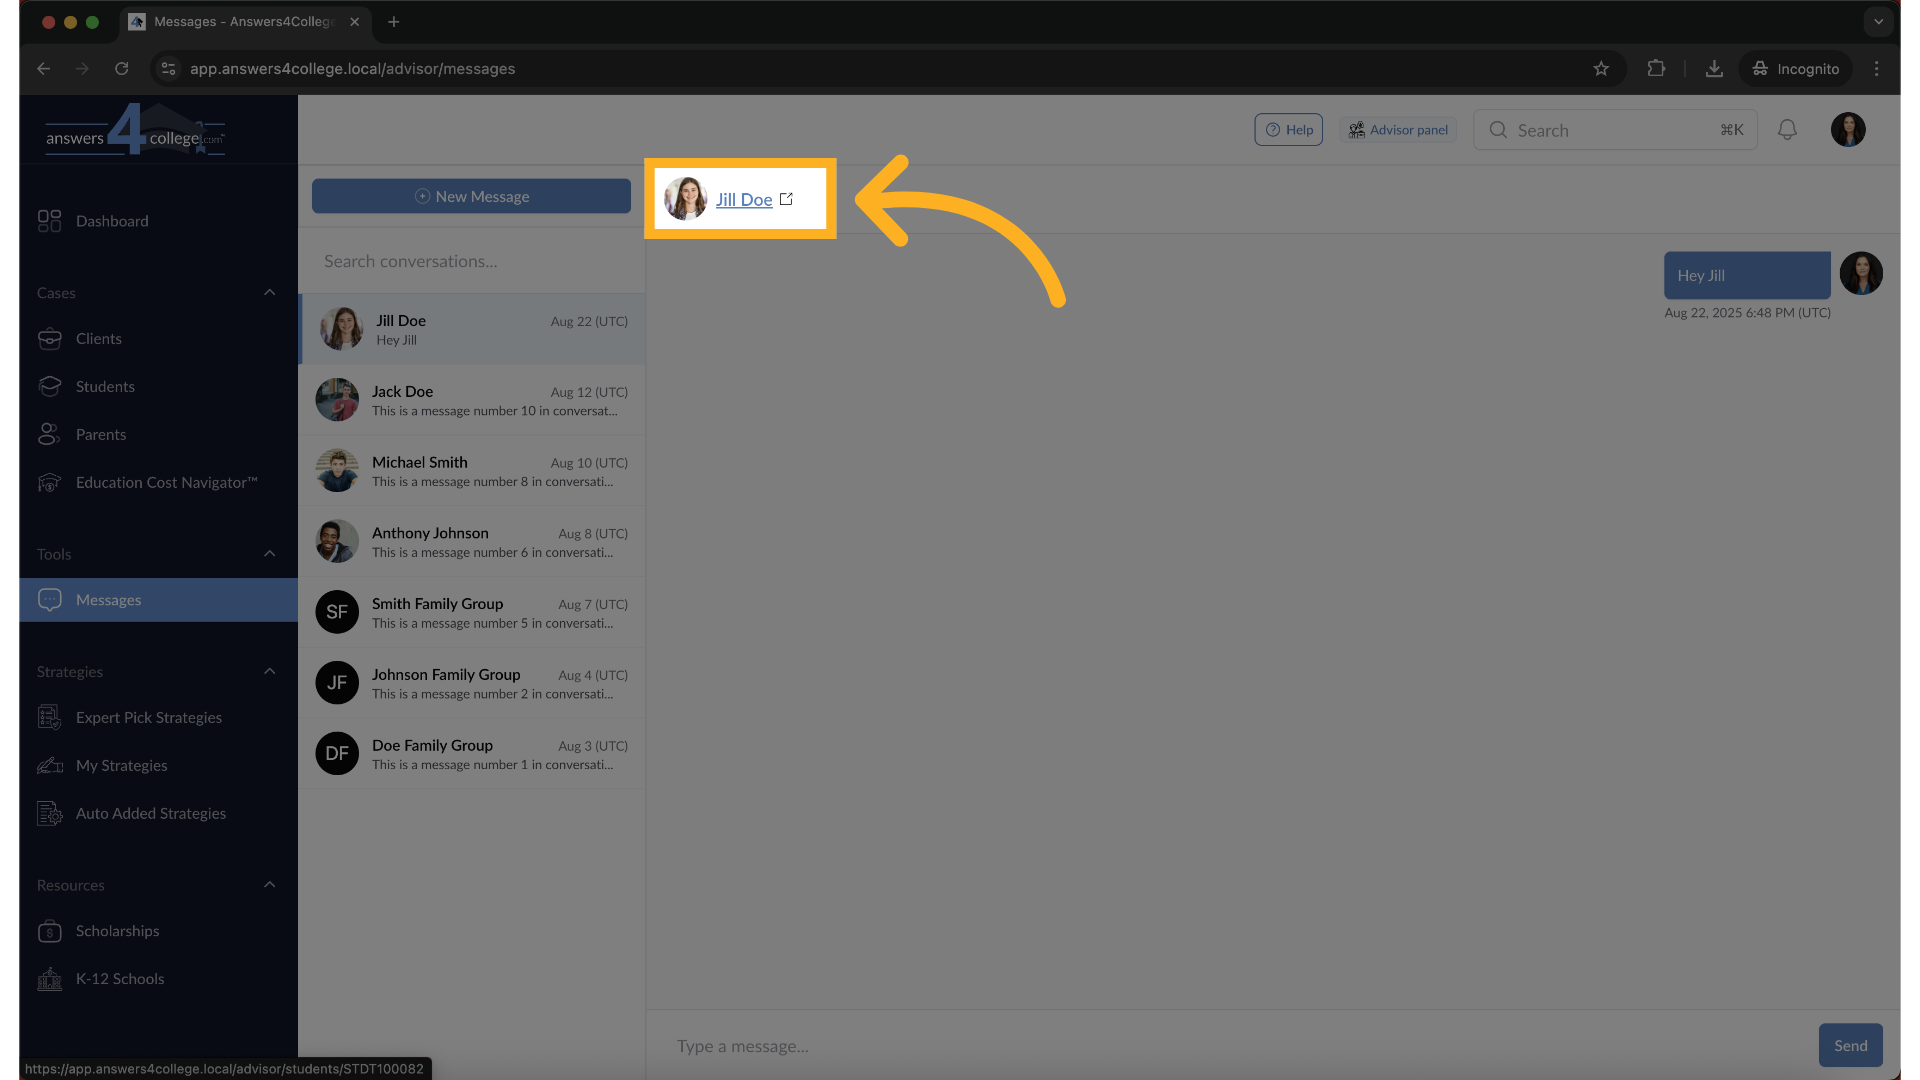
12. Navigating to profile page
Notice that you can click on the person's name - this takes you directly
to their profile page, making it easy to reference their information while
messaging.
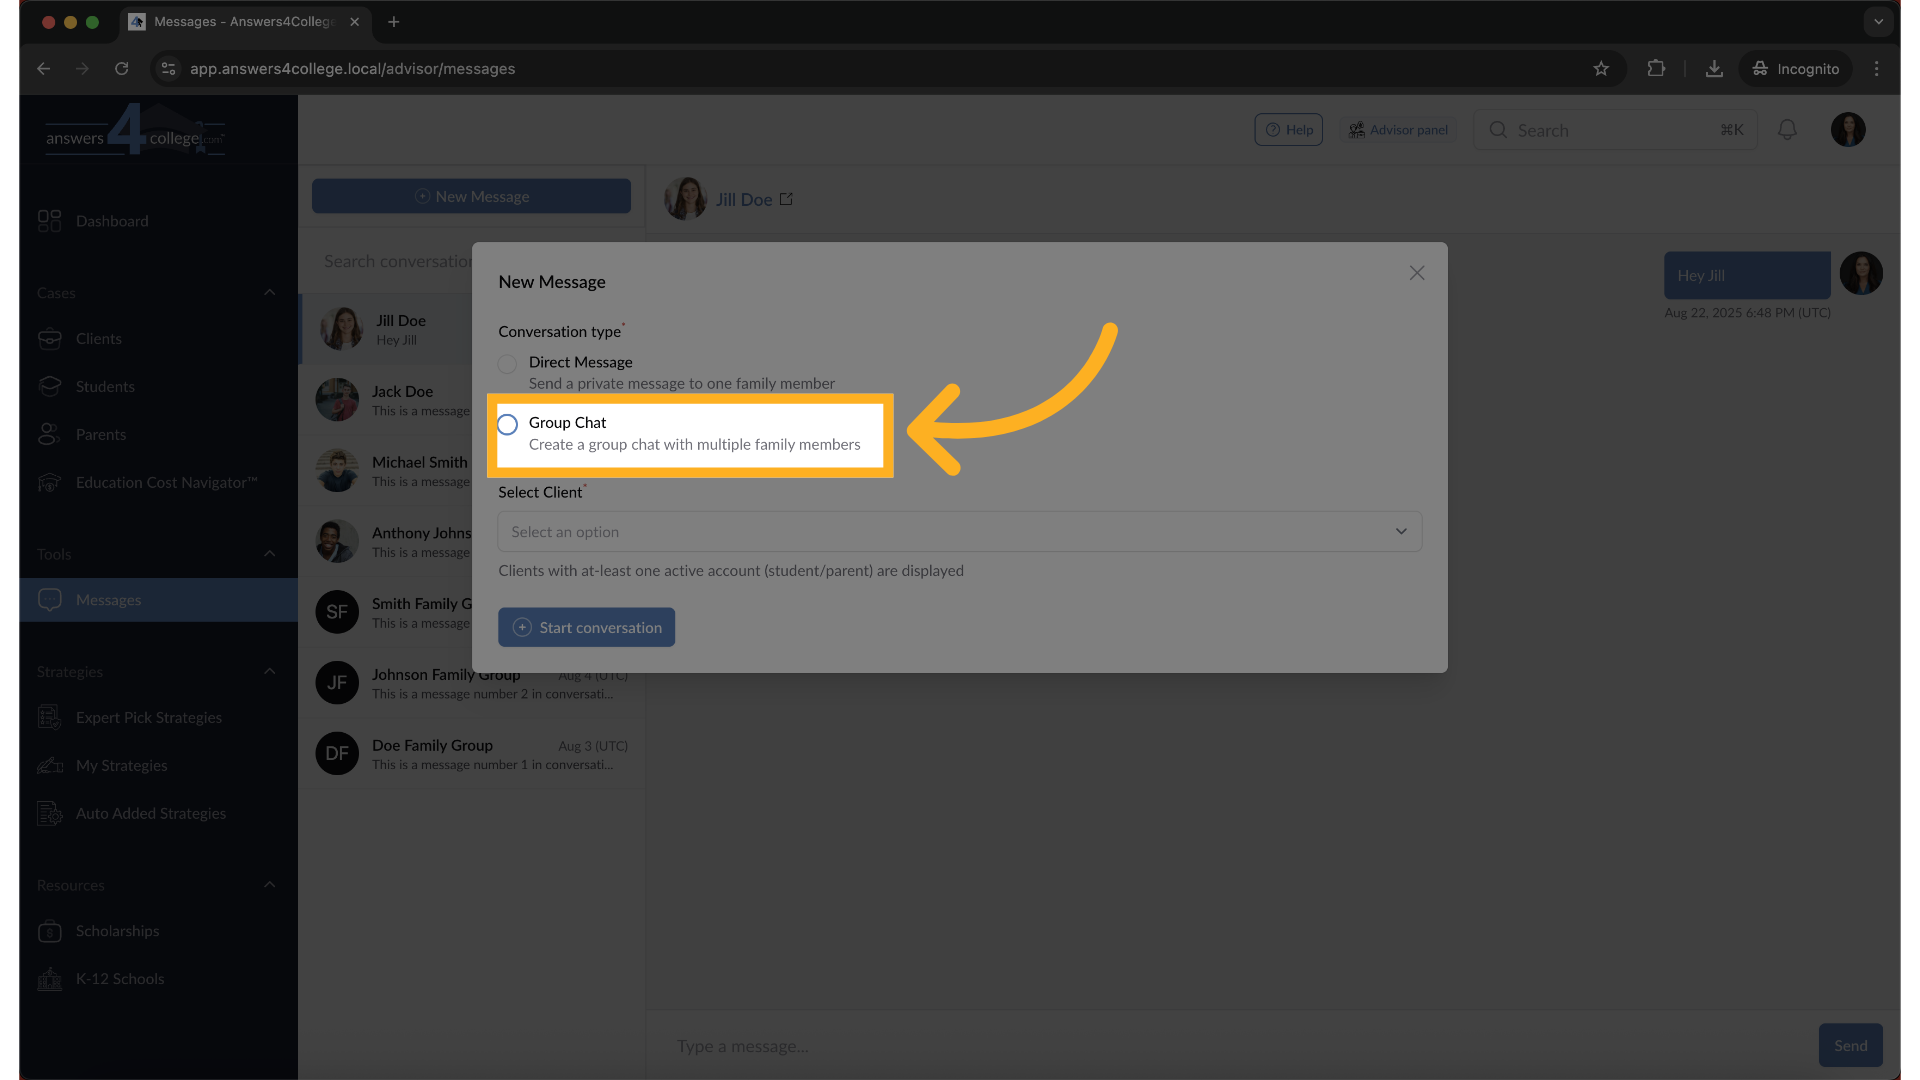
13. Starting a Group Chat
Now let's create a group message for an entire family. Click "New Message"
again.
14. Select group chat
This time select "Group Chat" as your conversation type.
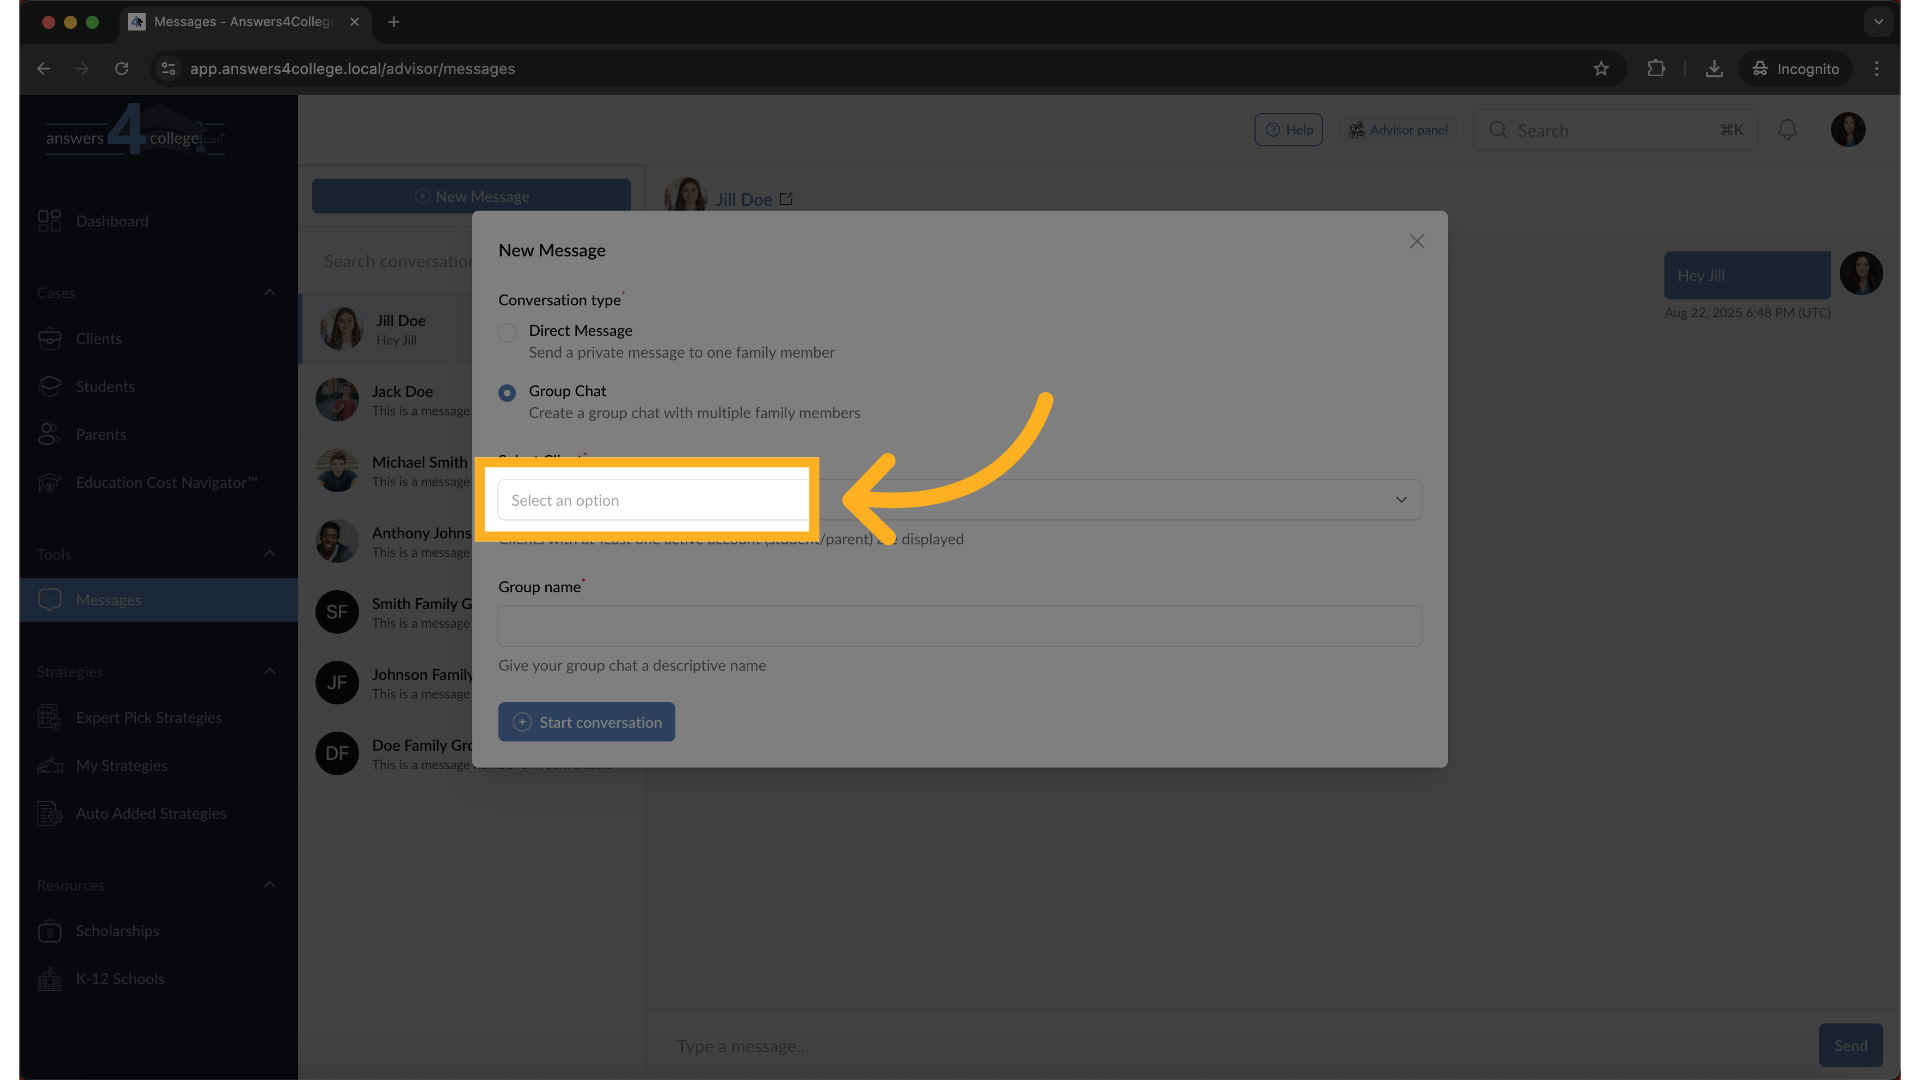
15. Setting Up the Group
First, select the client family - we'll use the Doe family again.
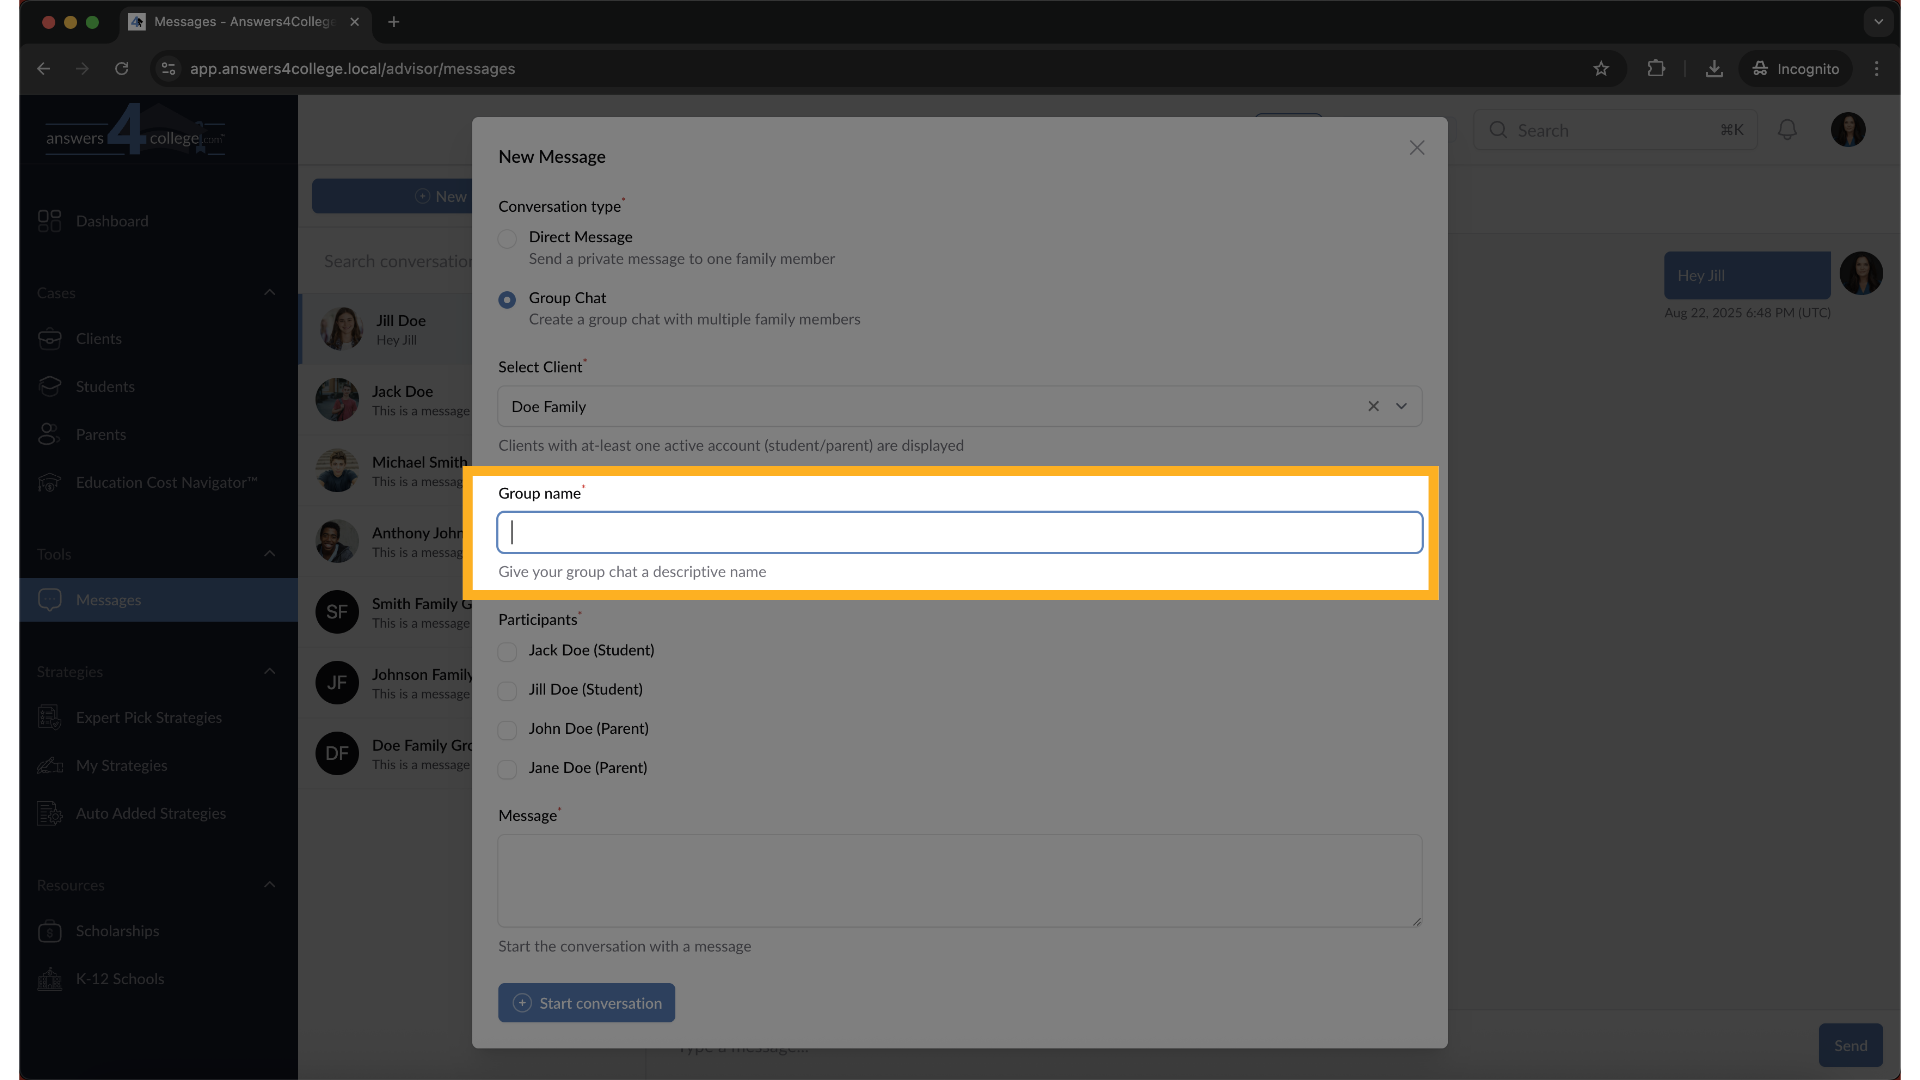
16. Enter group name
Now you'll see a field to name your group chat. Give it a descriptive name
like "Doe Family - All Members" or "Doe Family College Planning." This name
helps you identify the conversation later.
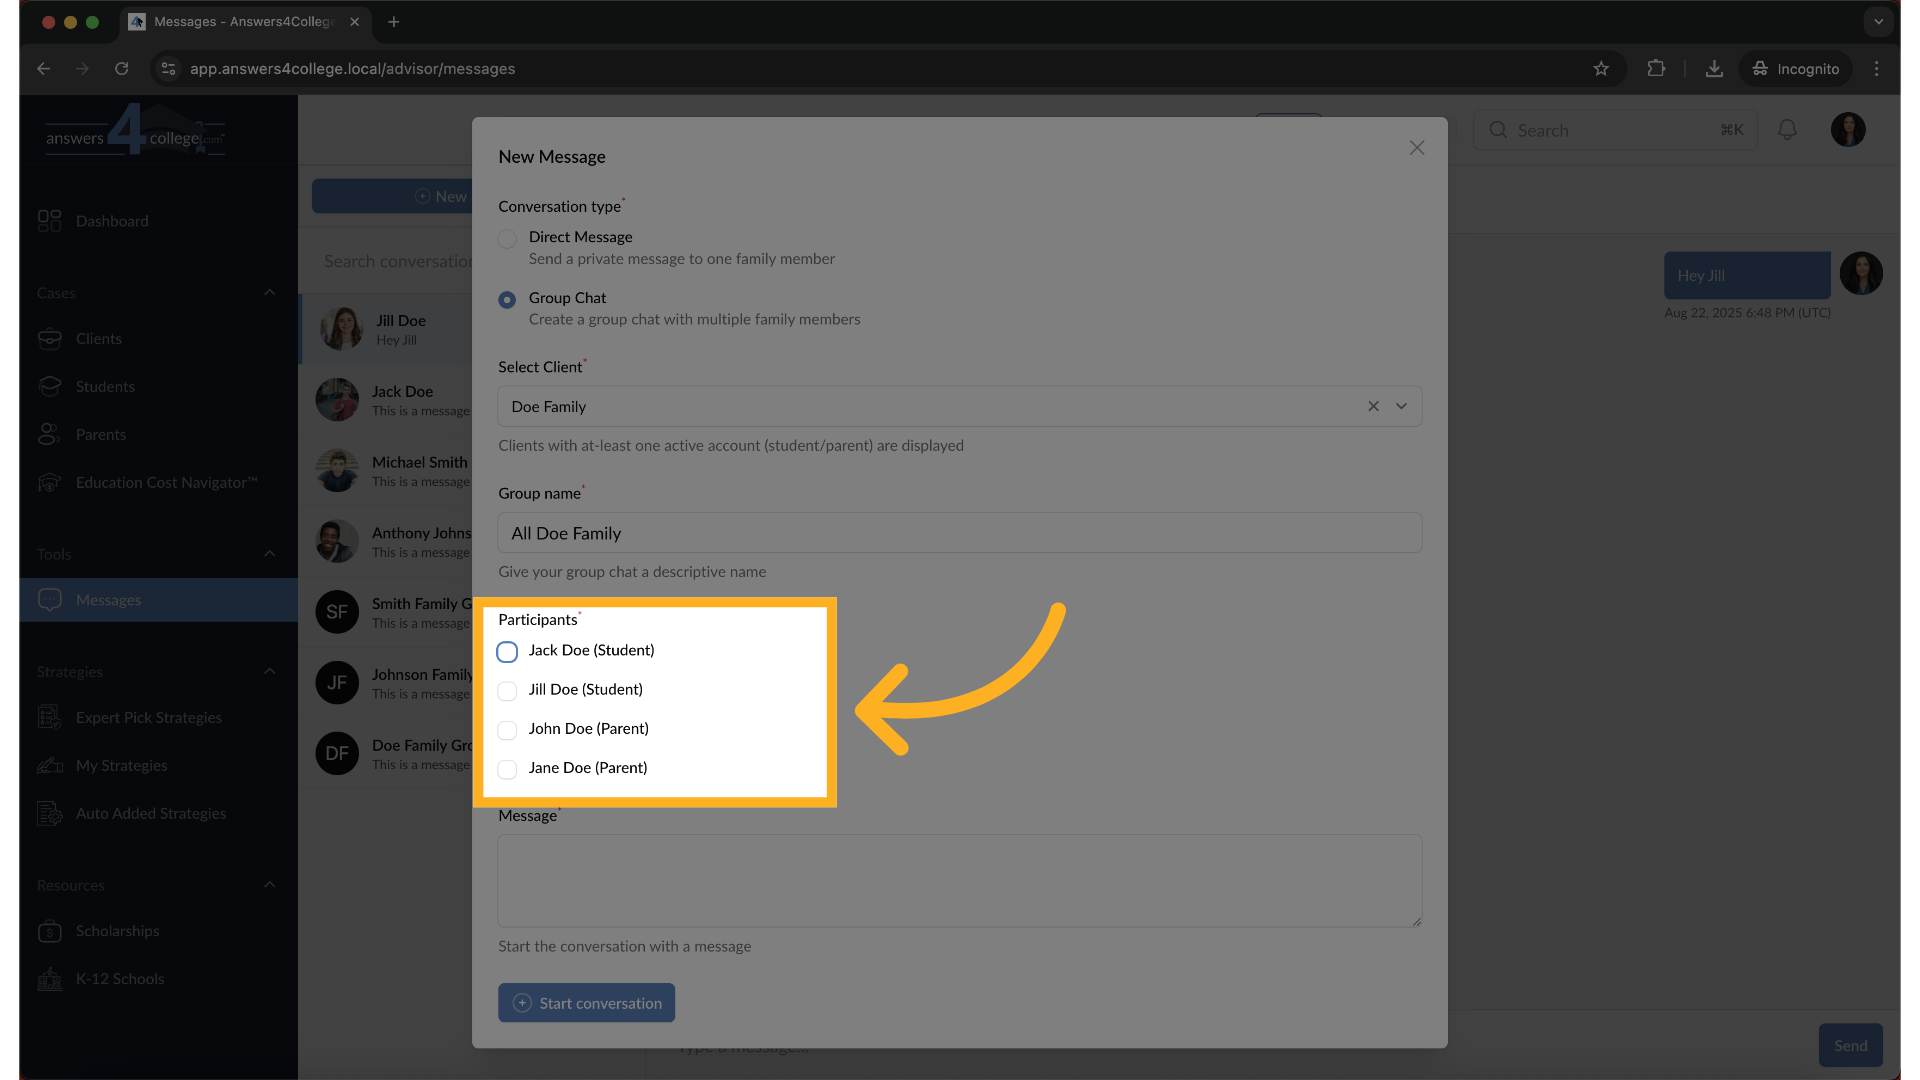
17. Adding Participants
Here's where group chats shine - you can select multiple participants from
the same family. Check the boxes for everyone you want to include. In this
example, we might select Jack Doe and Jill Doe (the students), plus John
Doe and Jane Doe (the parents). This creates a family-wide communication
channel.
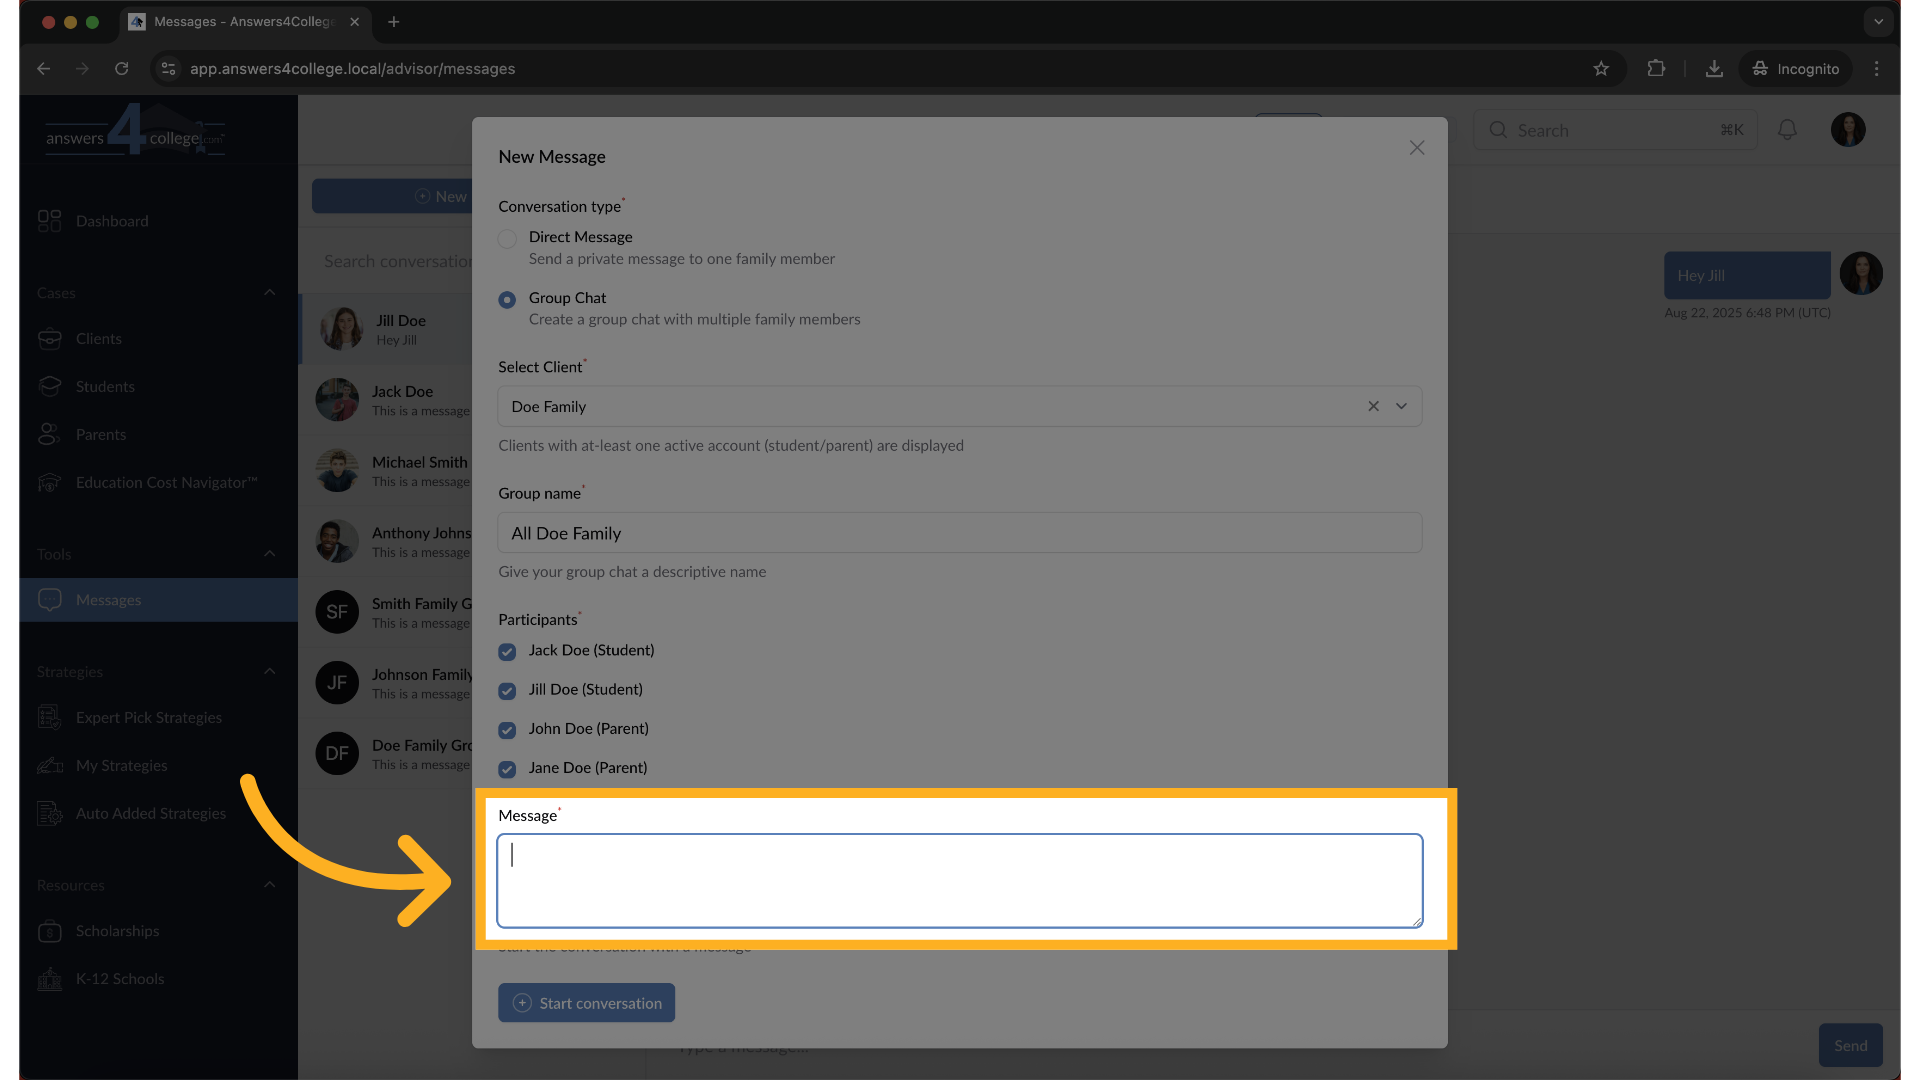
18. Sending the Group Message
Type your message that will go to all selected participants. Something like
"Hi everyone, I wanted to share some important updates about upcoming deadlines."
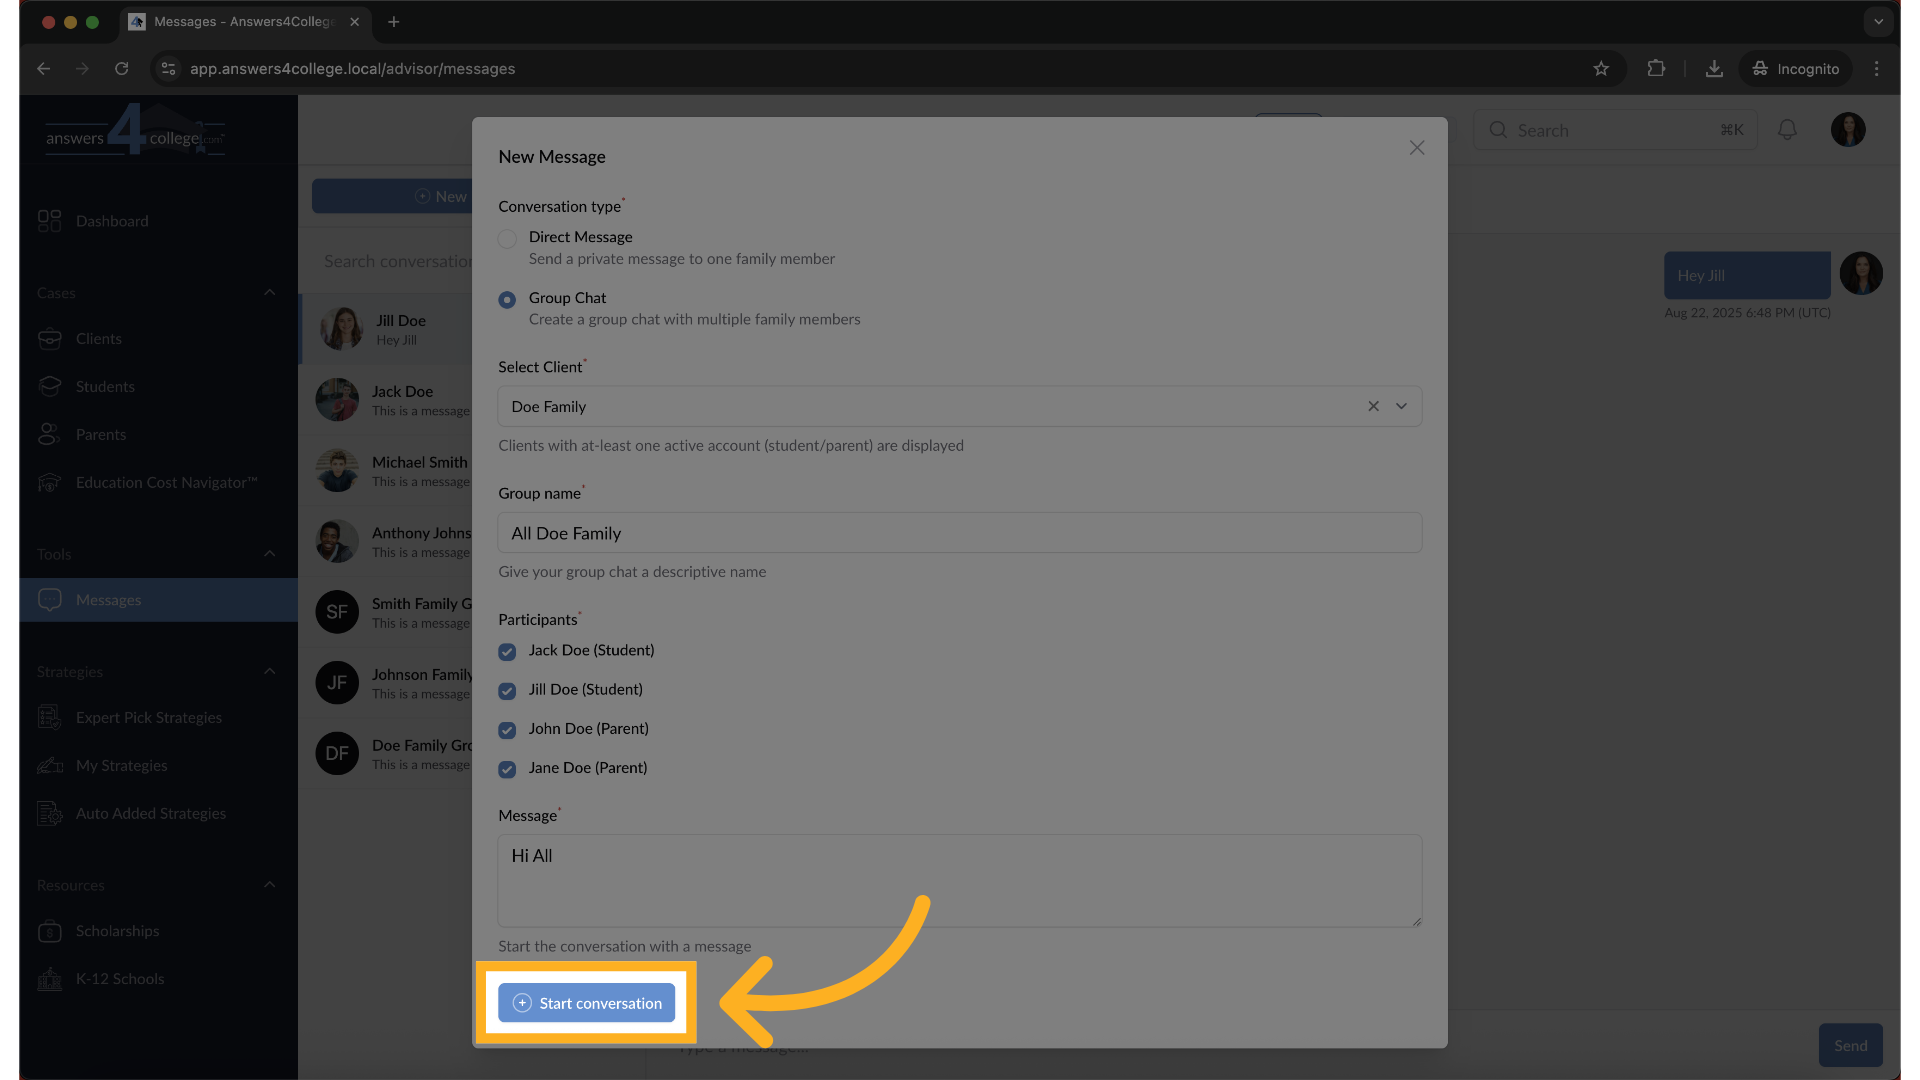
19. Start conversation
Click "Start Conversation" to create the group chat.
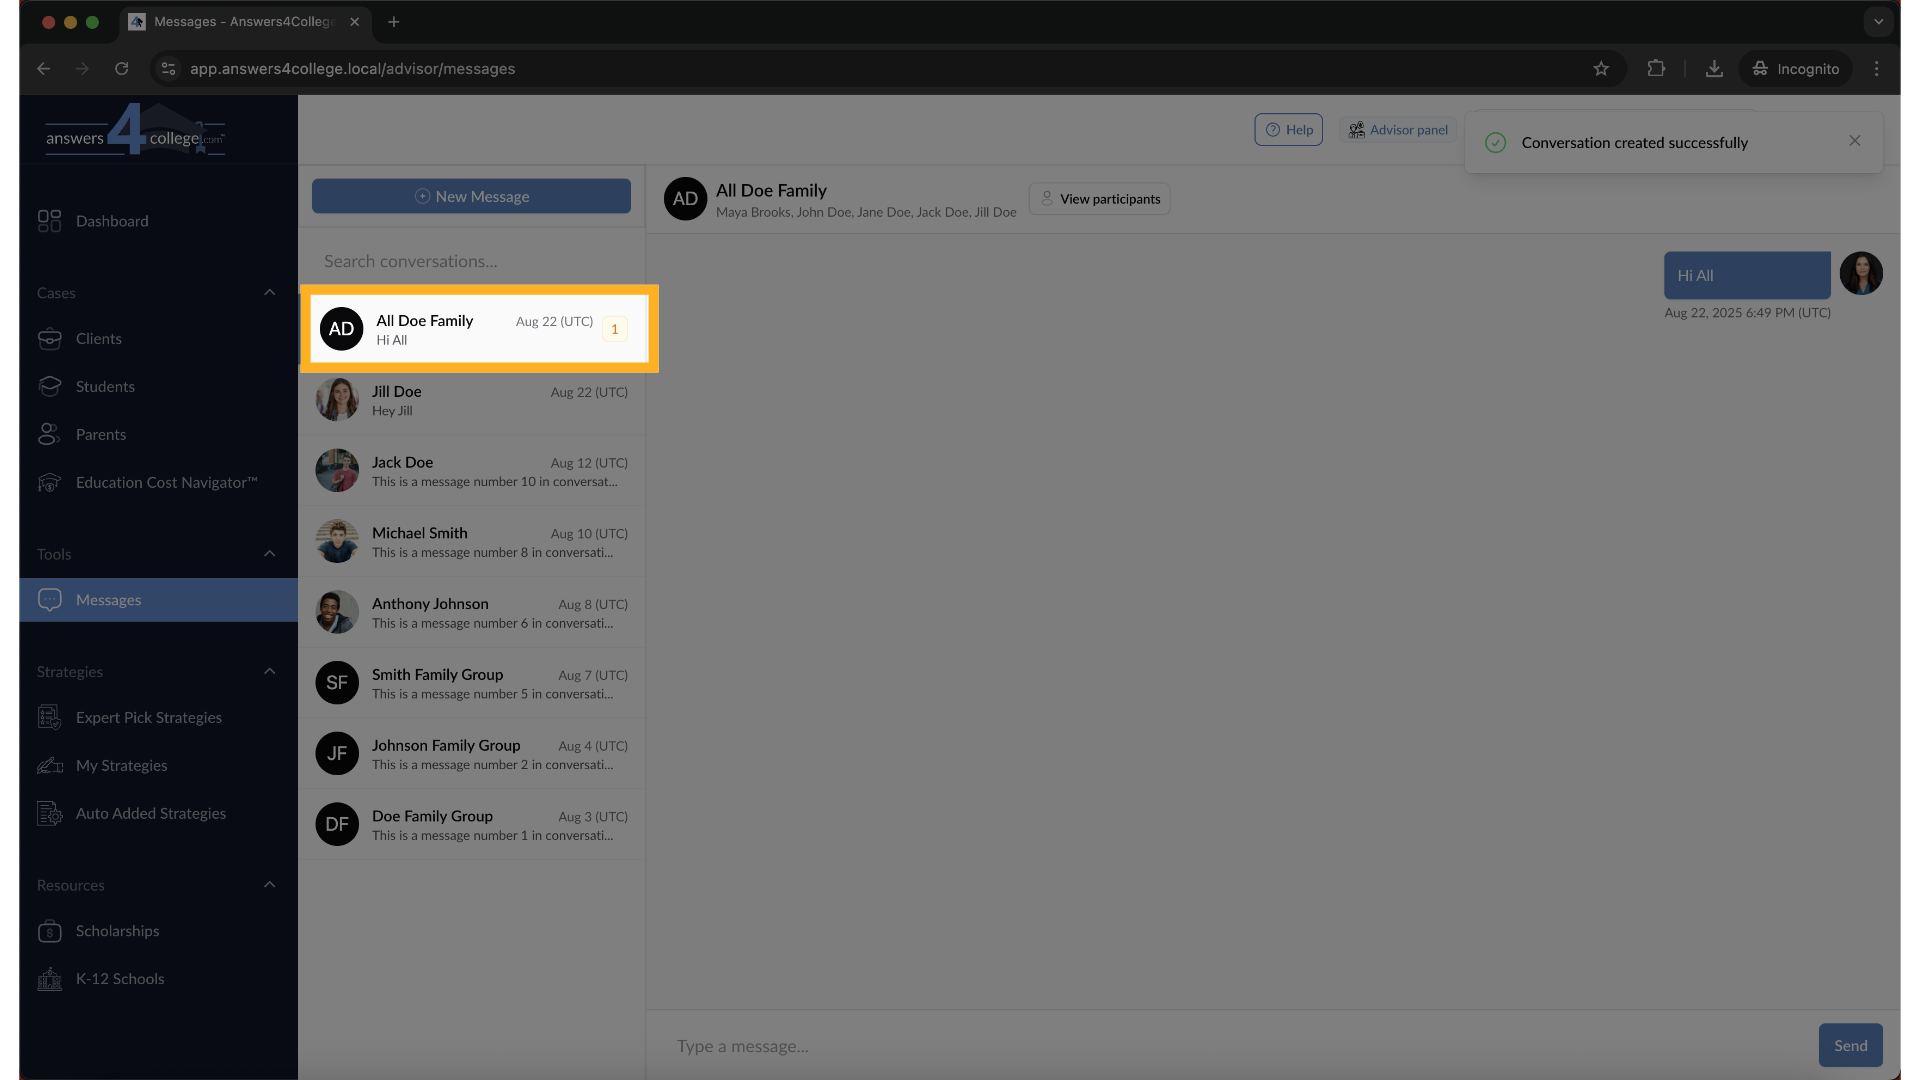
20. Conversation started
Your group conversation now appears in your messages list with the group
name you created.
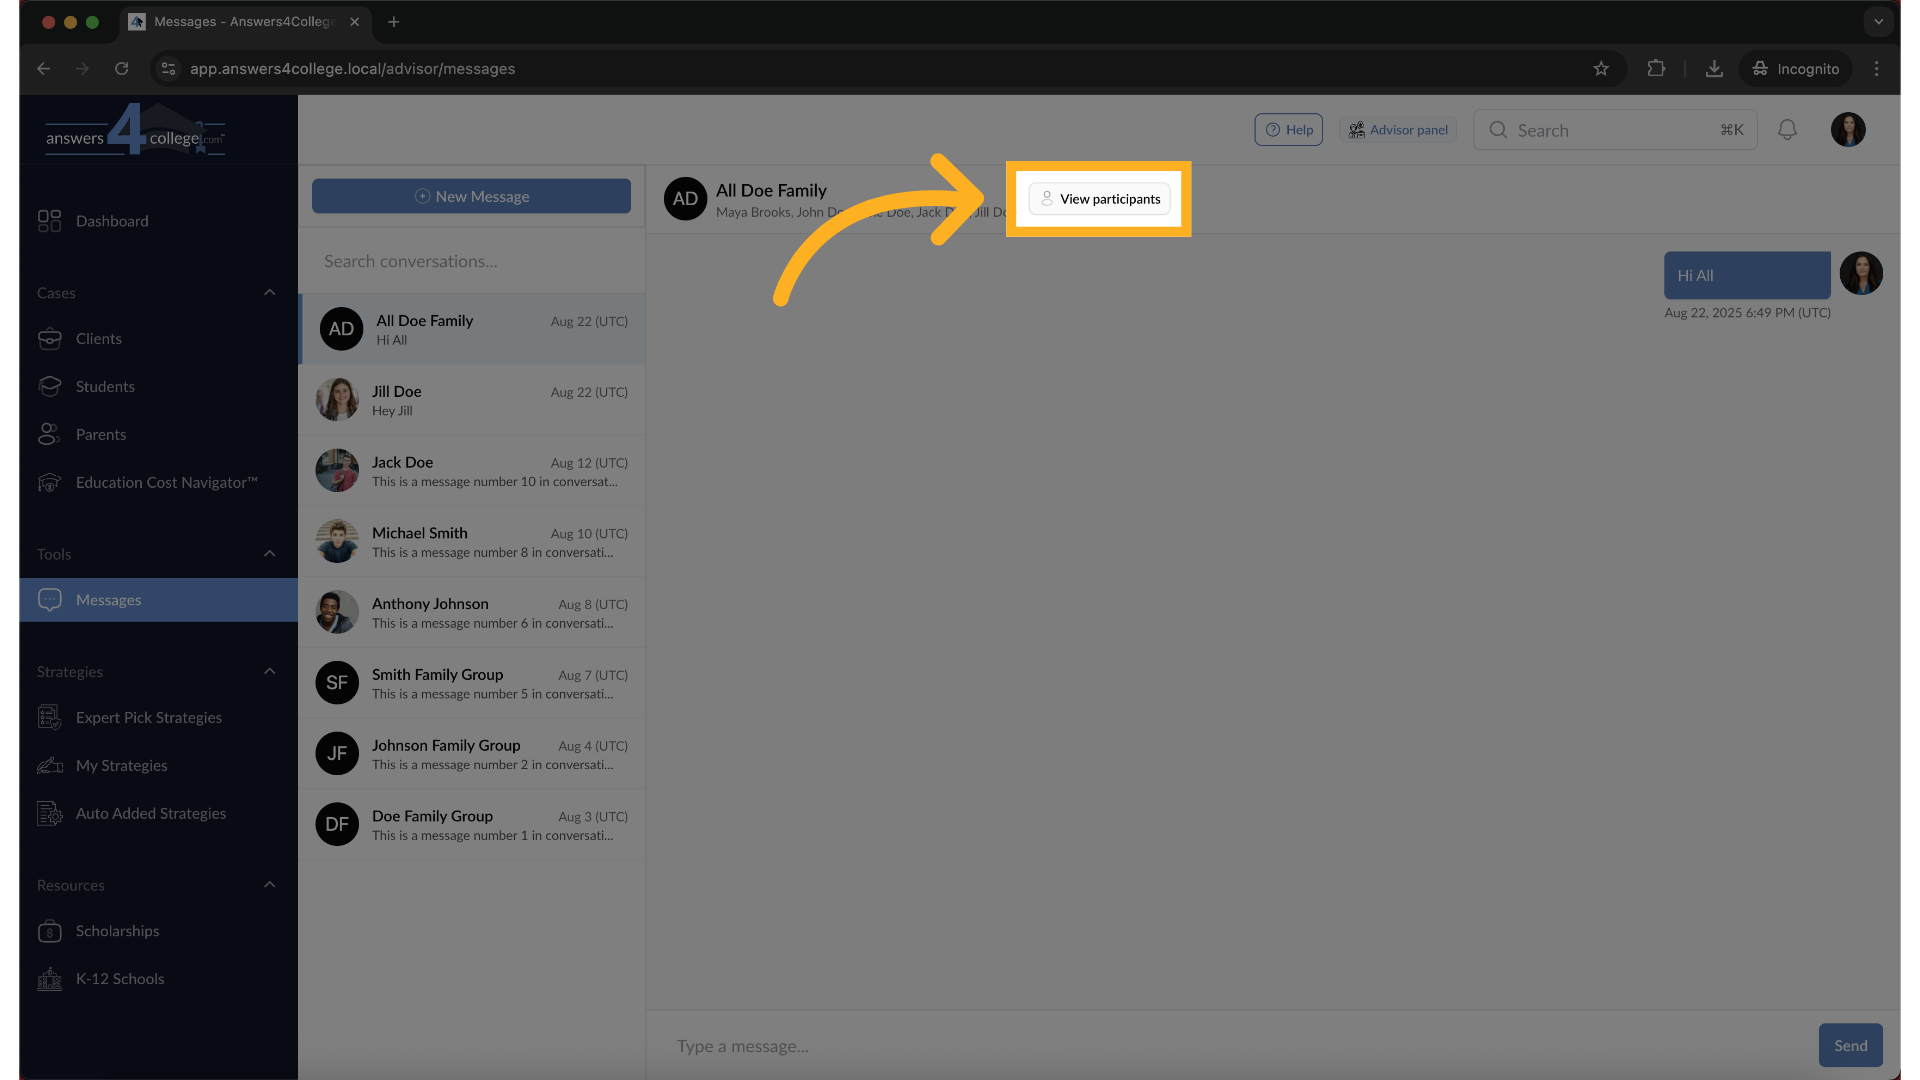
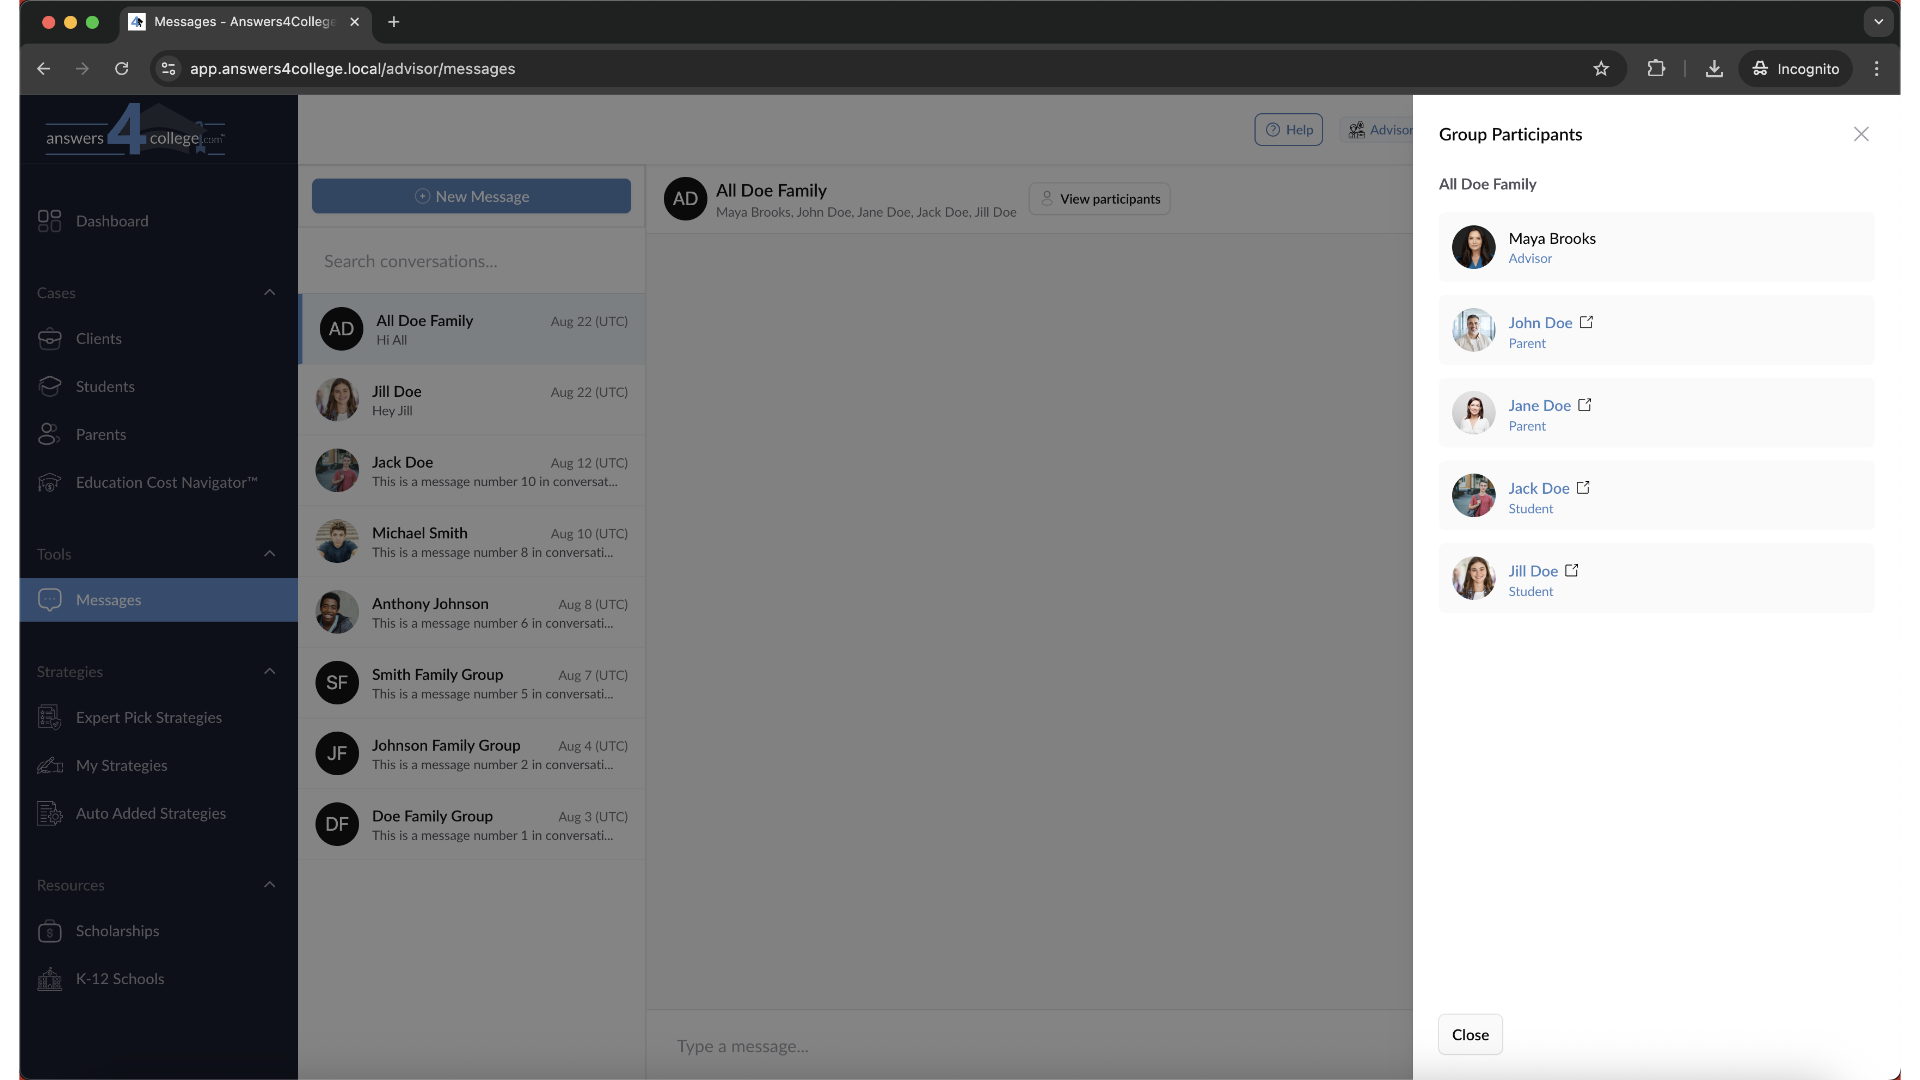
21. Click "View participants"
Click on "View Participants" at any time to see who's included in this conversation.
22. Participant list
This helps you remember who will see your messages in each group chat.
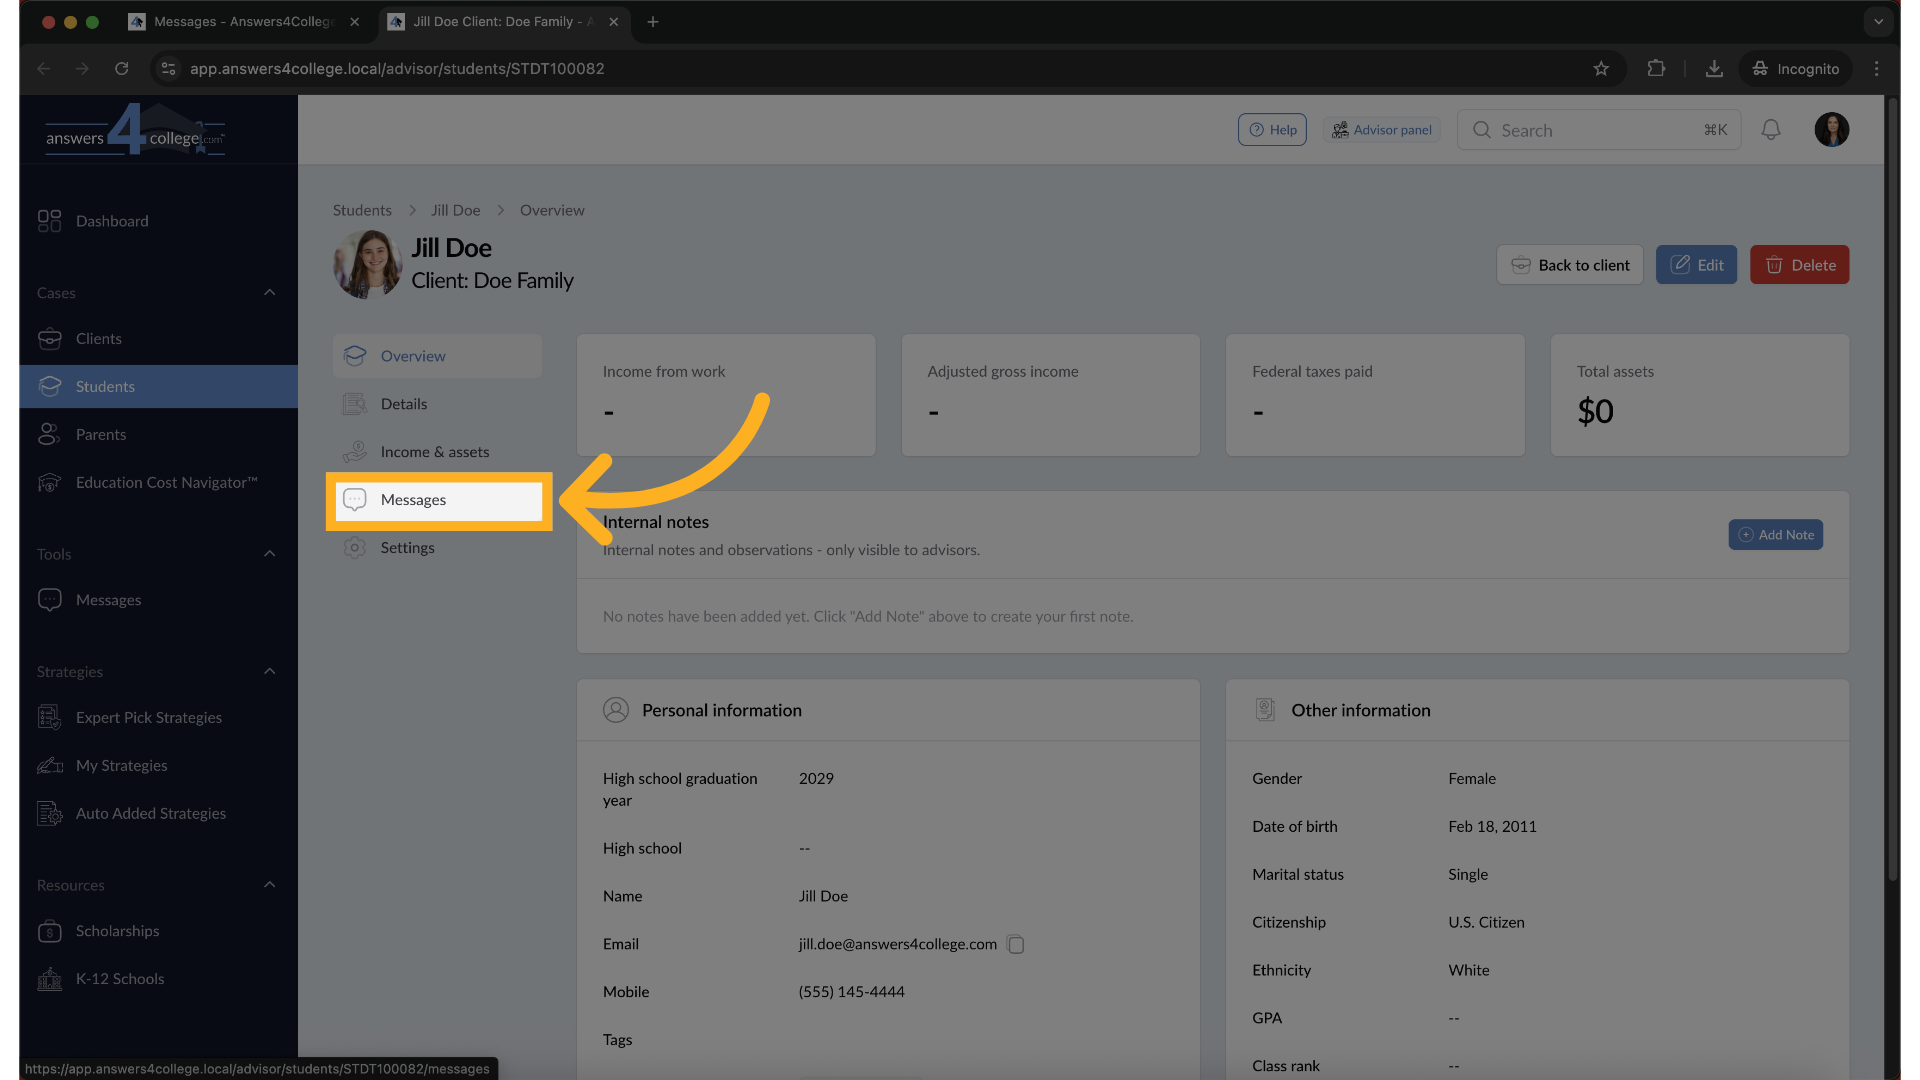
23. Accessing Messages from Student Pages
Here's a convenient feature - you don't always have to go to the main Messages
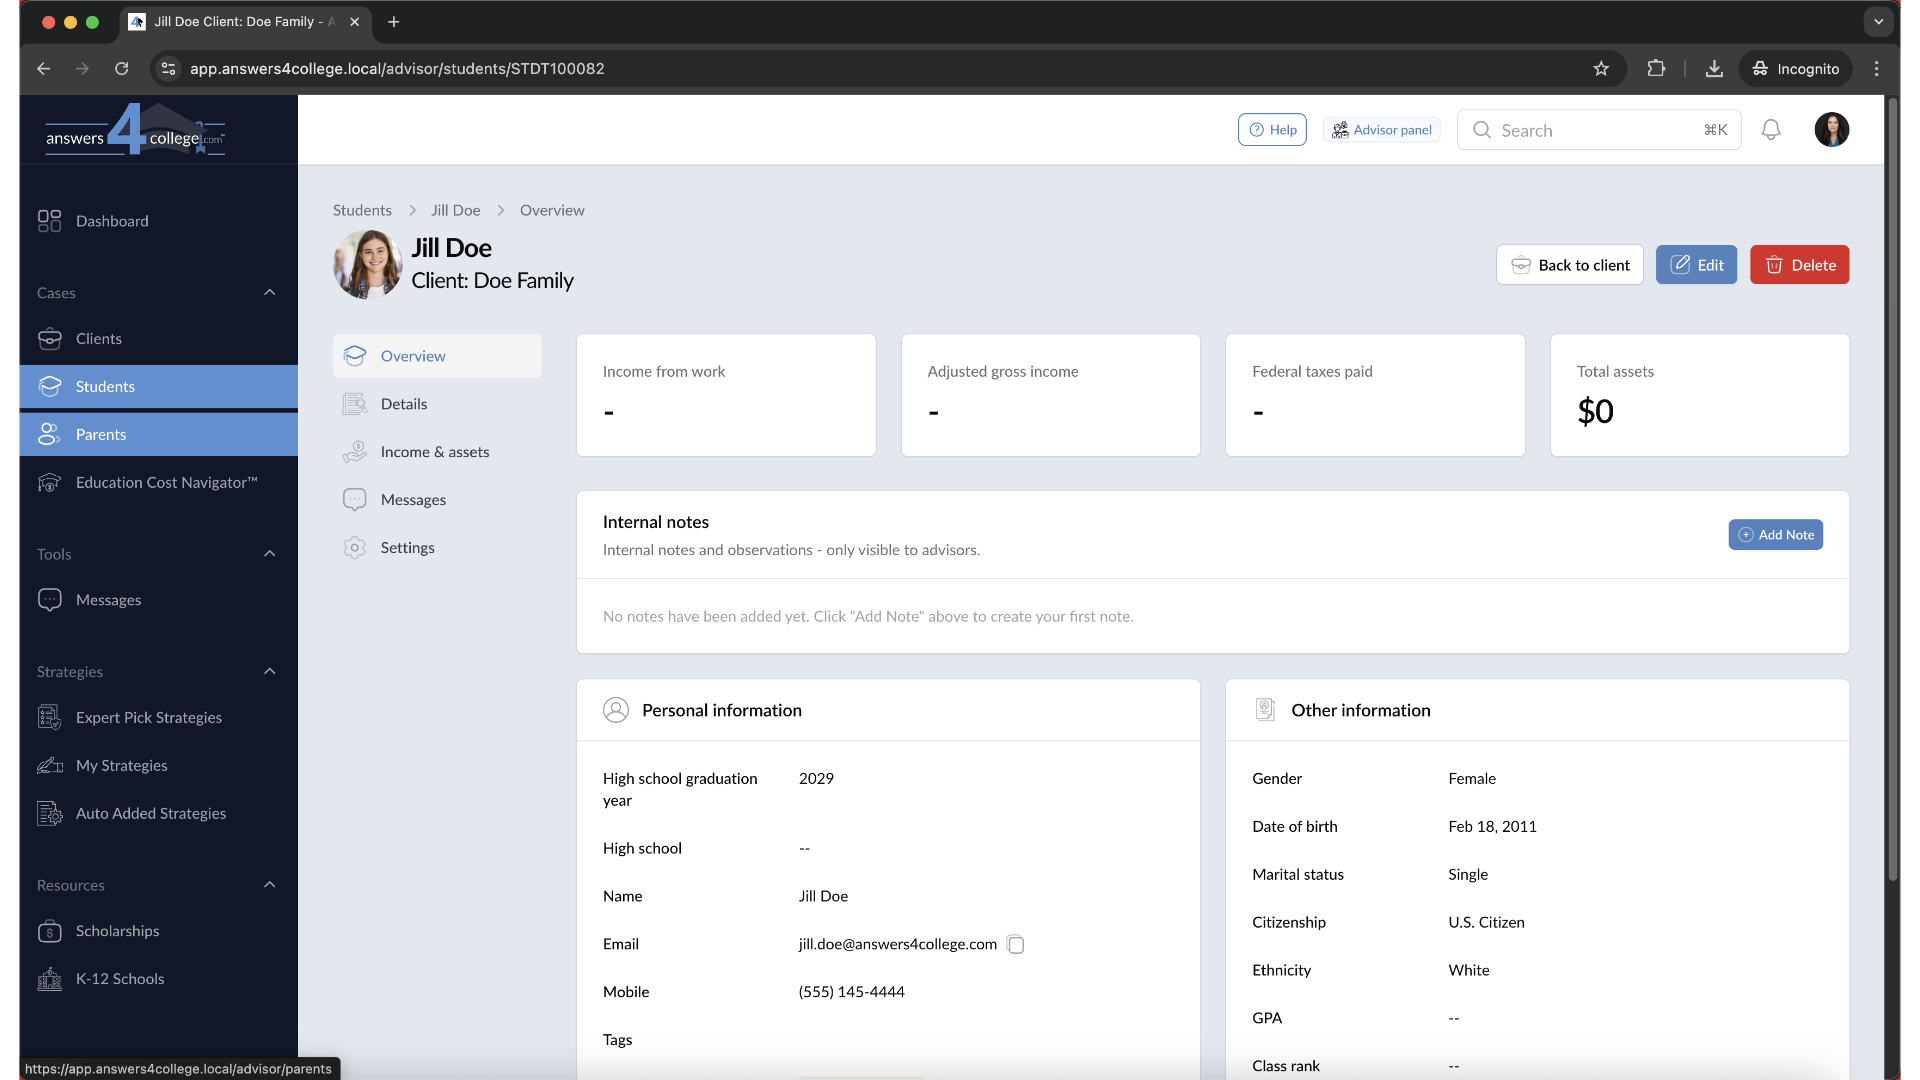
section. Navigate to any student's profile page, like Jill Doe's. Look at
the left-side menu and you'll see a "Messages" option. Click it to see your
direct conversation with this specific student.
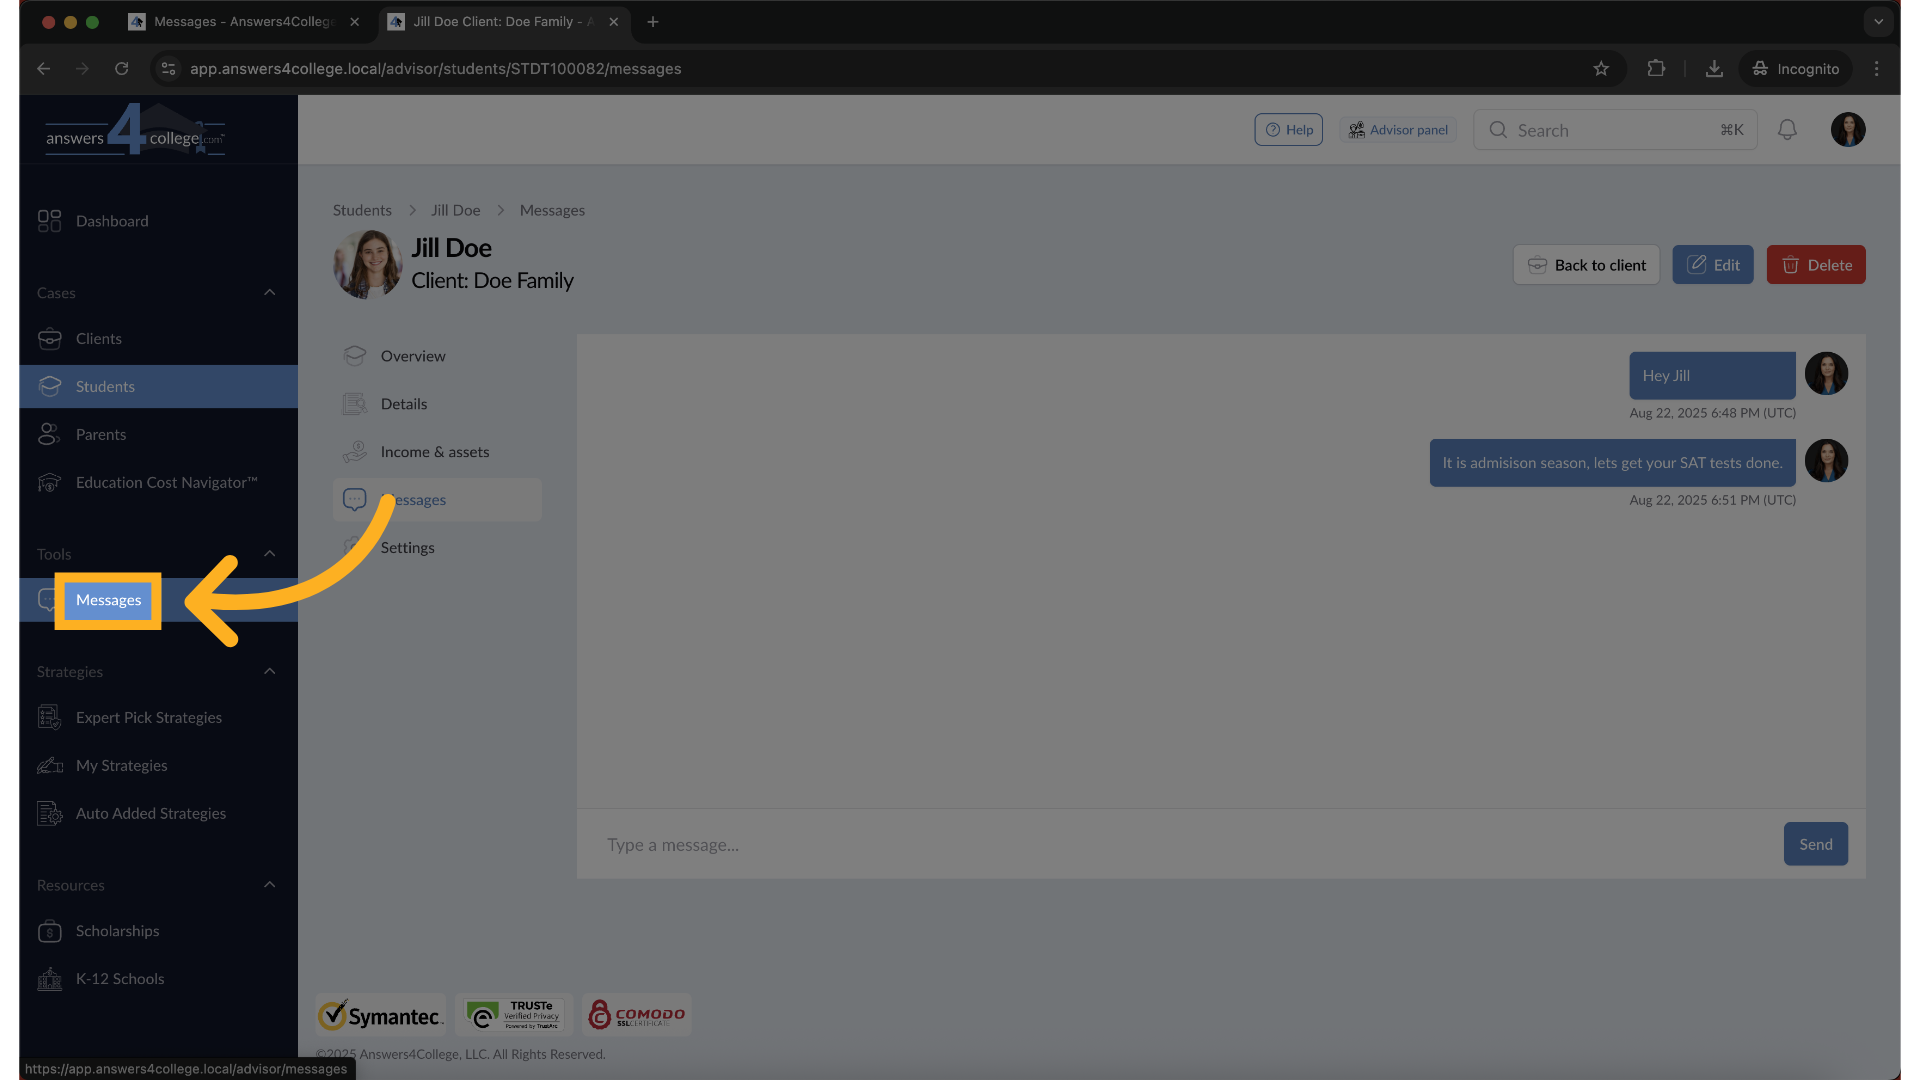
24. Quick Messaging from Profiles
From this student-specific message view, you can quickly send messages without
leaving their profile. Type something like "It's admission season - let's
make sure your SAT registration is complete" and send it. This is perfect
when you're reviewing a student's information and need to send them a quick
note.
25. Message Synchronization
After sending a message from the student's profile page, go back to your
main Messages section under Tools.
26. Message Synchronization
You'll see that your new message appears here too. Everything stays synchronized
across the system, so you can access your conversations from wherever is
most convenient.
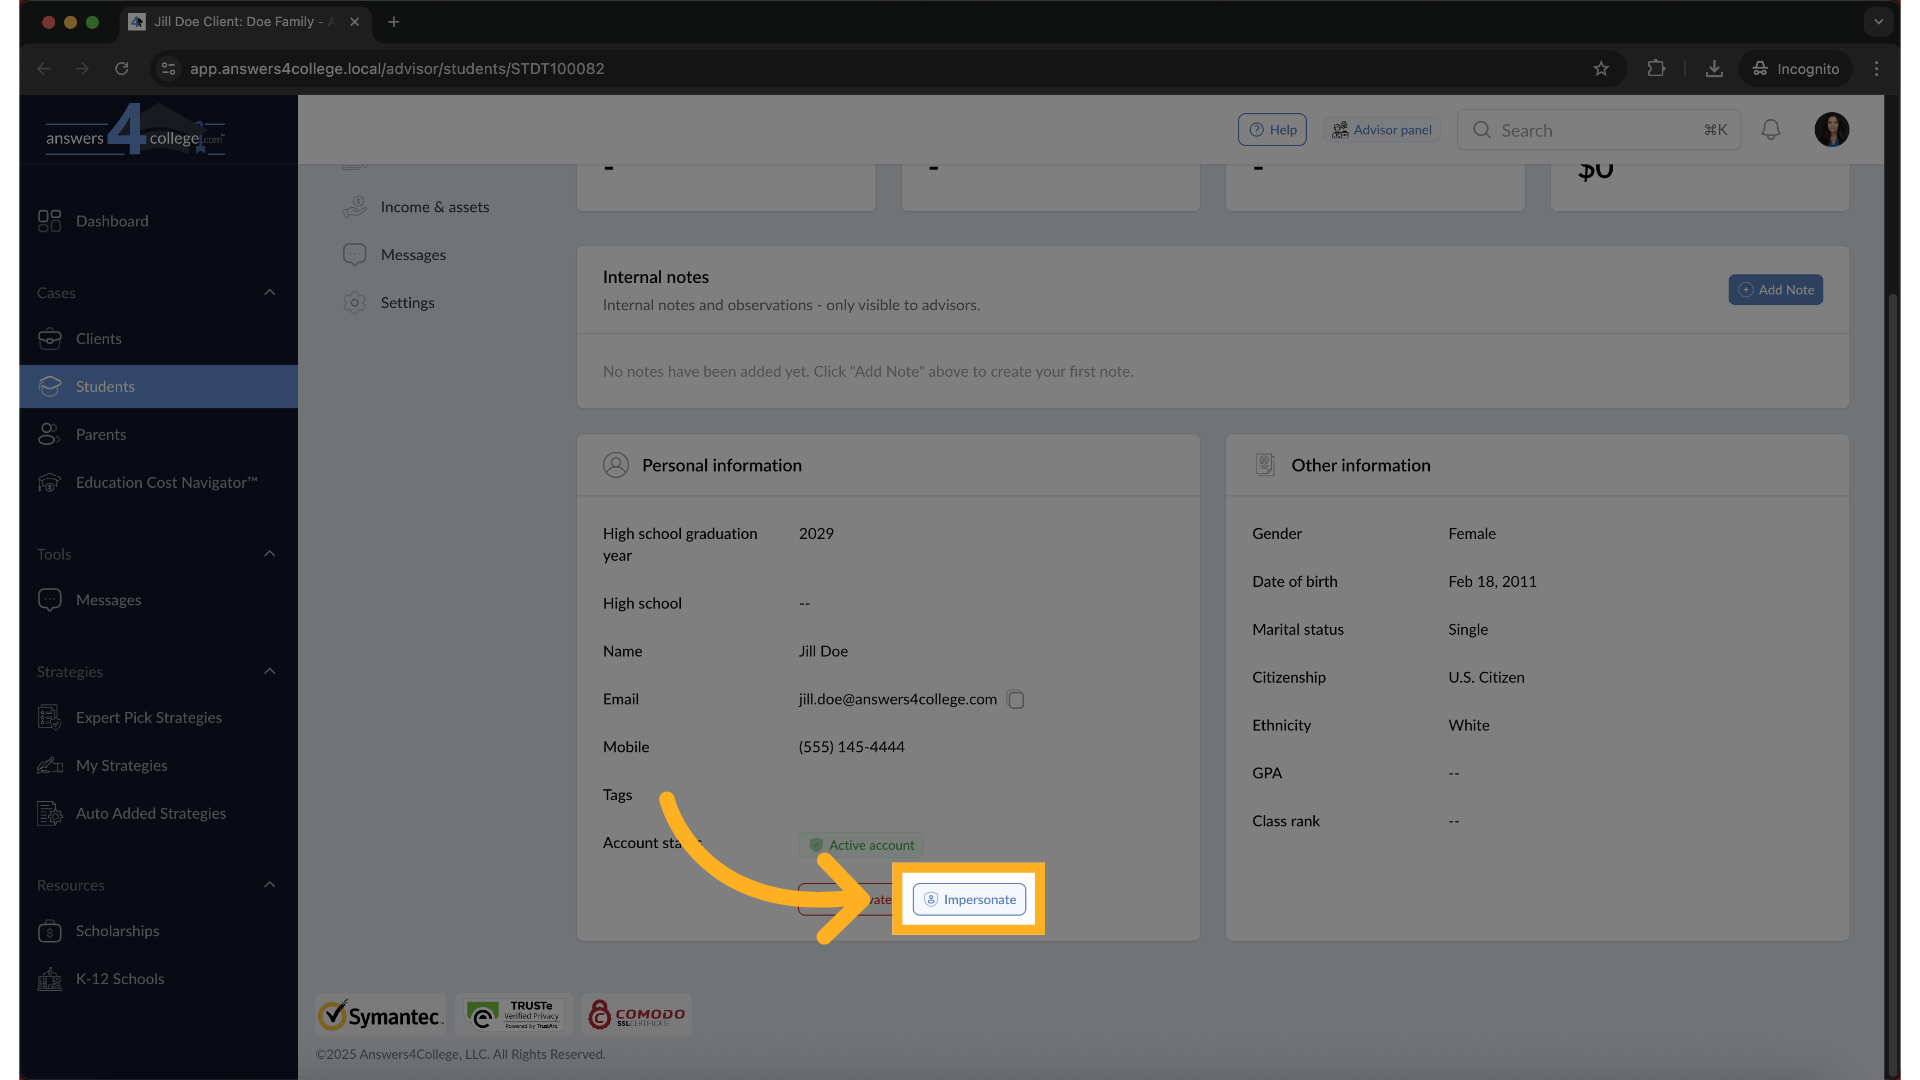
27. Viewing Messages as a Student
Let's see how messages appear to students. From a student's profile, click
"Impersonate" to see their dashboard.
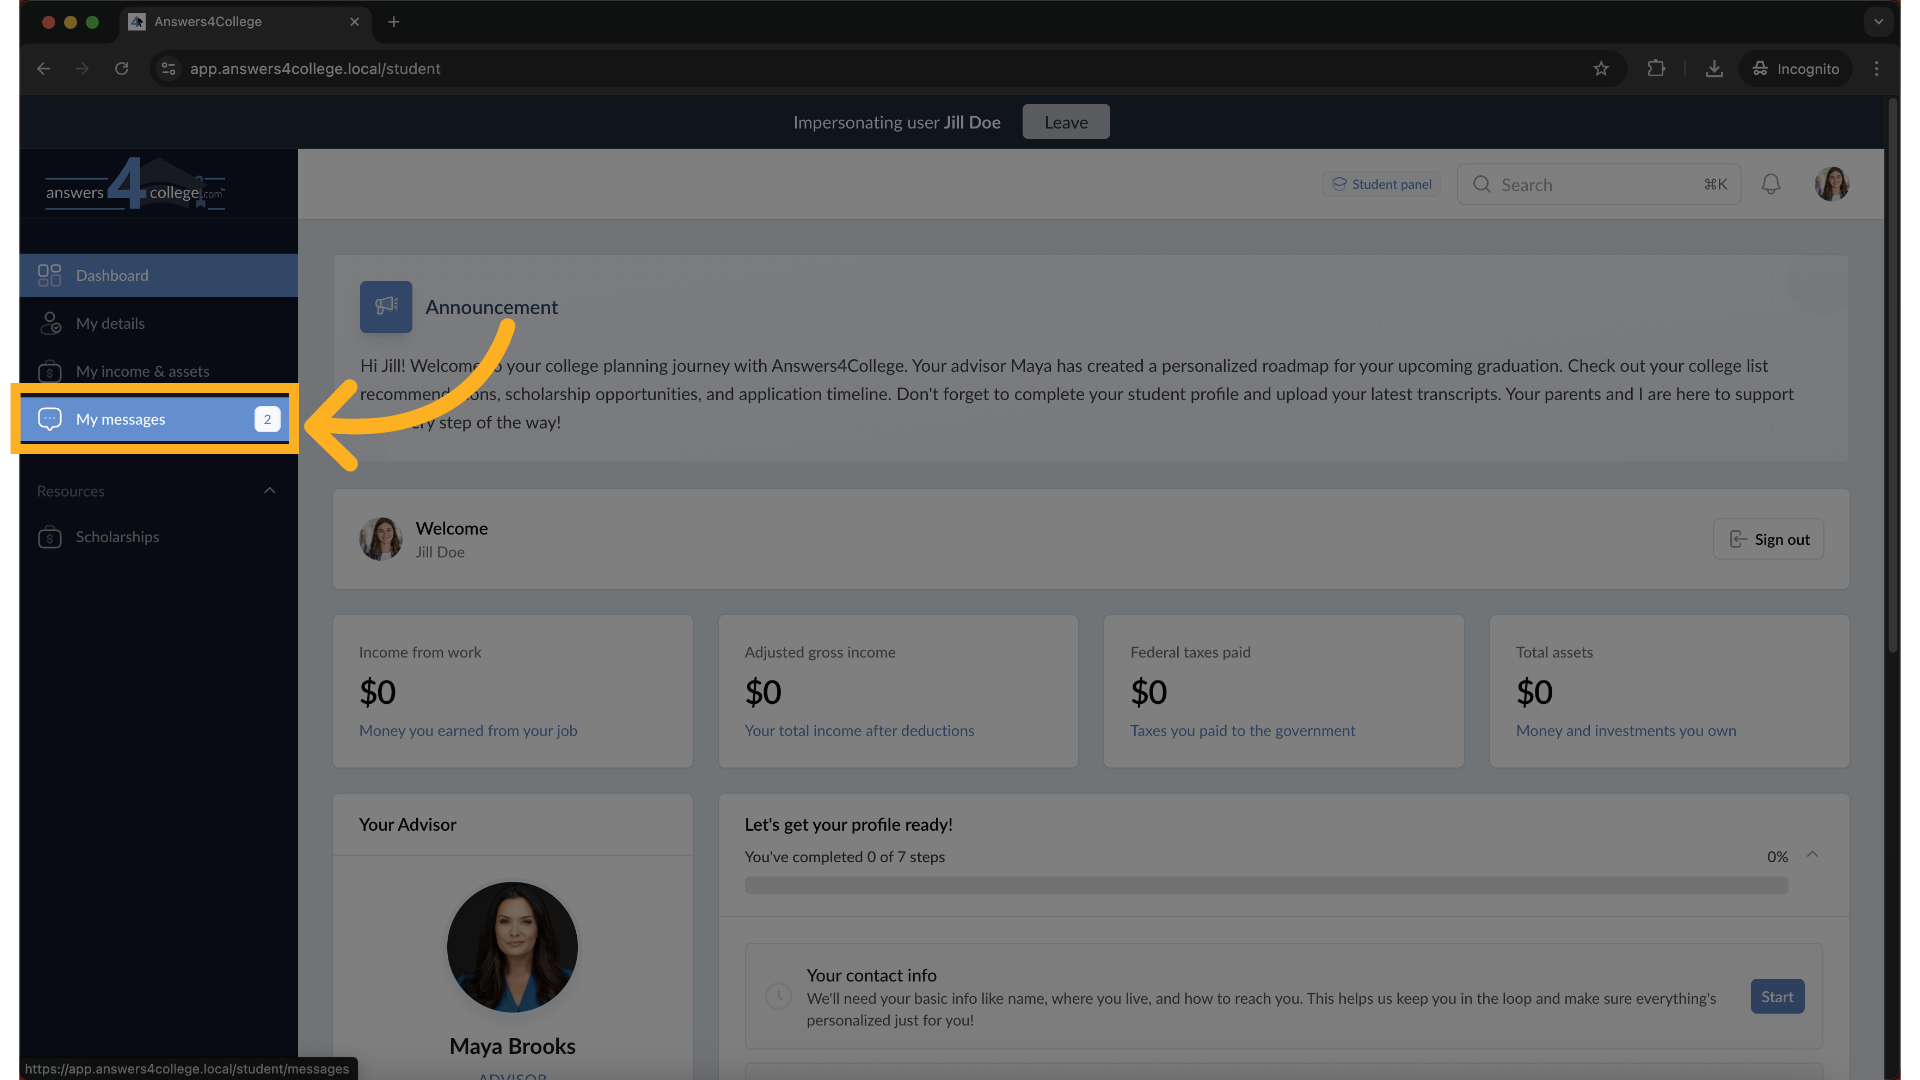
28. Click "My messages"
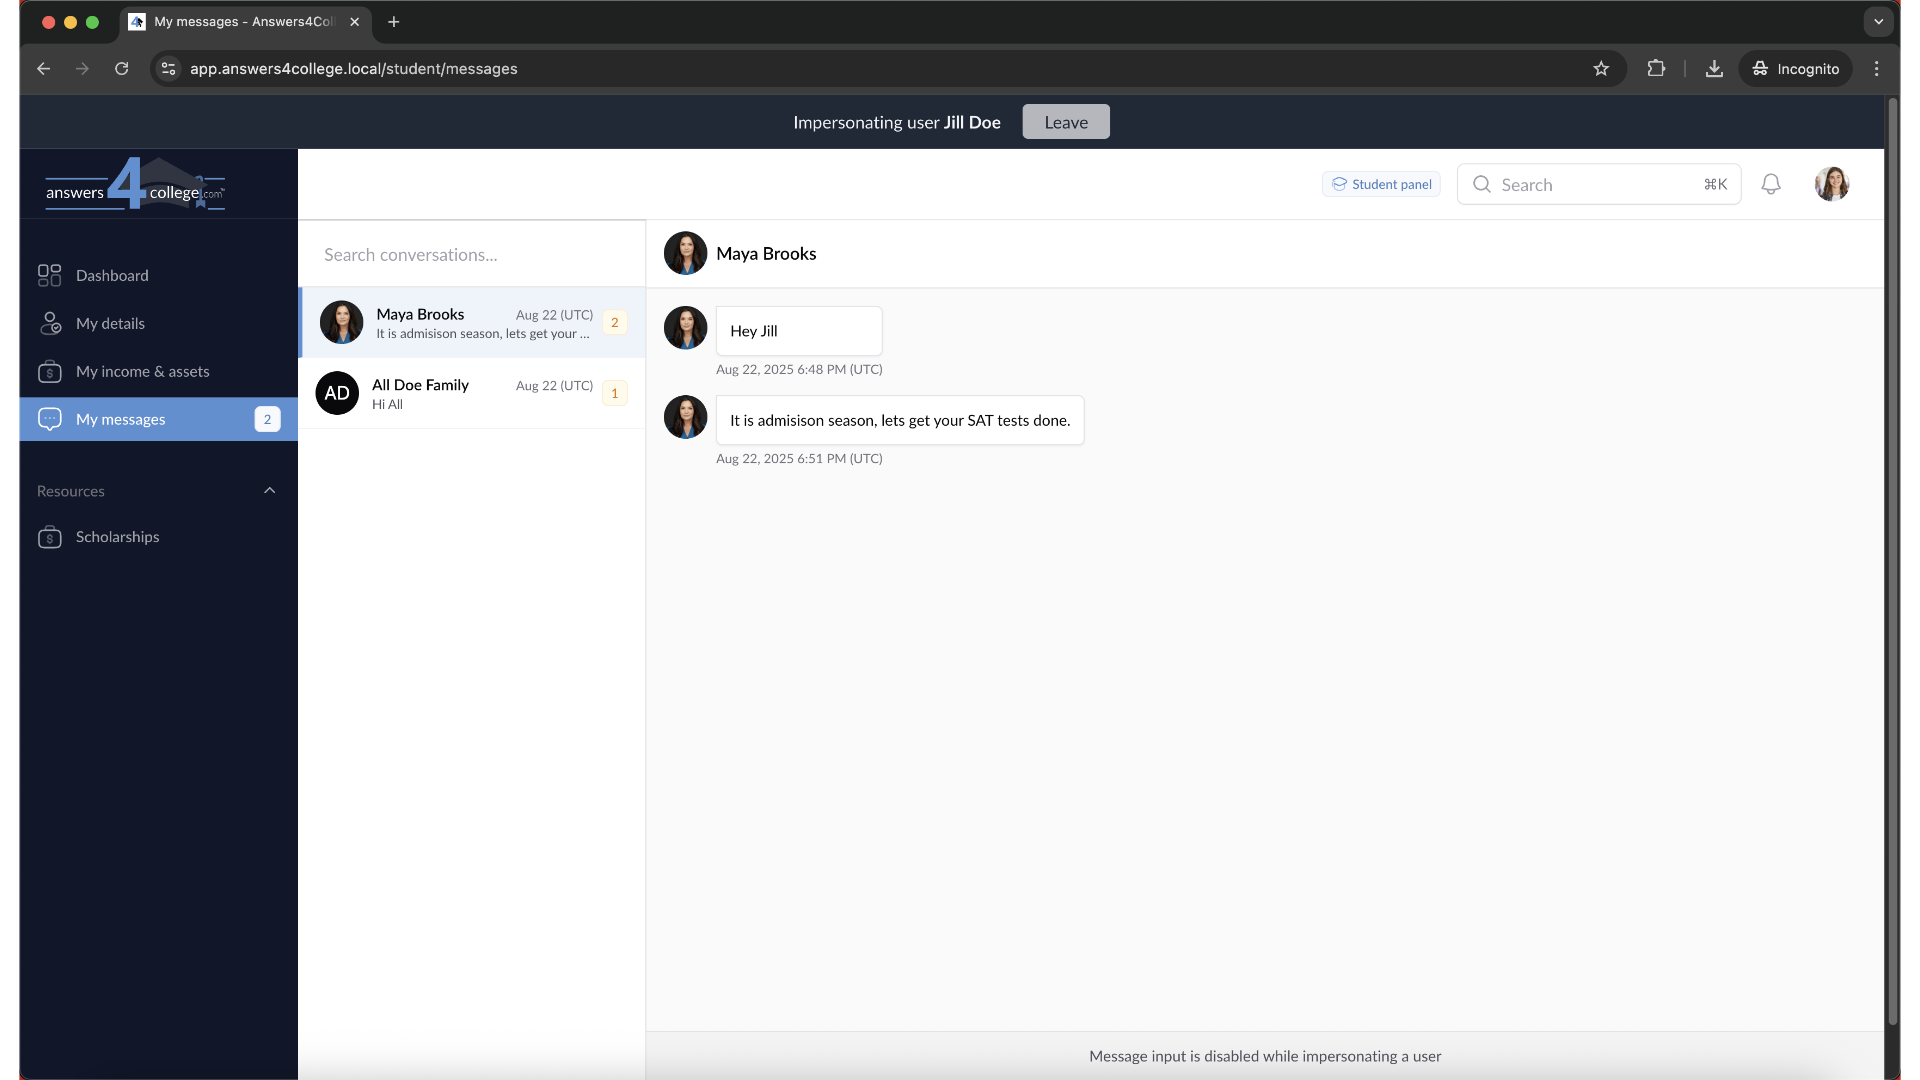
On their dashboard, they'll see a "My Messages" section. When they click
it, they can view all messages from you
29. Cannot reply
Note that while impersonating, you cannot send messages - this feature is
disabled for security reasons during impersonation.
30. Parent Messaging Experience
The messaging system works identically for parents. Navigate to any parent's
profile, and you'll see the same Messages option in their menu. Parents access
their messages the same way students do, through their dashboard's "My Messages"
section.
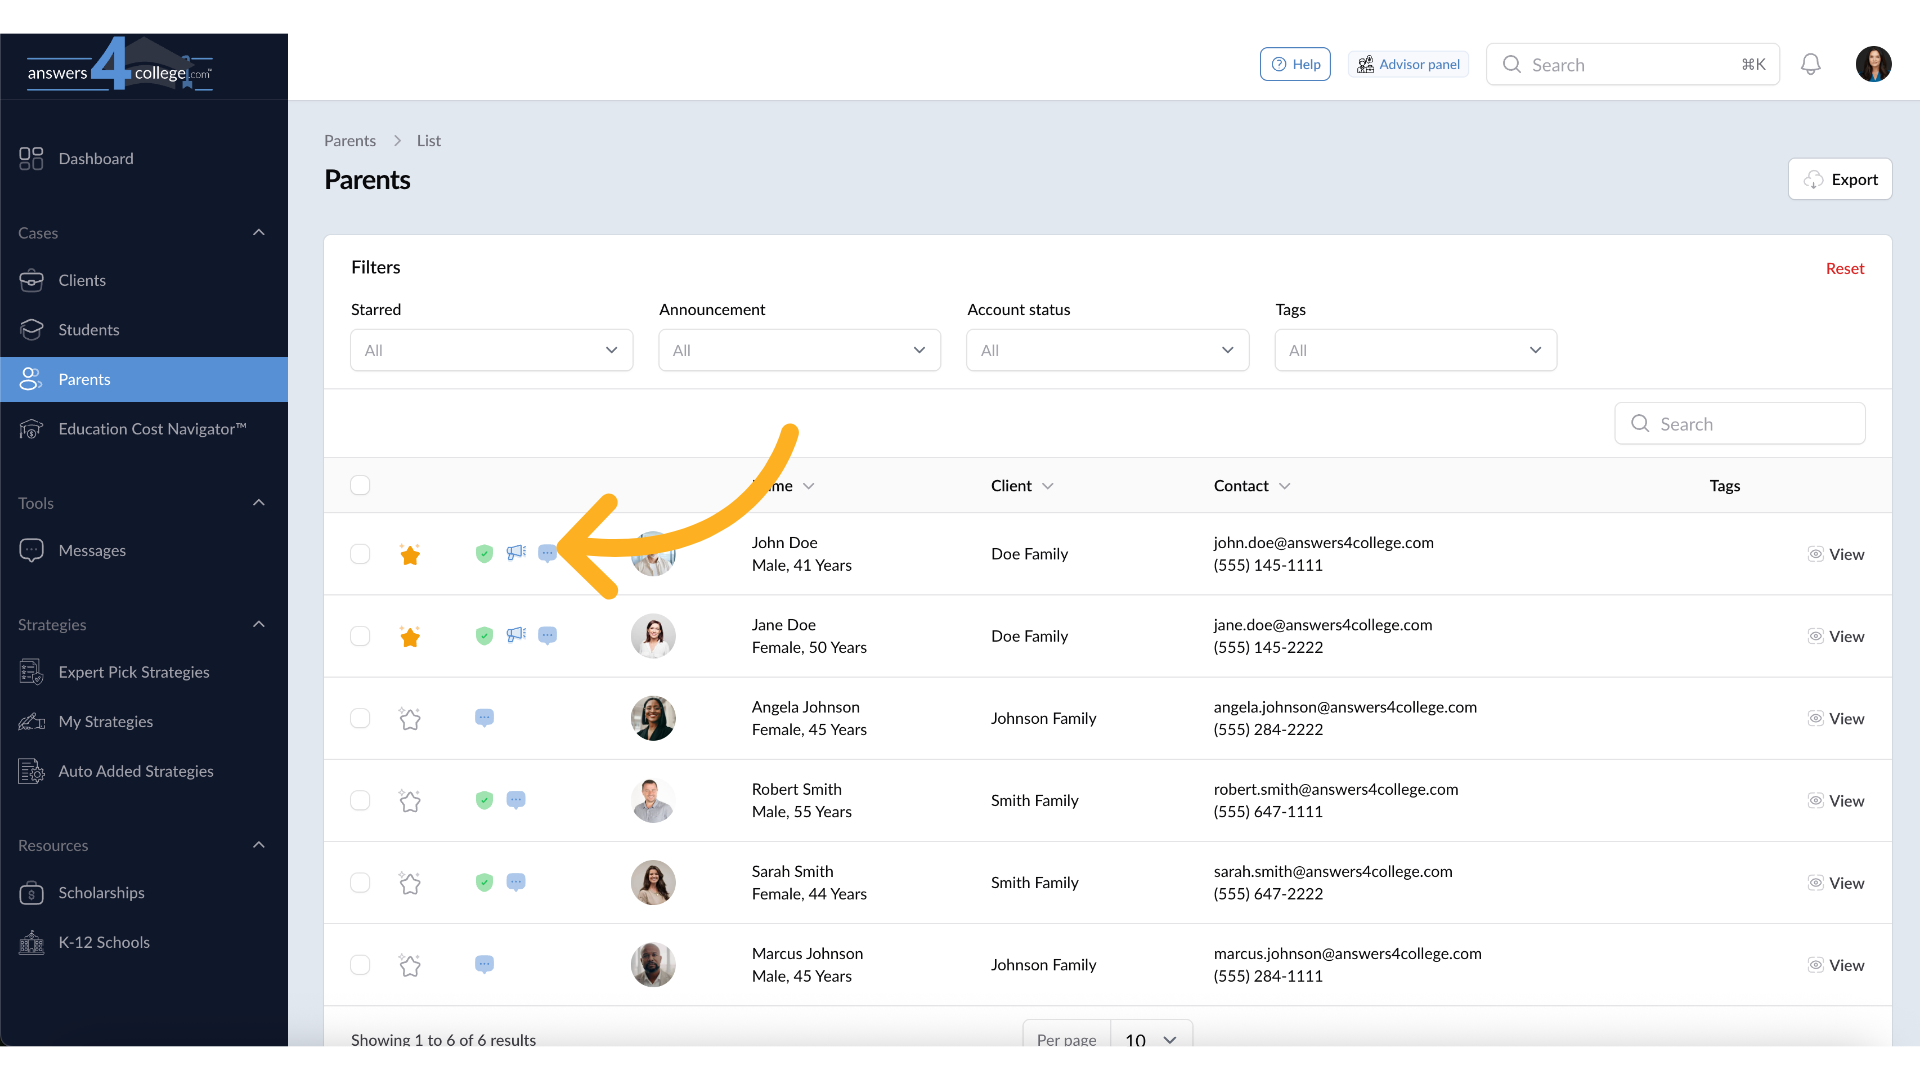
31. Visual Indicators
As you use the messaging system, you'll notice helpful visual indicators
throughout the portal. When viewing student or parent lists, you'll see a
small message icon next to names of people you've messaged. This helps you
quickly identify who you're in communication with.
32. Active Account Requirement
Remember this crucial point - you can only send messages to parents or students
who have active Answers for College accounts. If someone hasn't activated
their account yet, they won't appear in your messaging options. This ensures
messages only go to users who can actually log in and read them.
You've now mastered the messaging feature in the Answers for College Advisor
Portal. You can create direct conversations for one-on-one guidance, set
up group chats for family-wide communication, and access messages conveniently
from individual profiles or your central messaging hub.
This integrated messaging system streamlines your communication, keeping
all your conversations organized and accessible in one secure platform. No
more searching through emails or wondering if a message was received - everything
is right here in the portal.
Thank you for following along with this tutorial. Start using the messaging
feature today to enhance your communication and build stronger relationships
with your families.


Comments
0 comments
Please sign in to leave a comment.