Welcome to this tutorial on using the announcement feature in the Advisor Portal. Announcements allow you to display important messages directly on your parents' and students' dashboards. I'll show you how to create individual announcements for specific users and how to use the bulk announcement feature to reach multiple users at once. Let's get started.
1. Accessing the Advisor Portal
First, make sure you're logged into your Advisor Portal. Once you see your main dashboard, we're ready to begin creating announcements.

2. Navigating to Students
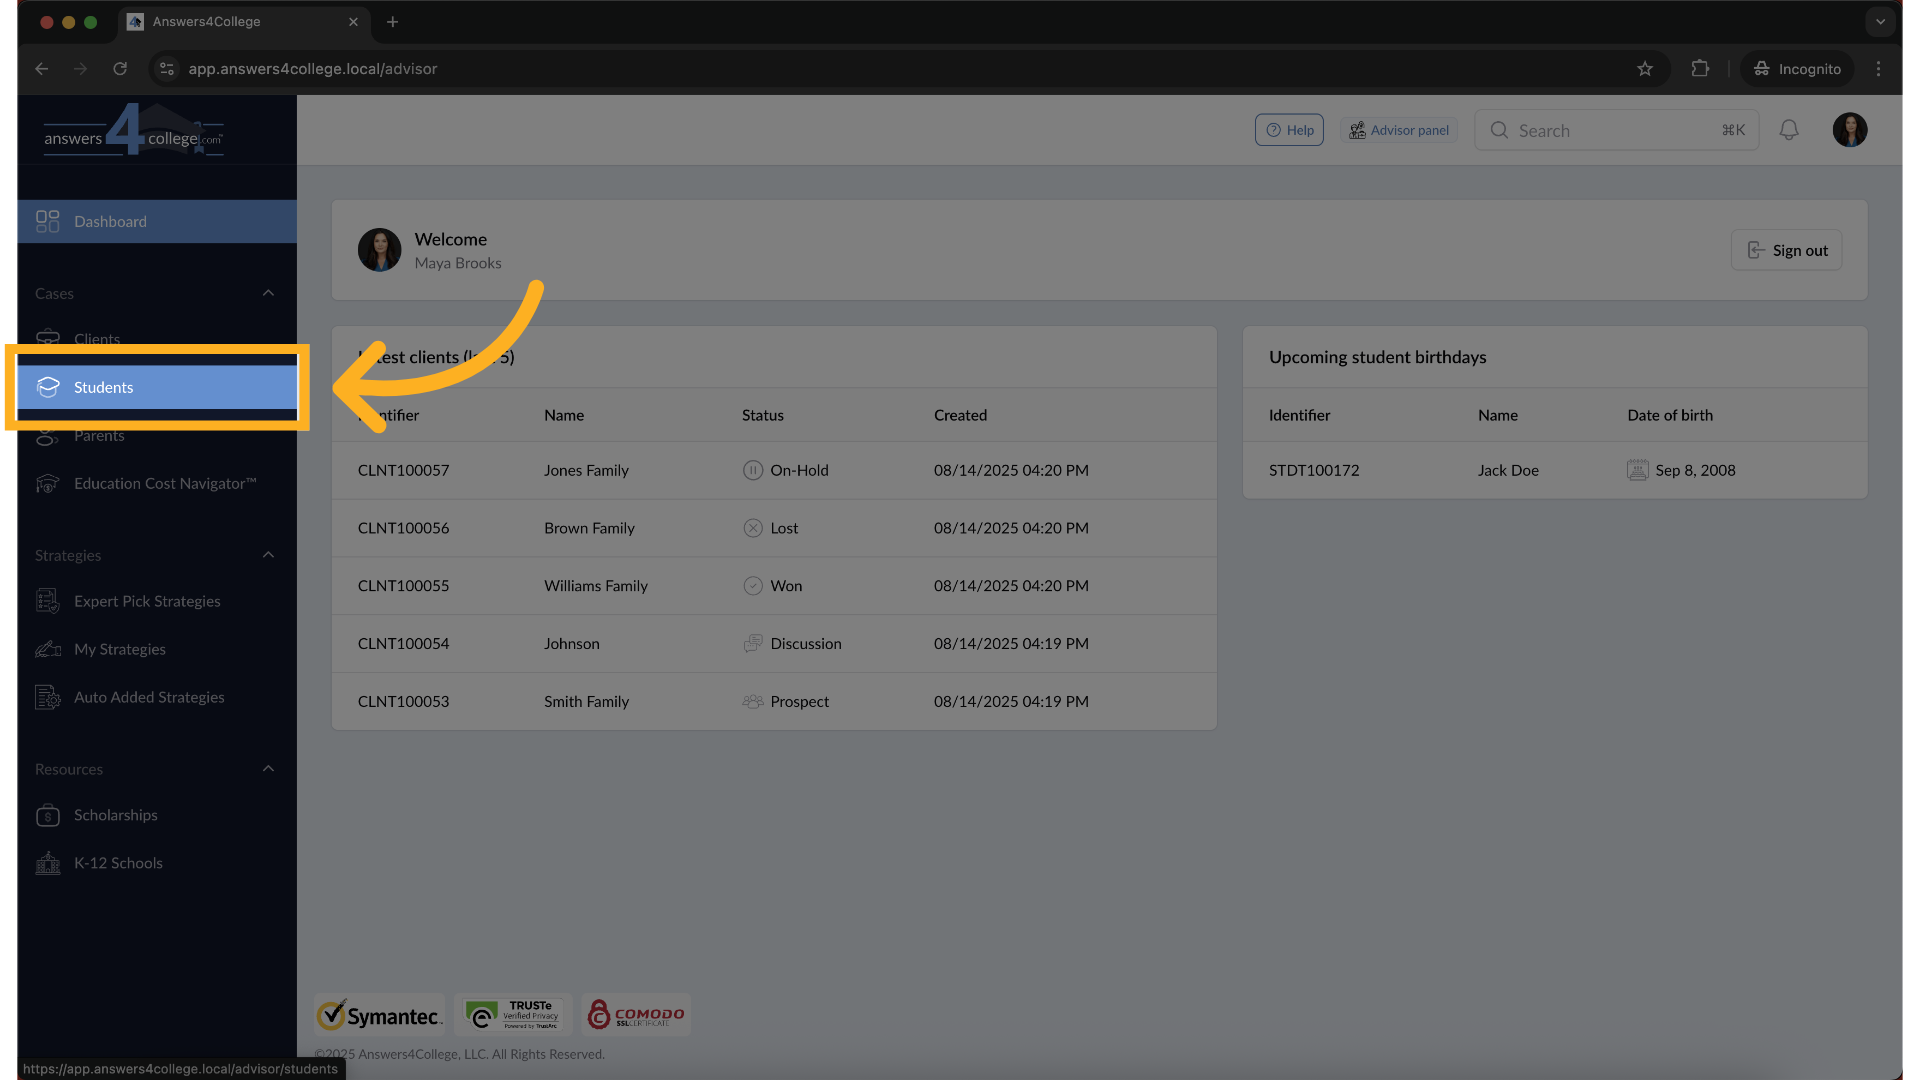
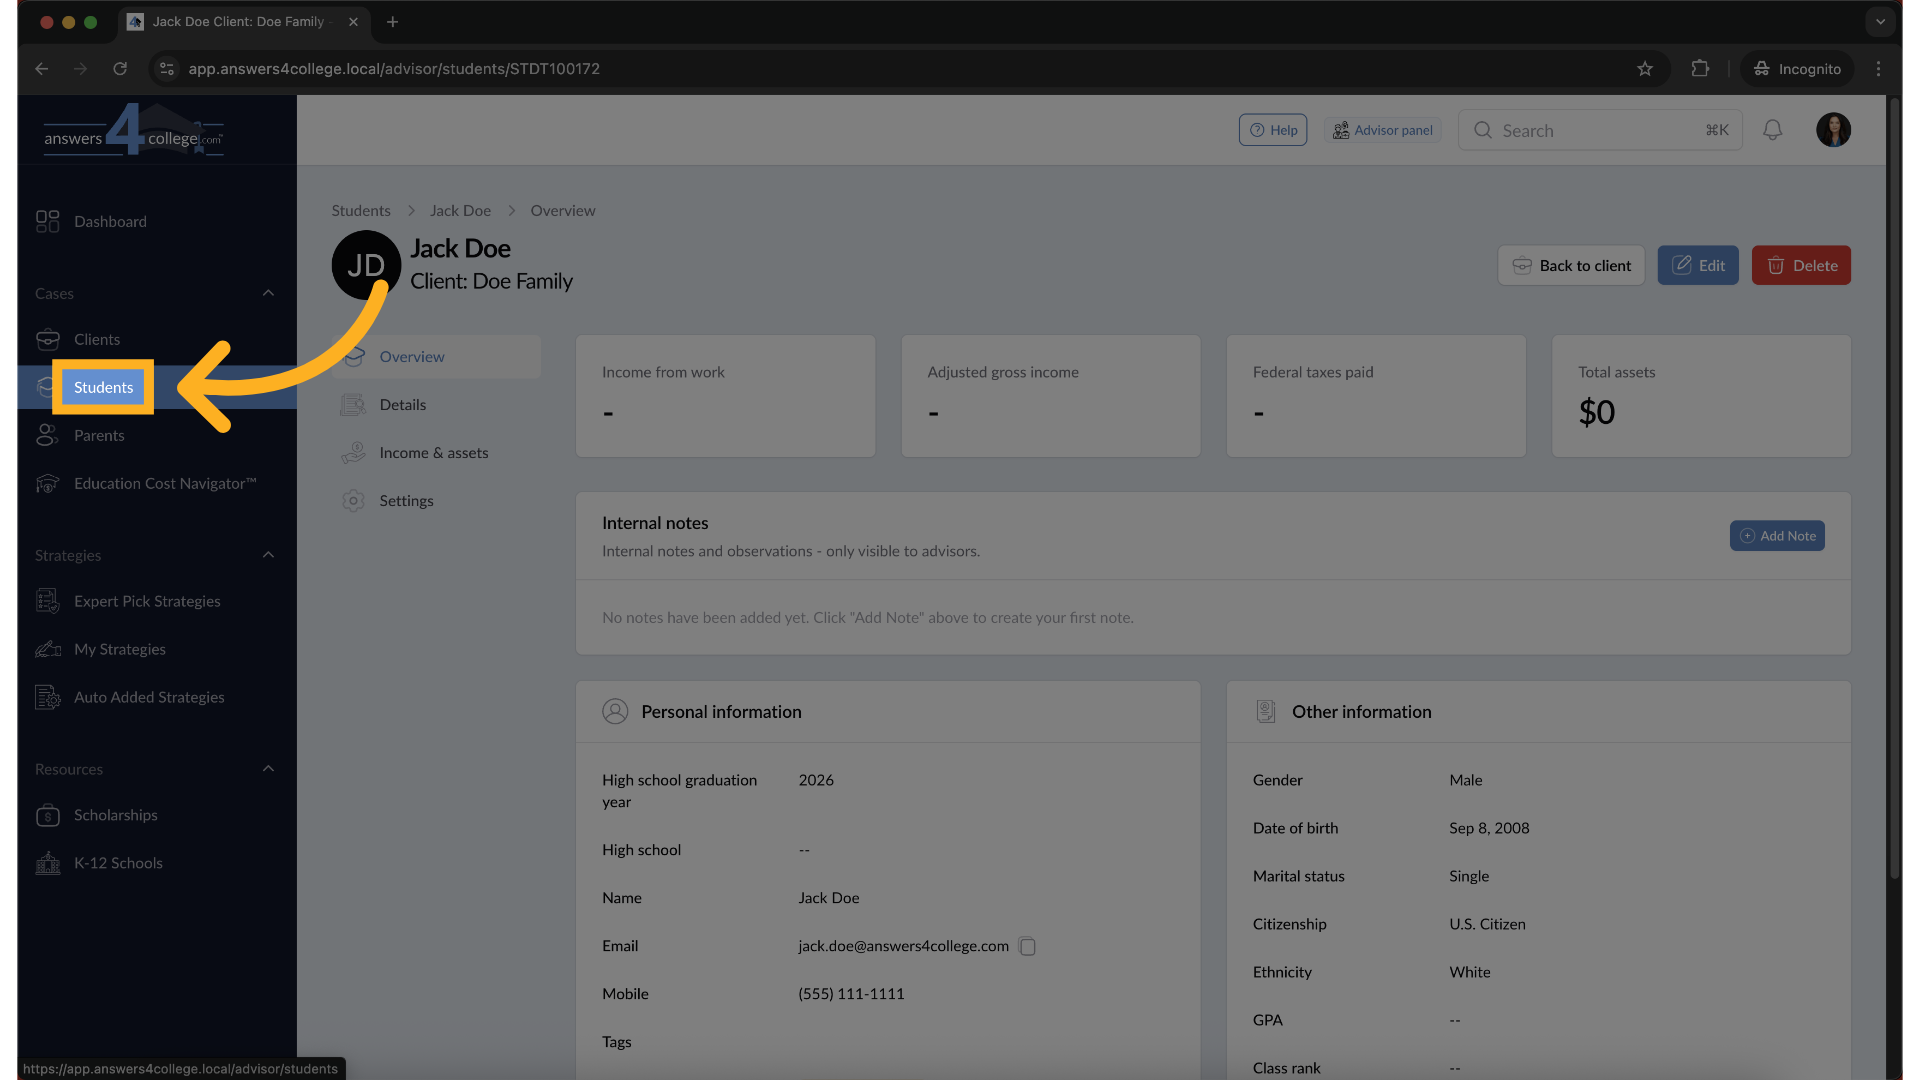
From the left-hand navigation menu, click on "Students." This brings up your complete student list. While I'll demonstrate with students in this tutorial, remember that this exact same process works for parents as well.
3. Selecting a Student
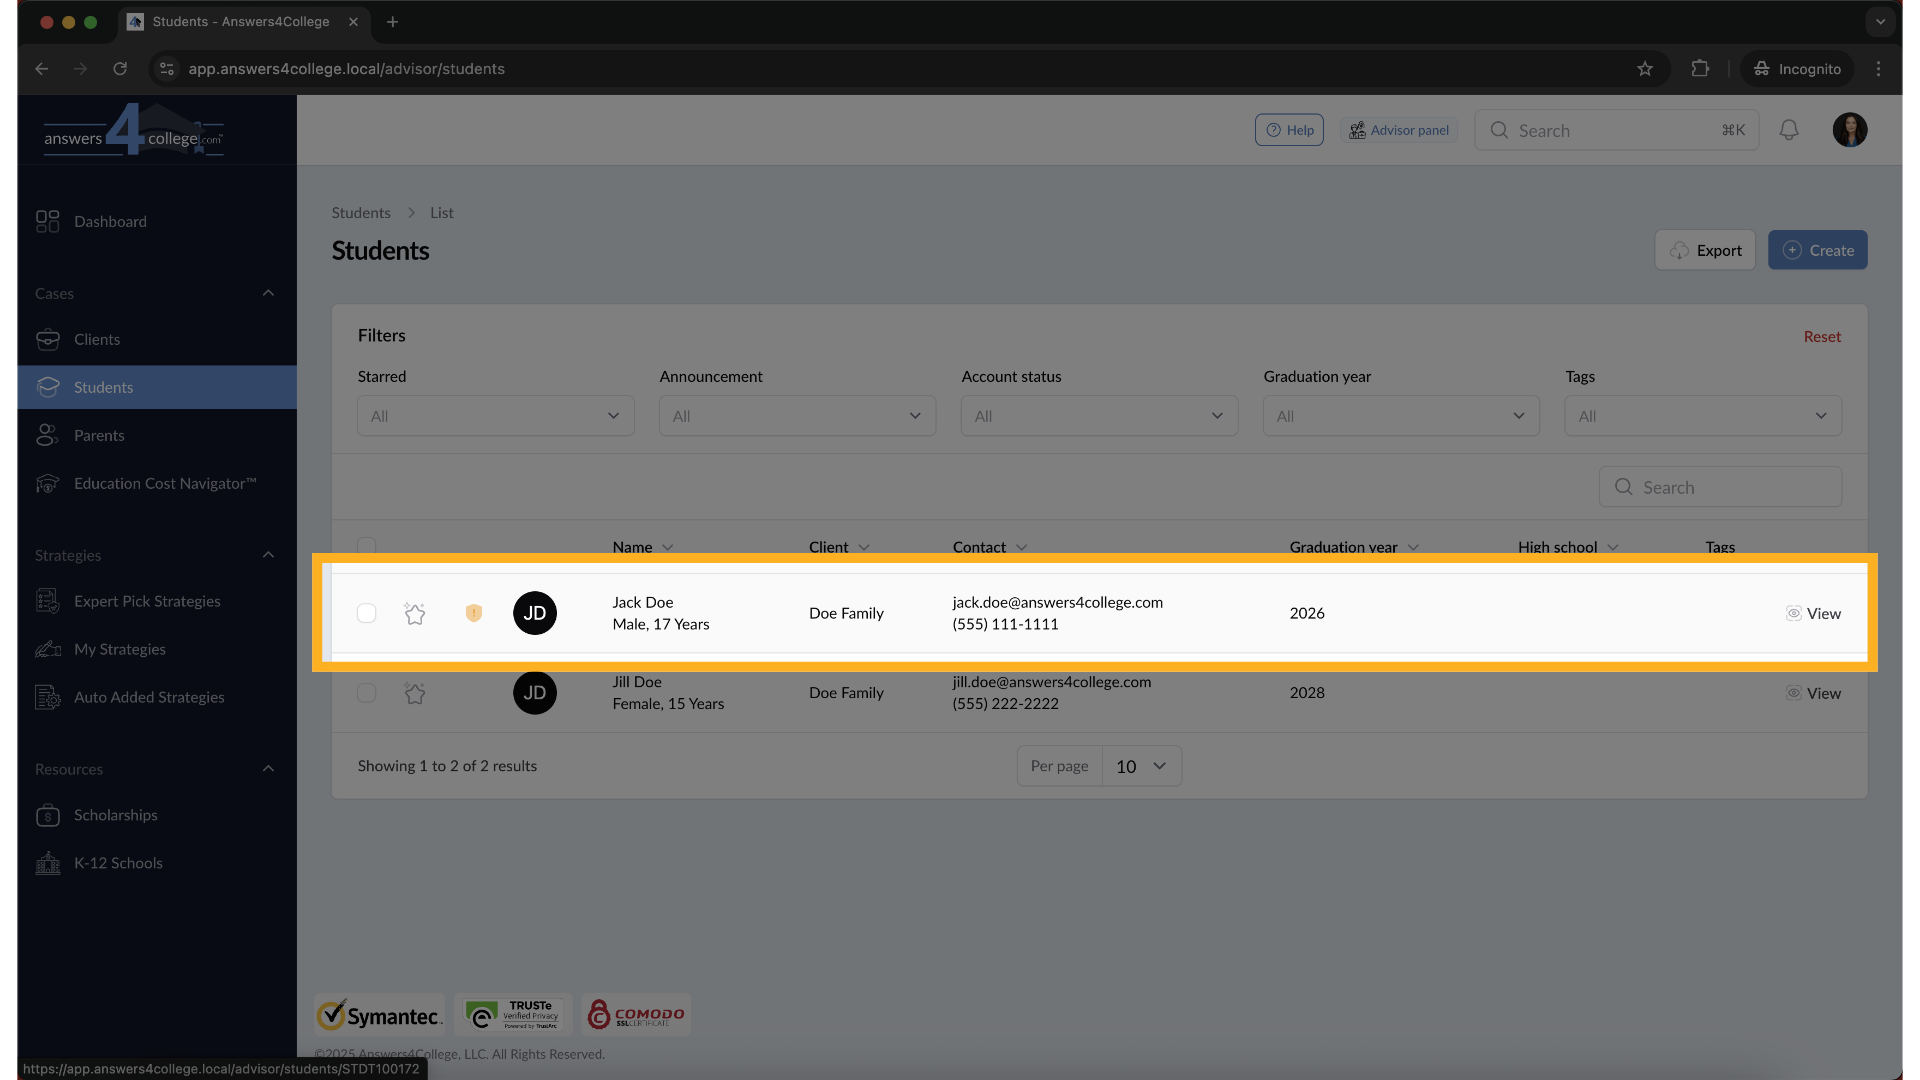
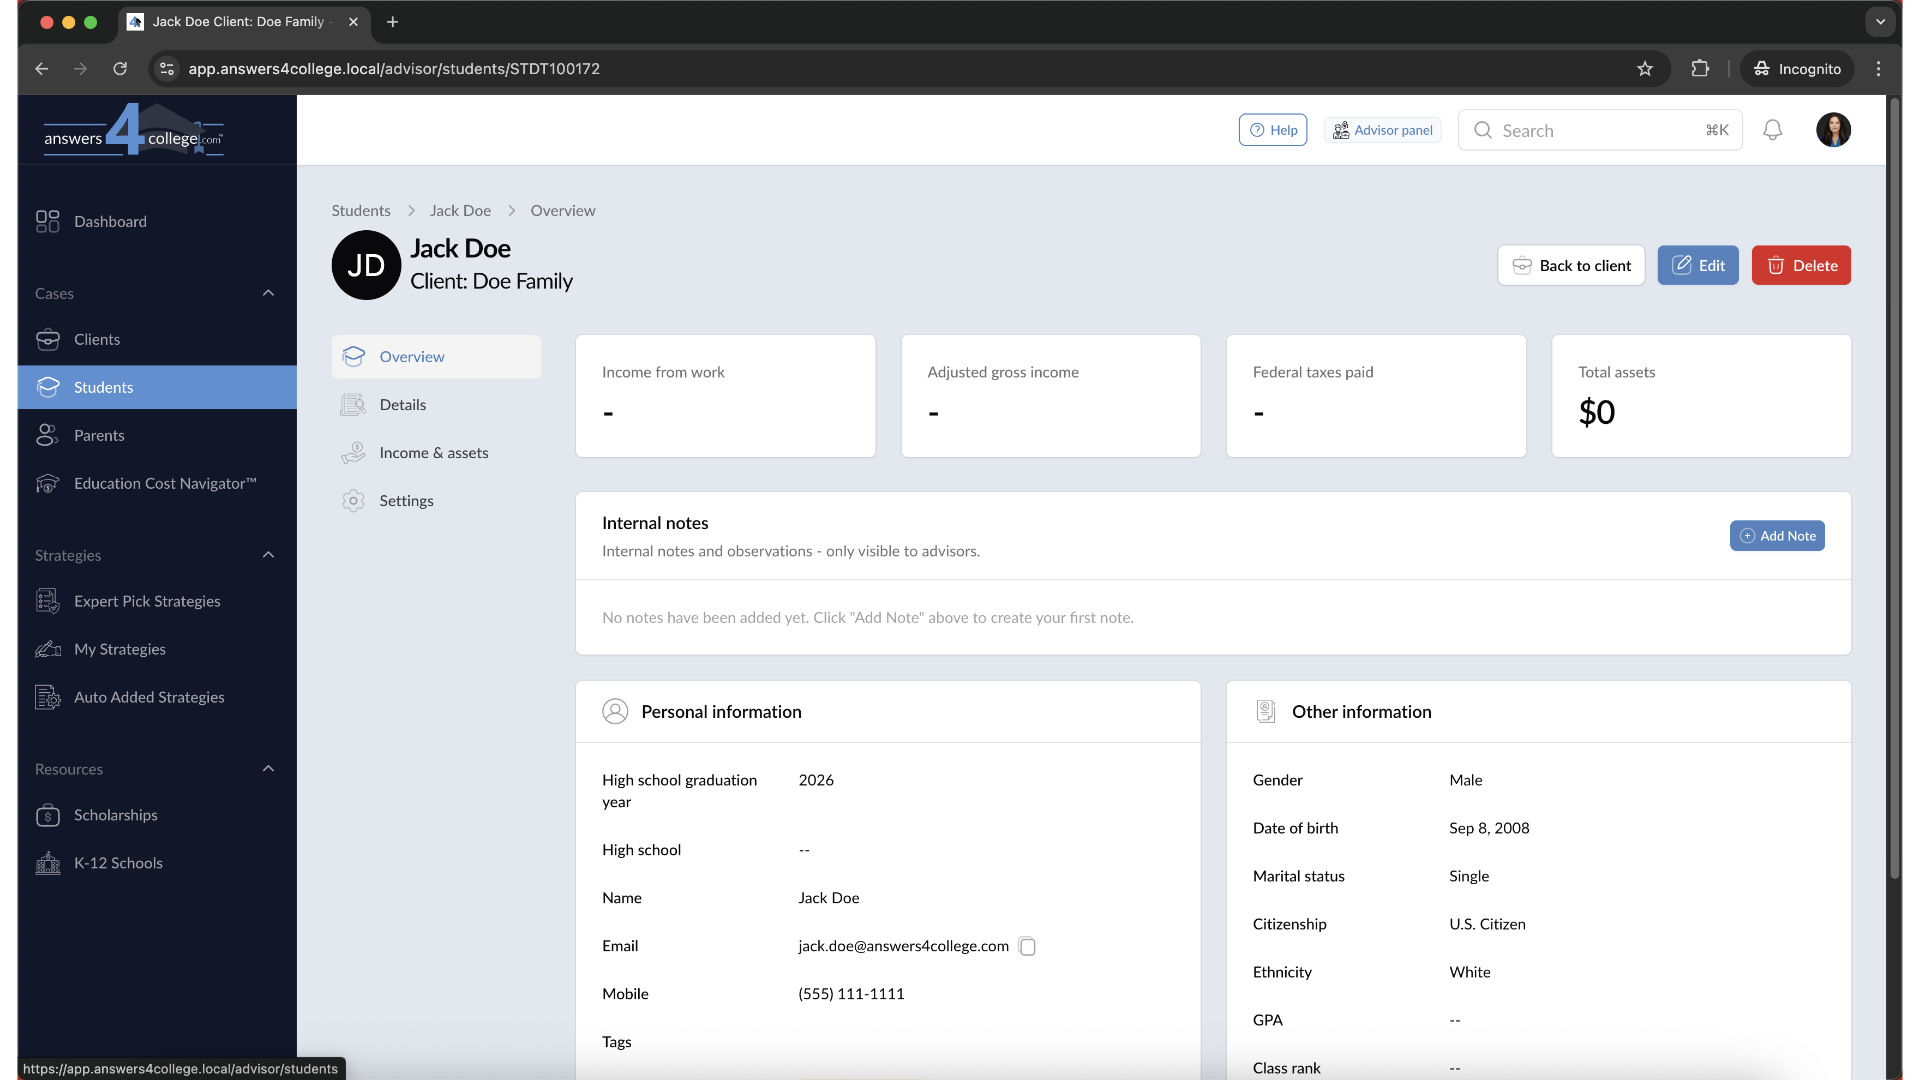
Let's create an individual announcement first. Find the student you want to send an announcement to - in this example, we'll use Jack Doe. Click on the student's name to open their overview page.
4. Accessing Settings
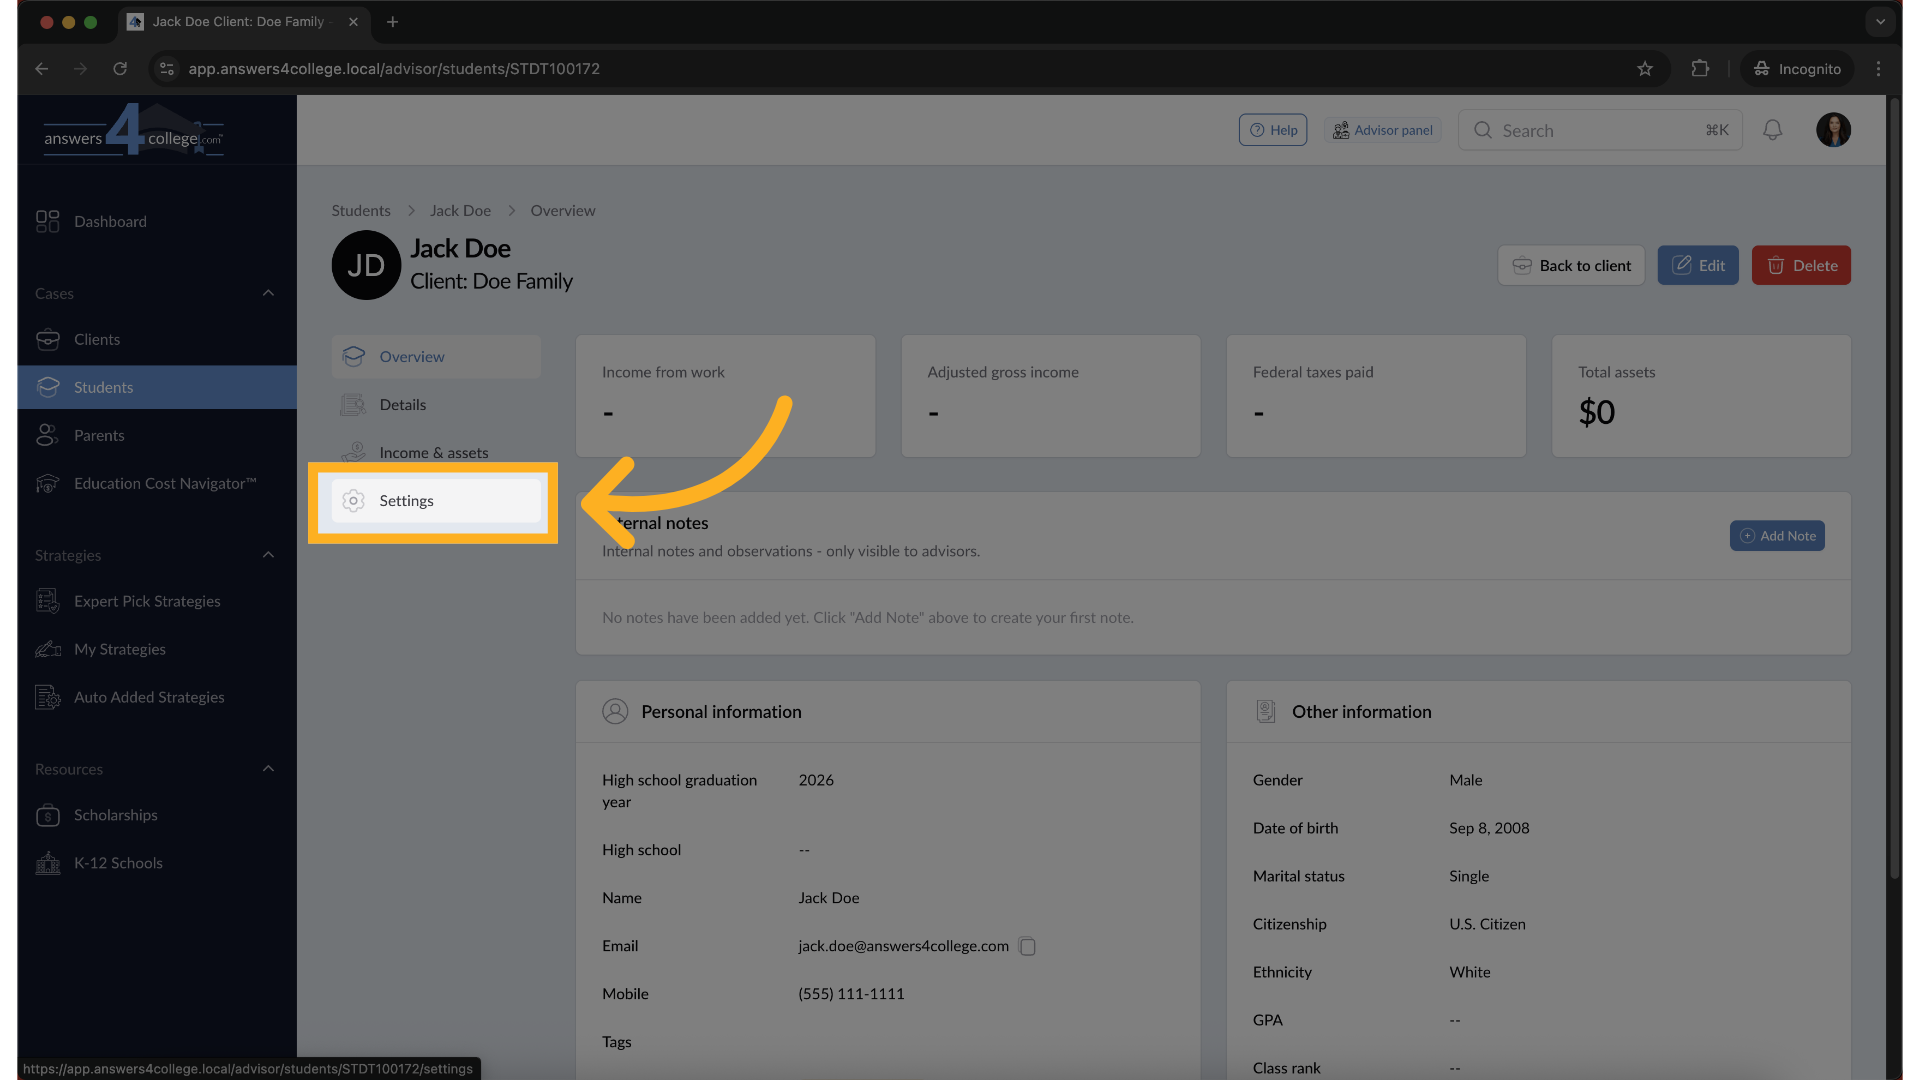
Once you're in the student's overview page, look at the left-side menu and click on "Settings." This opens the settings panel where you'll find various configuration options for this student.
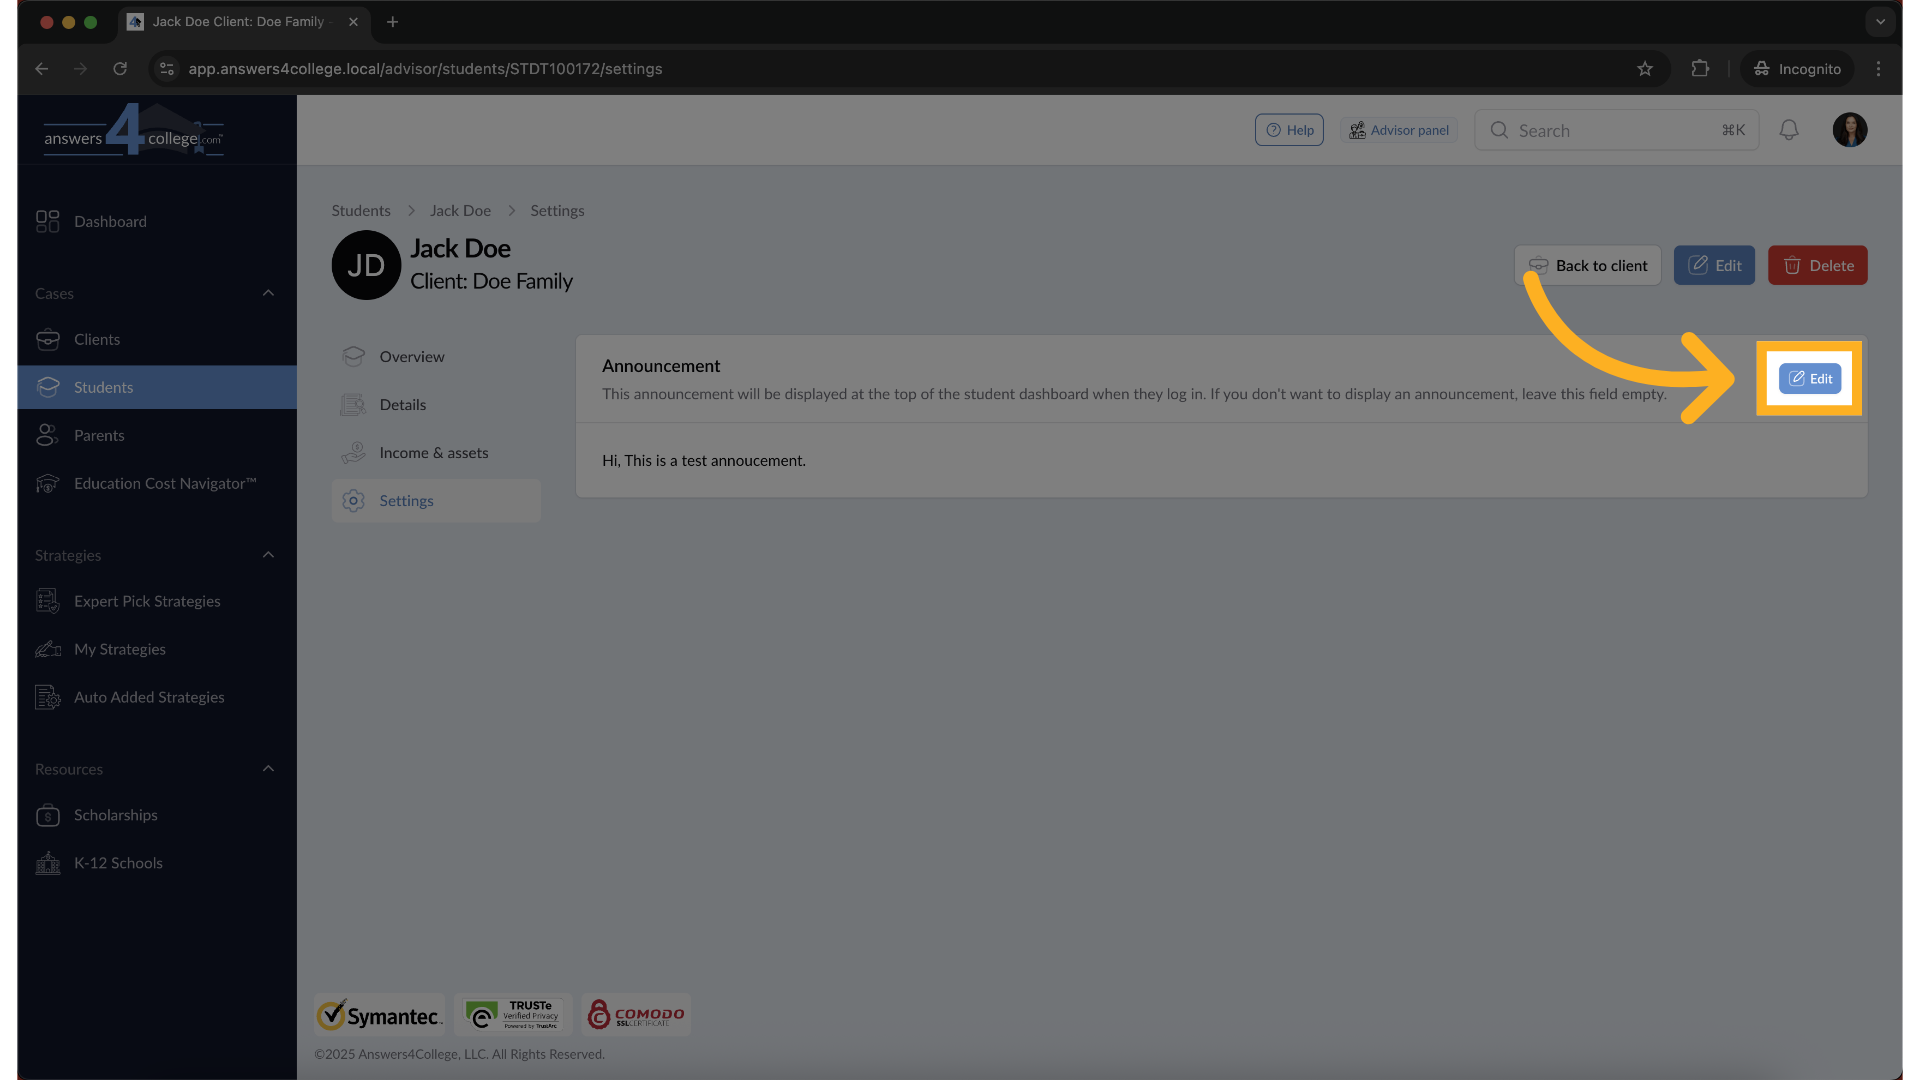
5. Locating the Announcement Section
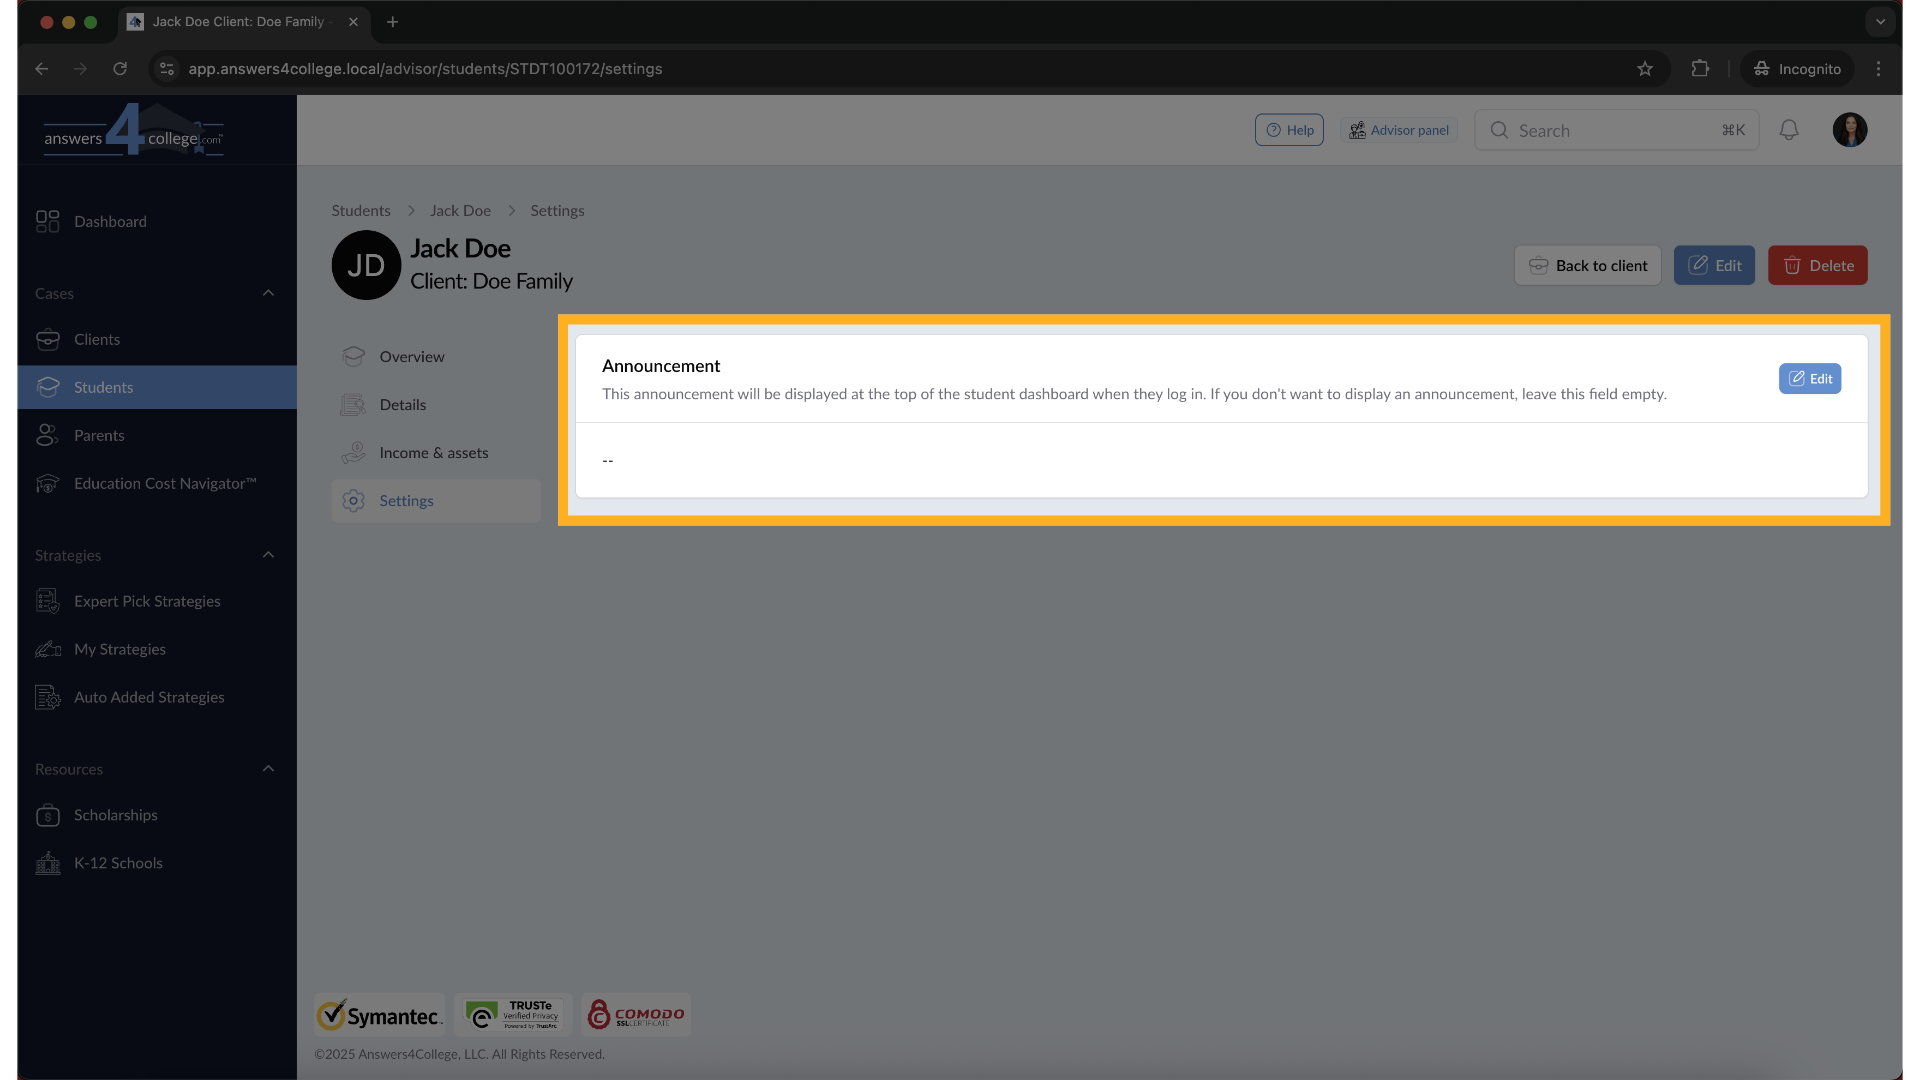
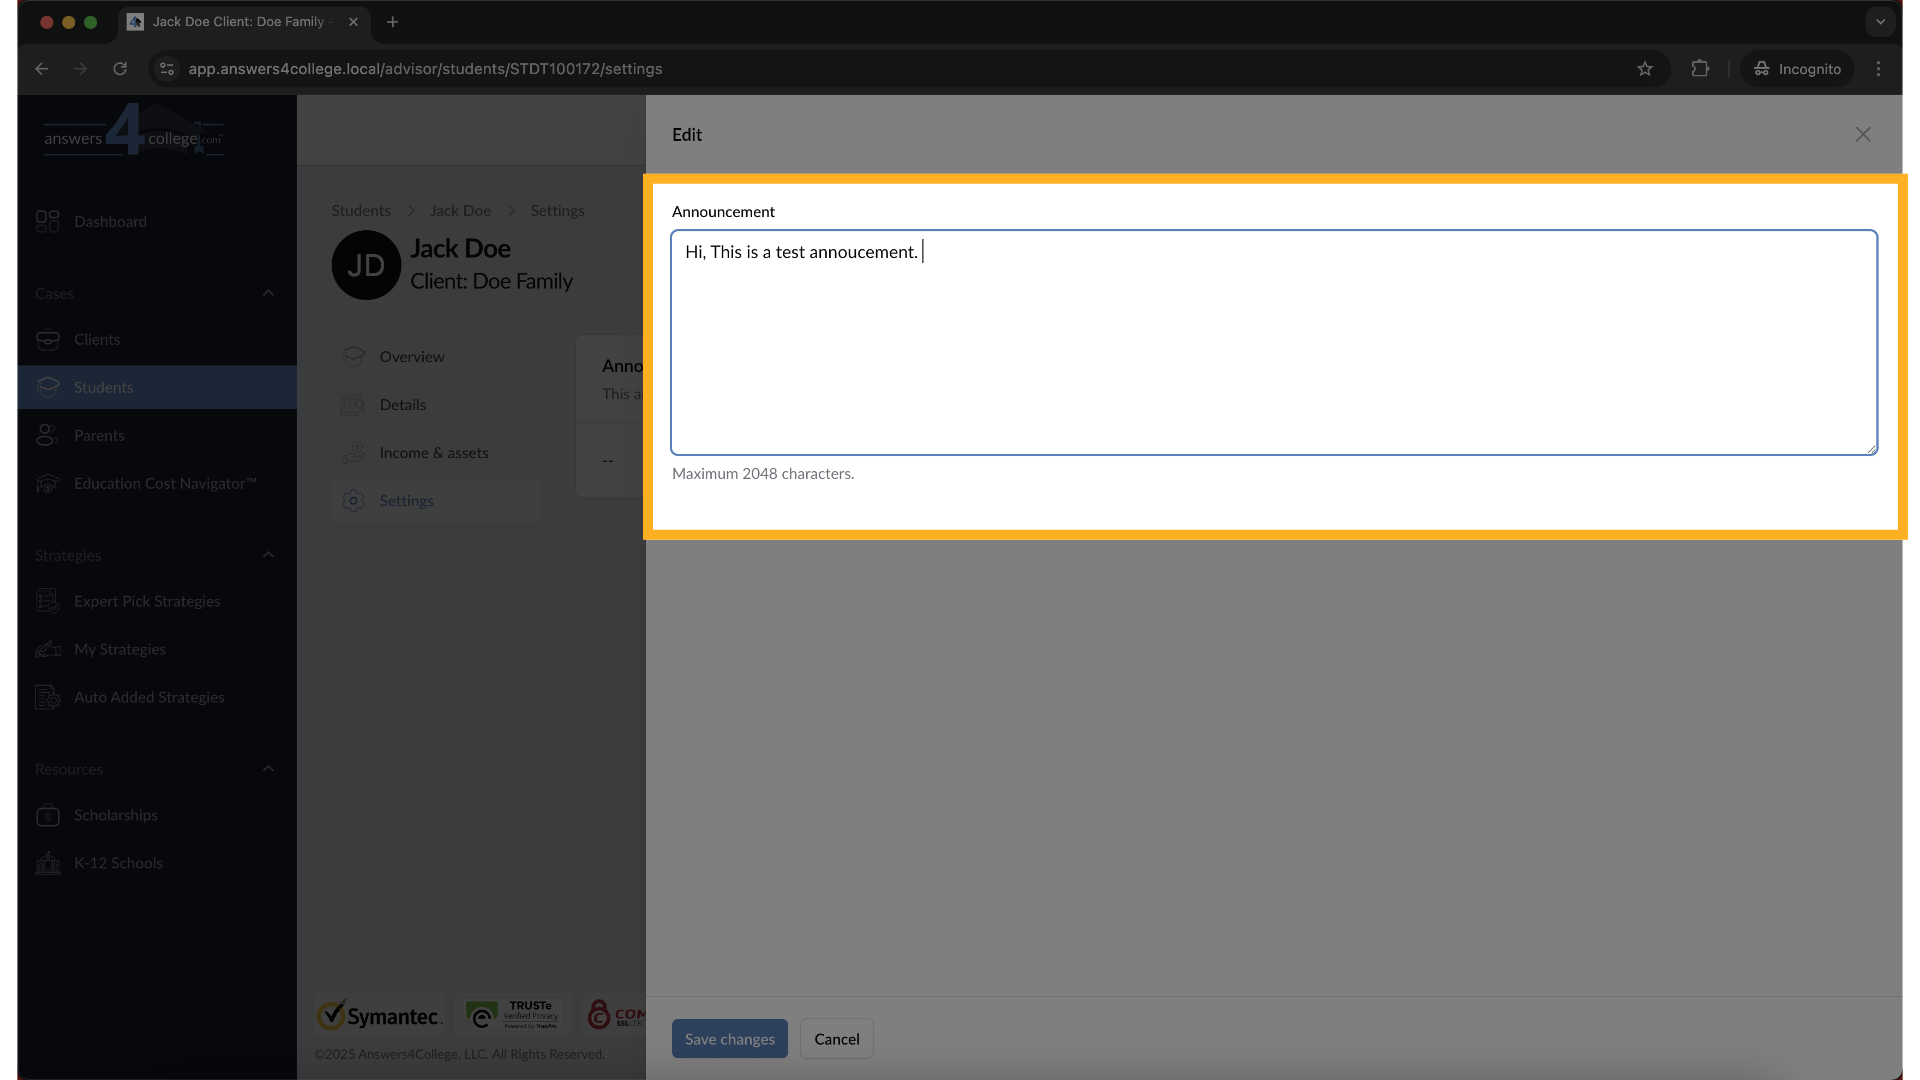
In the settings page, you'll see a section labeled "Announcement." This is where you control what message, if any, appears on this student's dashboard. You'll notice there's an "Edit" button here - go ahead and click it.
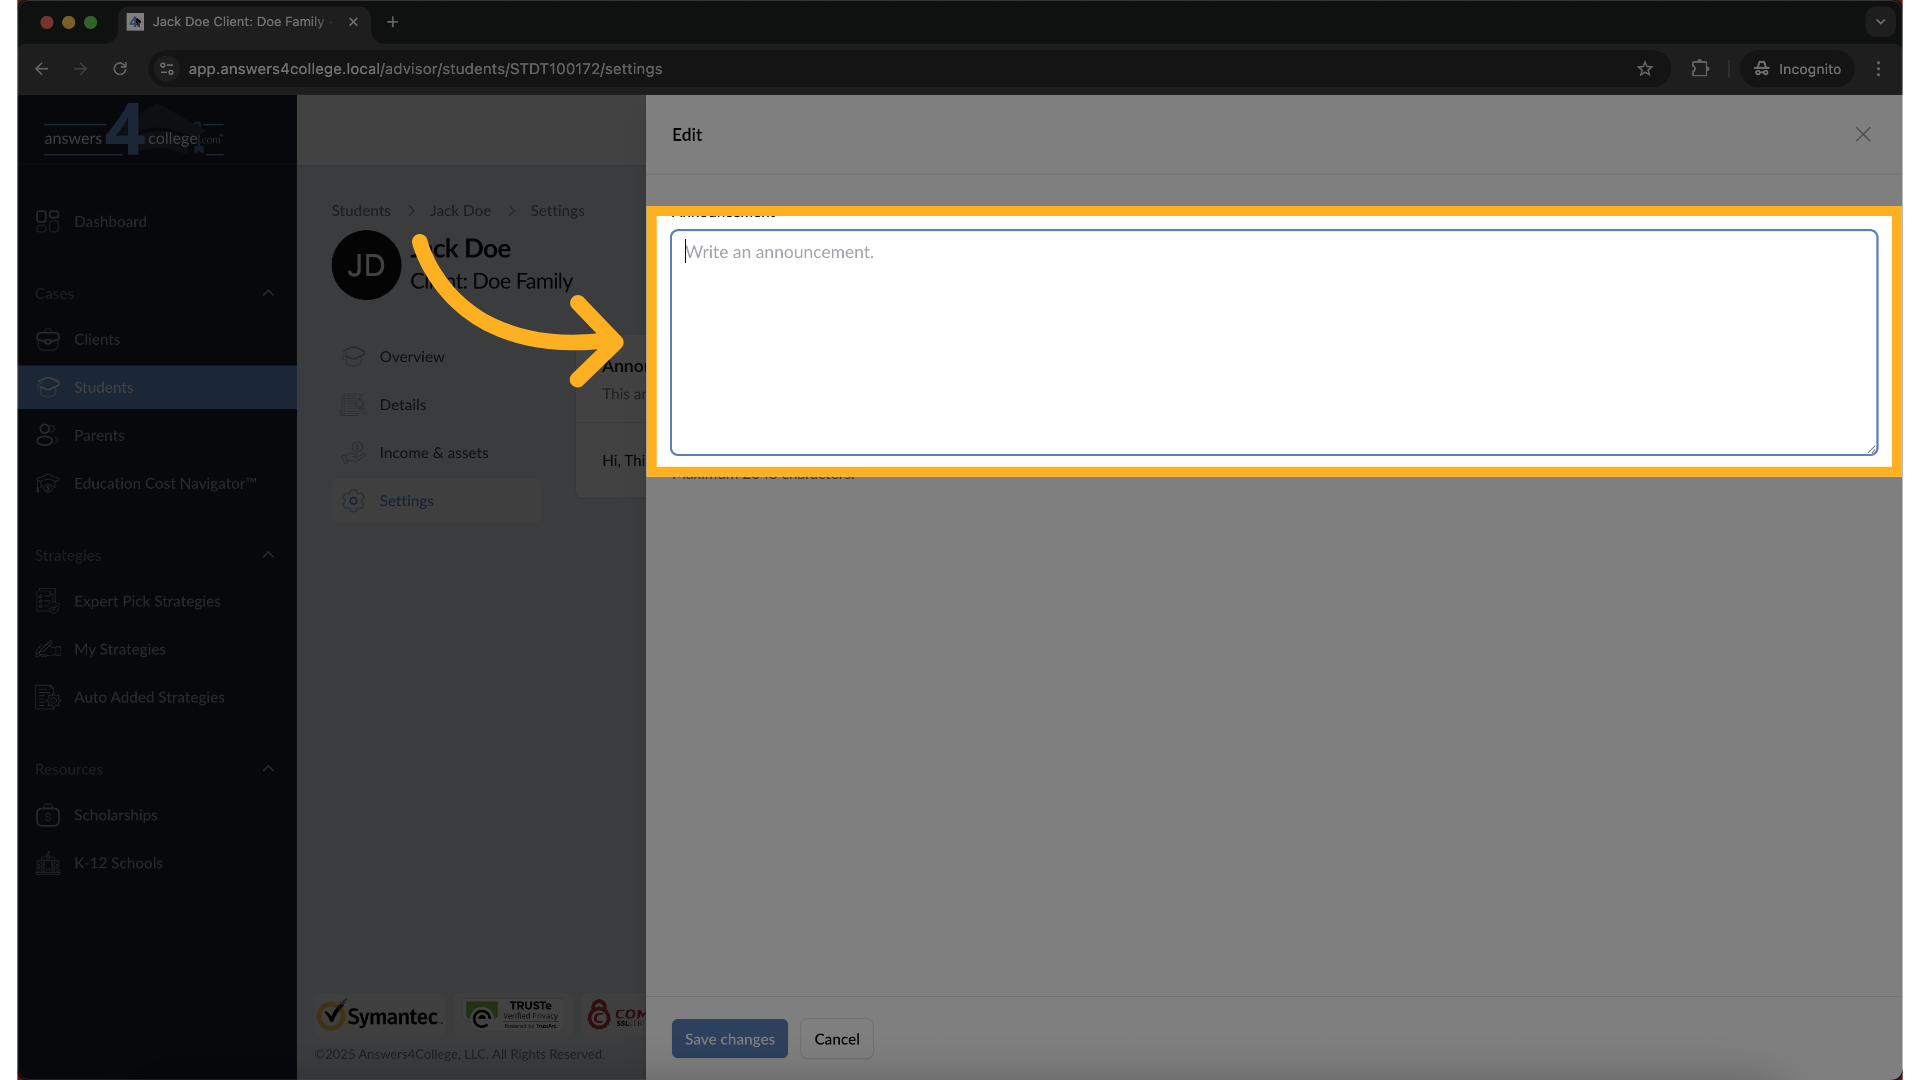
6. Writing Your Announcement
A text field will appear where you can type your announcement. Write your message clearly and concisely. For example, you might write "Don't forget: SAT registration deadline is this Friday!" or "Congratulations on your acceptance to State University!" Type whatever message you want this student to see when they log in.
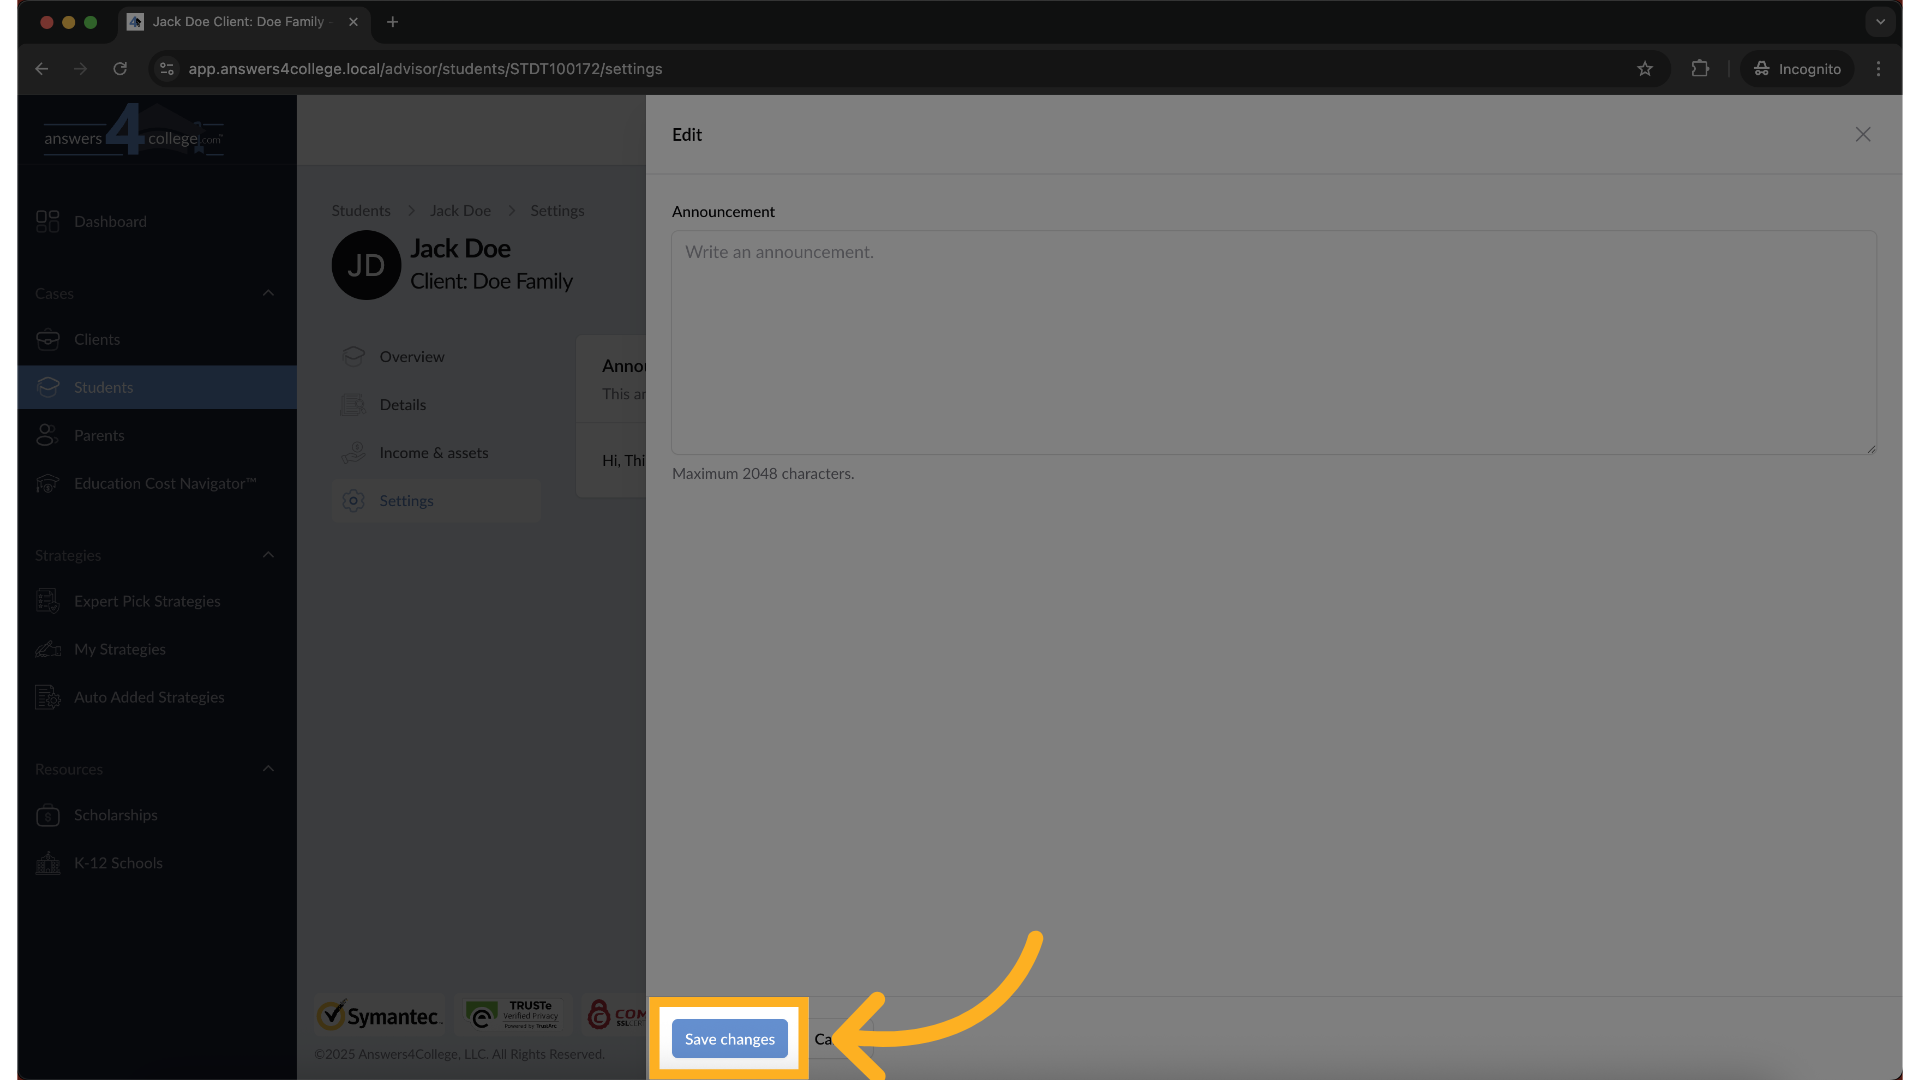
7. Saving the Announcement
Once you've written your announcement, click "Save Changes." The system immediately saves your announcement and it becomes visible on the student's dashboard right away.

8. Viewing the Student's Perspective
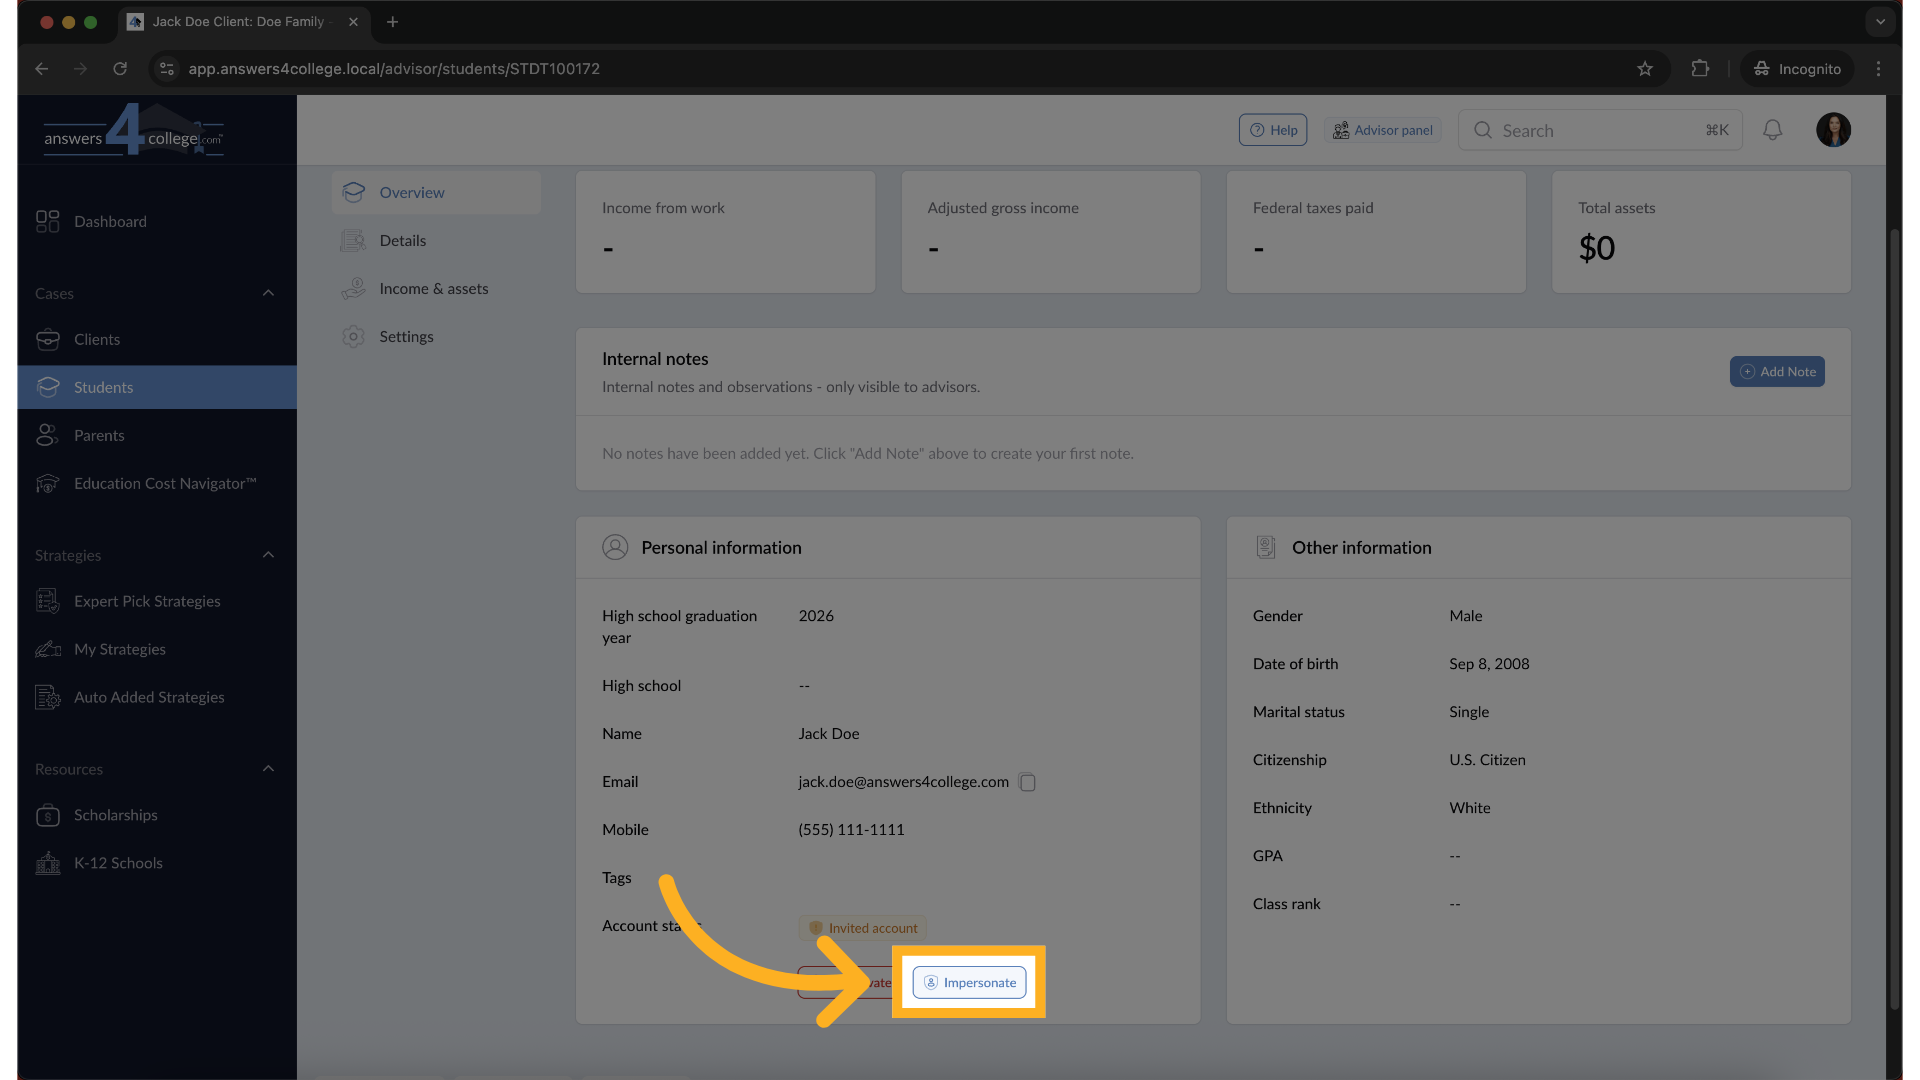
Let's see exactly how this looks to the student. Go back to the overview page,

9. Click "Impersonate"
Click the "Impersonate" button. This shows you the student's dashboard exactly as they see it.
10. Viewing the Student's Dashboard
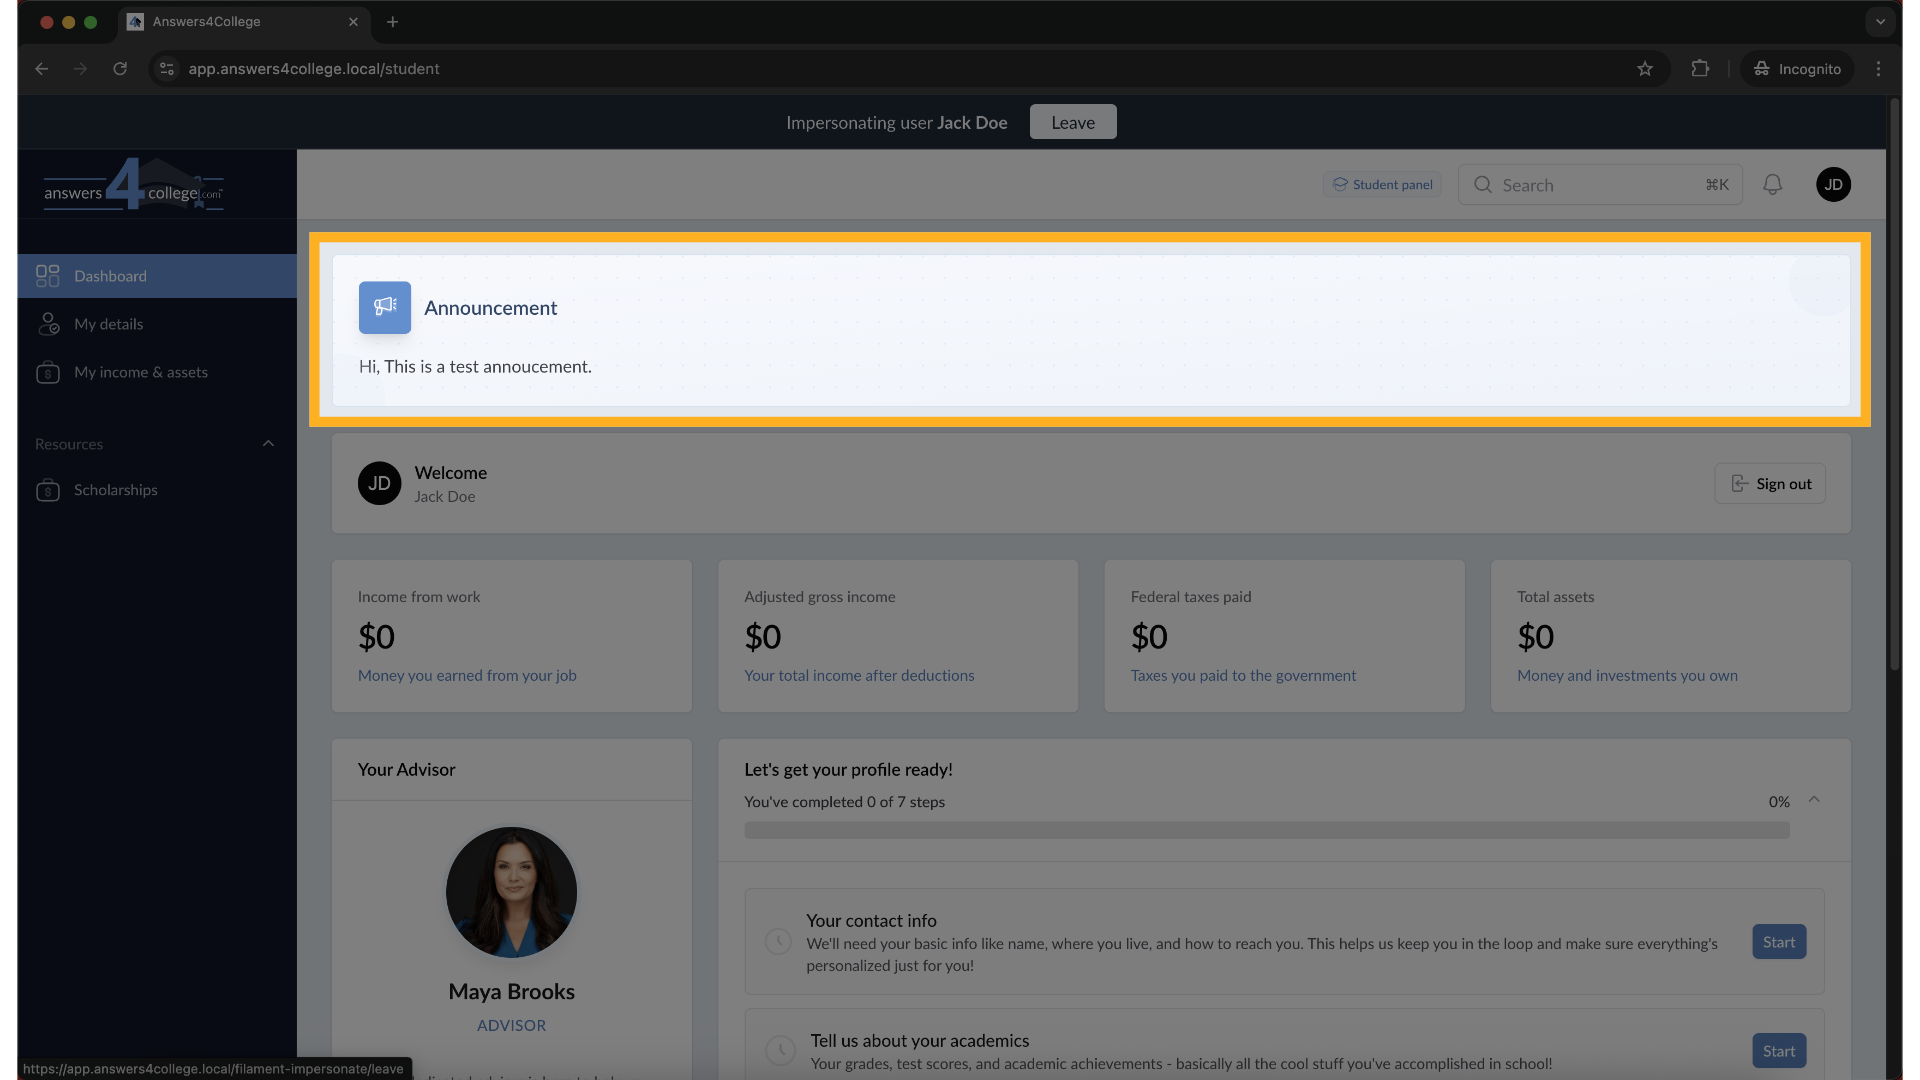
Notice the very first thing at the top of their dashboard - there's your announcement displayed prominently. This ensures students can't miss important messages from you.
11. Returning to Advisor View
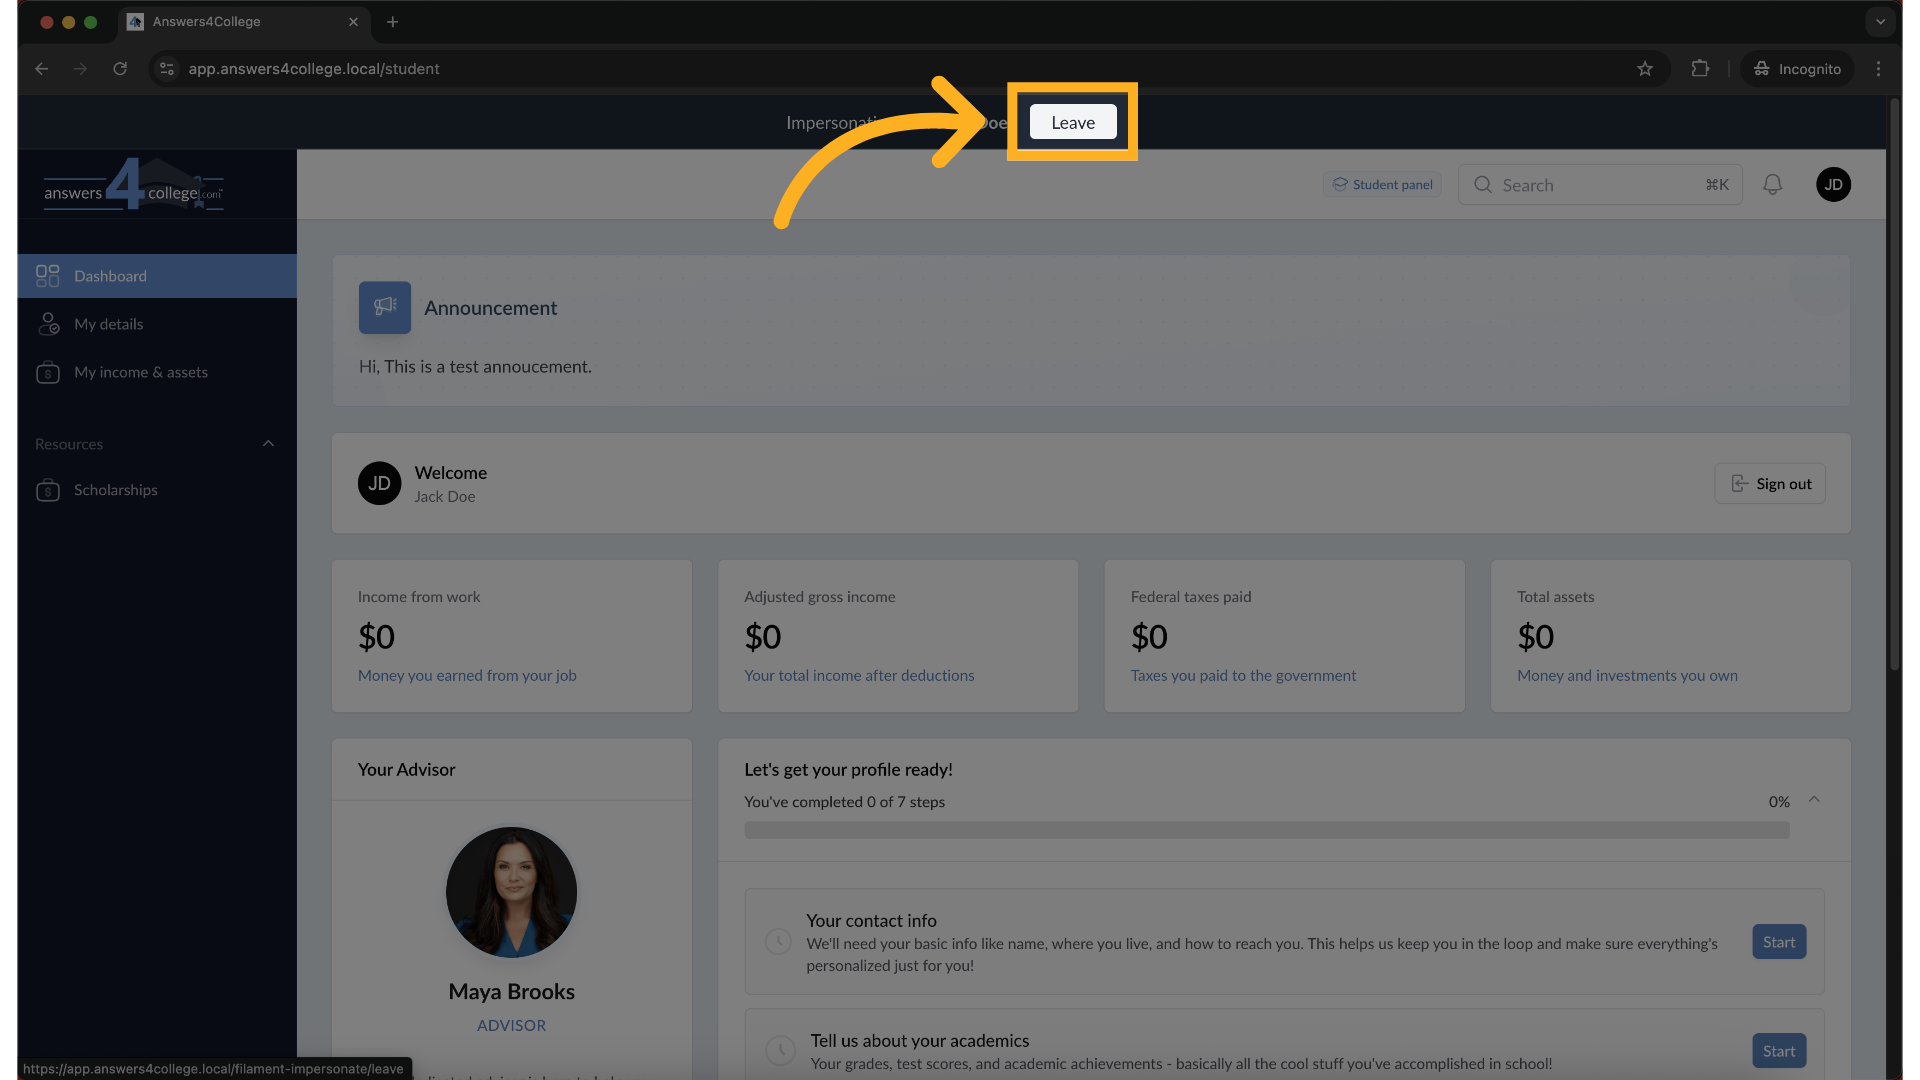
Click the "Leave" button at the top of the screen to exit impersonation mode and return to your advisor view.
12. Removing an Announcement #1
Need to remove an announcement? Navigate back to Settings.

13. Click "Edit"
Find the Announcement section, and click "Edit" again.
14. Delete all text
Simply delete all the text in the announcement field
15. Click "Save changes"
Click "Save Changes."
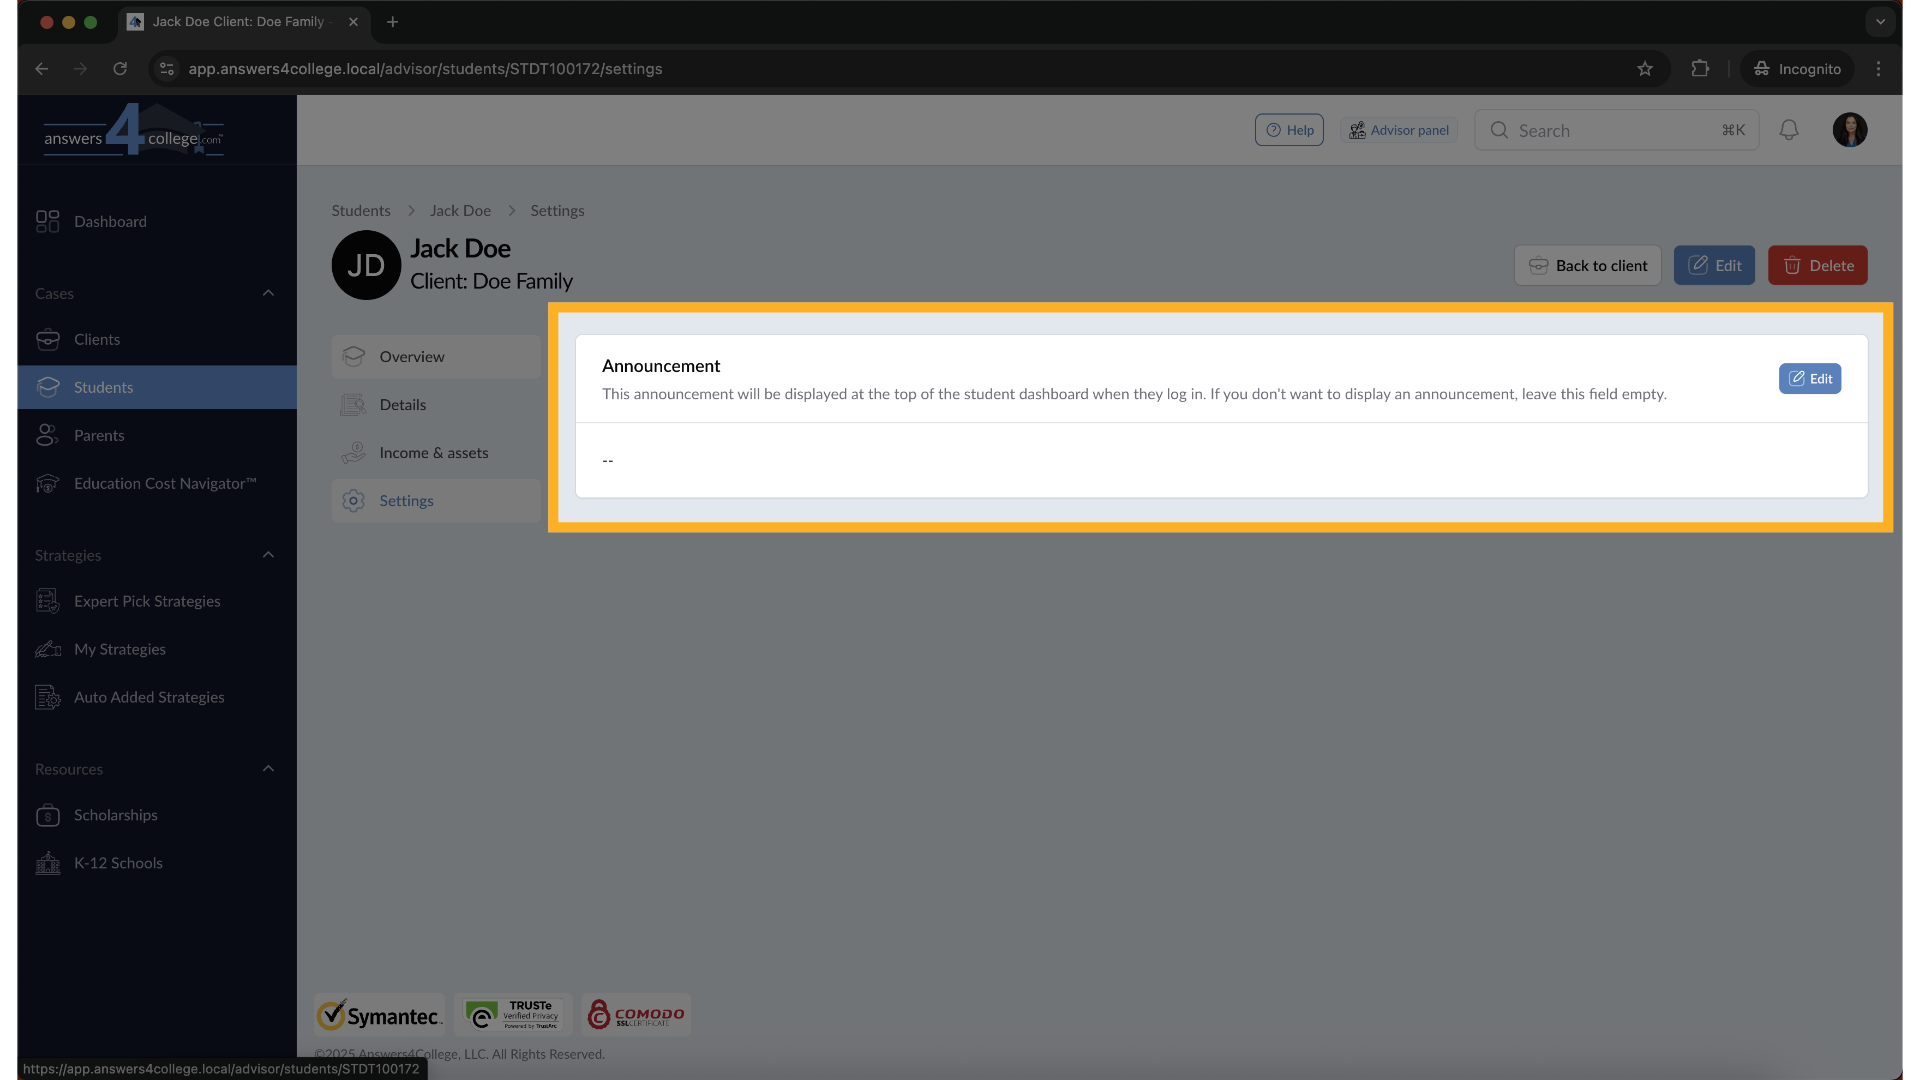
16. Announcement removed
The announcement immediately disappears from the student's dashboard. You can verify this by using the impersonate feature again - you'll see the announcement section is no longer visible when there's no active announcement.
17. Understanding Bulk Announcements
Now let's explore the powerful bulk announcement feature. This is perfect when you need to send the same message to multiple students or parents - like deadline reminders, workshop invitations, or holiday greetings.
18. Click "Students"
Navigate back to your main Students list to begin.
19. Selecting Multiple Students
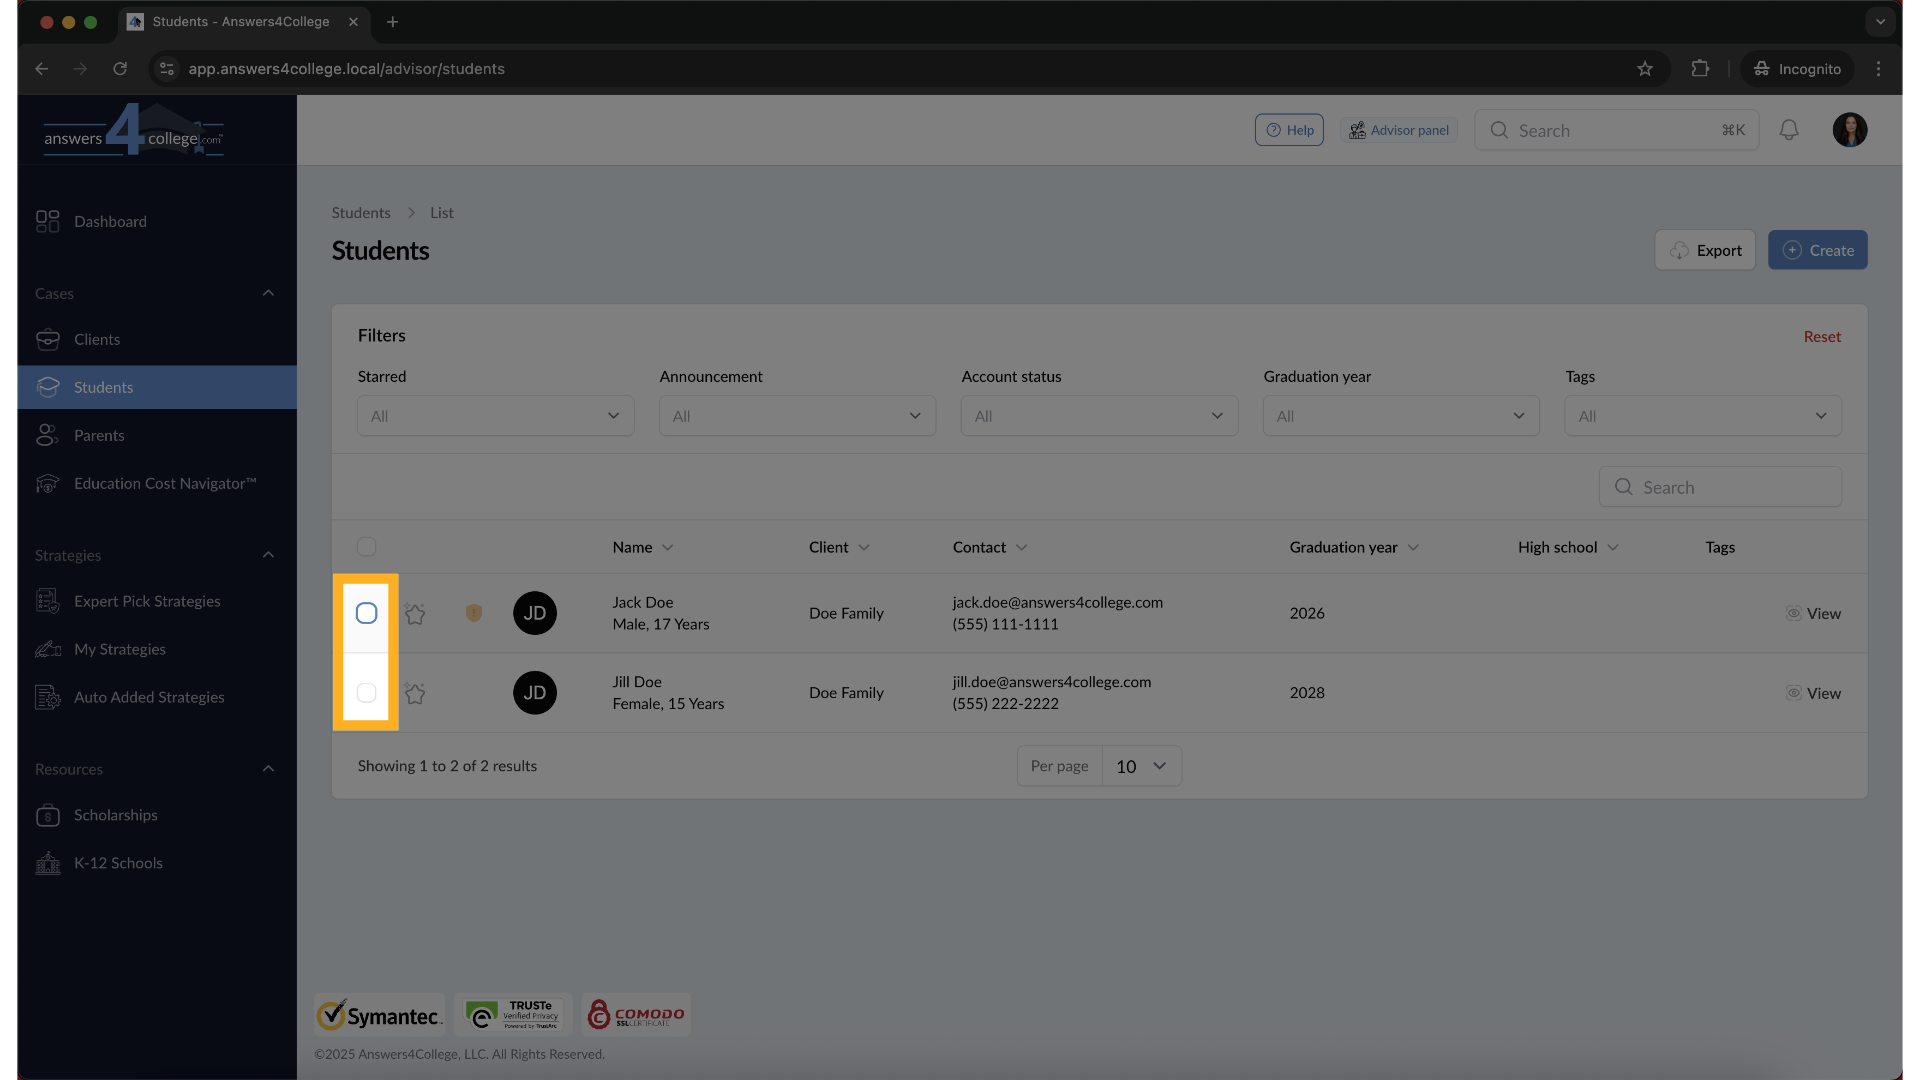
In your student list, you'll see checkboxes next to each student's name. Let's say you want to send an announcement to both Jack Doe and Jill Doe. Click the checkbox next to each student you want to include.
20. Multiple Students Selected
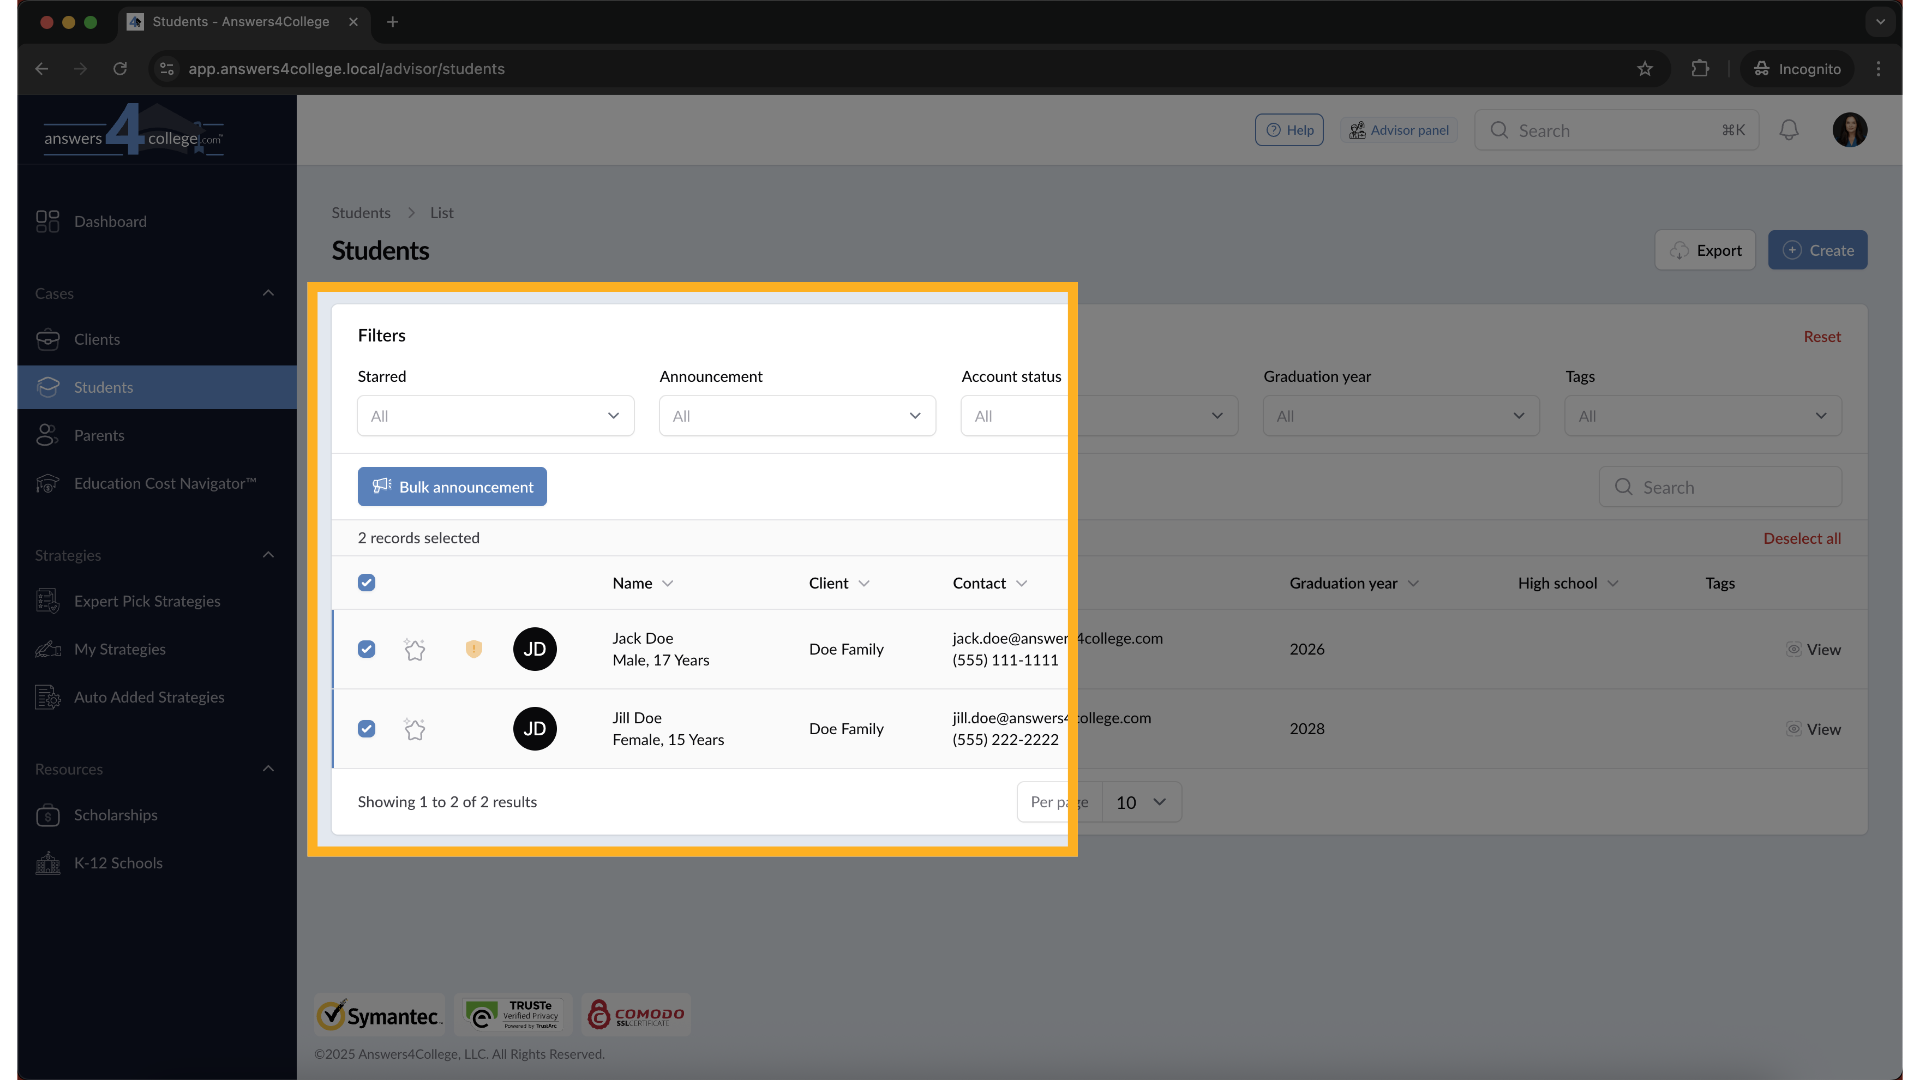
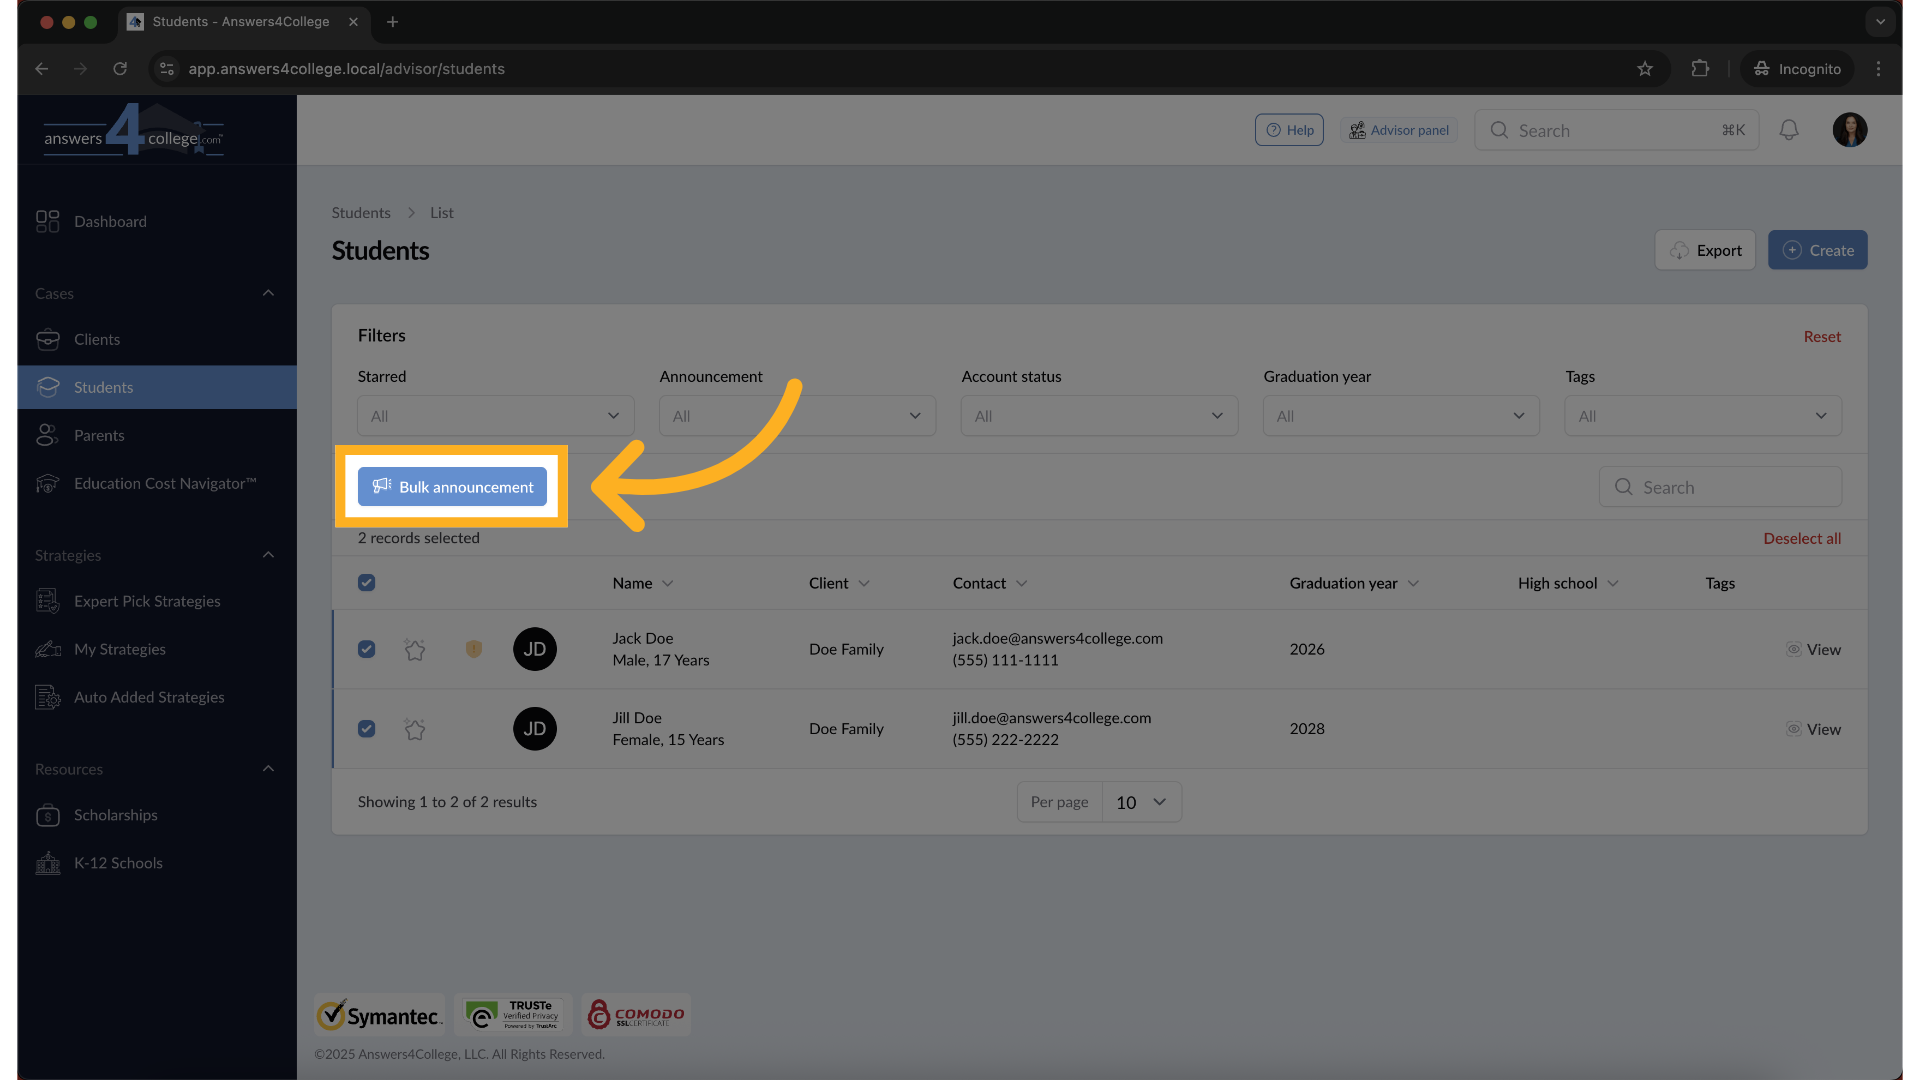
As you select students, you'll see a counter showing how many records you've selected - in this case, "2 records selected."
21. Accessing Bulk Announcement
With your students selected, look for the "Bulk Announcement" button that appears when you have multiple selections. Click this button to open the bulk announcement interface.
22. Reviewing Your Selection
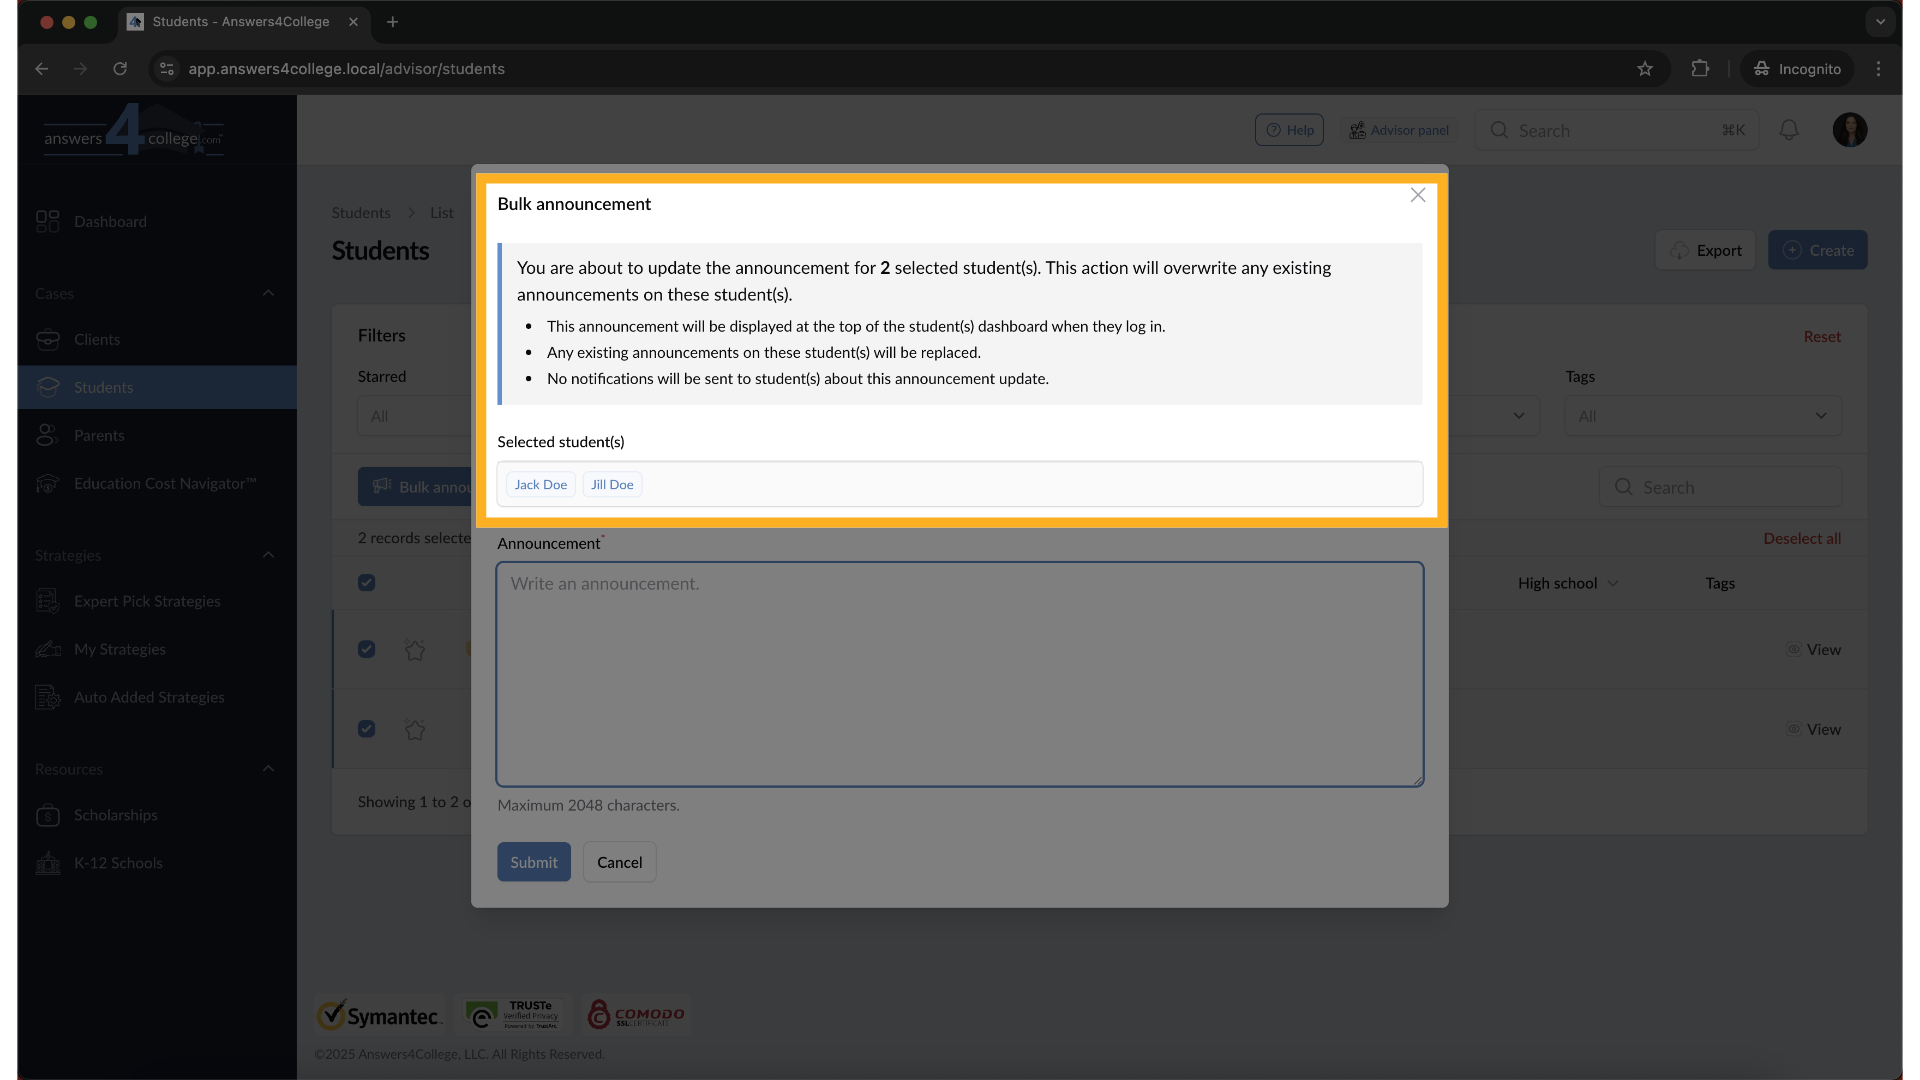
The bulk announcement page shows you exactly who will receive this announcement. You'll see it confirms you're making an announcement to two people, and it lists all selected students. This is your chance to verify you've selected the right recipients before proceeding.
23. Creating the Bulk Announcement
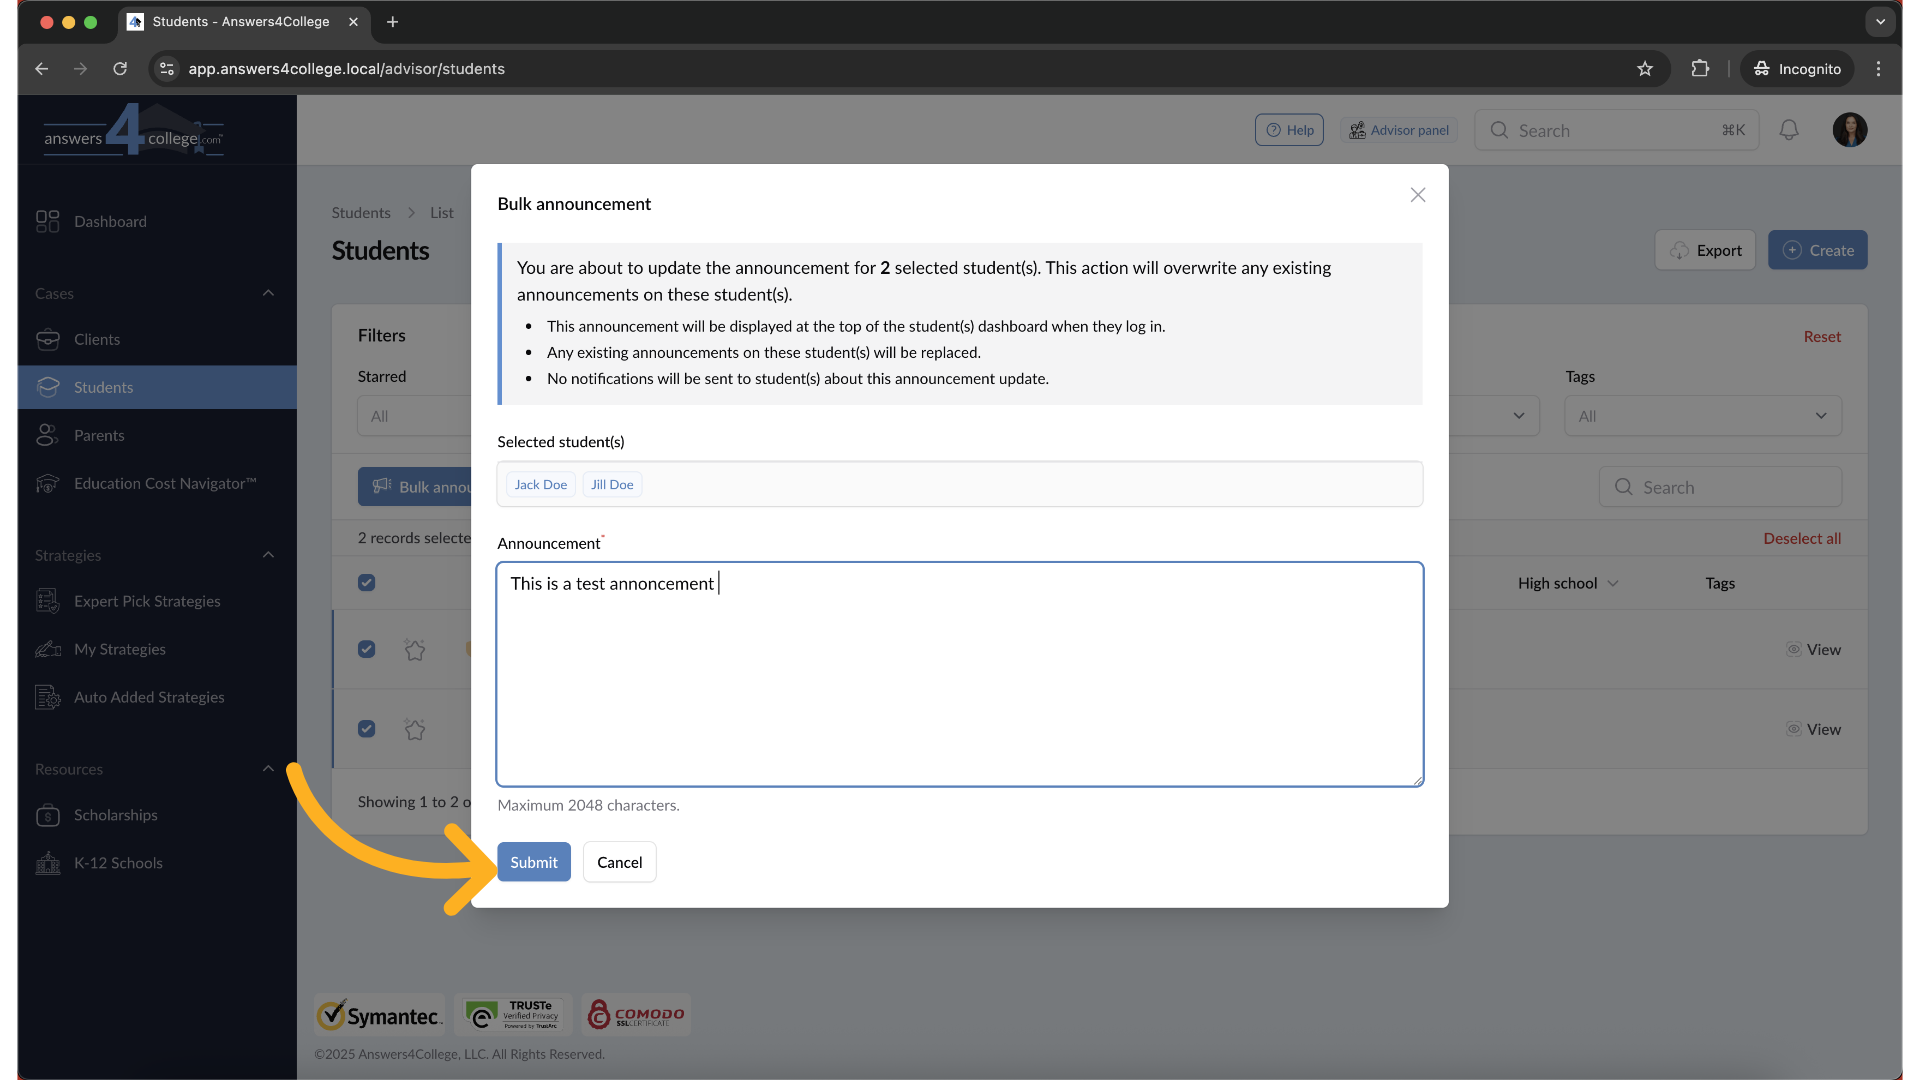
In the announcement text field, type the message you want all selected students to see. This could be something like "Essay workshop this Saturday at 2 PM - don't miss it!" or "Financial aid forms are due next week - please check your task list."
24. Click "Submit"
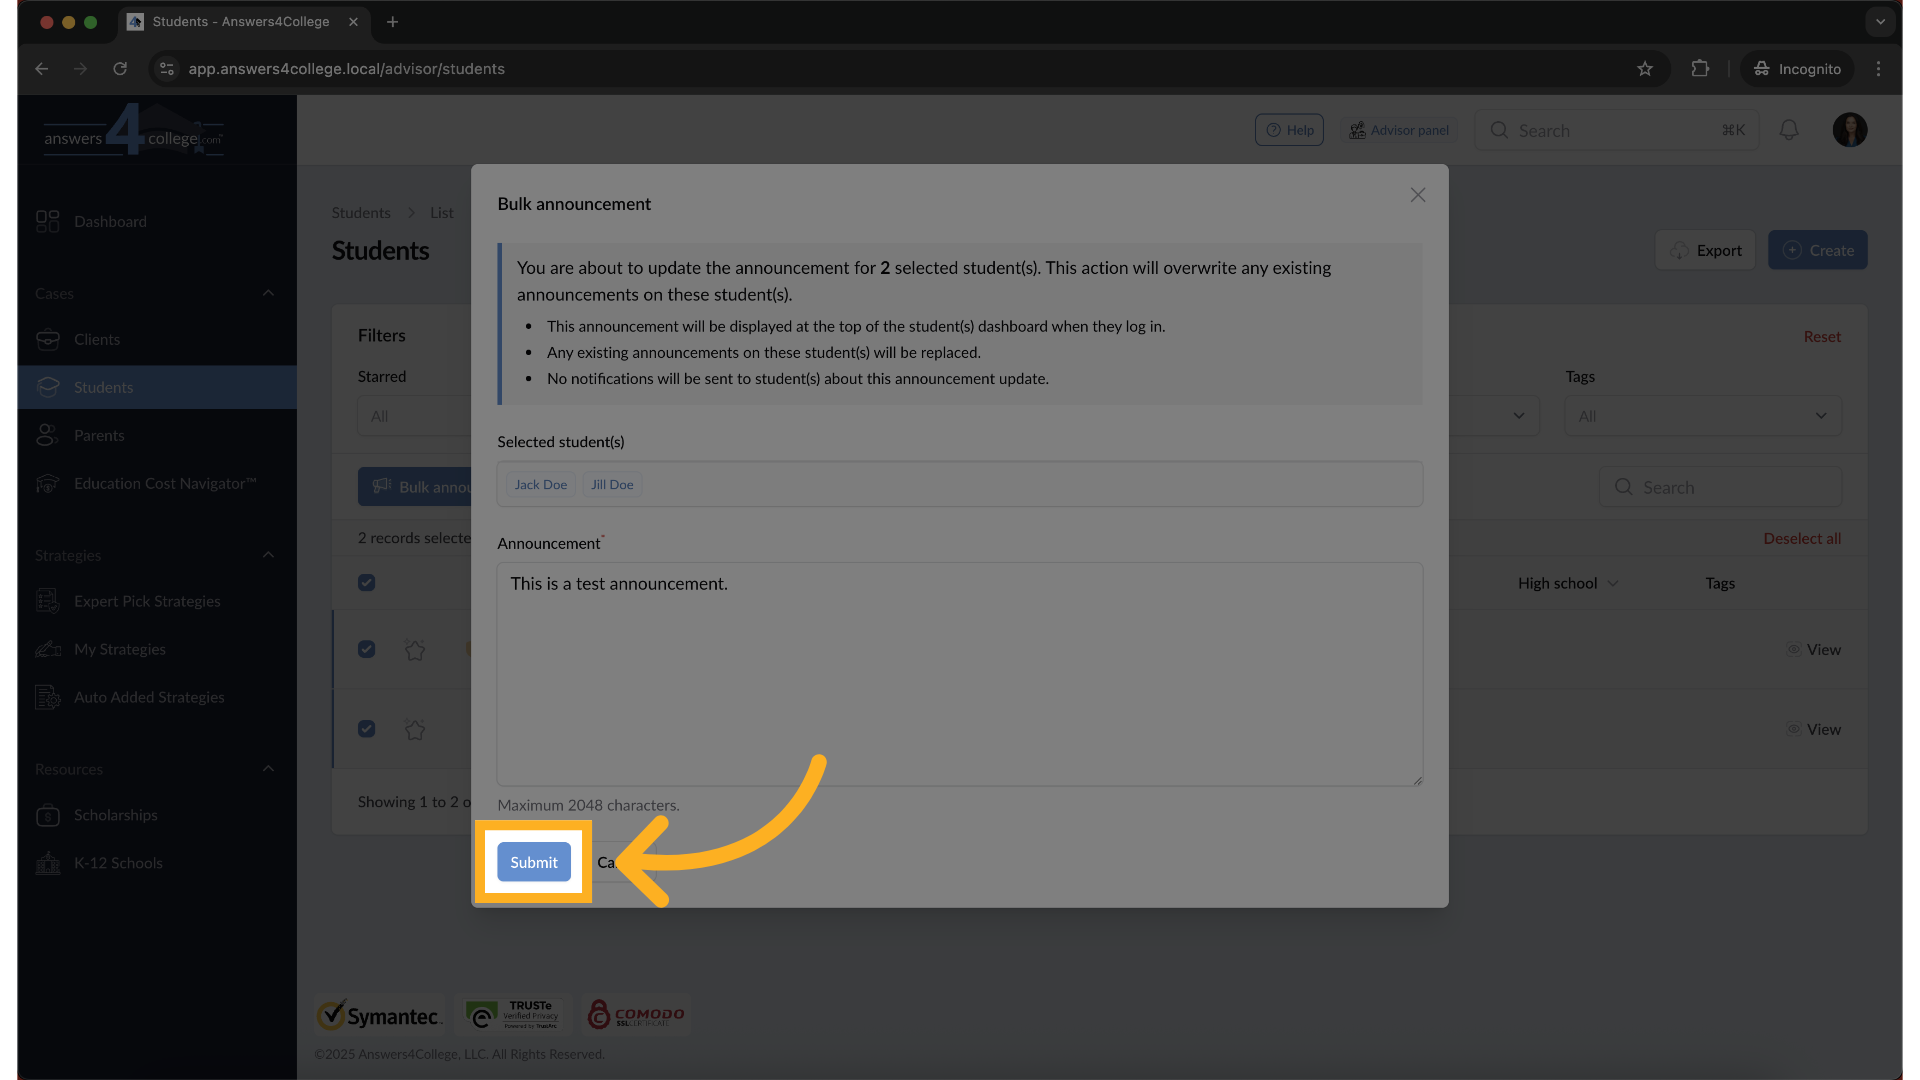
Once you've entered your message, click "Submit."
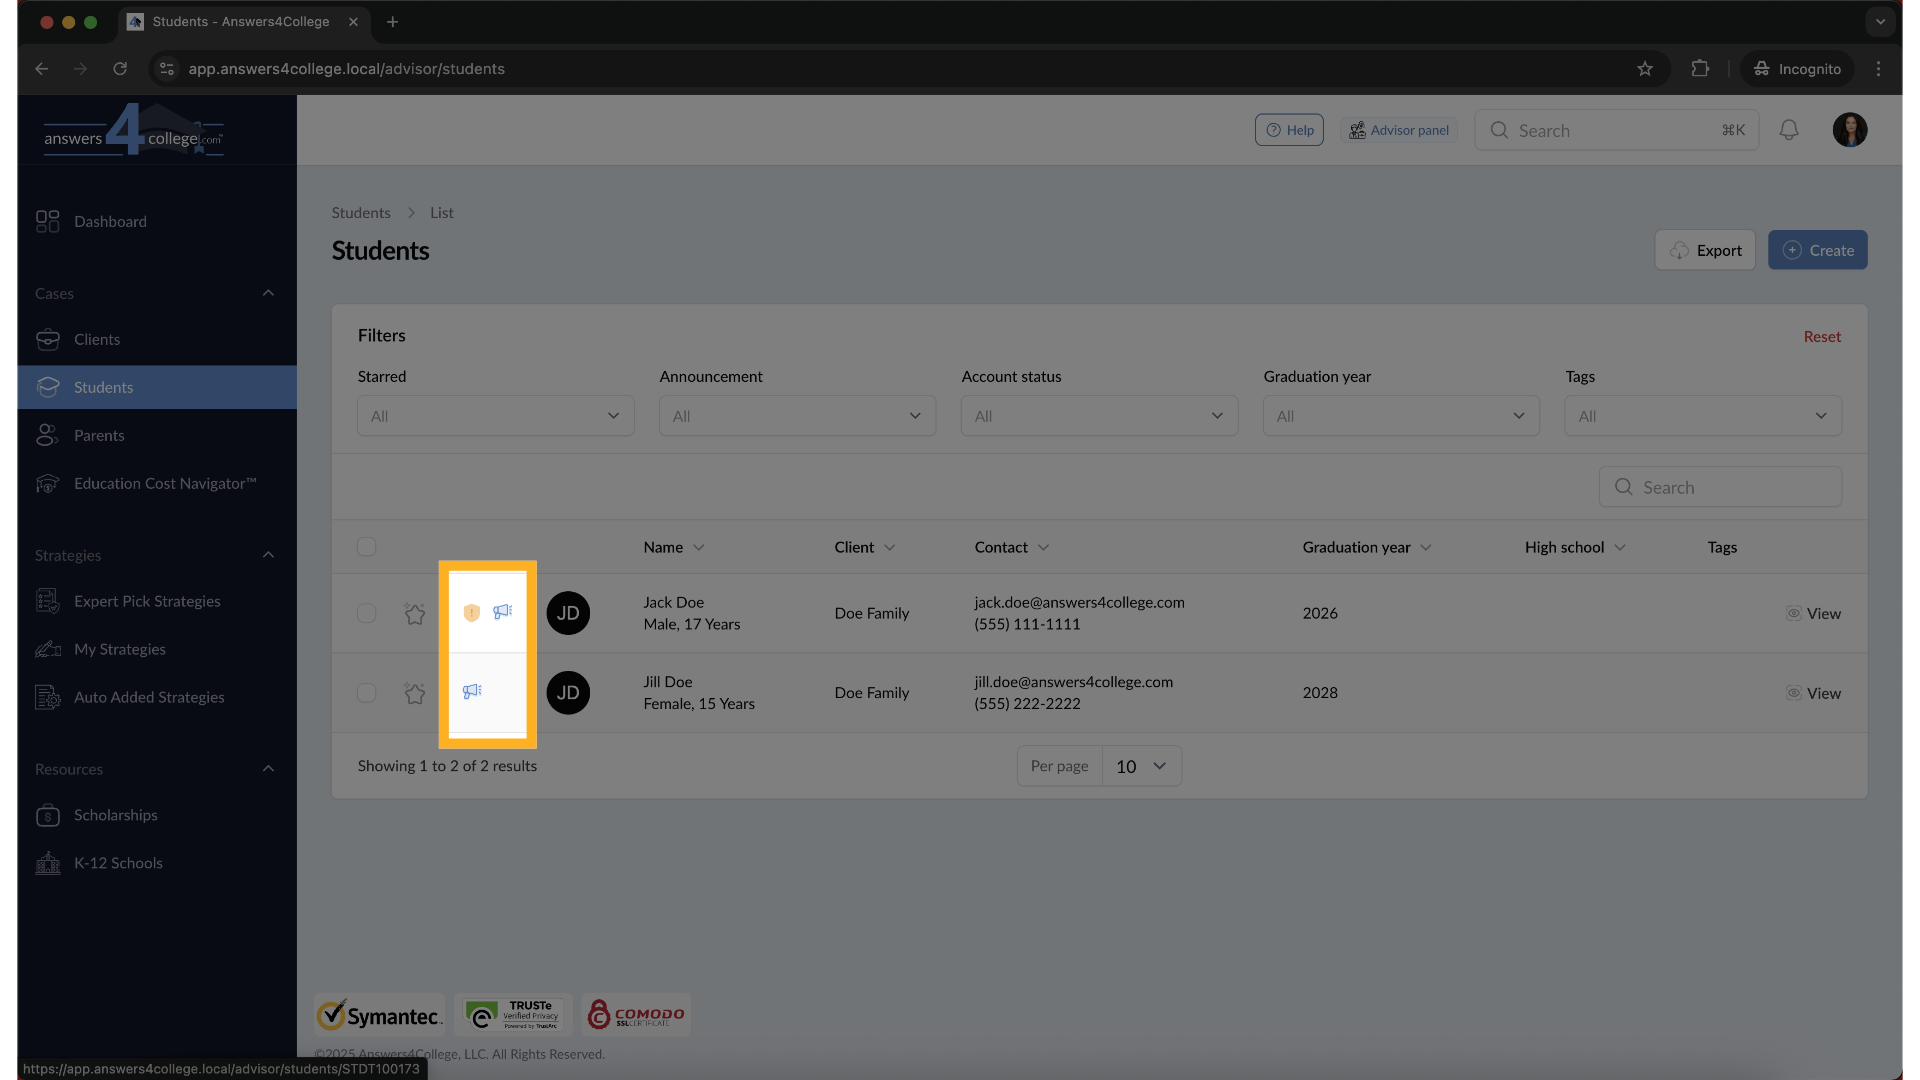
25. Confirmation and Visual Indicators
Perfect! Your announcement has been sent to all selected students simultaneously. When you return to the student list, notice something new - there's a small announcement icon next to the names of students who have active announcements. This visual indicator makes it easy to see at a glance who has announcements and who doesn't, helping you track your communications.
26. Applying to Parents
Everything you've learned about student announcements works identically for parents. Navigate to the "Parents" section, select individual parents or multiple parents, and follow the same process. Parents will see their announcements at the top of their dashboard, just like students do.

Use announcements strategically for time-sensitive or high-priority information. They're perfect for: Deadline reminders that need immediate attention Congratulations messages for achievements Meeting or workshop notifications System updates or changes to schedules Seasonal reminders about applications or financial aid Remember to remove outdated announcements promptly to keep the dashboard relevant and maintain the impact of new announcements. Thank you for following along with this tutorial. Start using announcements today to enhance your communication with families.
Comments
0 comments
Please sign in to leave a comment.