Welcome to this tutorial on file management in the Answers for College Advisor Portal. This feature allows you to share important documents and links with students and parents, while also maintaining private files for your own reference. I'll show you how to create folders, upload files, share links, and manage different access levels. Let's begin.
First, make sure you're logged into your Advisor Portal with your credentials. Once you're in and see your main dashboard, we're ready to explore the file management features.
2. Navigating to Students
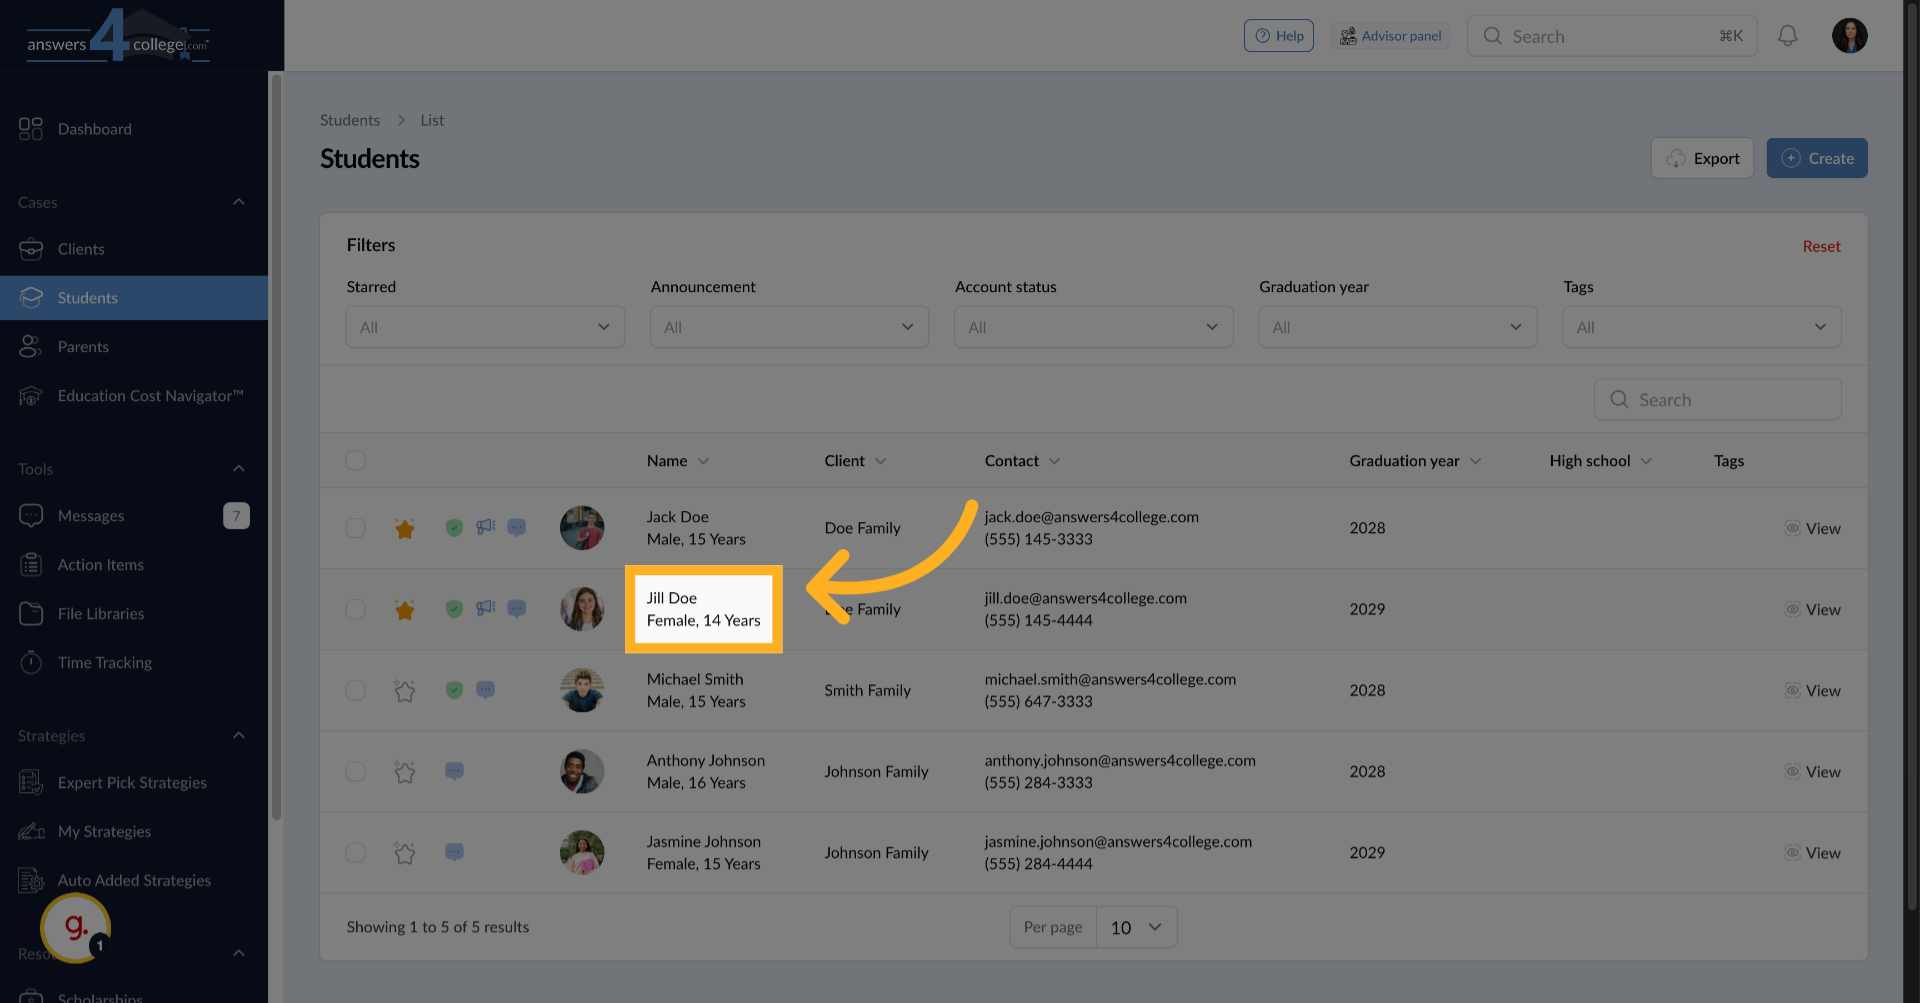
From the left-hand navigation menu, click on "Students" to access your student list. This is where we'll start learning about file sharing.
3. Selecting a Student
Choose the student you want to share files with. For this example, let's select Jill Doe. Click on her name to open her student profile.
4. Click "Tools"
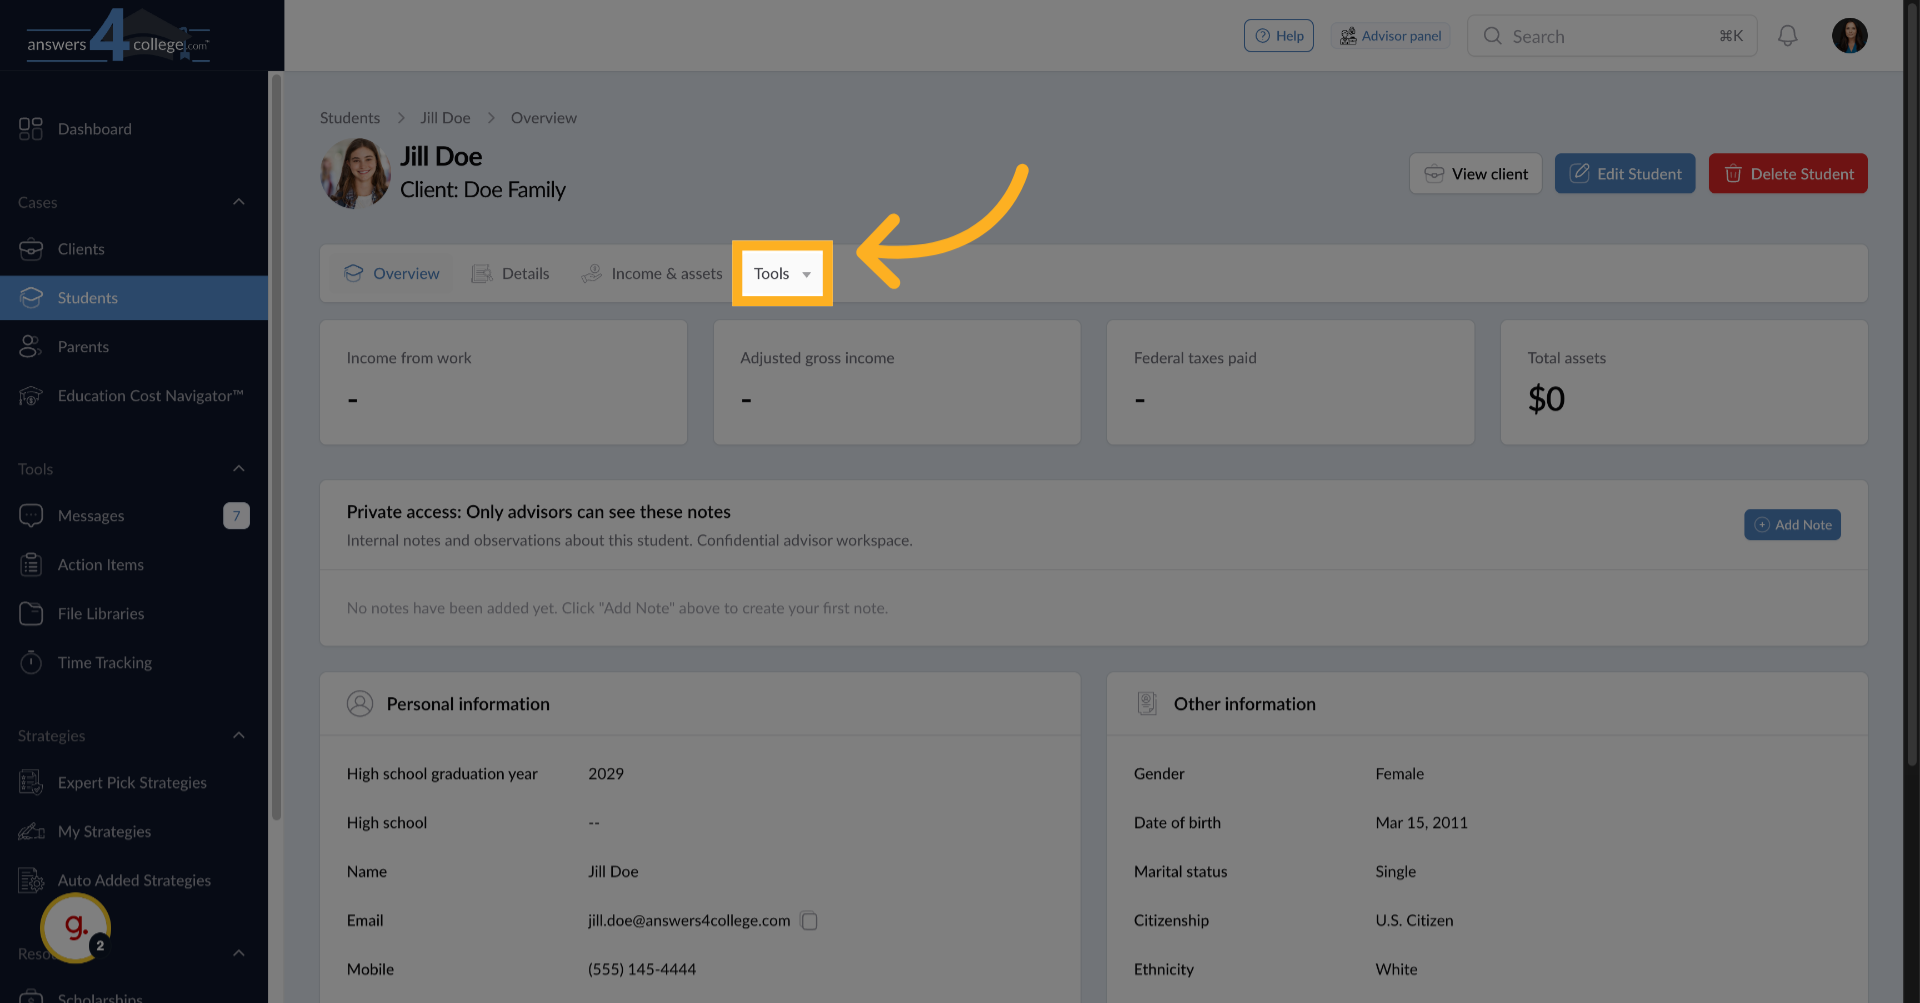
Once you're in the student's profile, look at the top menu and click on "Tools."
5. Accessing the Files Section
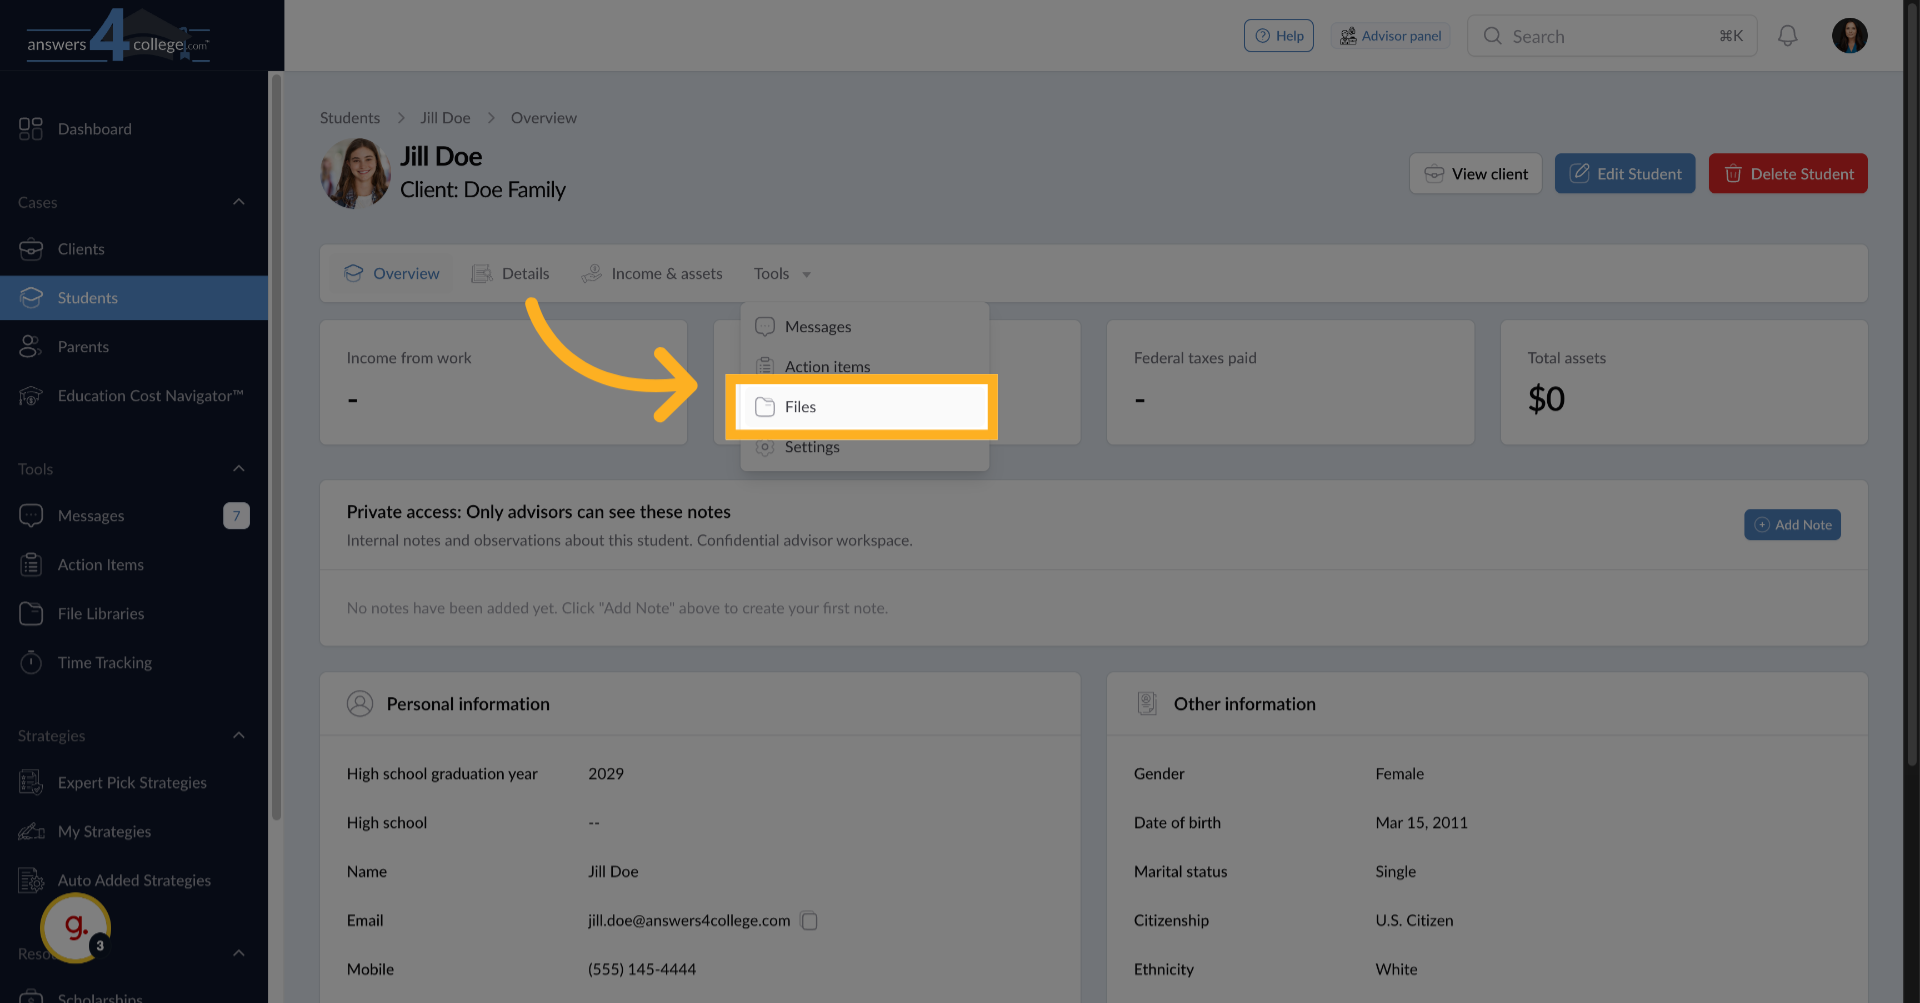
From the dropdown menu that appears, select "Files." This takes you to the file management area for this specific student.
6. Understanding the Initial View
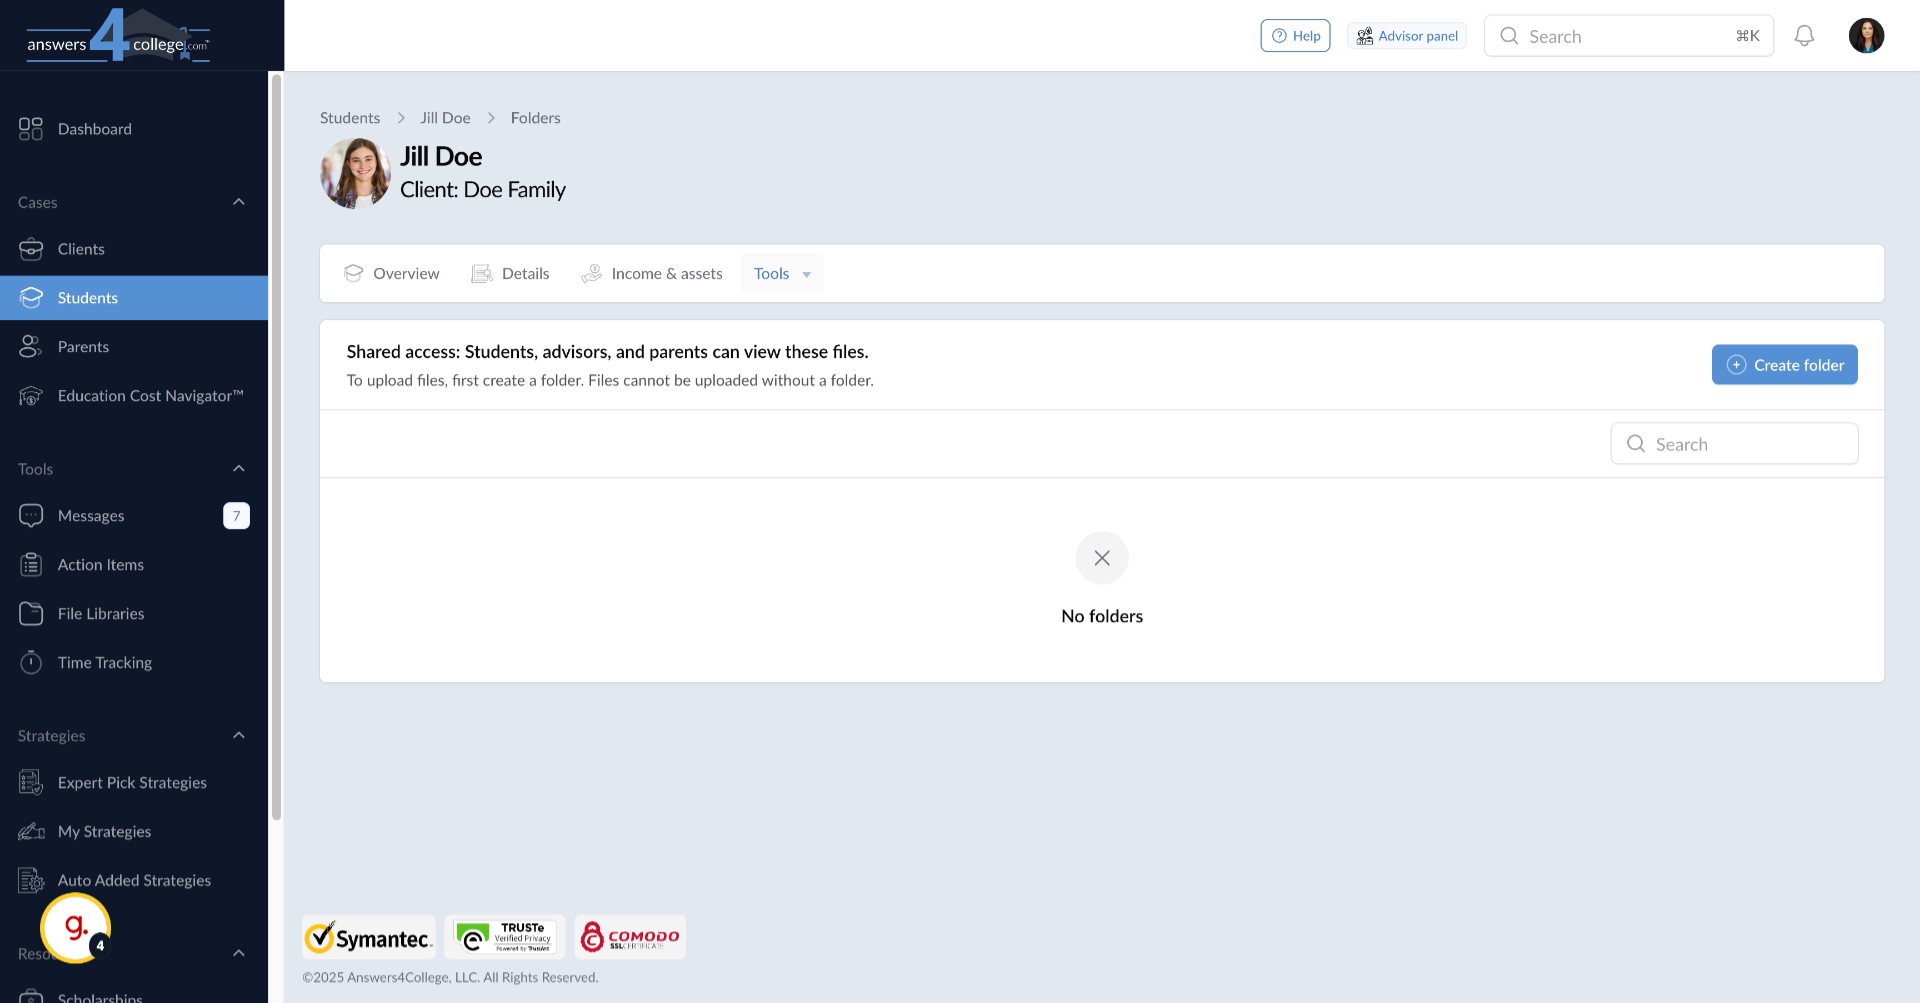
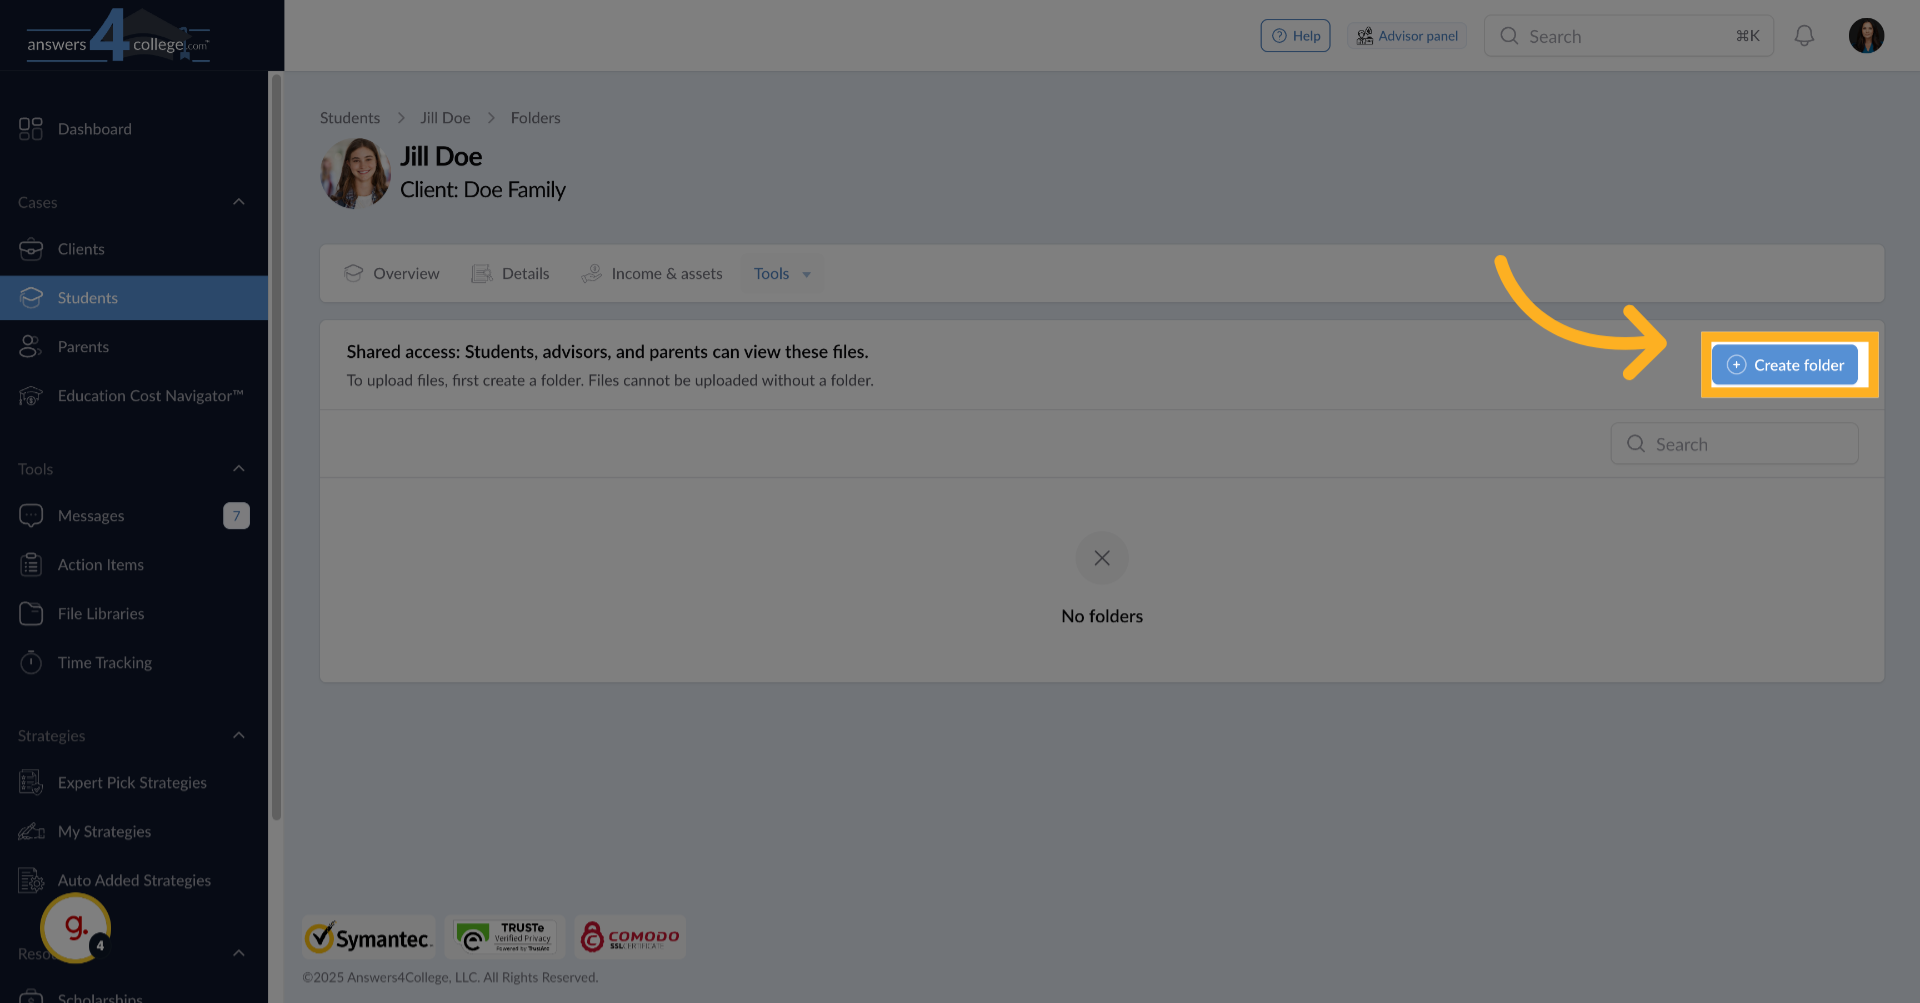
When you first access the files section, you might see it's empty - no files have been shared yet. Don't worry, we're about to change that. Notice at the top of the page, there's a note about who can access these files. It shows "Shared Access" and explains that the student, advisor, and parents can all view these files. This transparency helps you understand exactly who will see what you upload.
7. Creating Your First Folder
Before uploading any files, you need to create a folder to organize them. Click on the "Create Folder" button. A dialog box will appear asking for a folder name.
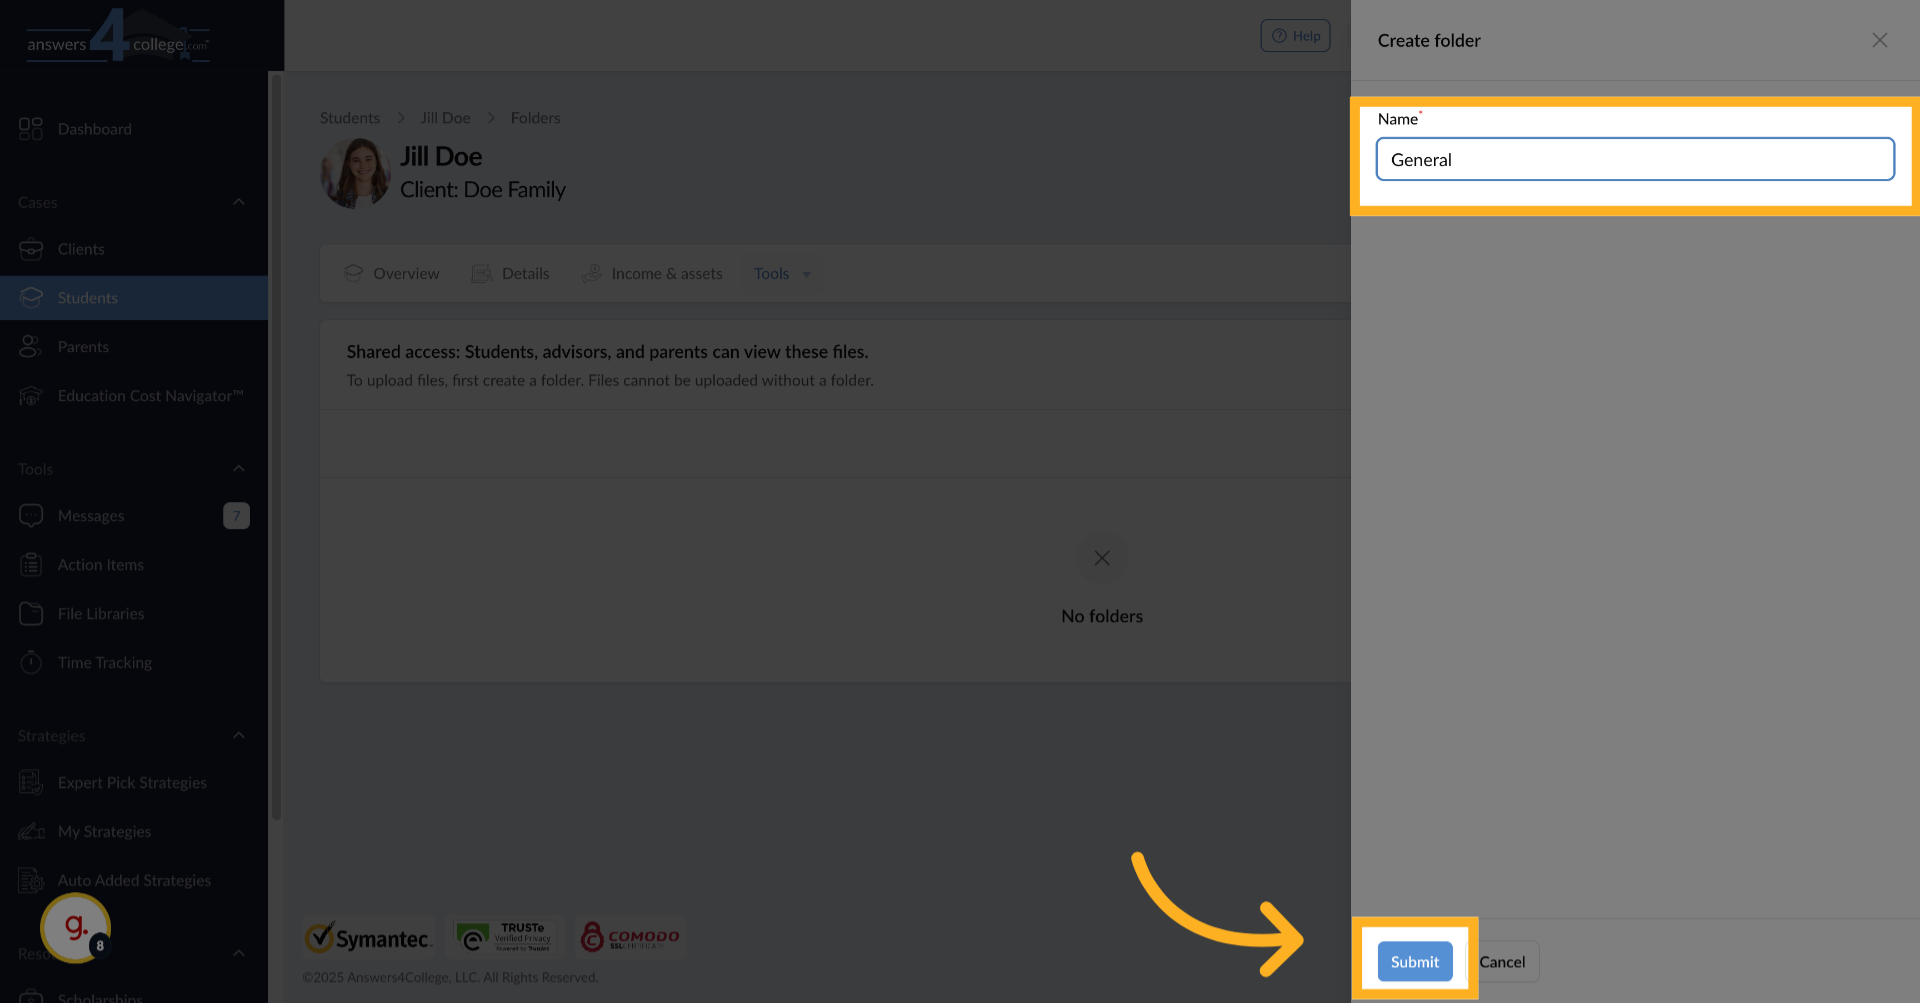
8. Naming the Folder
Type a descriptive name for your folder. You might use "General Documents," "Application Materials," "Financial Aid," or any other category that makes sense. For this example, let's call it "General." Click submit to create the folder.
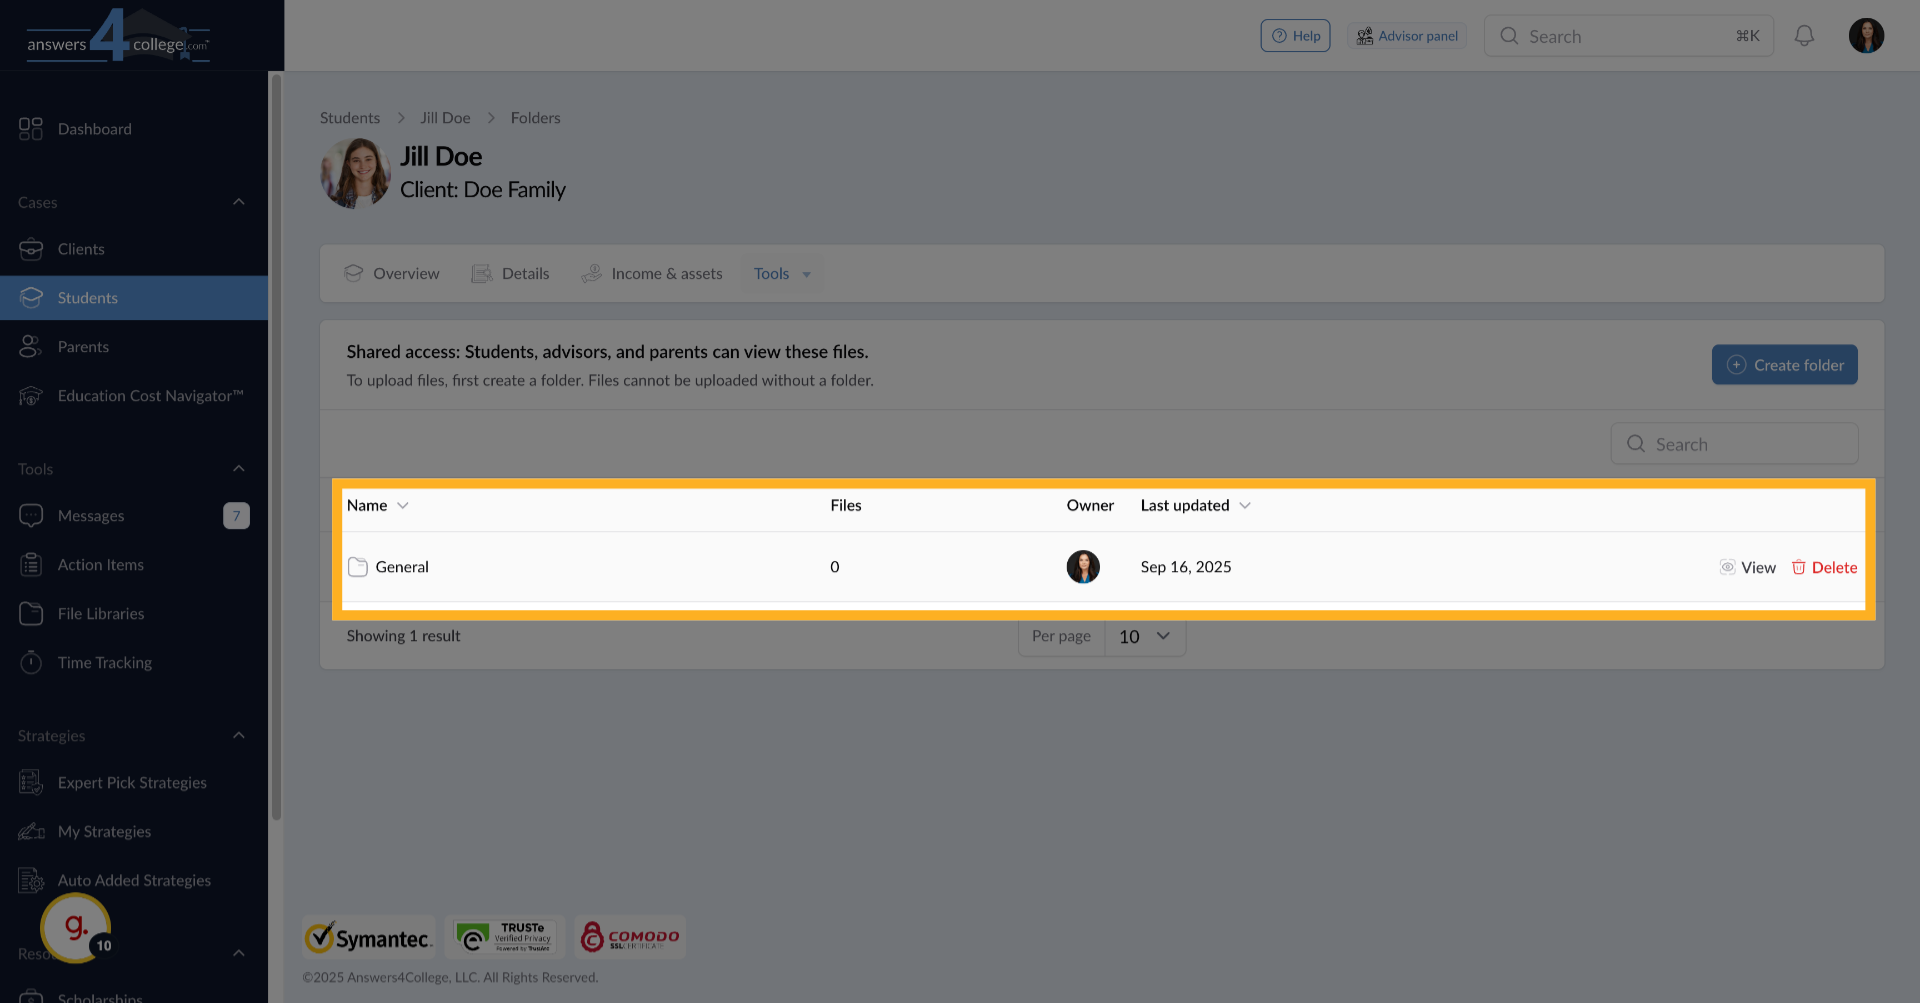
9. Opening the Folder
Your new folder now appears on the screen, showing the folder name and a file count (currently zero). Click on the folder to open it and start adding content.
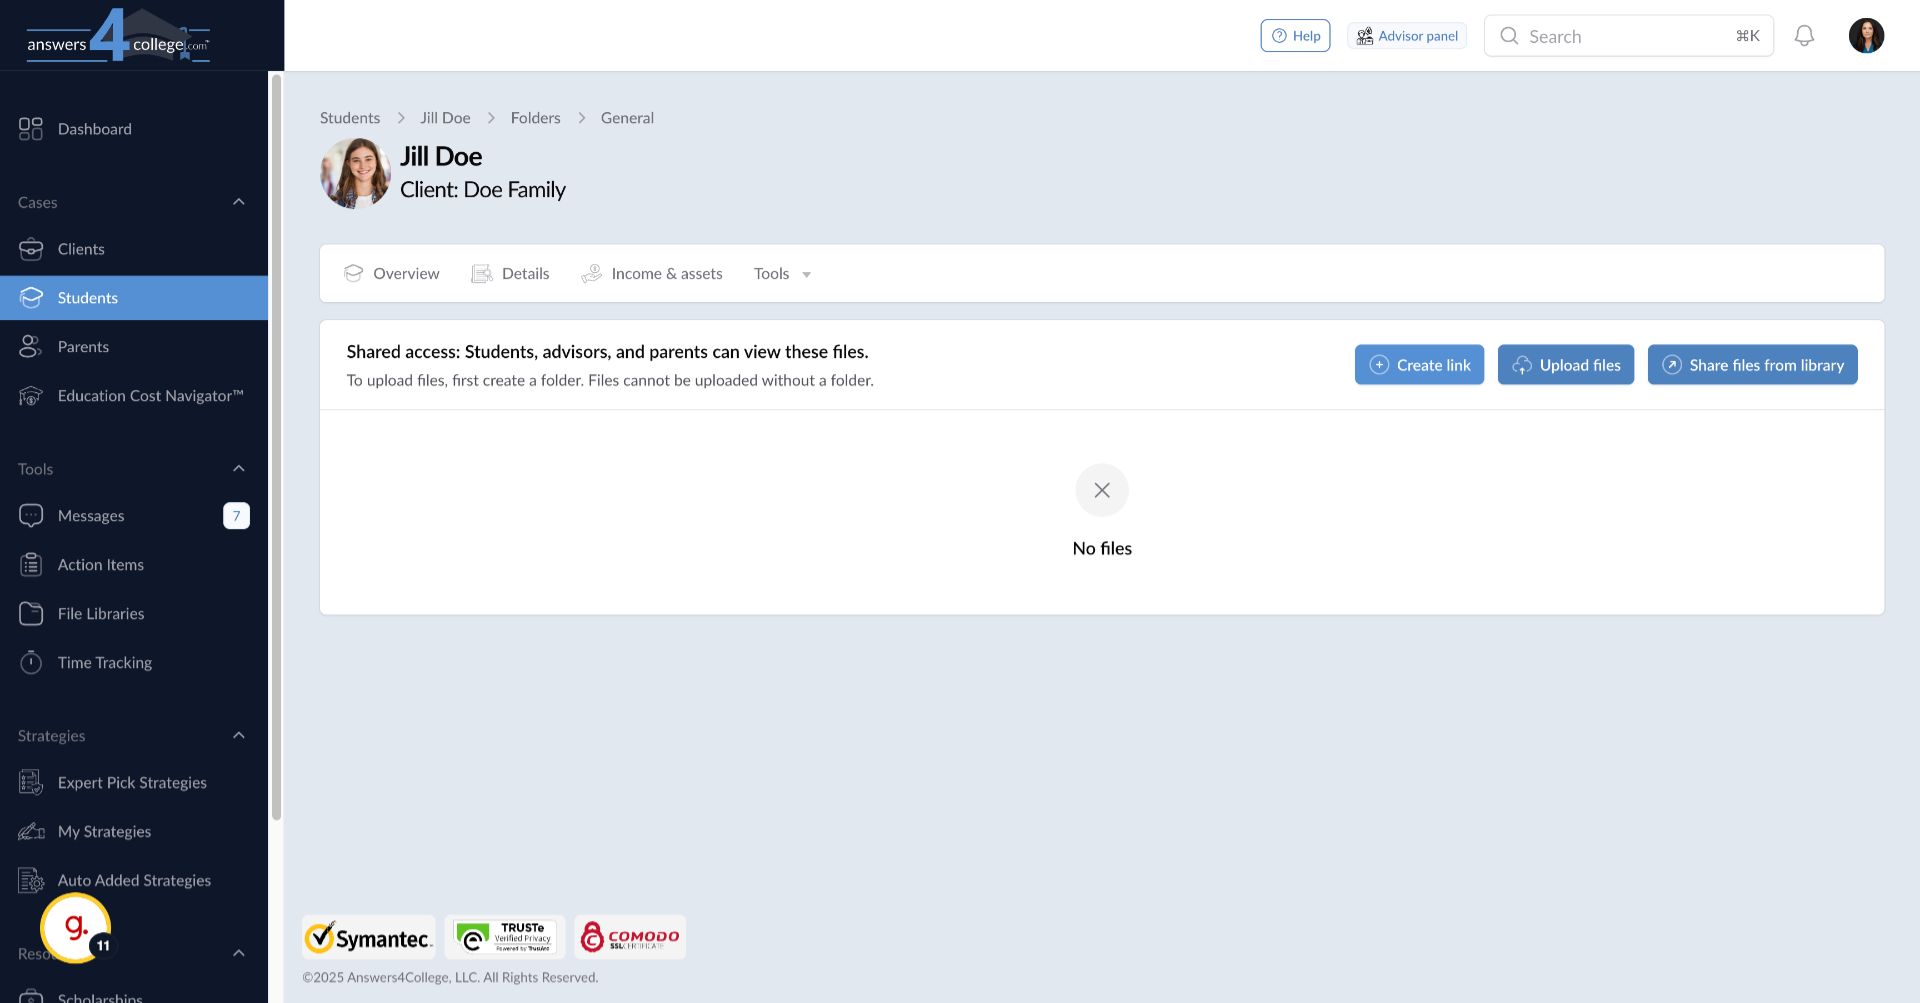
10. Understanding Your Options
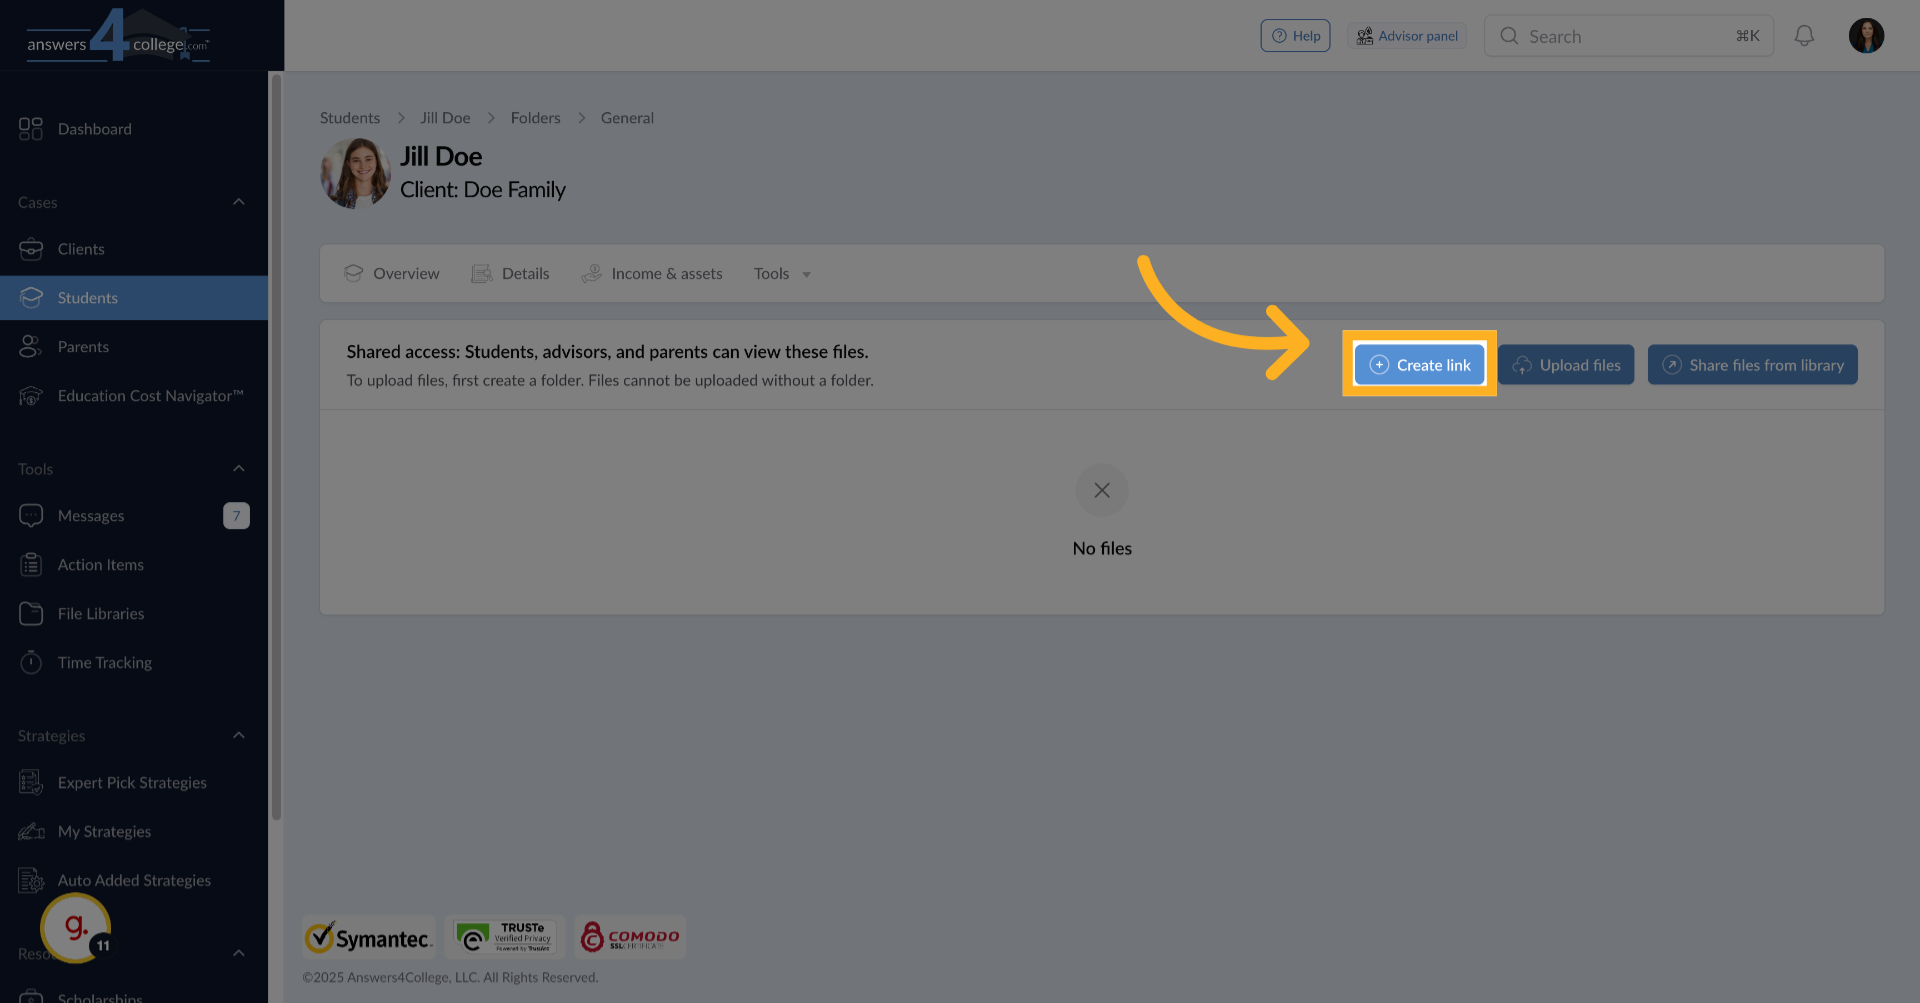
Inside the folder, you'll see three main options at the top: "Create Link" for adding web resources, "Upload File" for adding documents, and "Share Files from Library" for using pre-existing materials. Today we'll focus on creating links and uploading files.
11. Creating a Link
Let's start by adding a helpful link. Click on "Create Link" to open the link creation form.
12. Configuring the Link
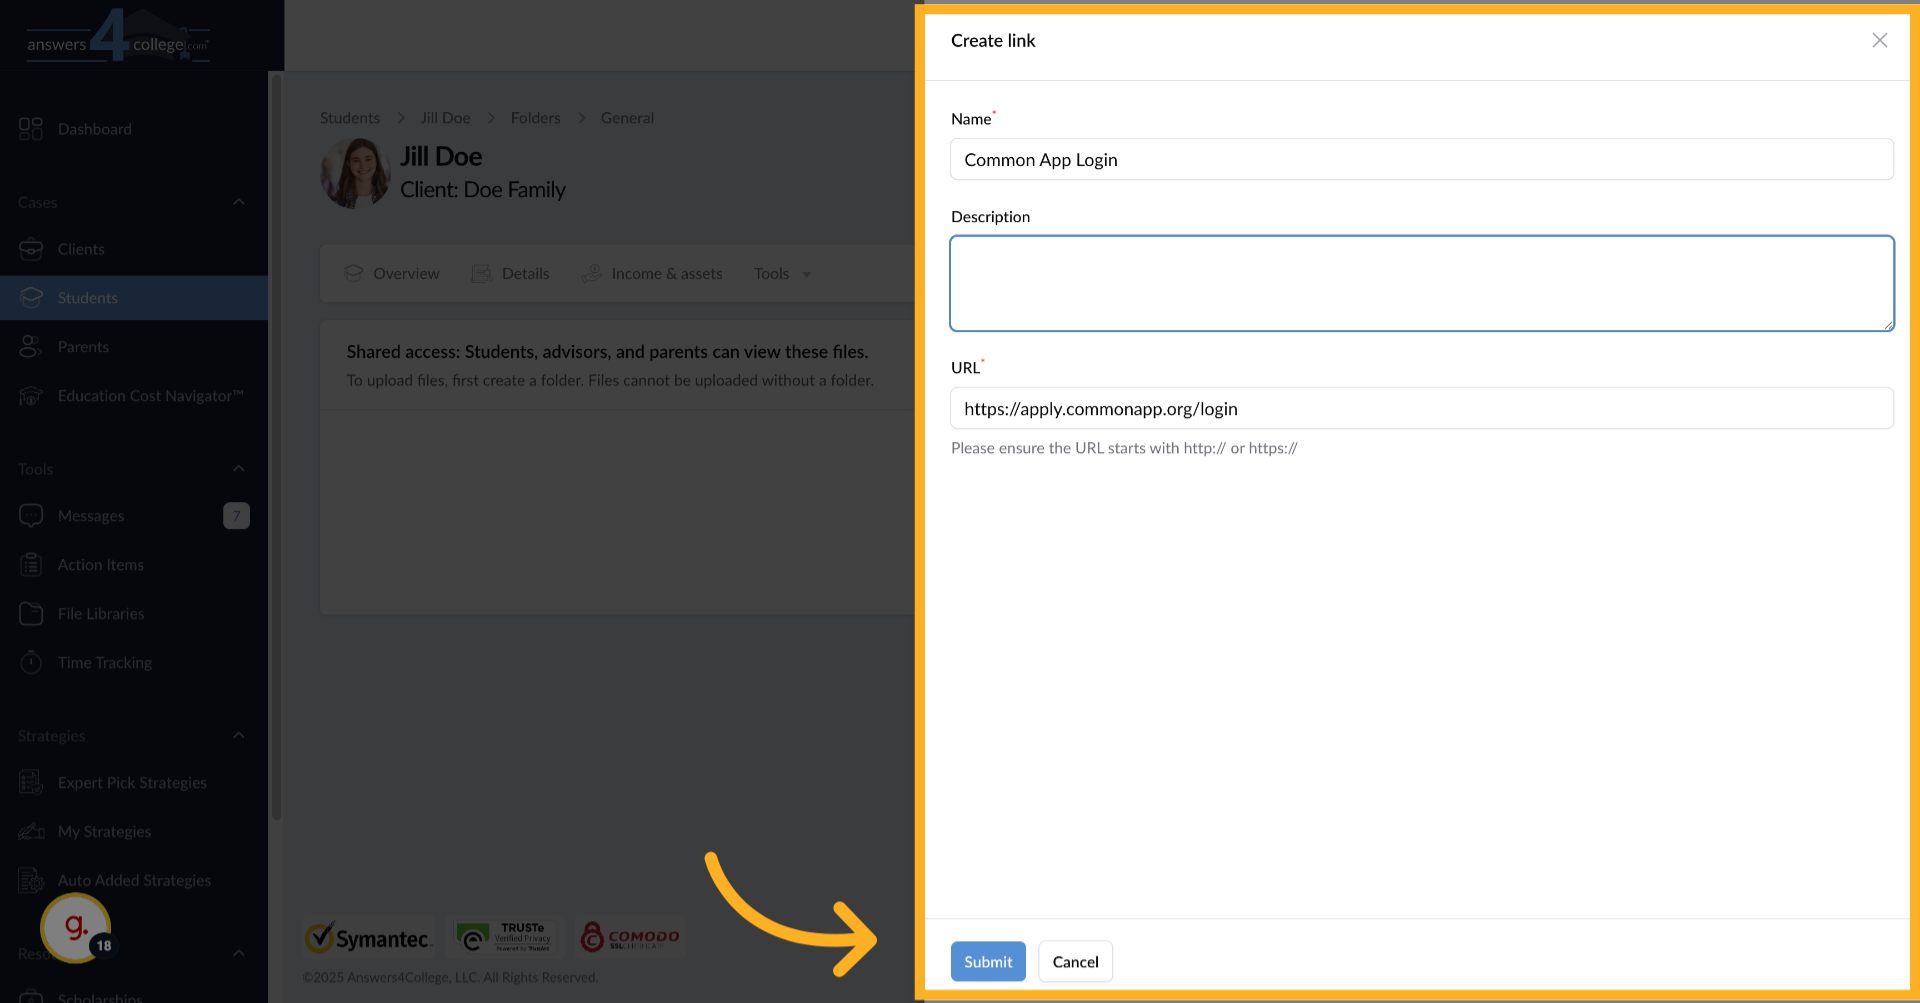
Give your link a clear name that tells the student what it's for - for example, "Common App Login." Then enter the full URL in the URL field. You can also add a description to provide context or instructions, like "Use this link to access your Common Application account." Click submit to save the link.
13. Viewing the Created Link
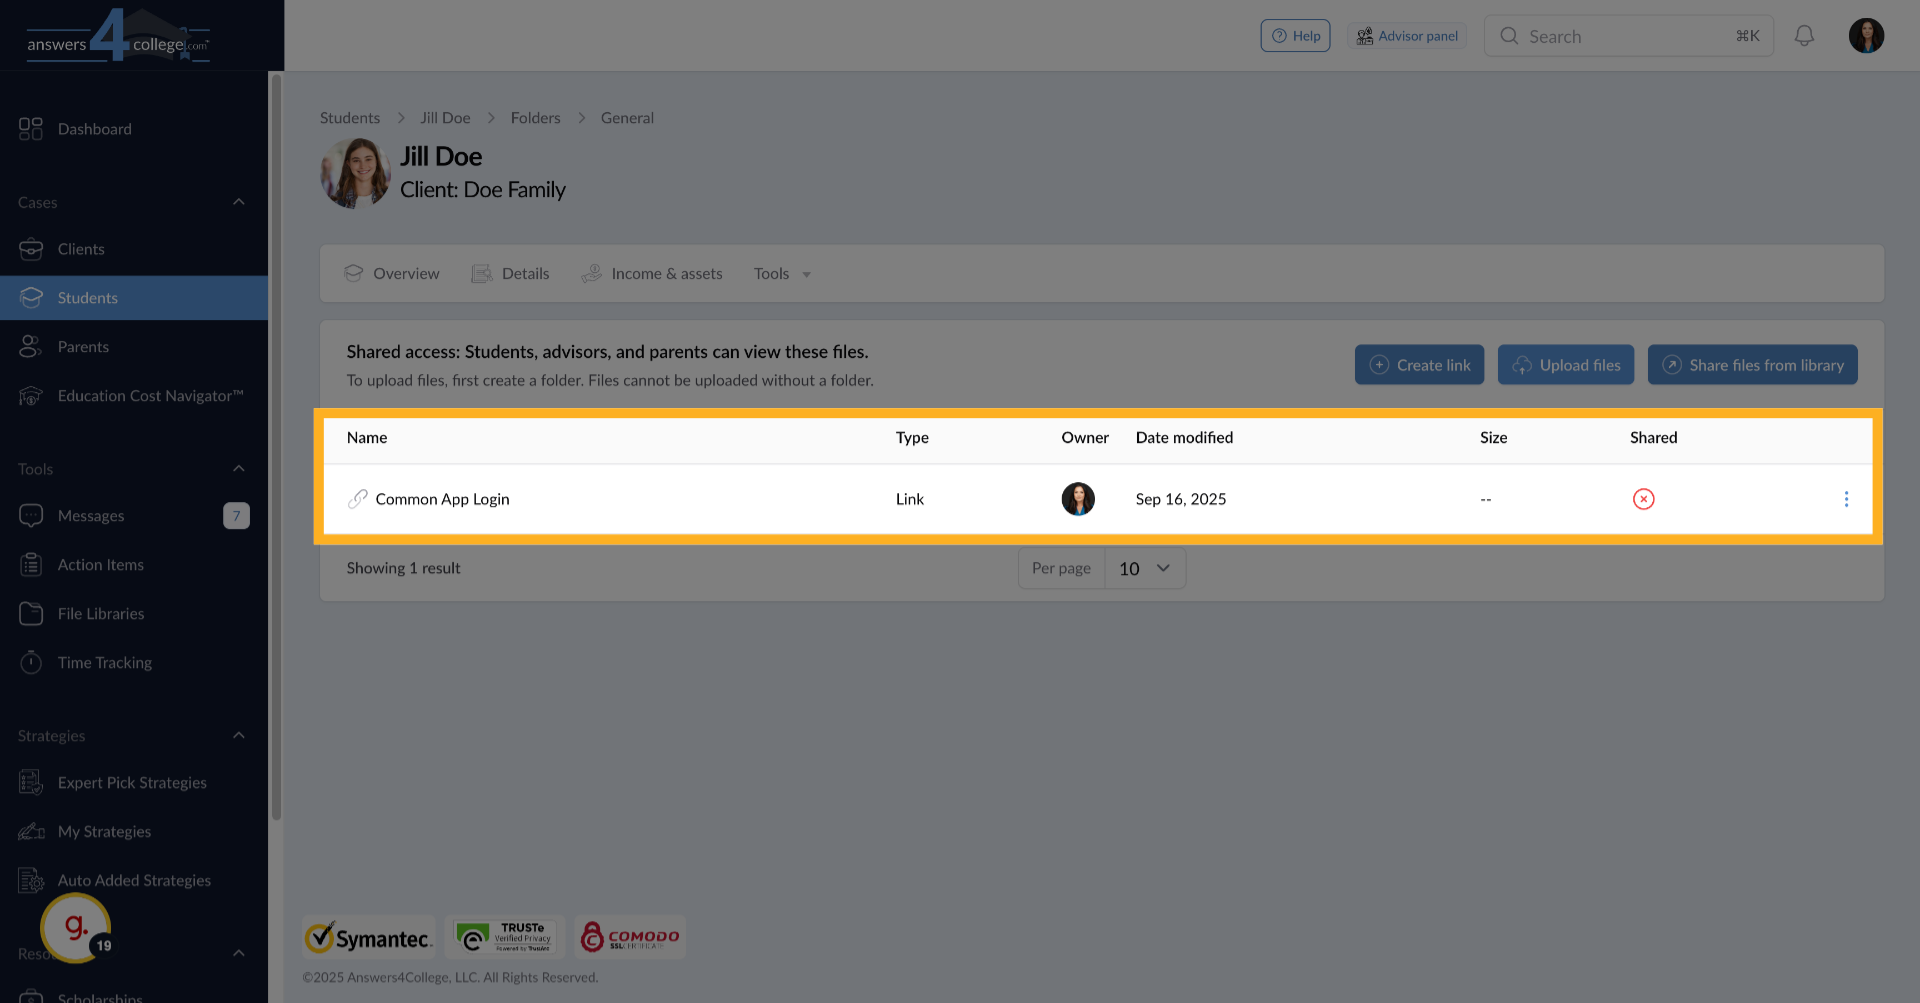
Perfect! Your link now appears in the folder. The student can click on it to go directly to that website. This is great for frequently-used resources that you want students to access quickly.
14. Uploading Files
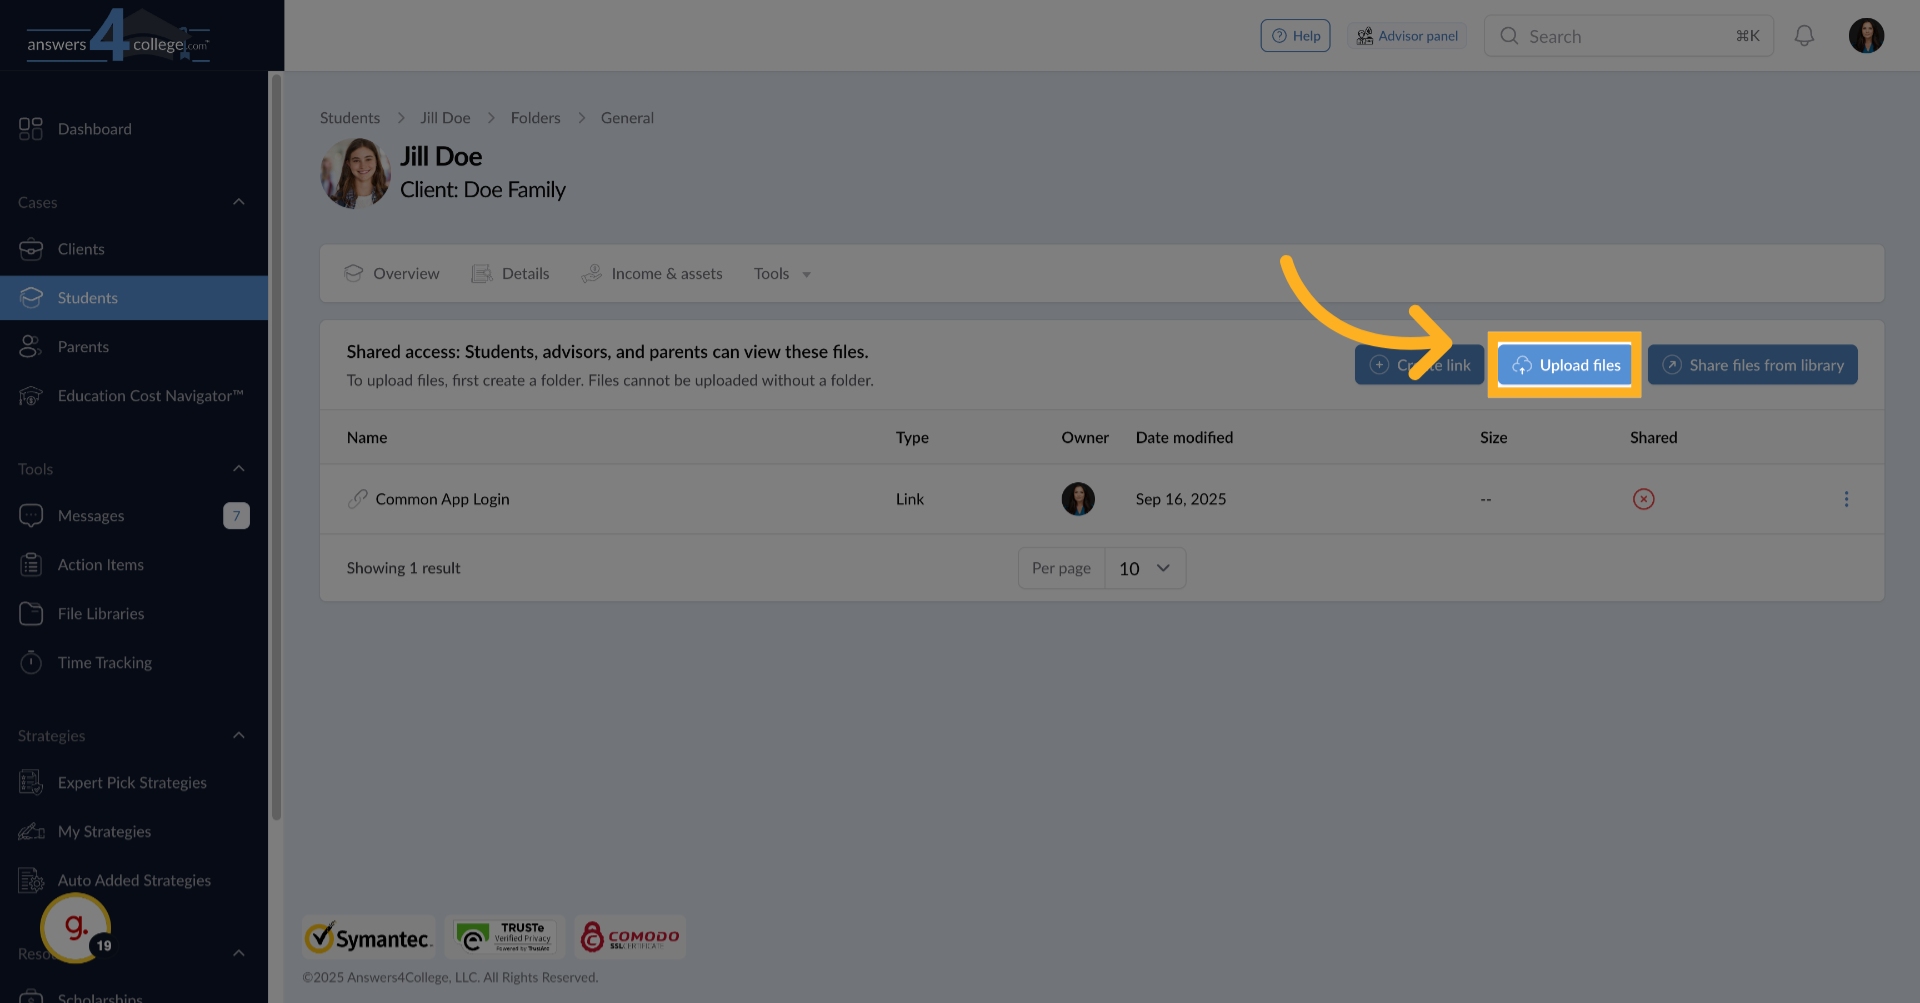
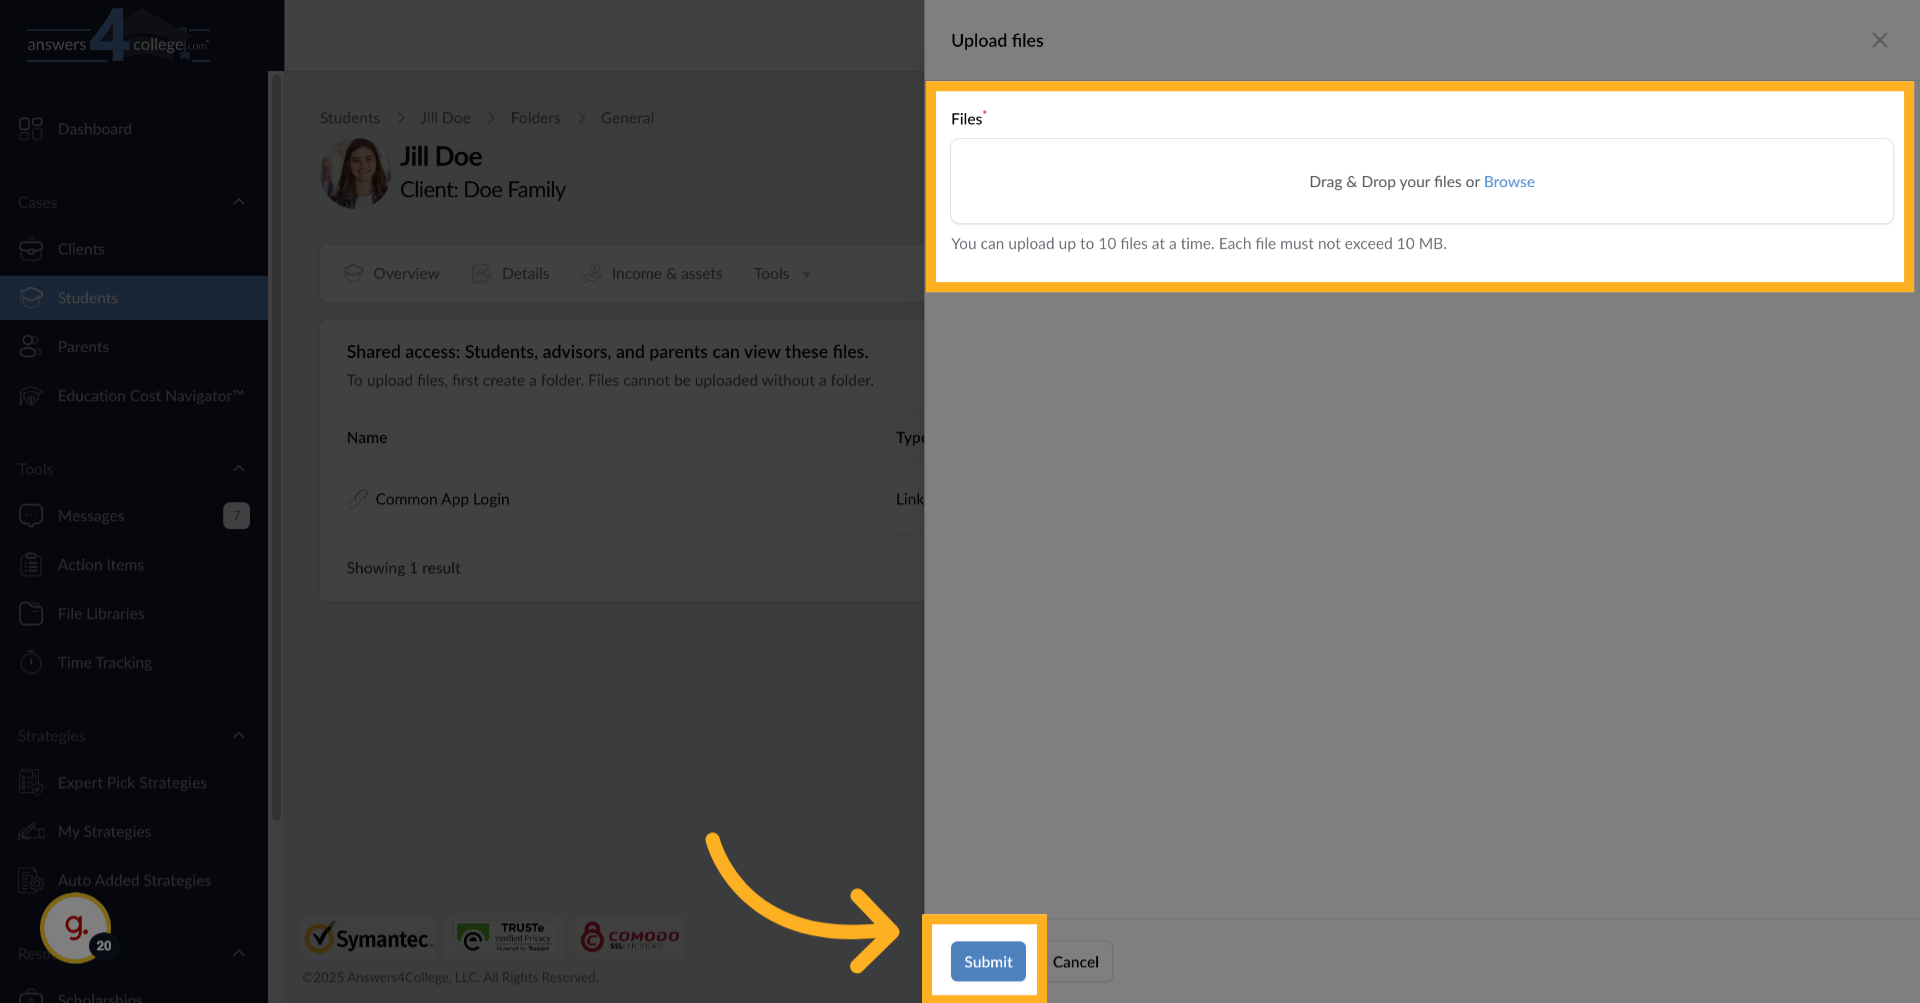
Now let's upload a document. Click the "Upload File" button. You can upload up to 10 files at once, with each file having a maximum size of 10 megabytes.
15. Selecting and Uploading
You can either drag and drop files directly onto the upload area, or click to browse and select files from your computer. Choose the document you want to share - perhaps an essay guide, a scholarship application, or a college comparison worksheet. Once selected, click "Submit" to upload.
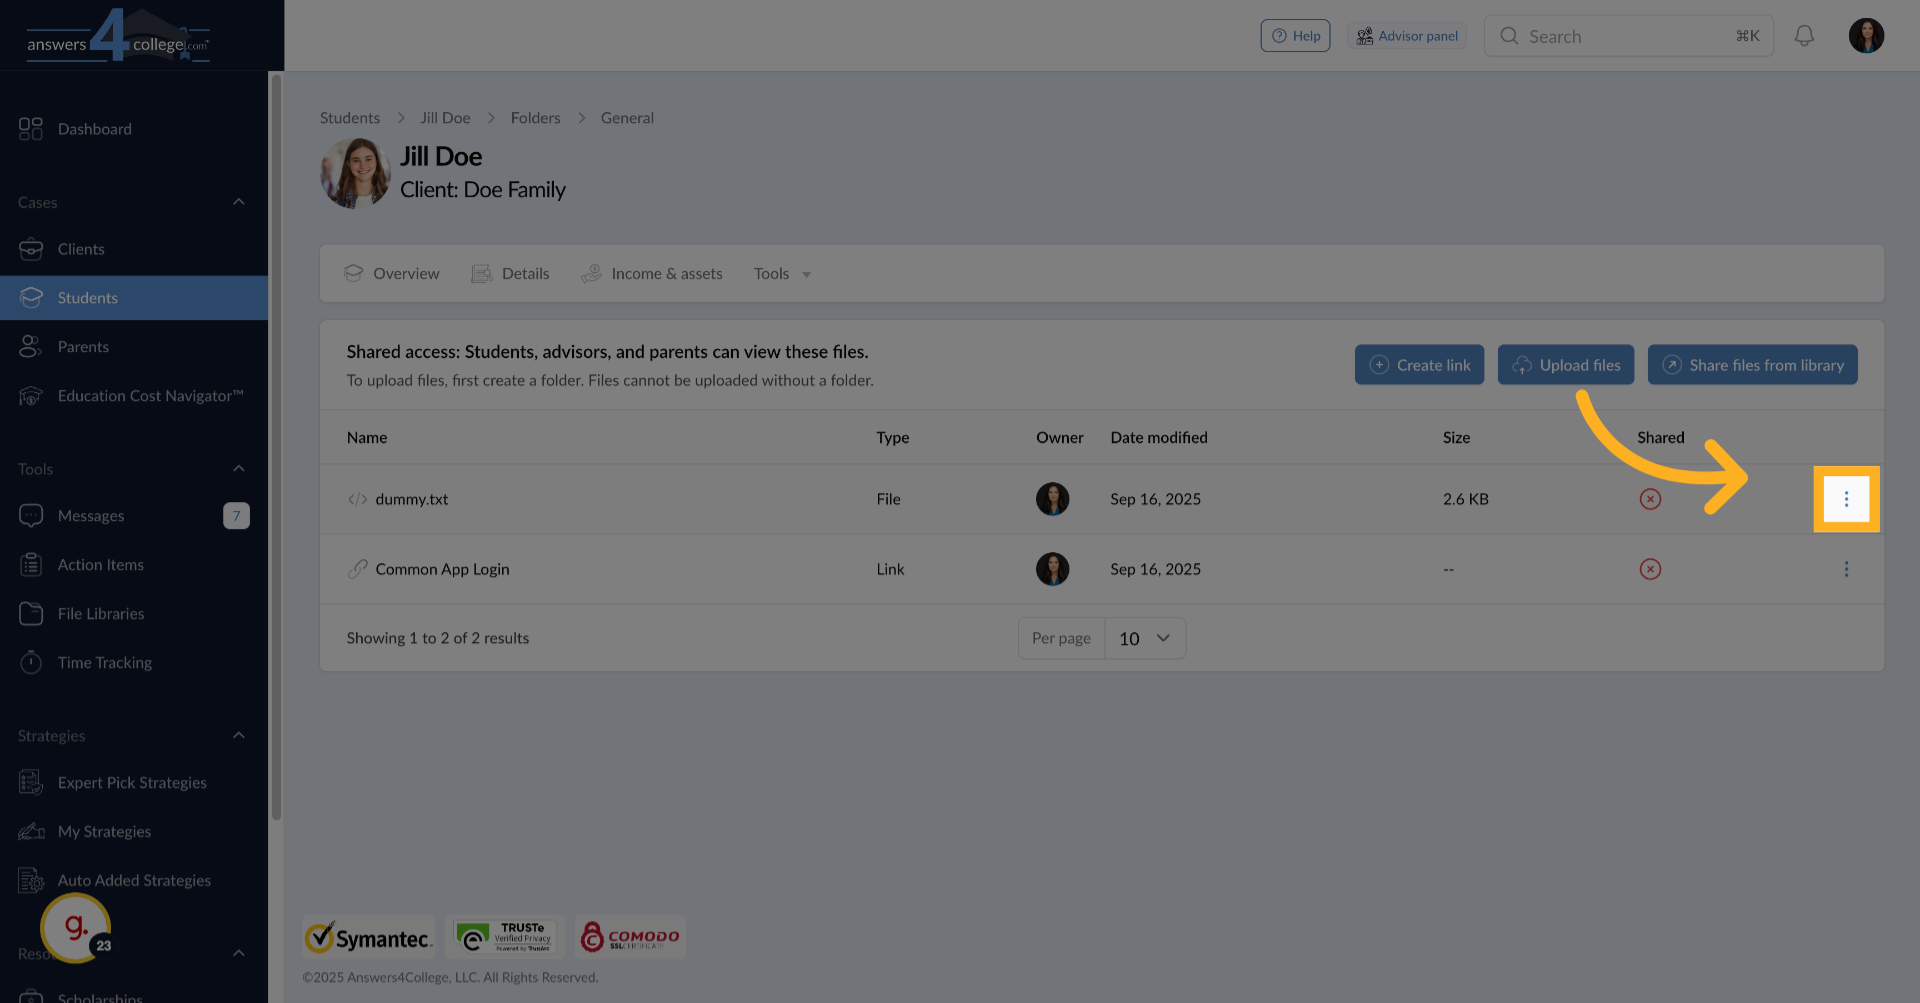
16. Managing Uploaded Files
Your file now appears in the folder, showing important details like the file name, owner, modification date, and file size.
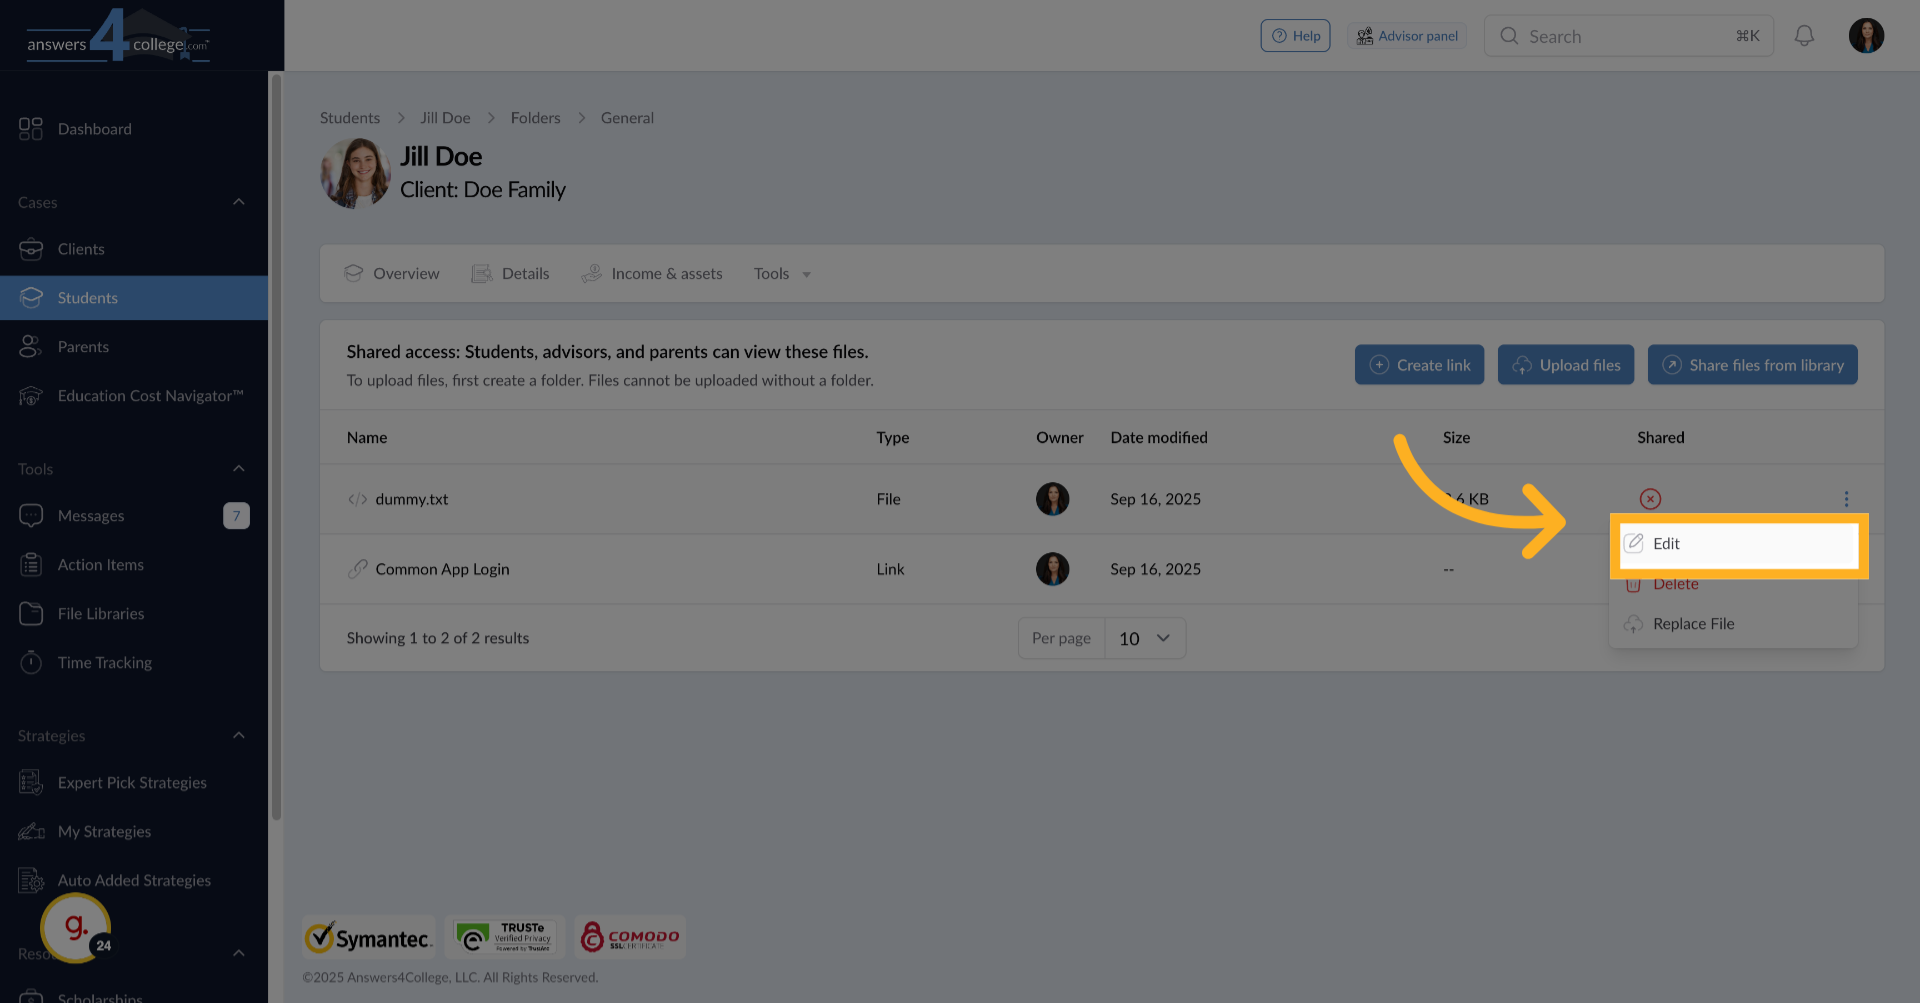
17. Edit File
You can click on the file to edit its name or add a description that helps the student understand what the file contains and how to use it.
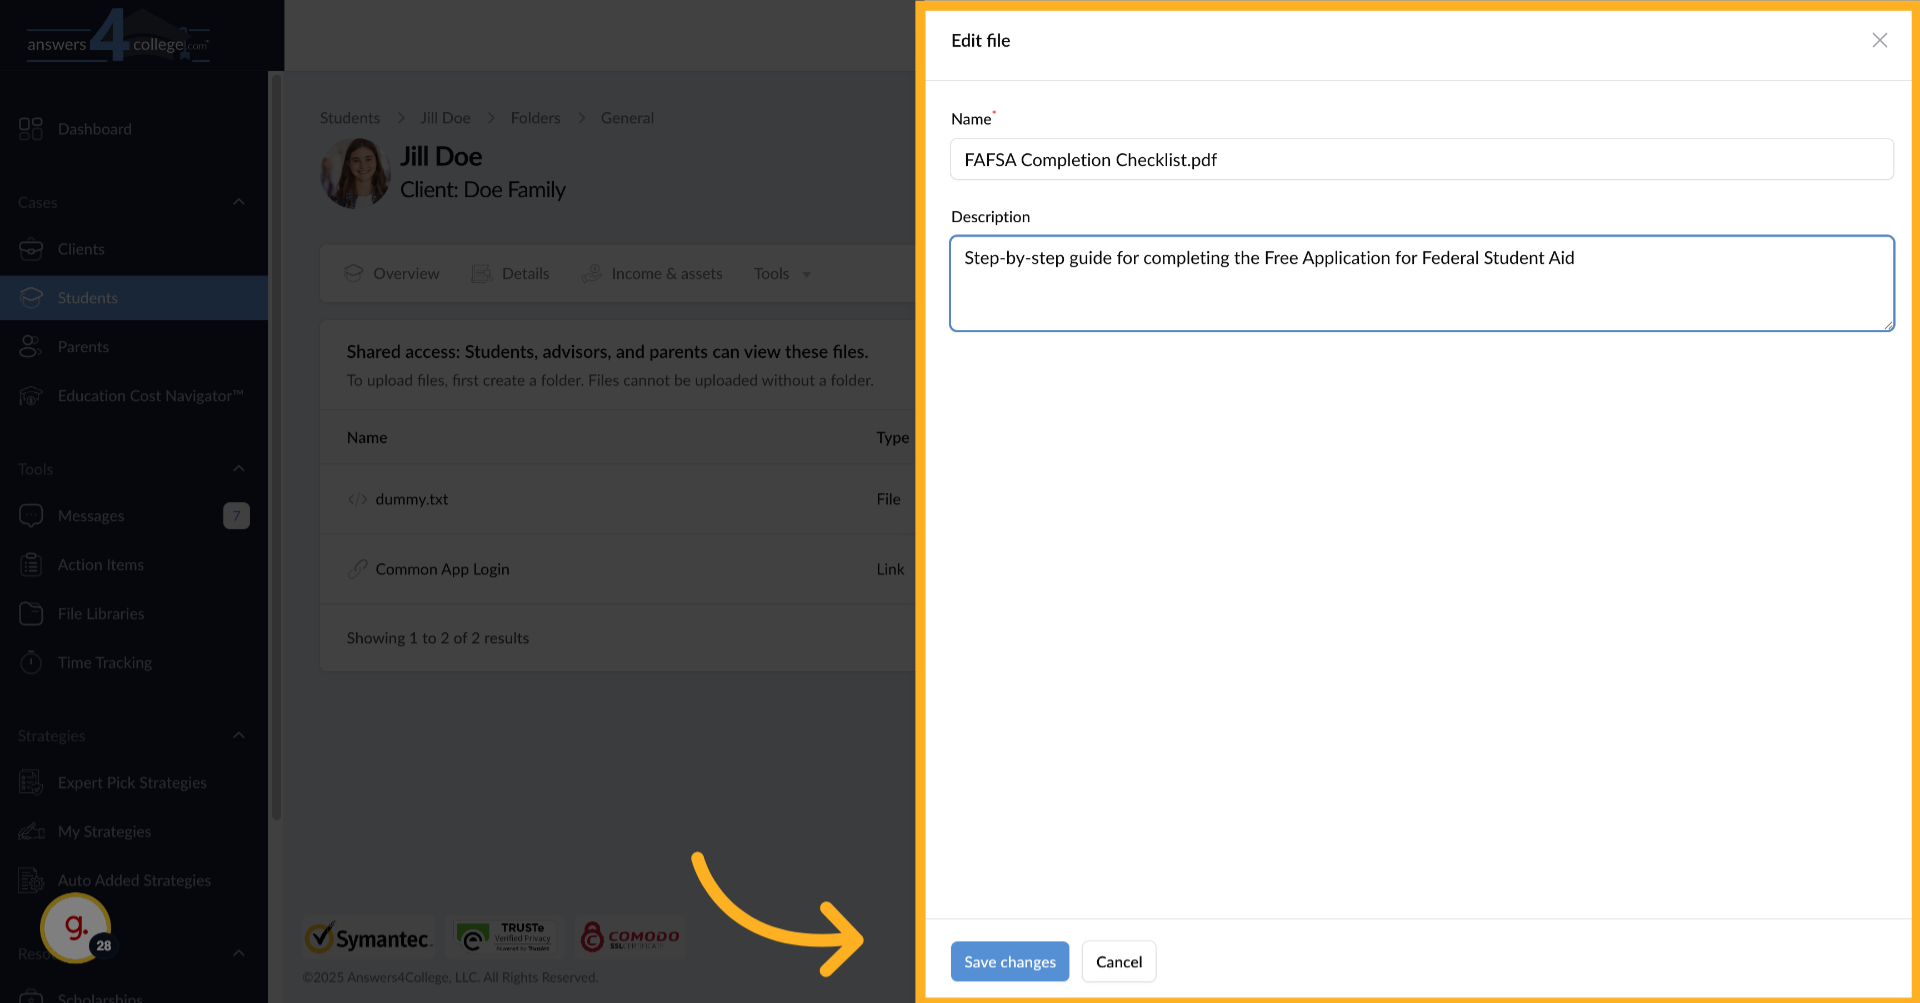
18. Save files edits
Once you are done editing a file, click on "Save Changes"
19. Understanding Access Perspectives, Viewing as a Student
Let's see how this looks from the student's perspective. From the student's profile, click "Impersonate" to view their dashboard.
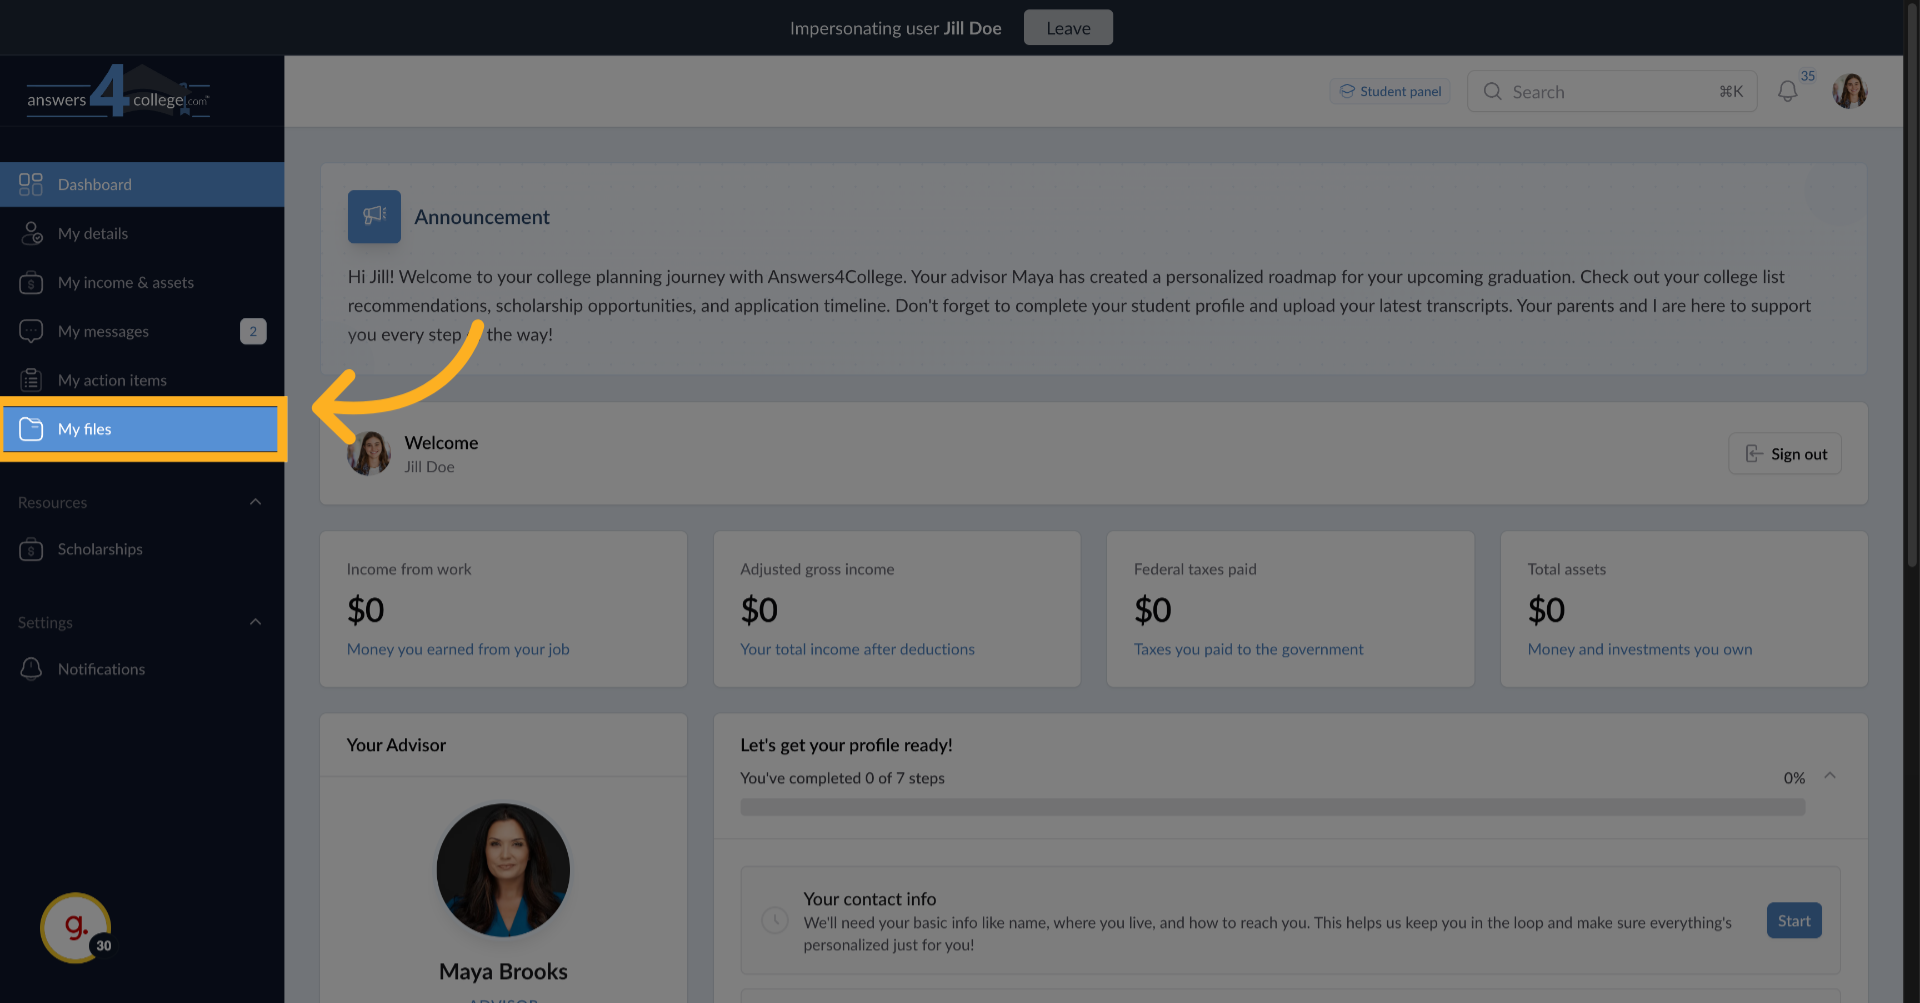
20. Click "My files"
When the student navigates to "My Files," they'll see the folder you created and can access all the files and links inside.
21. Viewing files
They can download documents or click links to access resources. Remember, when impersonating, you're seeing exactly what the student sees.
22. Parent Access to Student Files
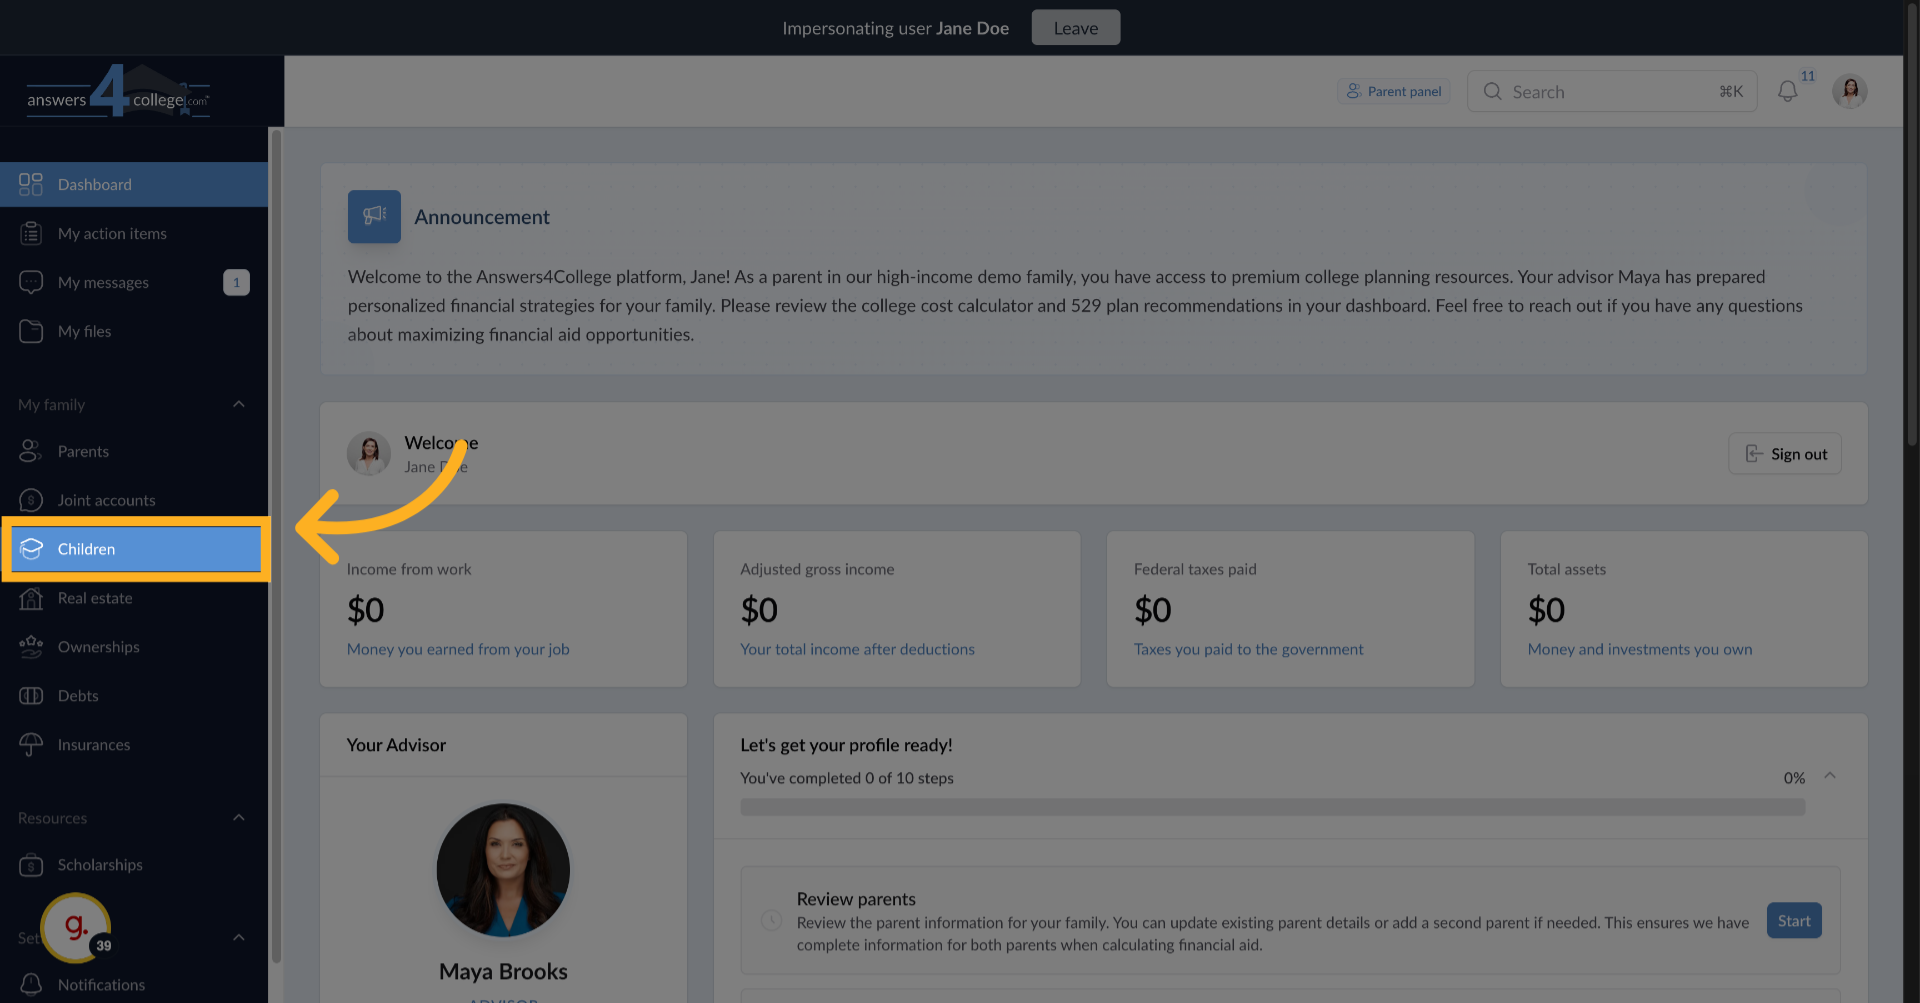
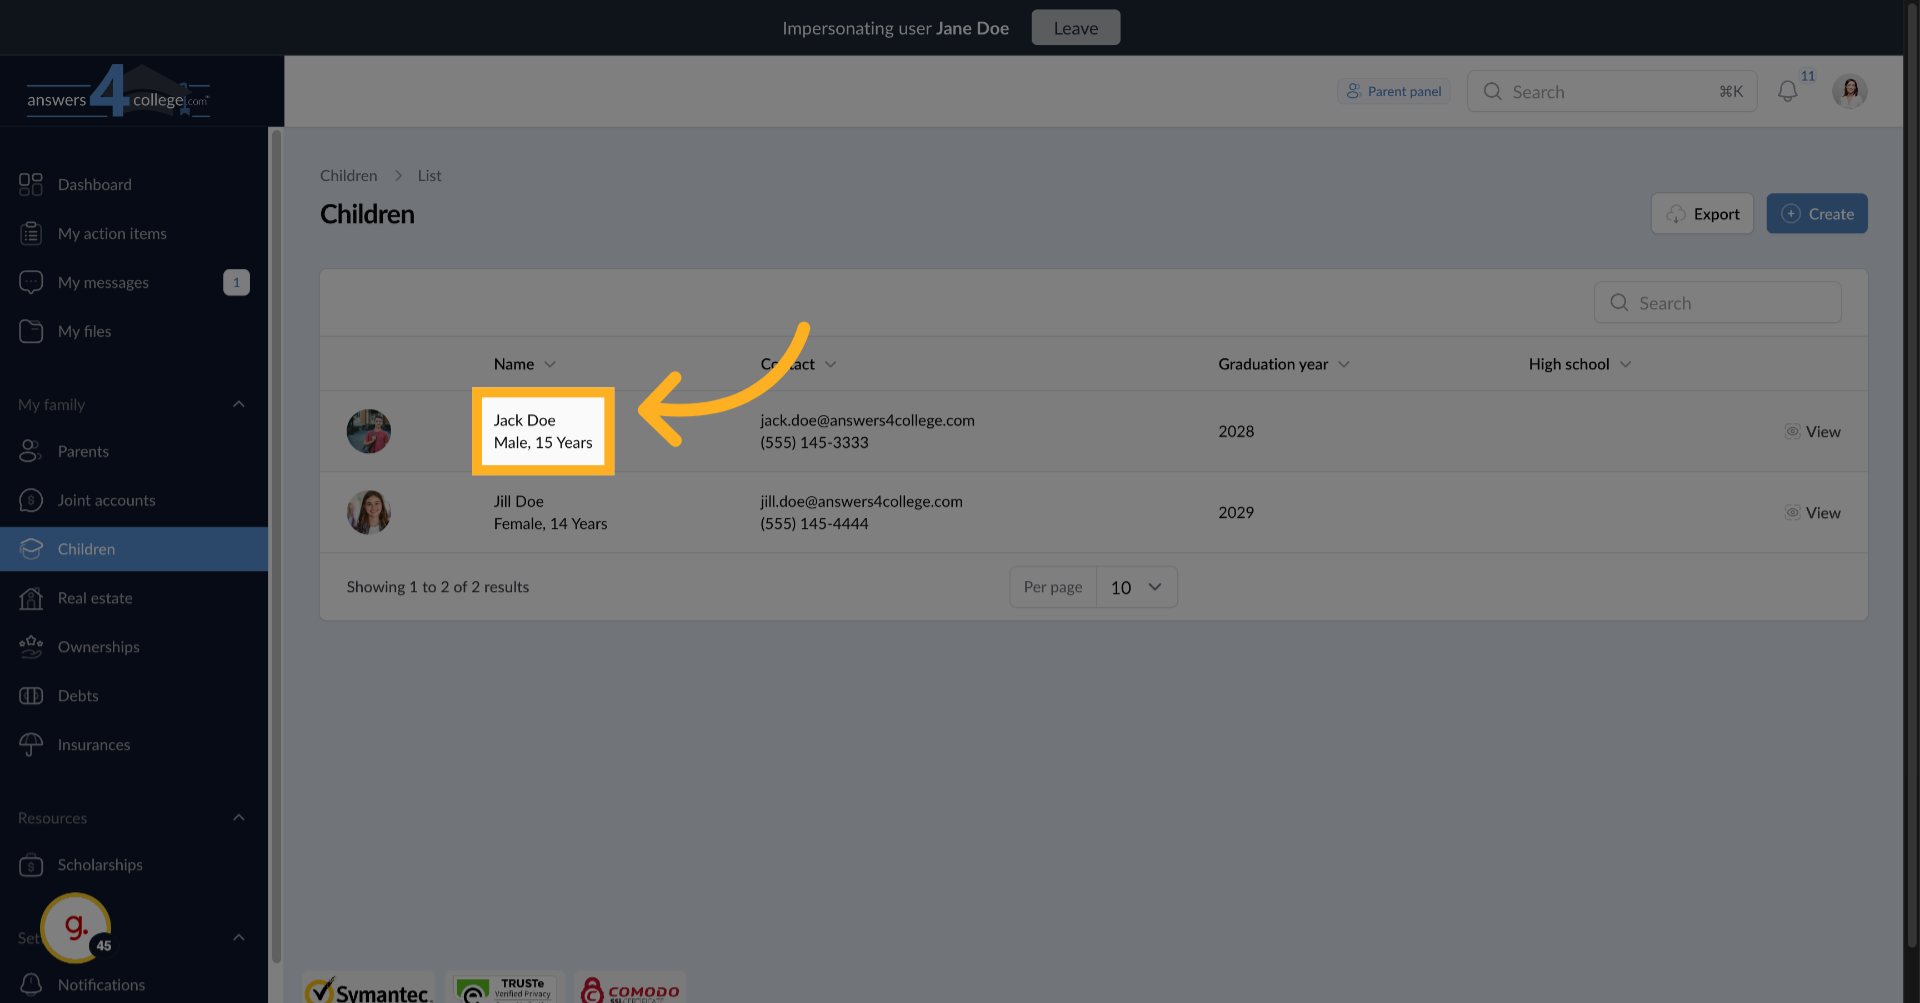
Parents from the same family can also view their children's files. Exit the student impersonation and navigate to a parent's profile from the same family. If you impersonate the parent and go to "Children,"
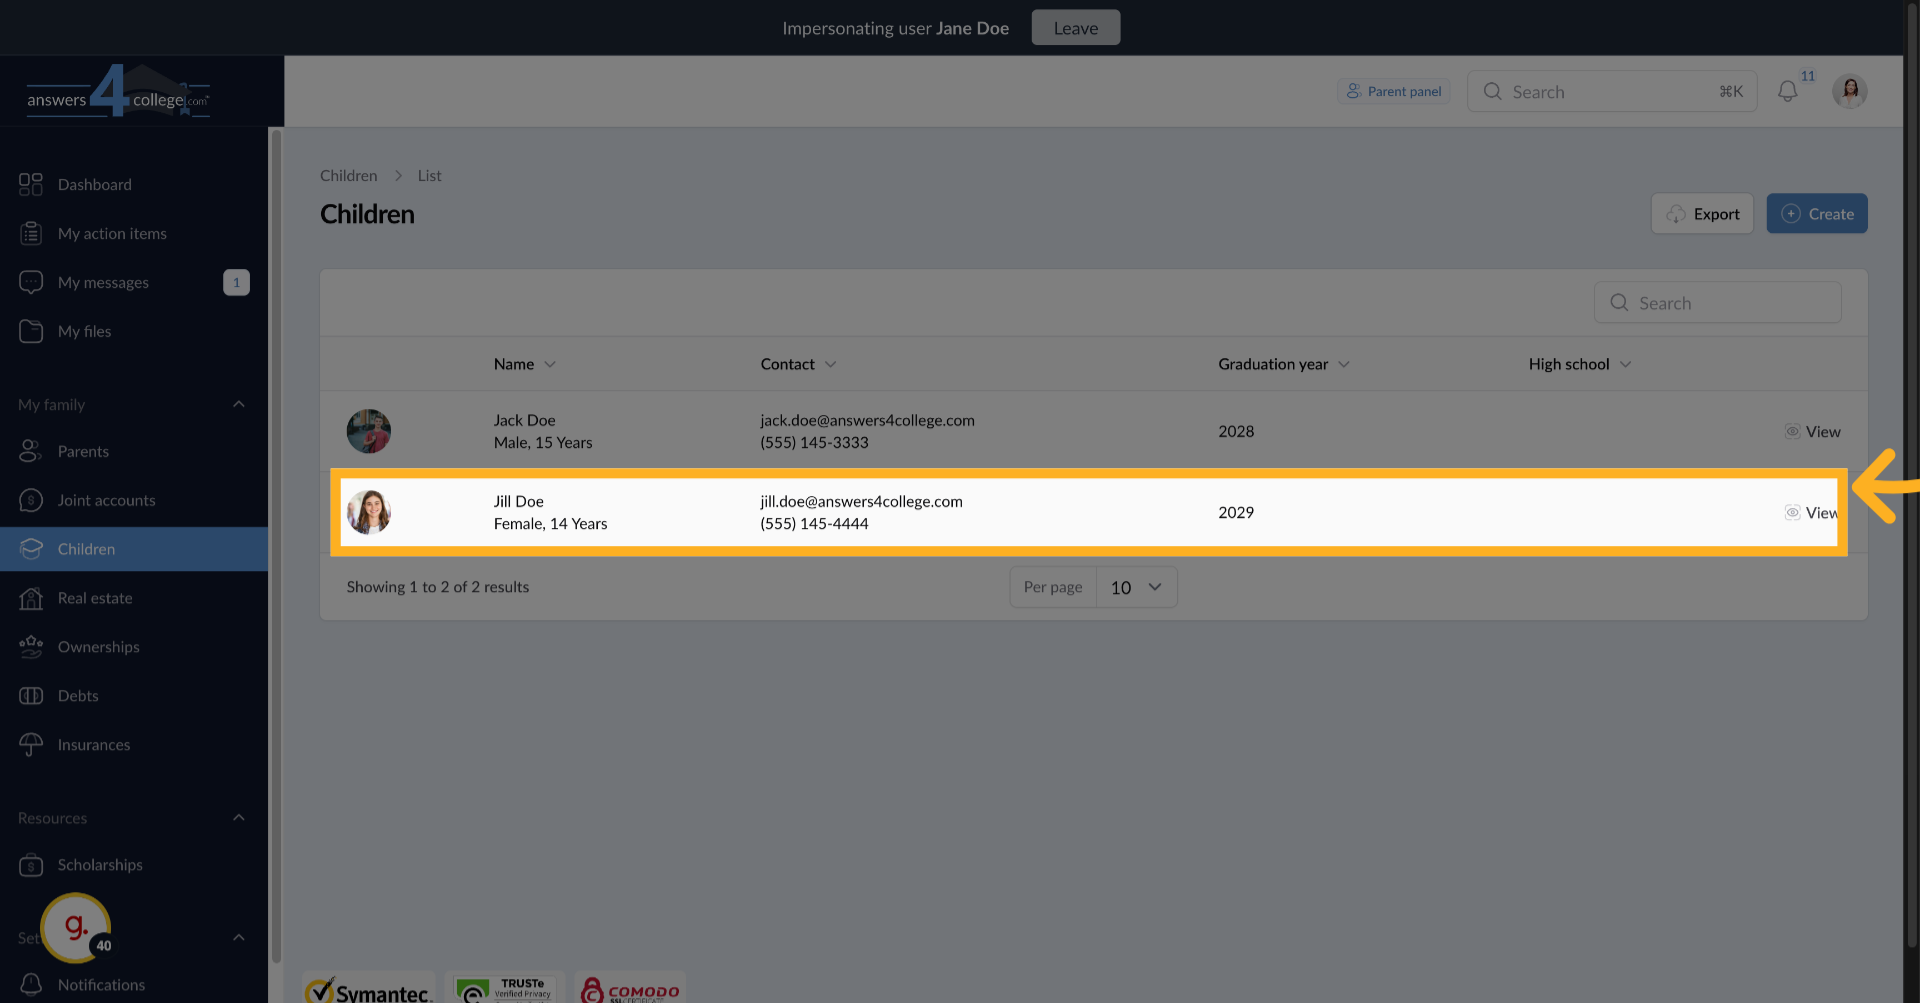
23. Select Student
Select Jill Doe
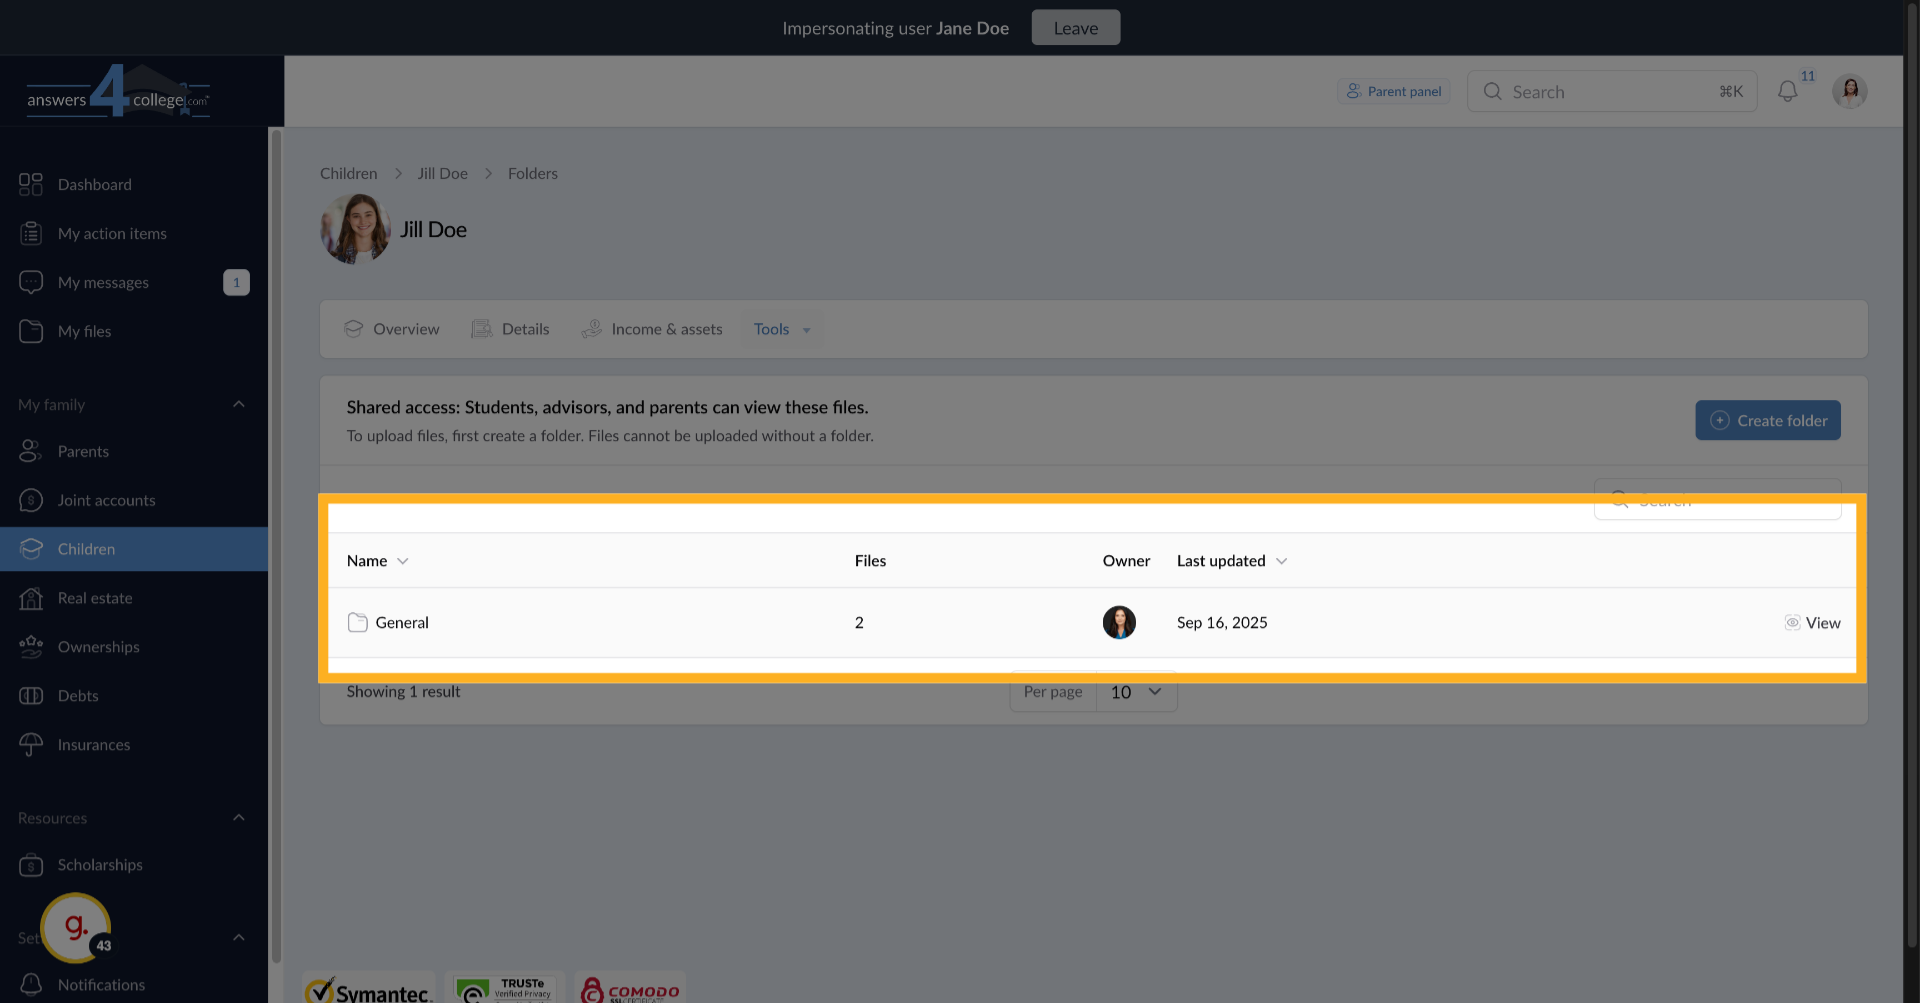
24. Viewing Files
he parent can see all the files you've shared with their child. This transparency keeps parents involved in the process.
25. File Isolation Between Students
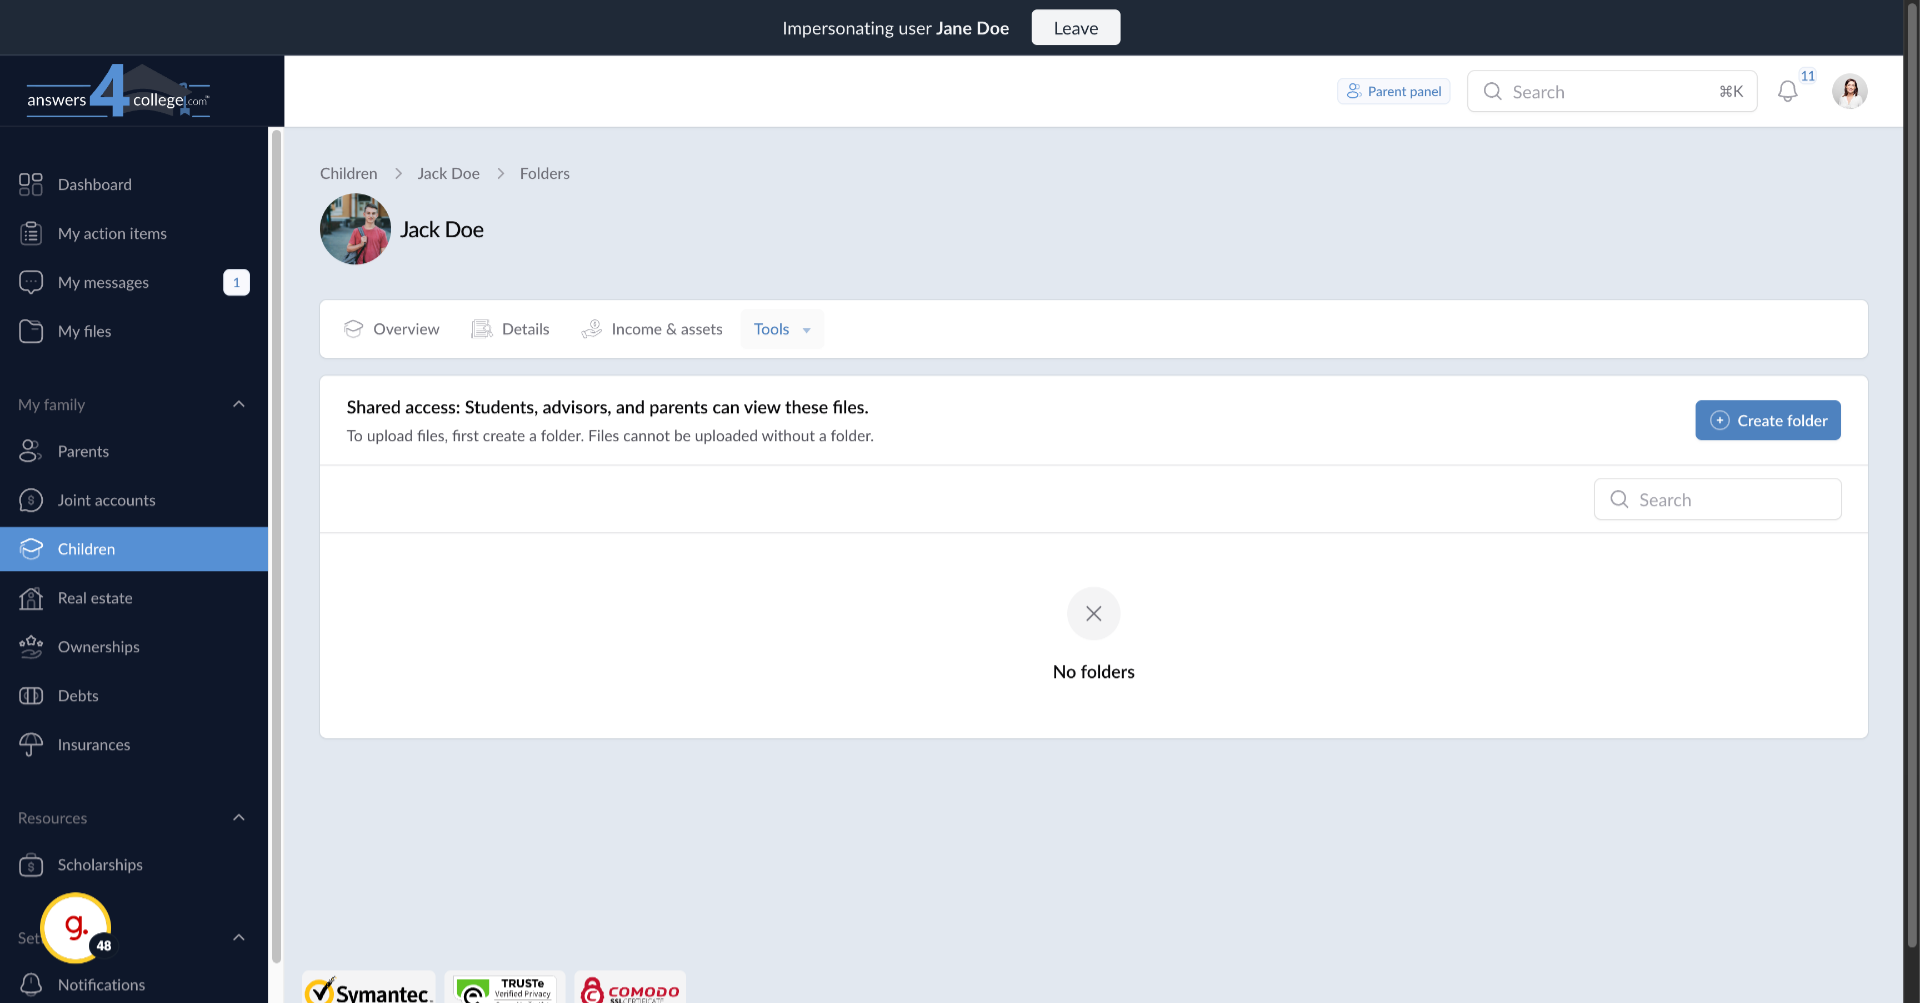
Here's an important point about privacy - files are specific to each student. If the same parent looks at their other child's files (say, Jack Doe)
26. No files shared
hey won't see Jill's files. Each student's file area is separate, ensuring personalized document management.
27. Sharing Files with Parents
The process for sharing files directly with parents is identical. Navigate to a parent's profile, go to Tools, then Files. Create folders and upload documents specifically for that parent. These might include financial aid documents, parent questionnaires, or college financial planning resources.
28. Understanding Private Files
Sometimes you need to store files that shouldn't be shared with families. These might be sensitive financial documents, private notes, or working documents. For these, we use the client-level file system.
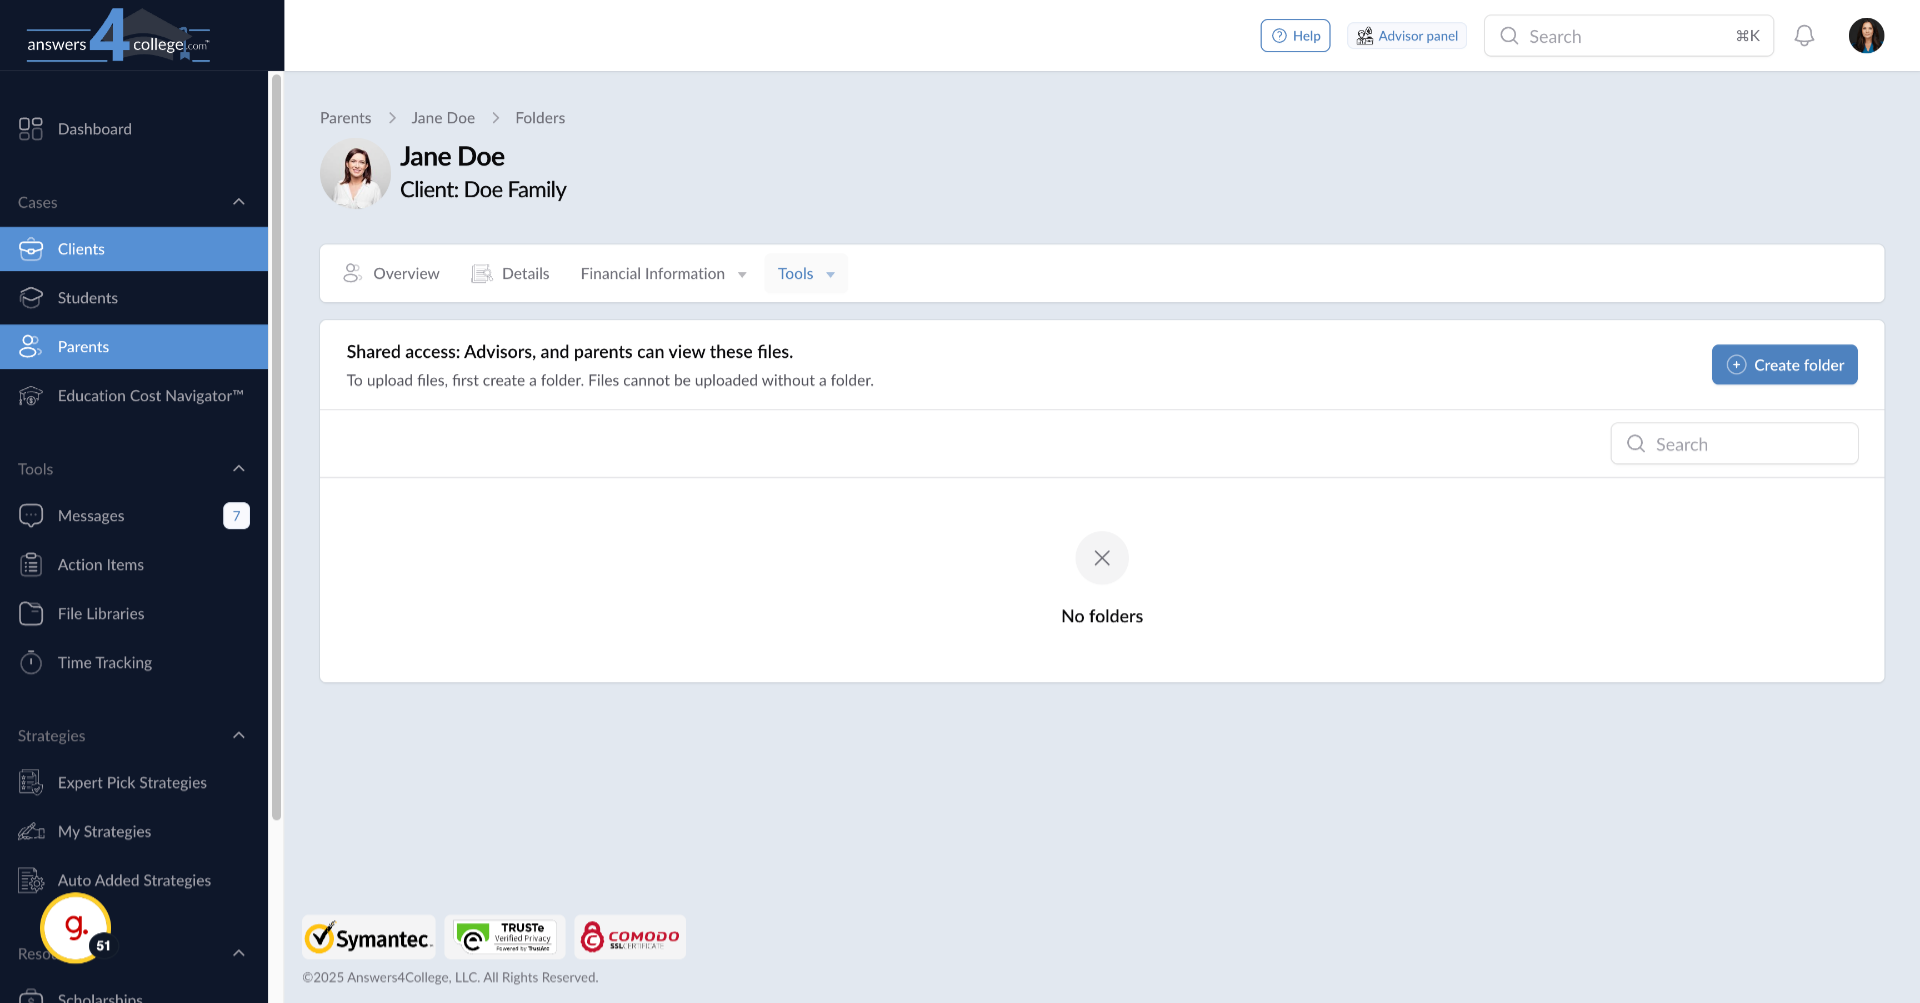
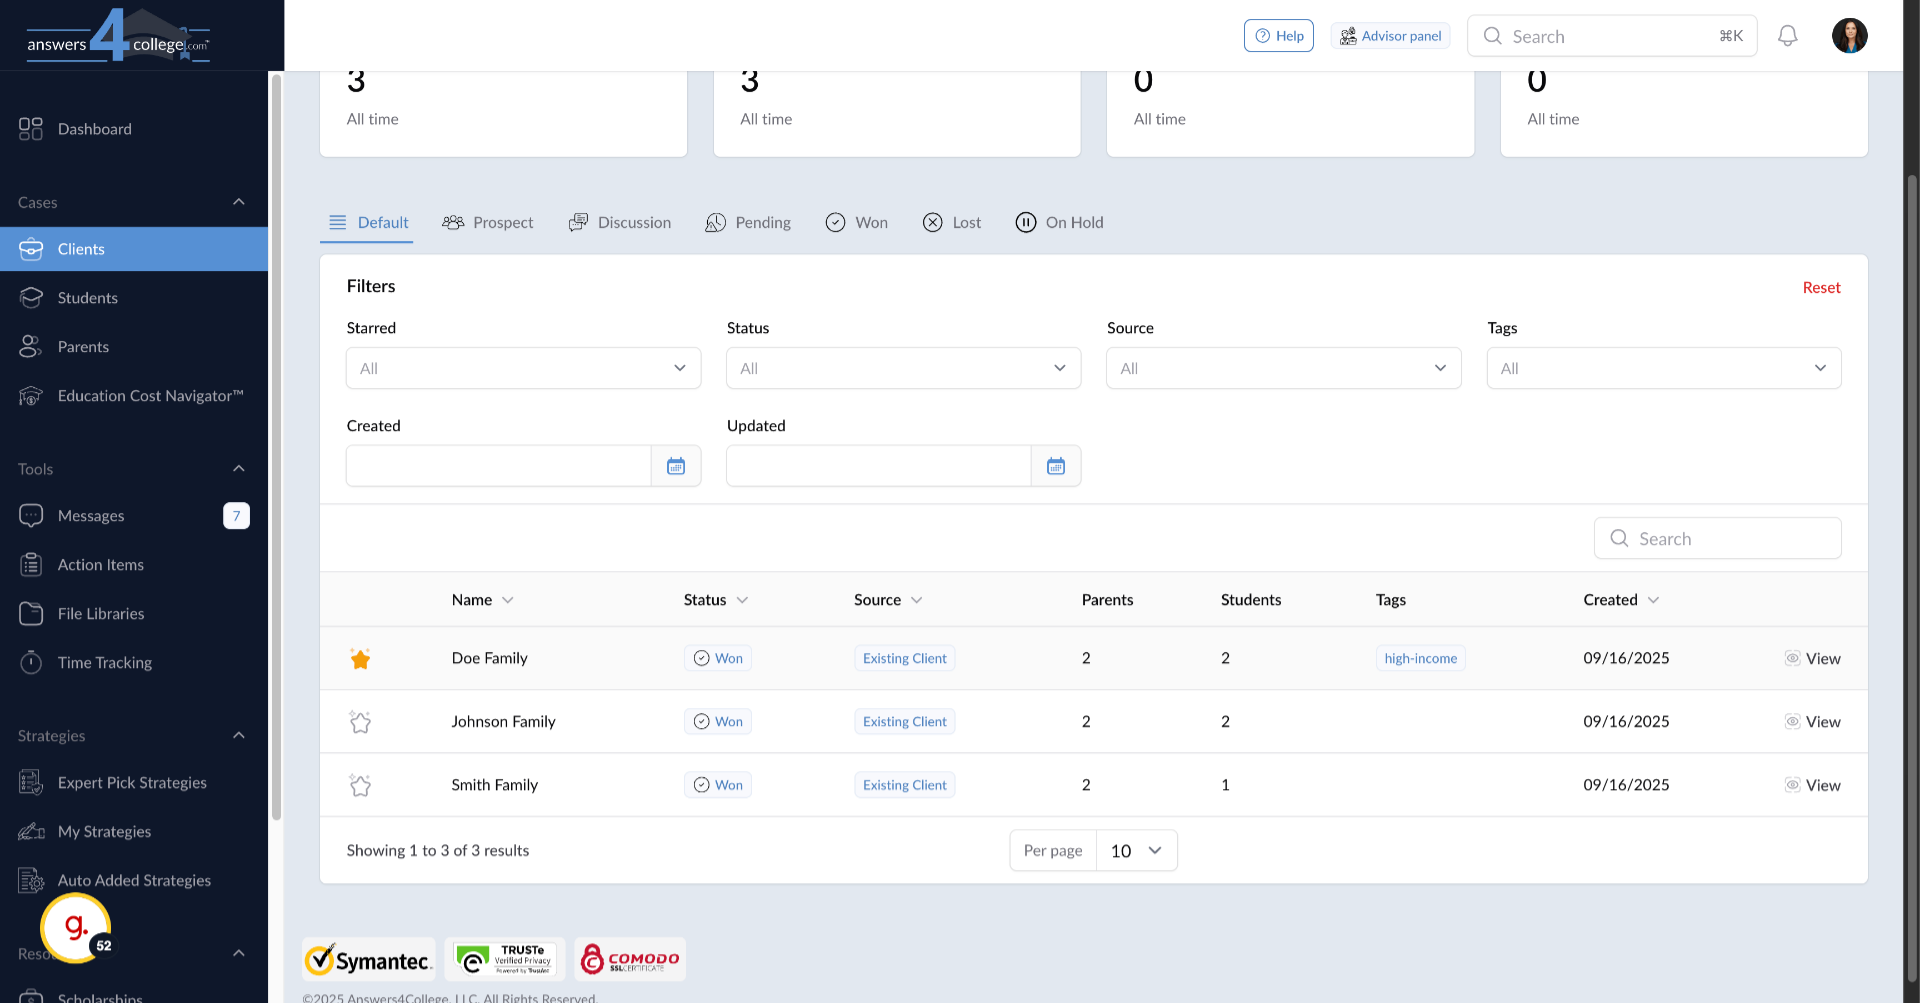
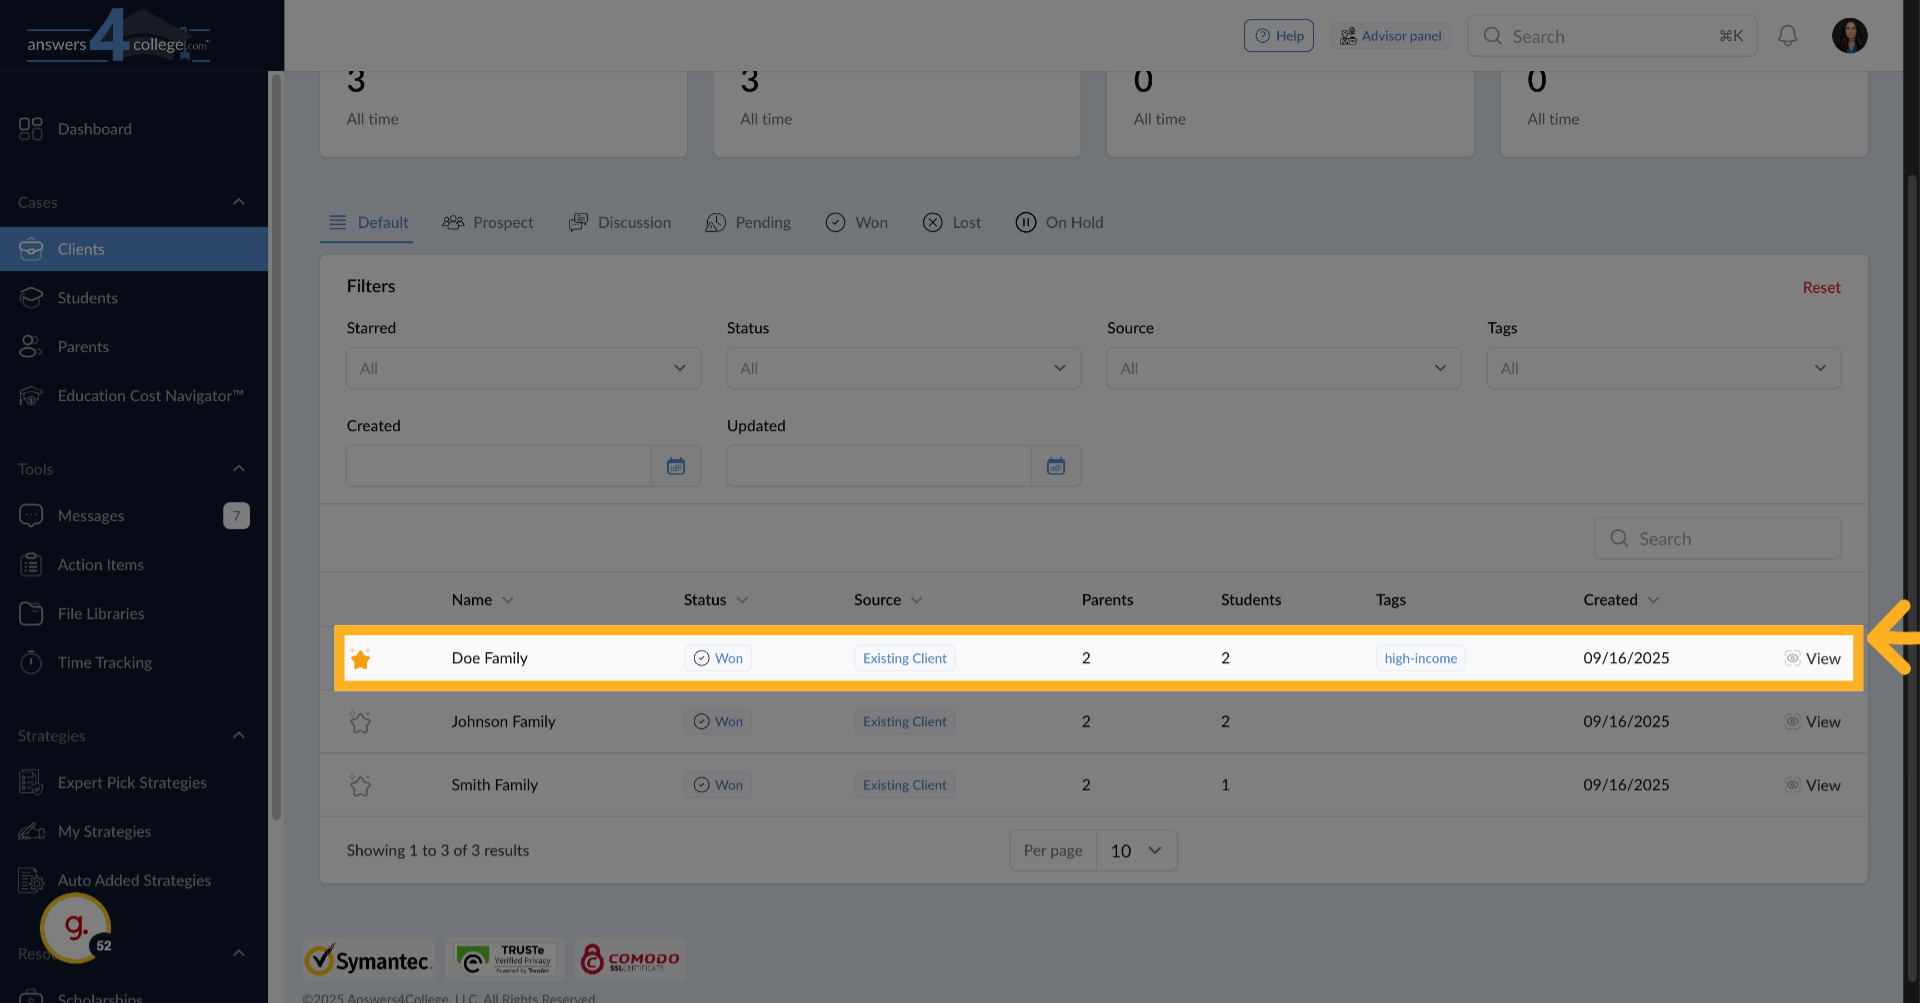
29. Accessing Client Files
Navigate back to your Clients menu and select the Doe family to open their client profile. Go to Tools, then Files. Notice the access level here says "Private Access" - only you as the advisor can see these files.
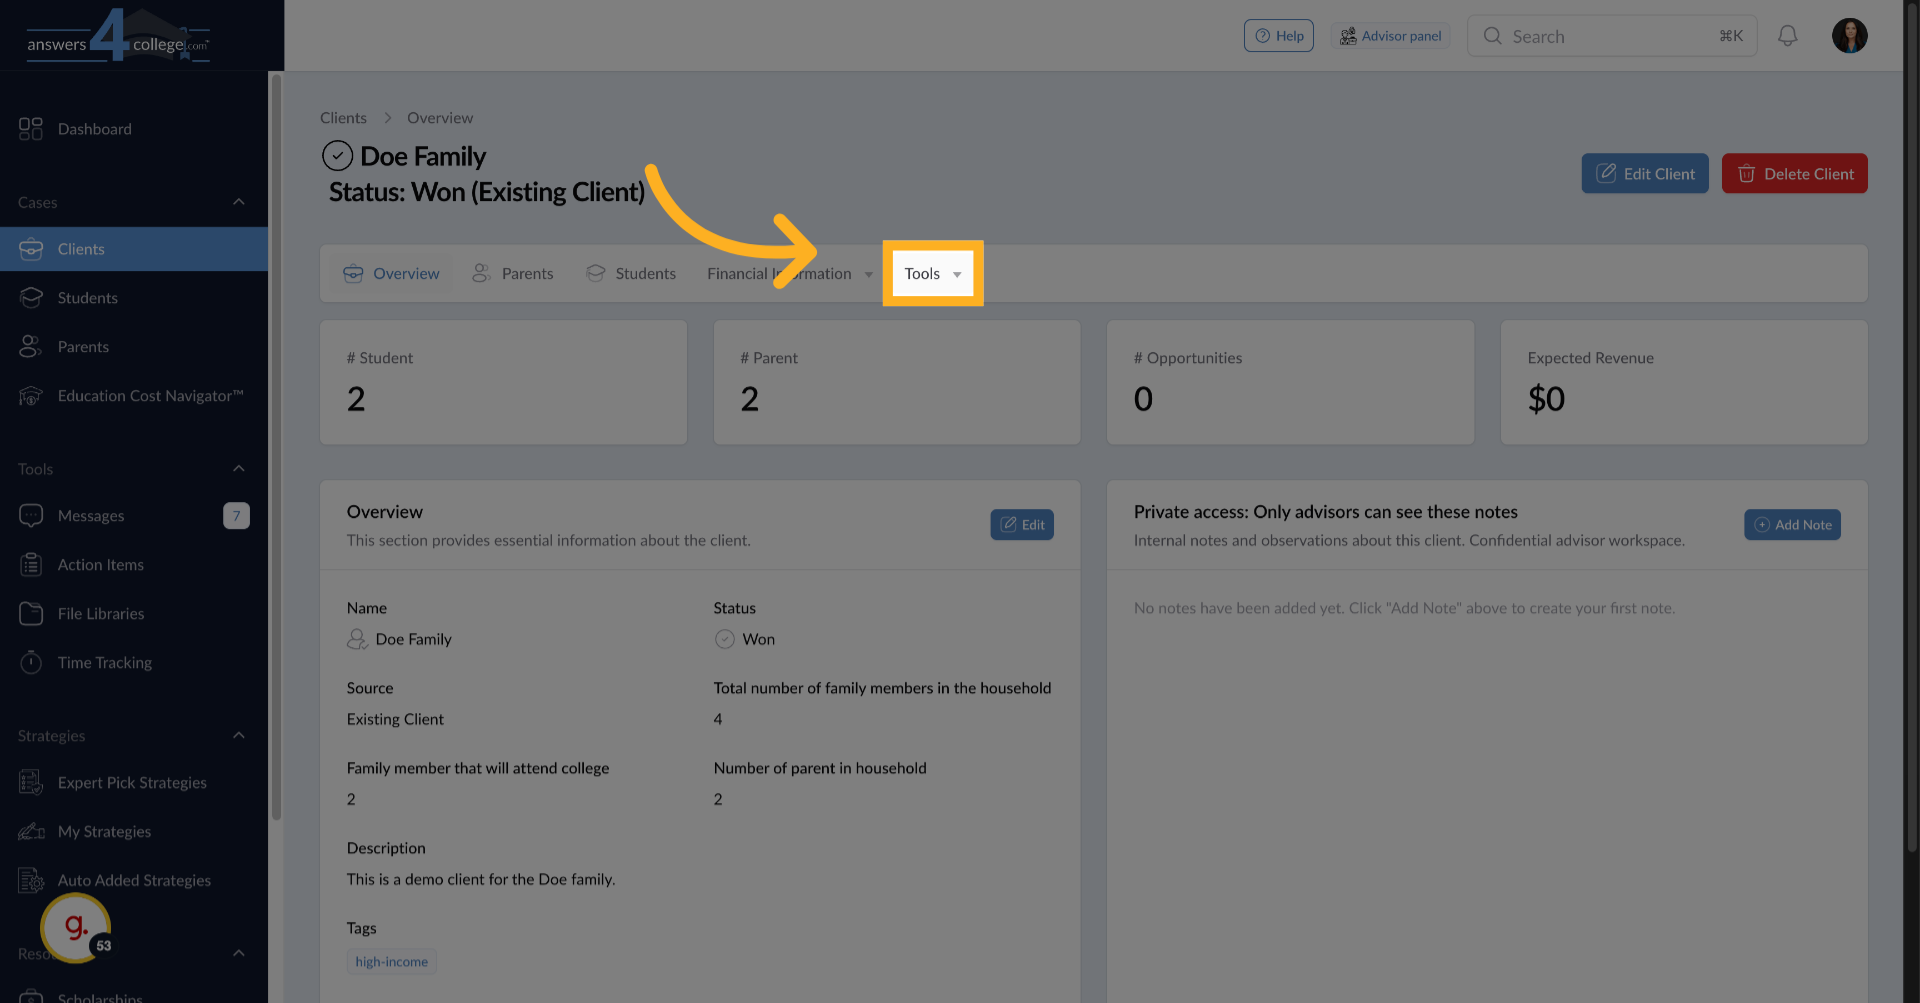
30. Click "Tools"
Click "Tools" to open the tools menu for the family profile.
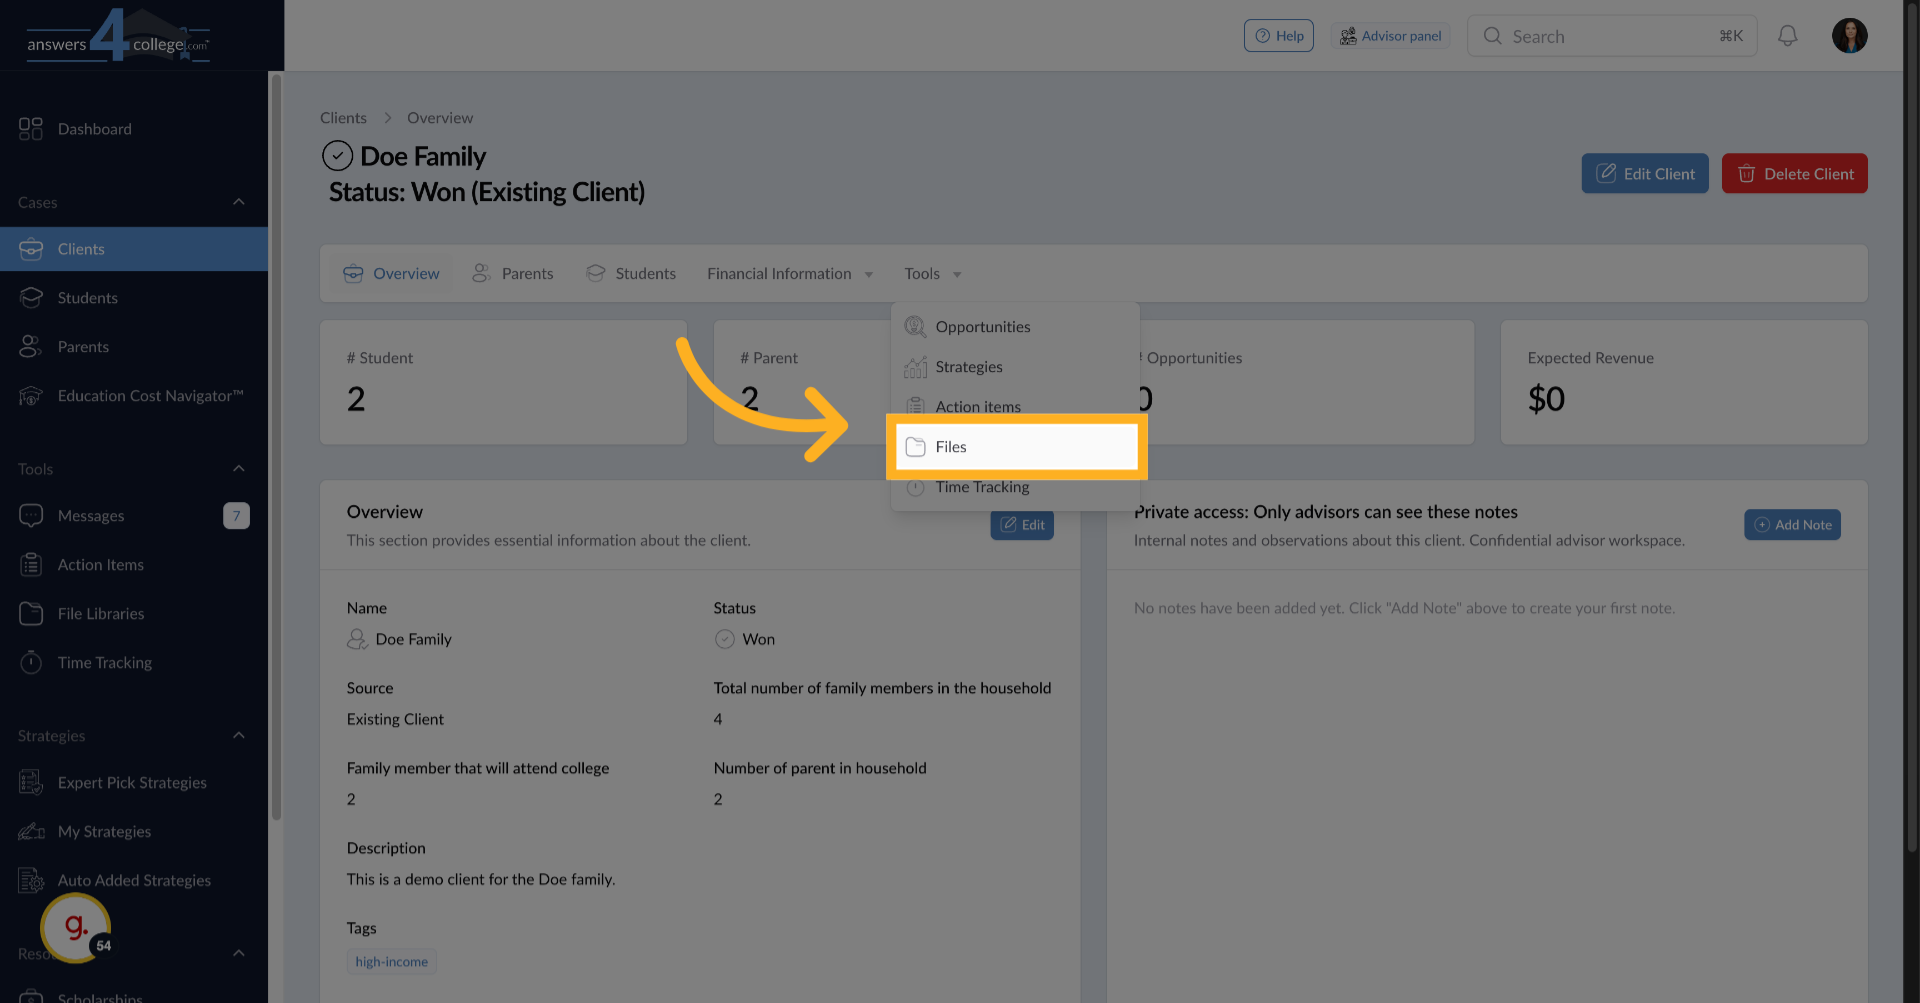
31. Click "Files"
Click "Files" to manage files associated with the family.
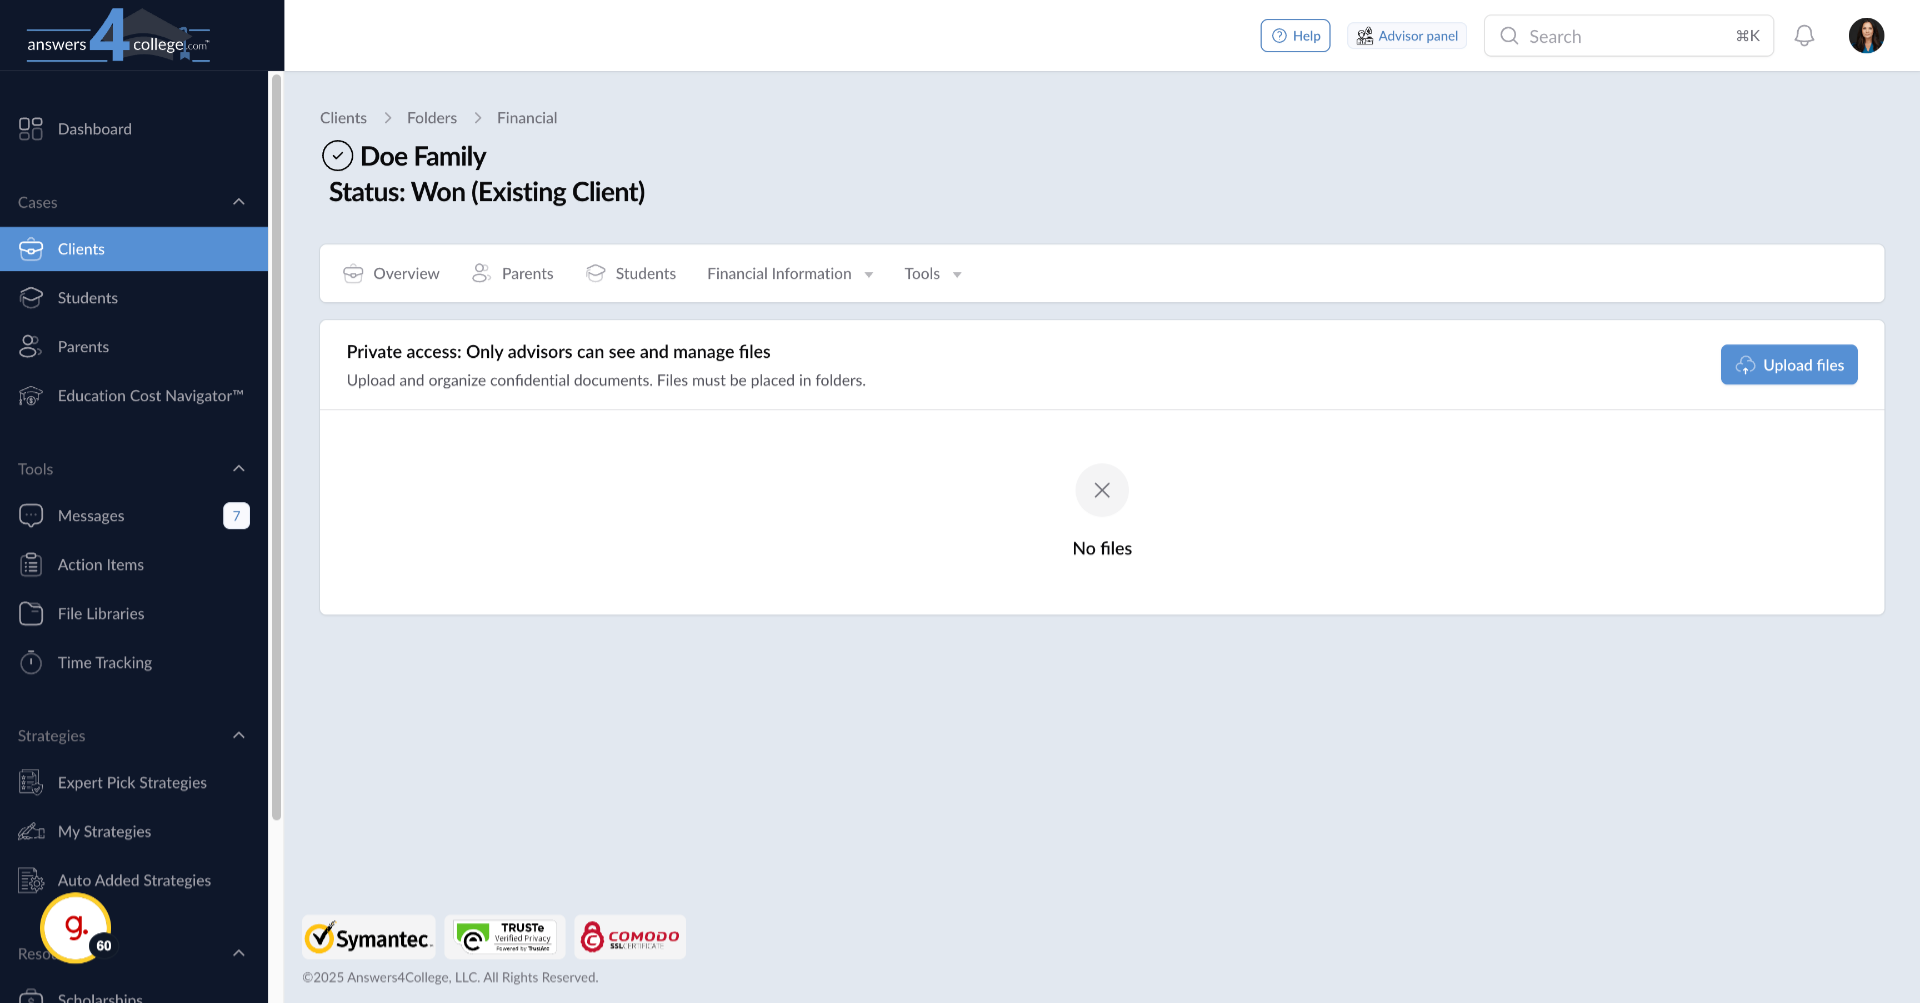
32. Creating Private Folders
Just like before, click "Create Folder" to organize your private files. You might create folders like "Tax Returns," "Internal Notes," or "Financial Analysis." These folders will never be visible to the family.
33. Uploading Private Documents
Open your private folder and upload files just as you did before. These documents remain completely confidential, accessible only to you. This is perfect for maintaining working documents, sensitive financial information, or any materials you need for reference but shouldn't share with the family.
You've now mastered the file management system in the Answers for College Advisor Portal. You can create organized folder structures, share documents and links with students and parents, and maintain private files for your own reference. The system's clear access levels ensure everyone sees exactly what they need to see - no more, no less.
This powerful feature eliminates email attachments, provides a central repository for all important documents, and keeps families organized throughout the college planning process. Students and parents always know where to find their resources, while you maintain complete control over what's shared and when.
Thank you for following along with this tutorial. Start organizing your files today to create a more efficient, professional experience for your families.


Comments
0 comments
Please sign in to leave a comment.