Welcome to this tutorial on using the star feature in the Advisor Portal. This powerful organizational tool helps you prioritize and quickly access your most important clients, parents, and students. I'll show you how to star records, filter by starred items, and manage your priorities effectively. Let's get started.
1. Accessing the Advisor Portal
First, make sure you're logged into your Advisor Portal with your credentials. Once you're in, you'll see your main dashboard. This is where we'll begin exploring the star functionality.
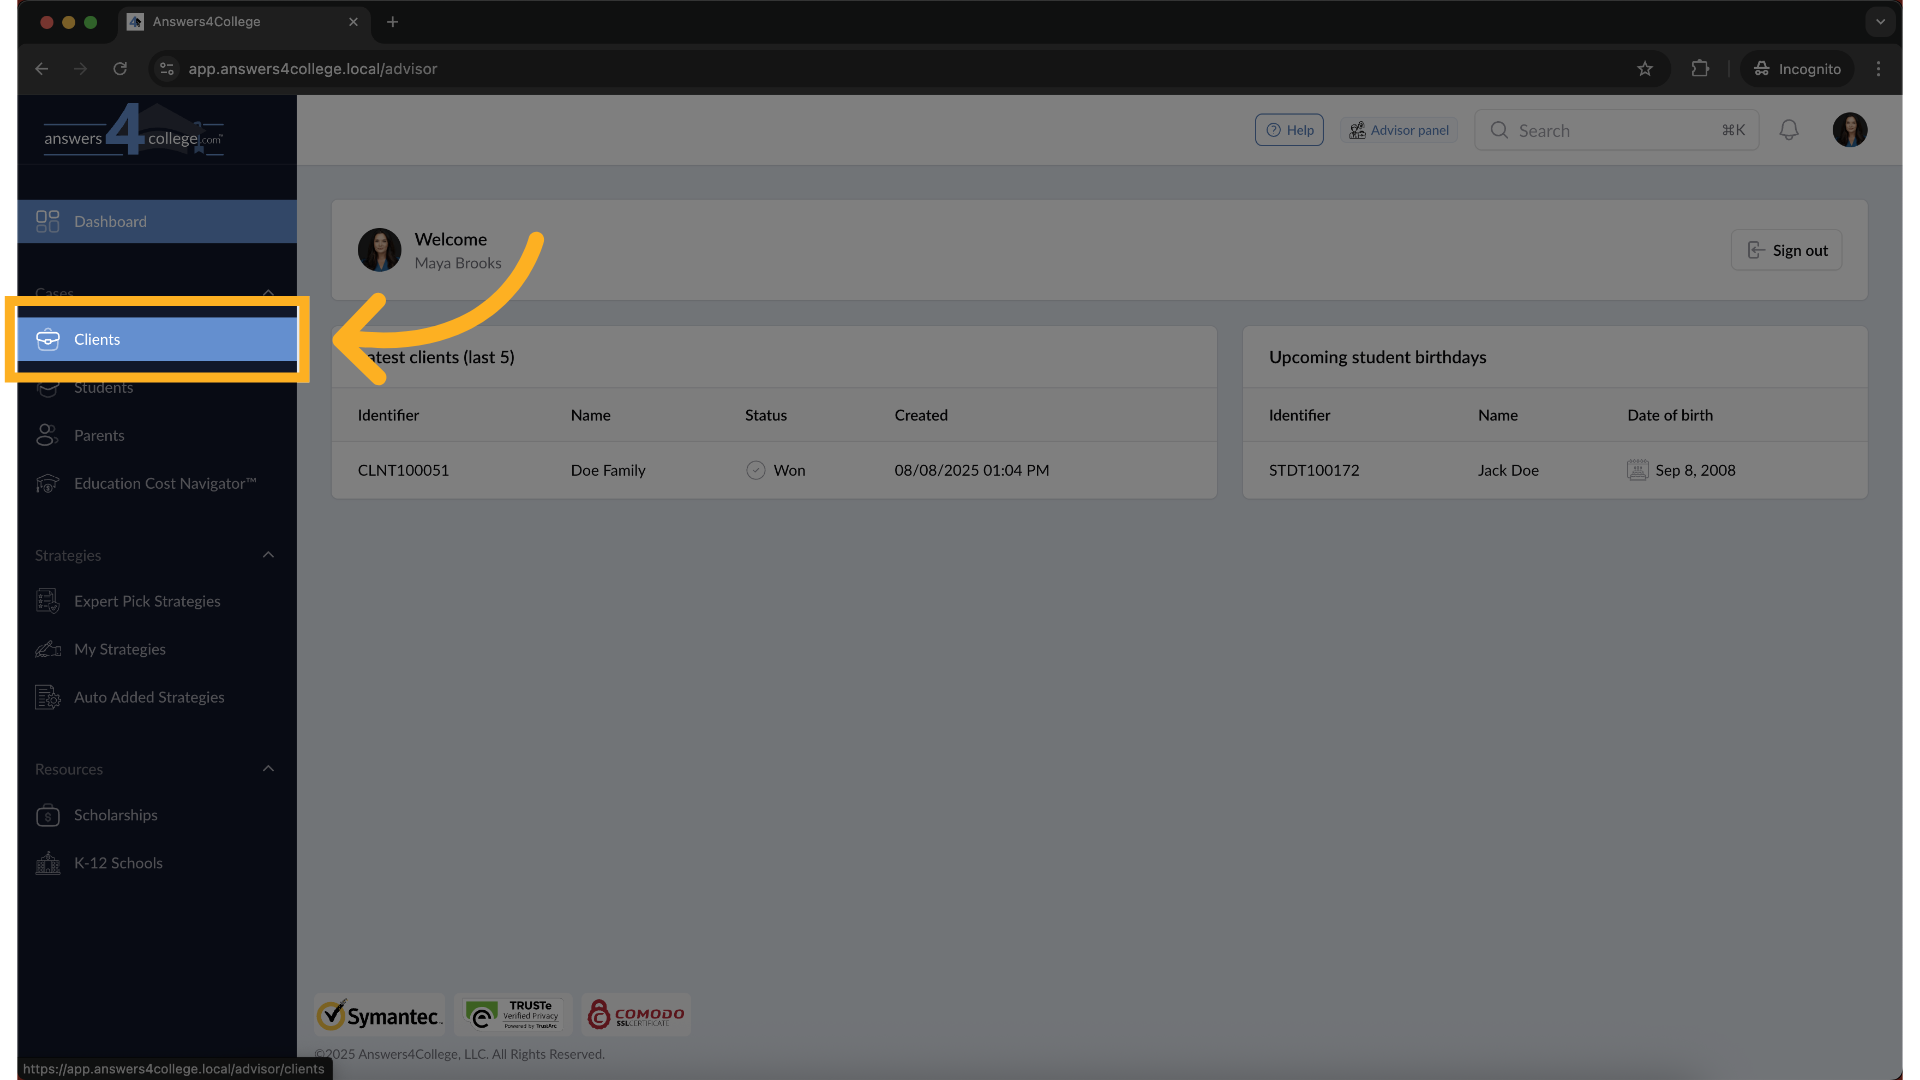
2. Navigating to the Clients Section
Look at the left side of your screen where you'll find the navigation menu. Click on "Clients" to access your complete client list. This brings up a table view of all your client families.
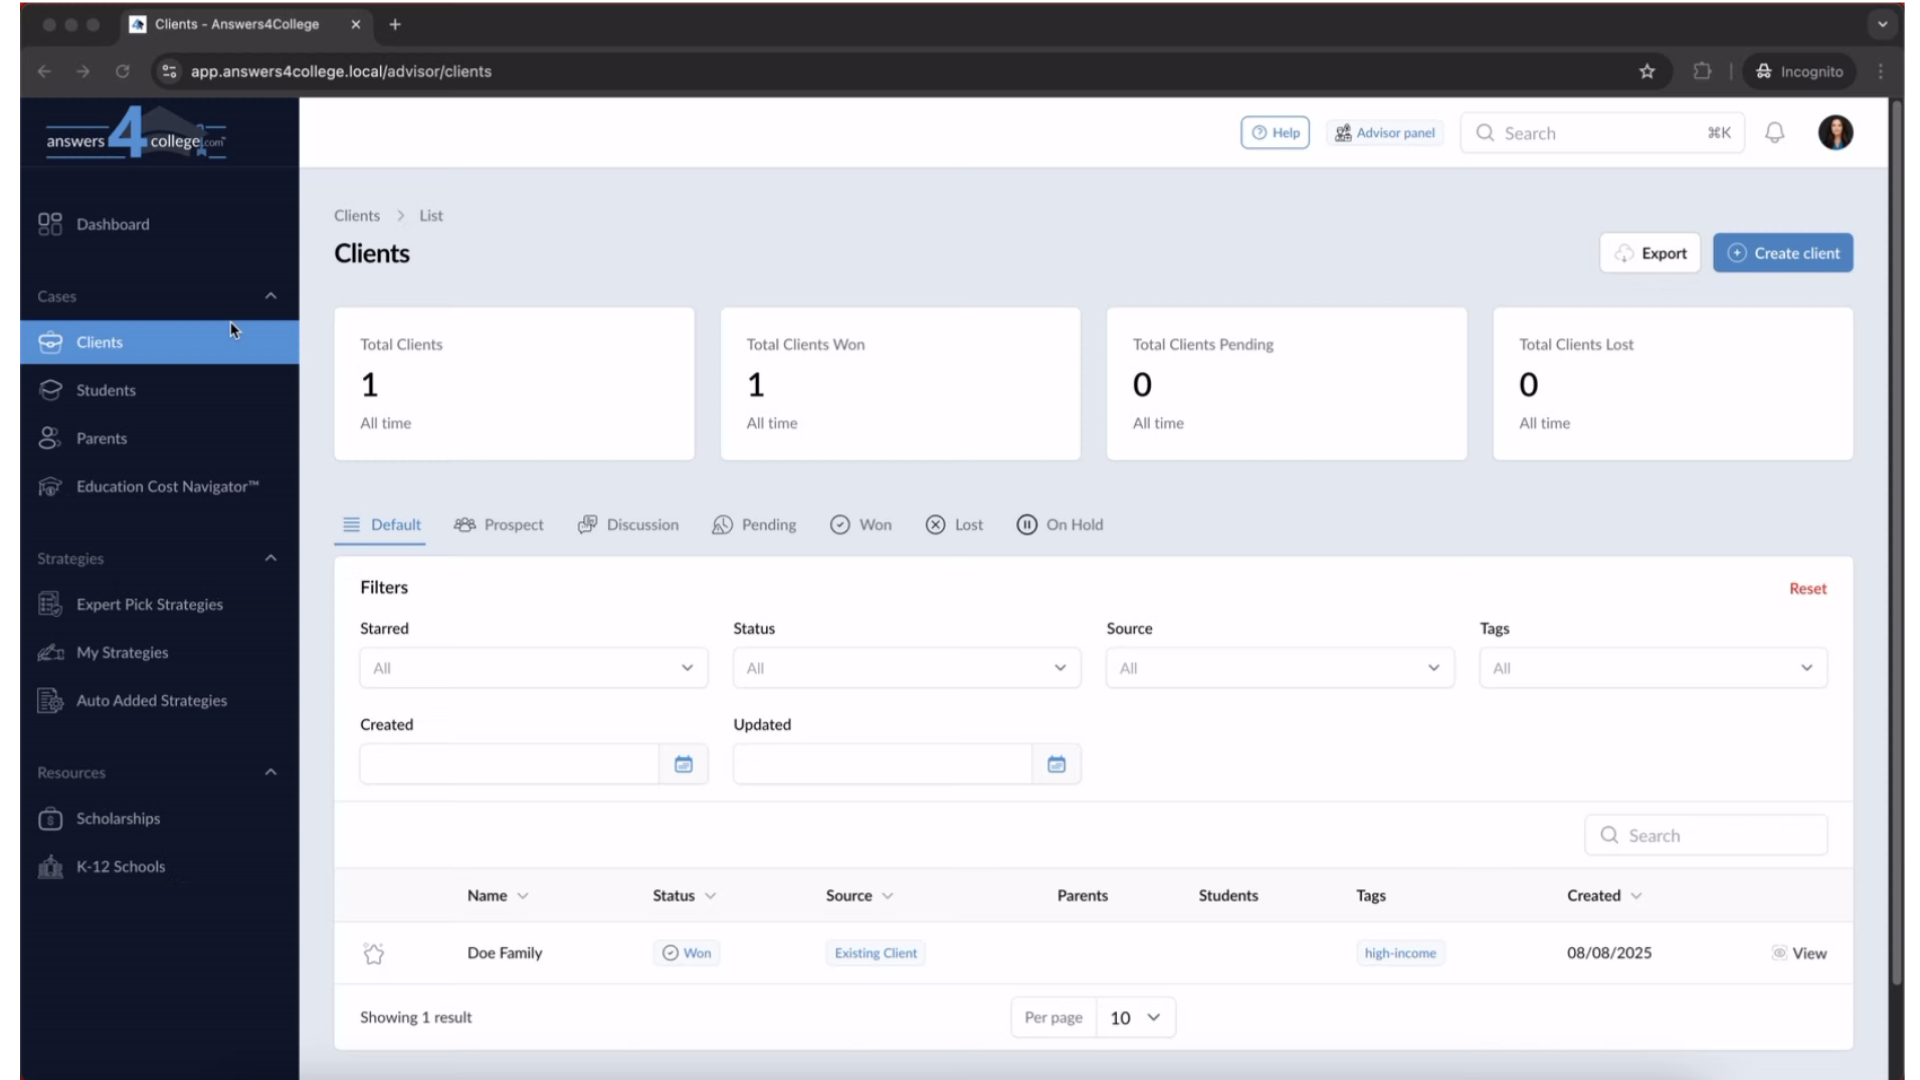
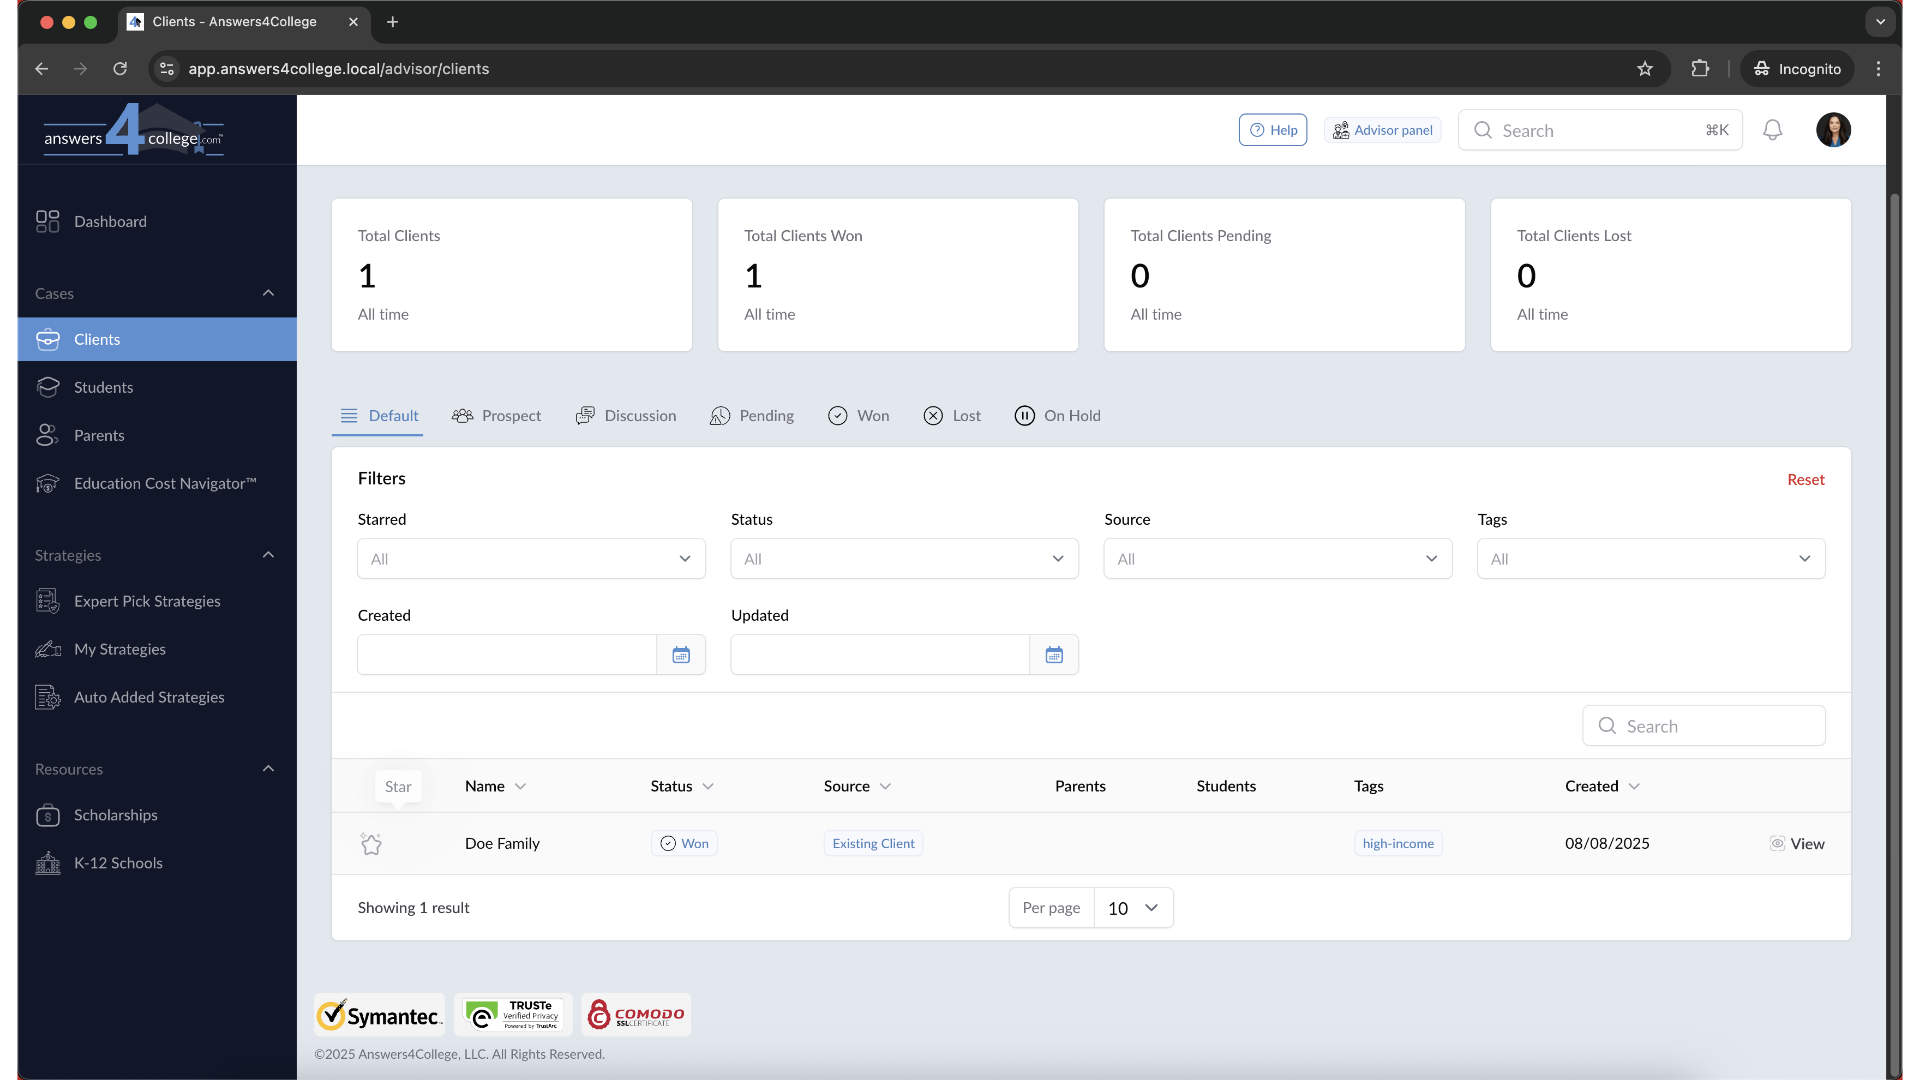
3. Understanding the Star Column
Great! Now look at your client table. Notice the very first column on the left side of each row - you'll see a star icon. This star appears next to every client in your list and is your tool for marking priority or frequently-accessed clients.
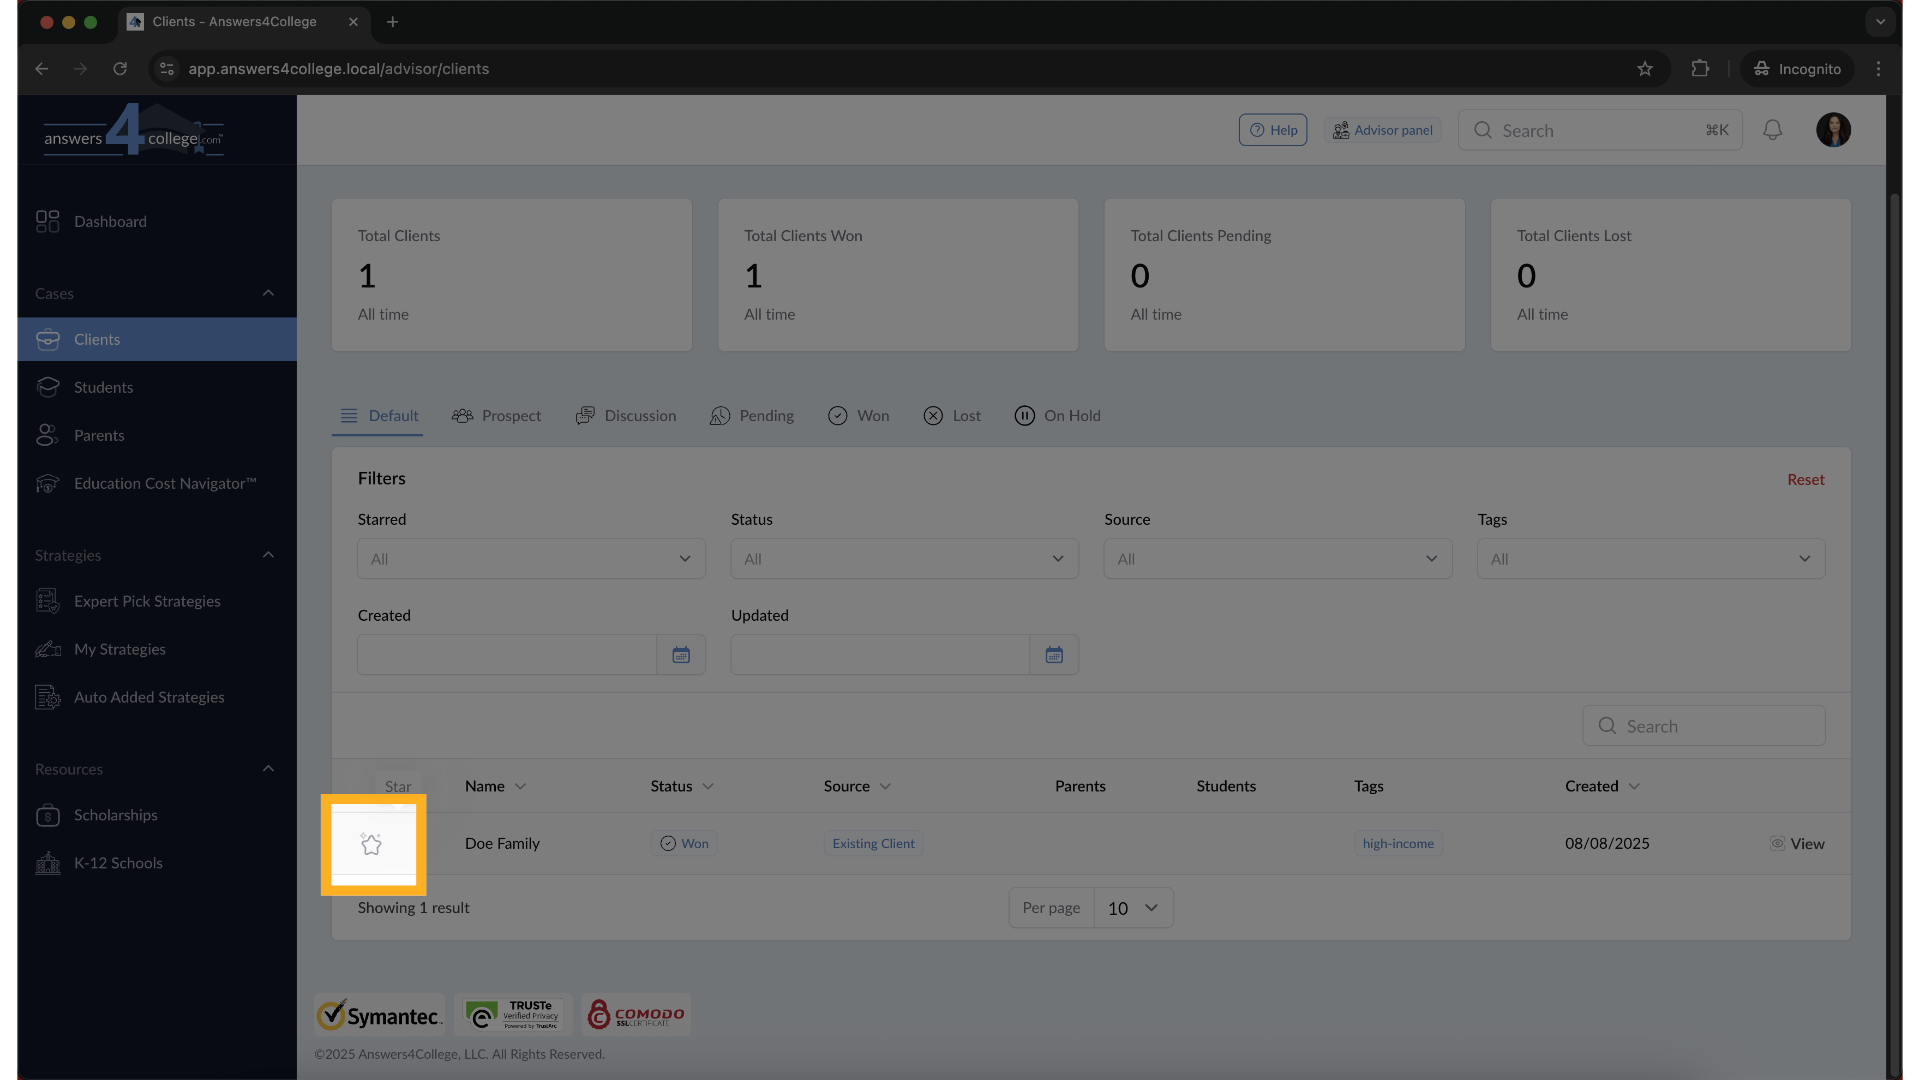
4. Starring a Client
Let's star your first client. Simply click on the star icon next to any client you want to prioritize. Watch what happens - the star fills in and becomes highlighted, indicating this client is now starred. But here's the really useful part - that starred client immediately jumps to the top of your table. This ensures your most important clients are always right at the top where you can find them quickly.
5. Starring Students
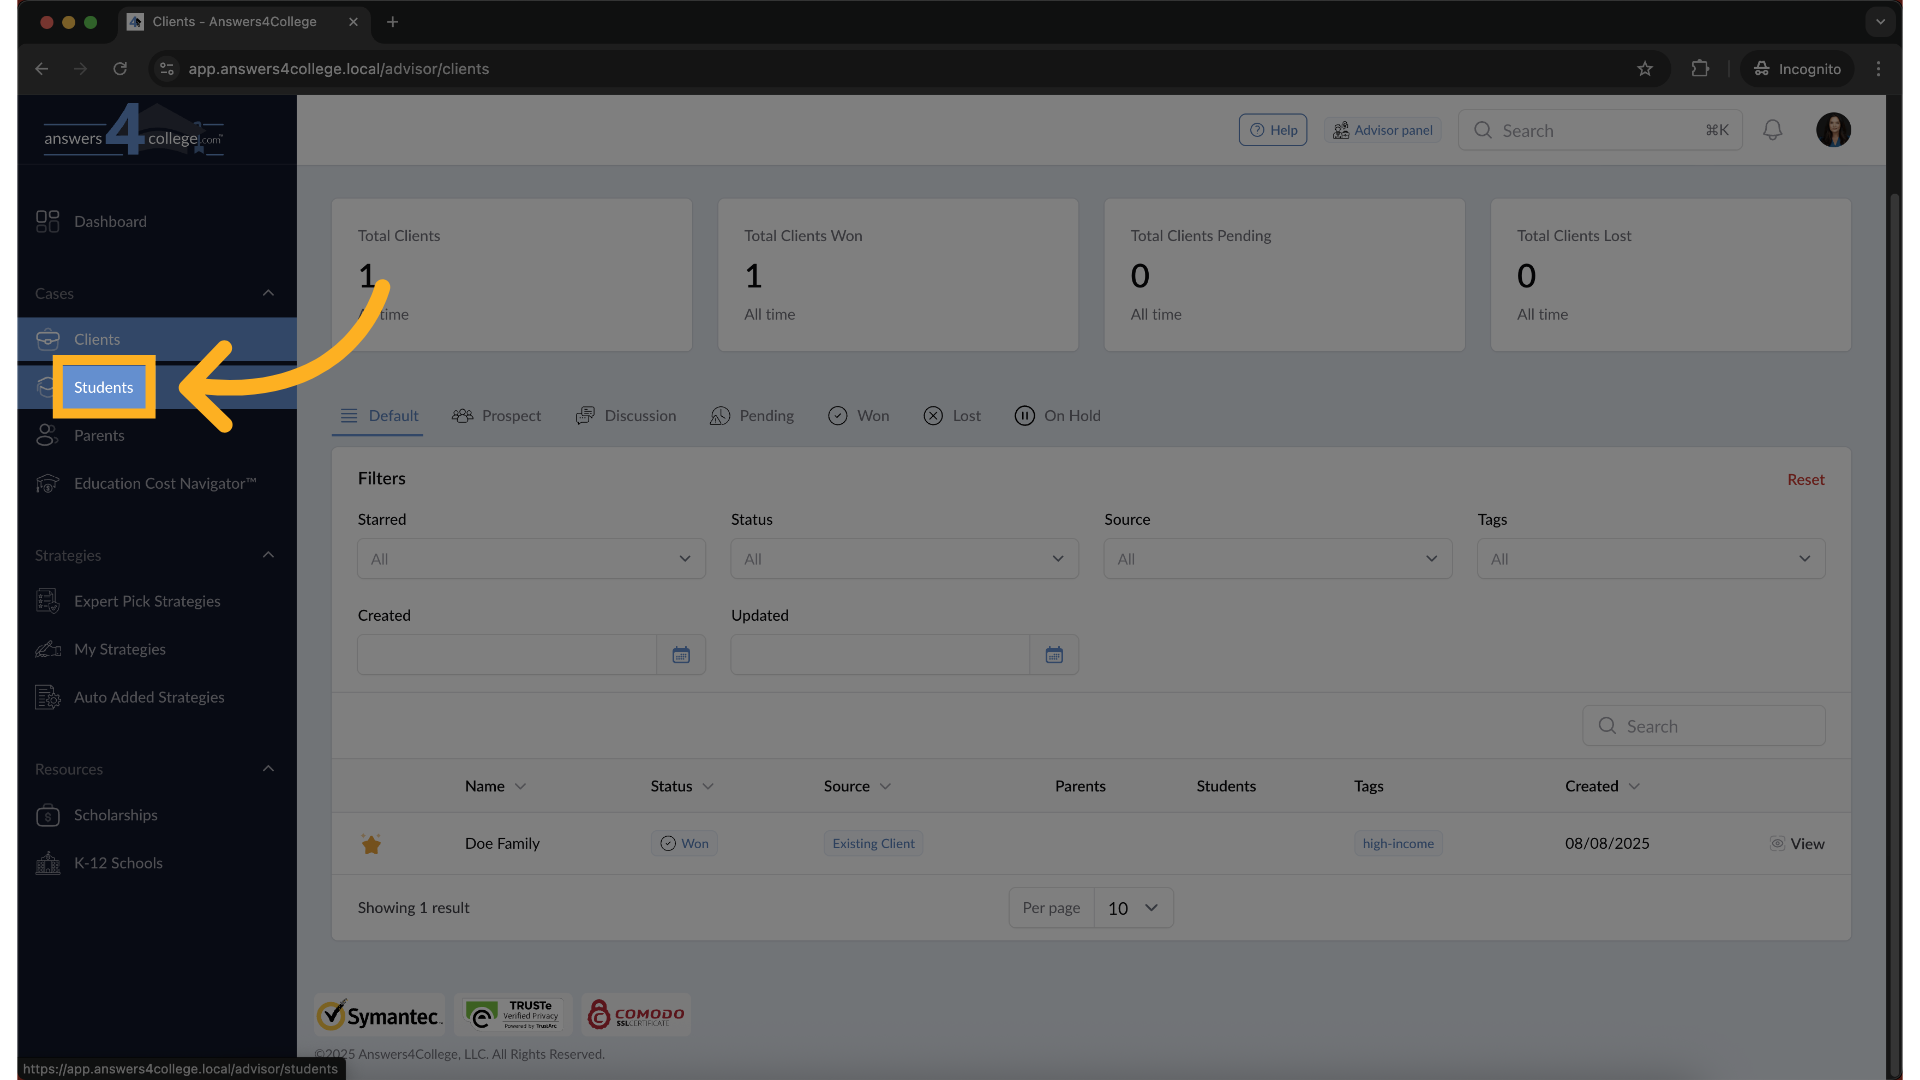
Now let's see how this works with students. Navigate to the "Students" menu in your left navigation.
6. Starring Students
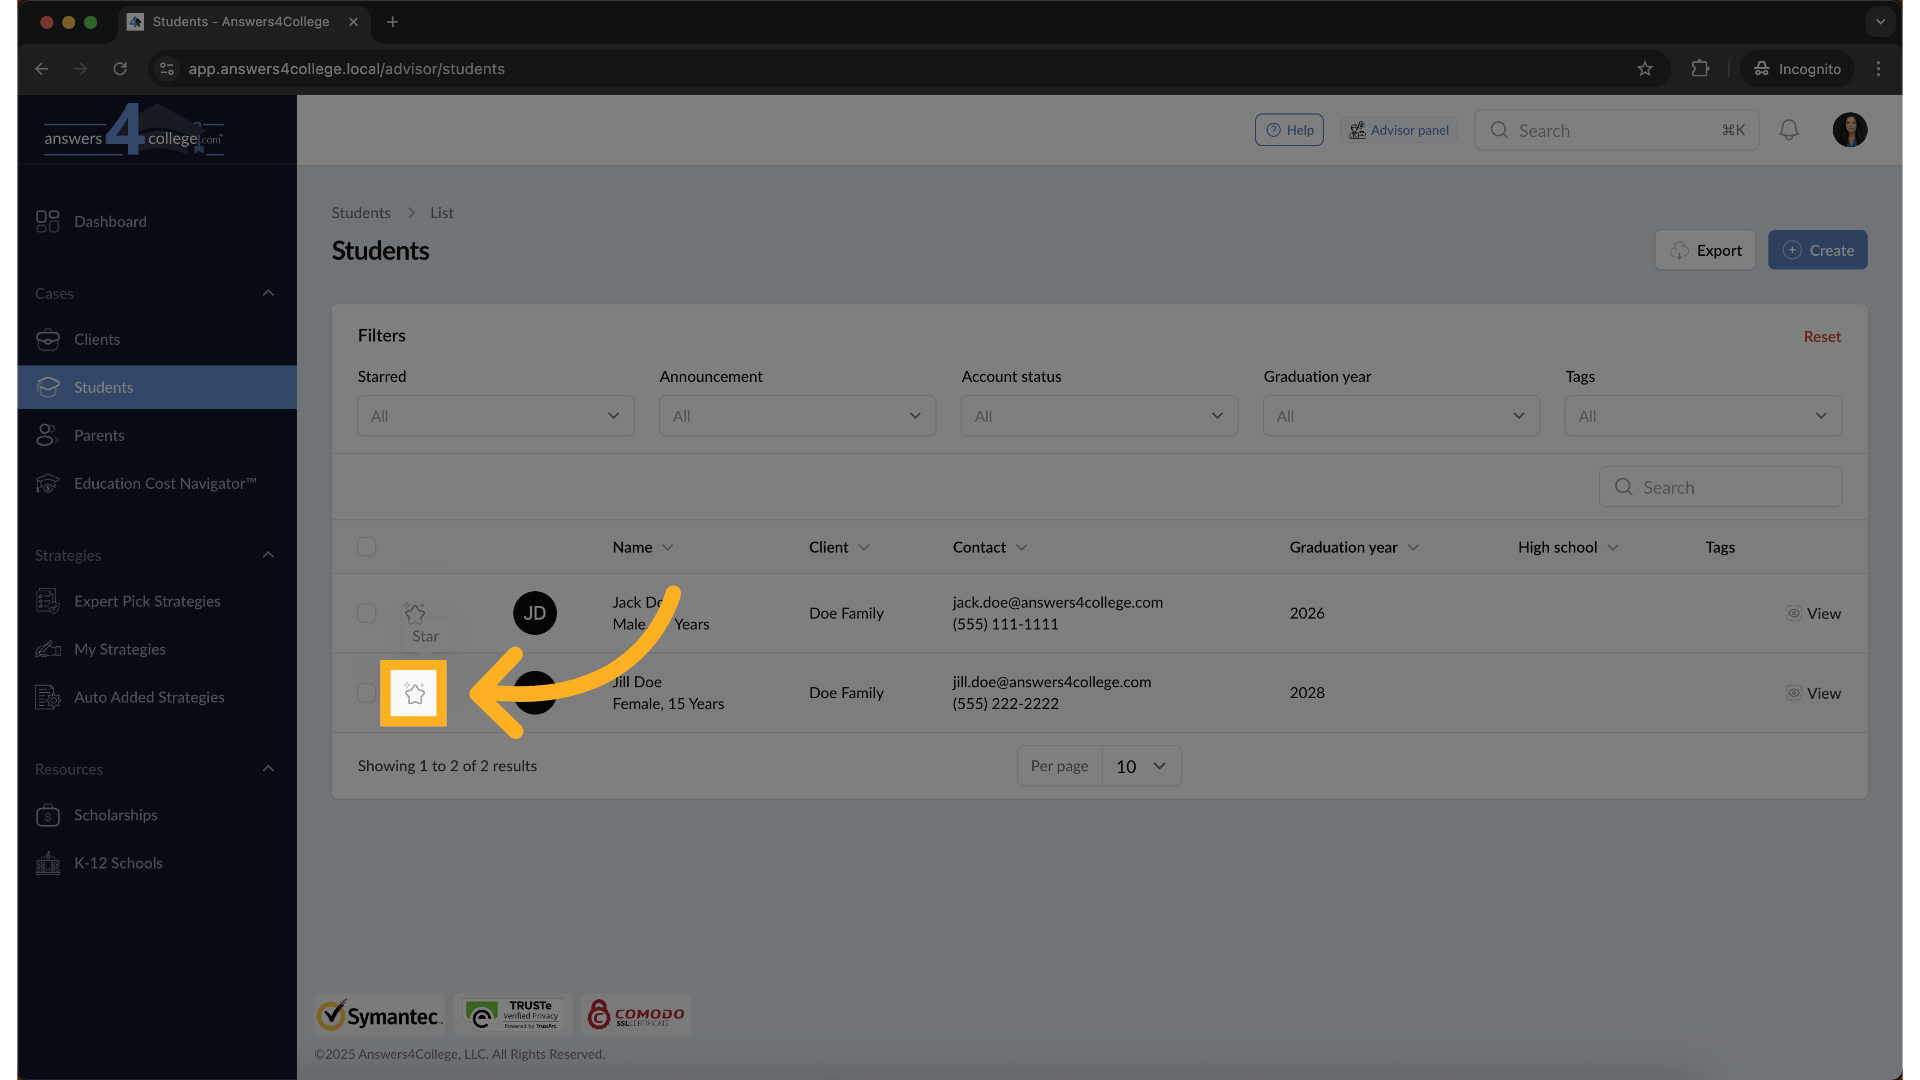
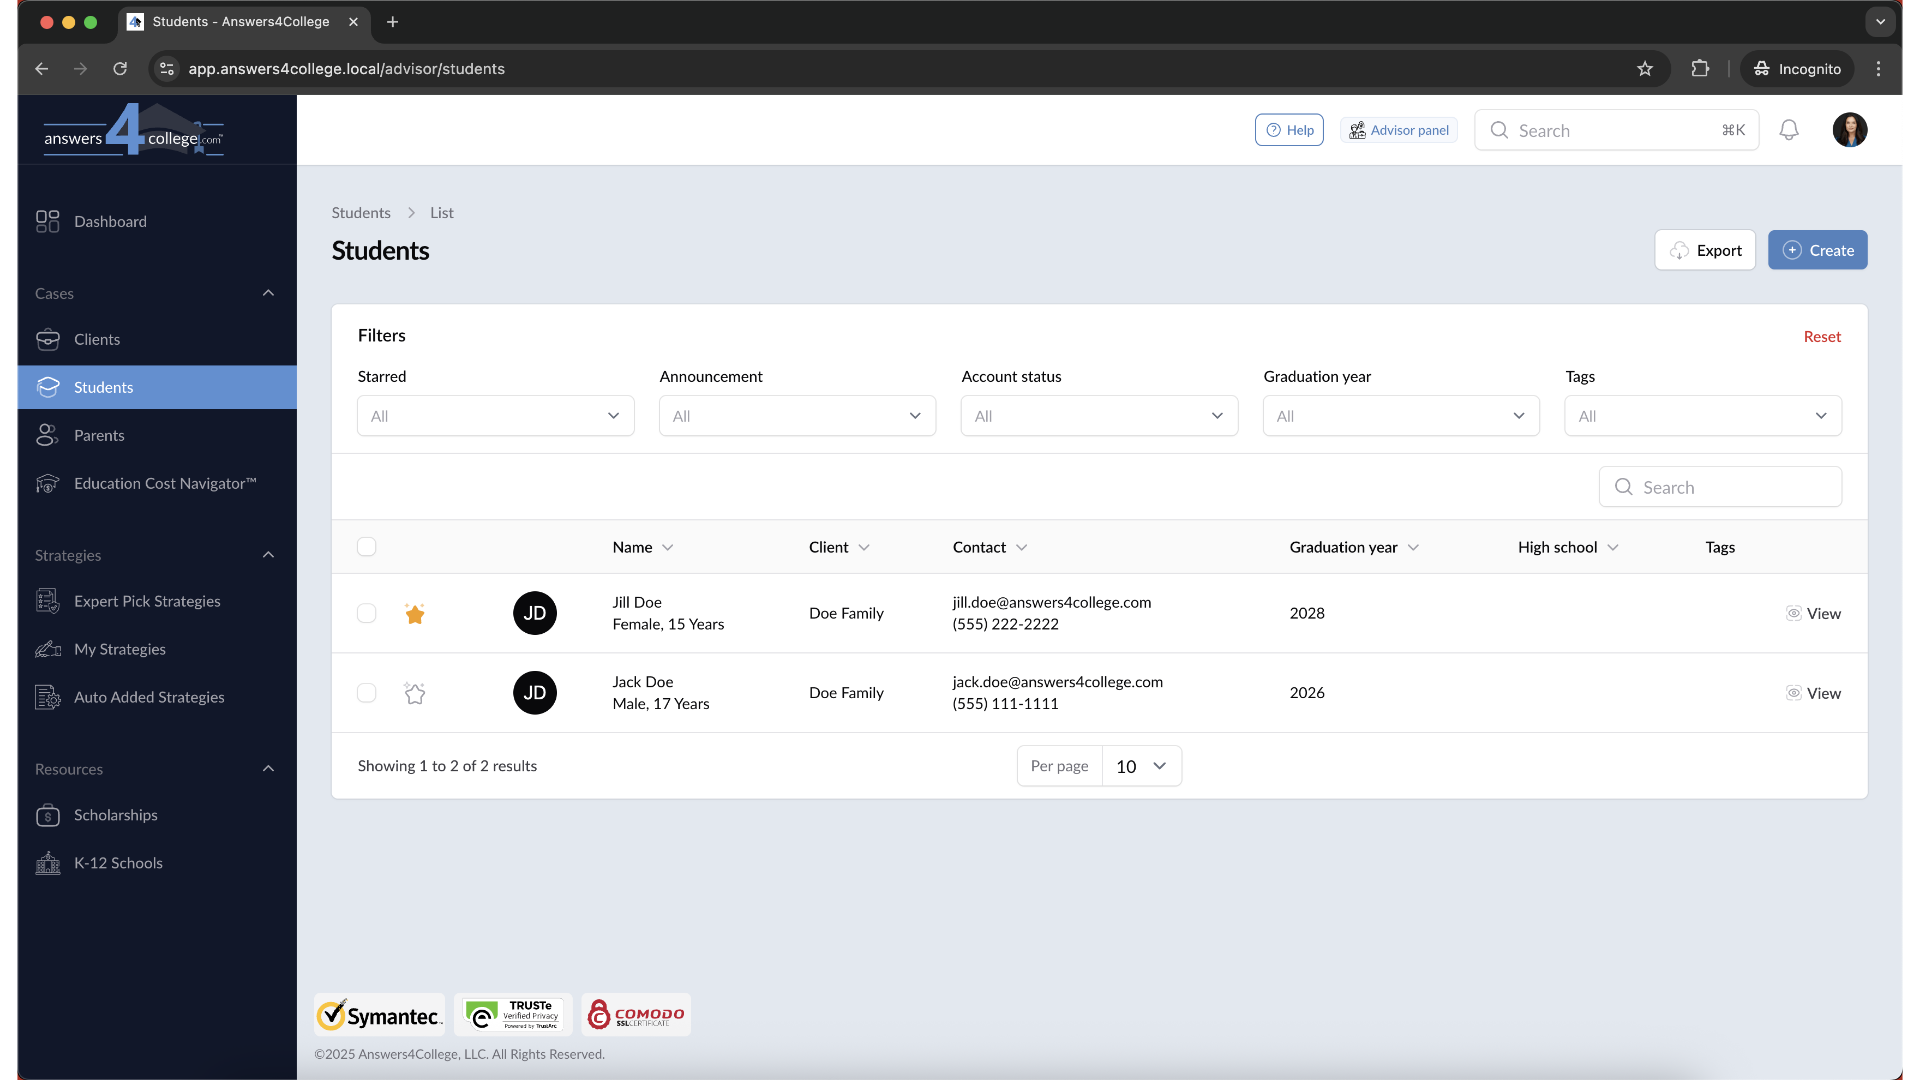
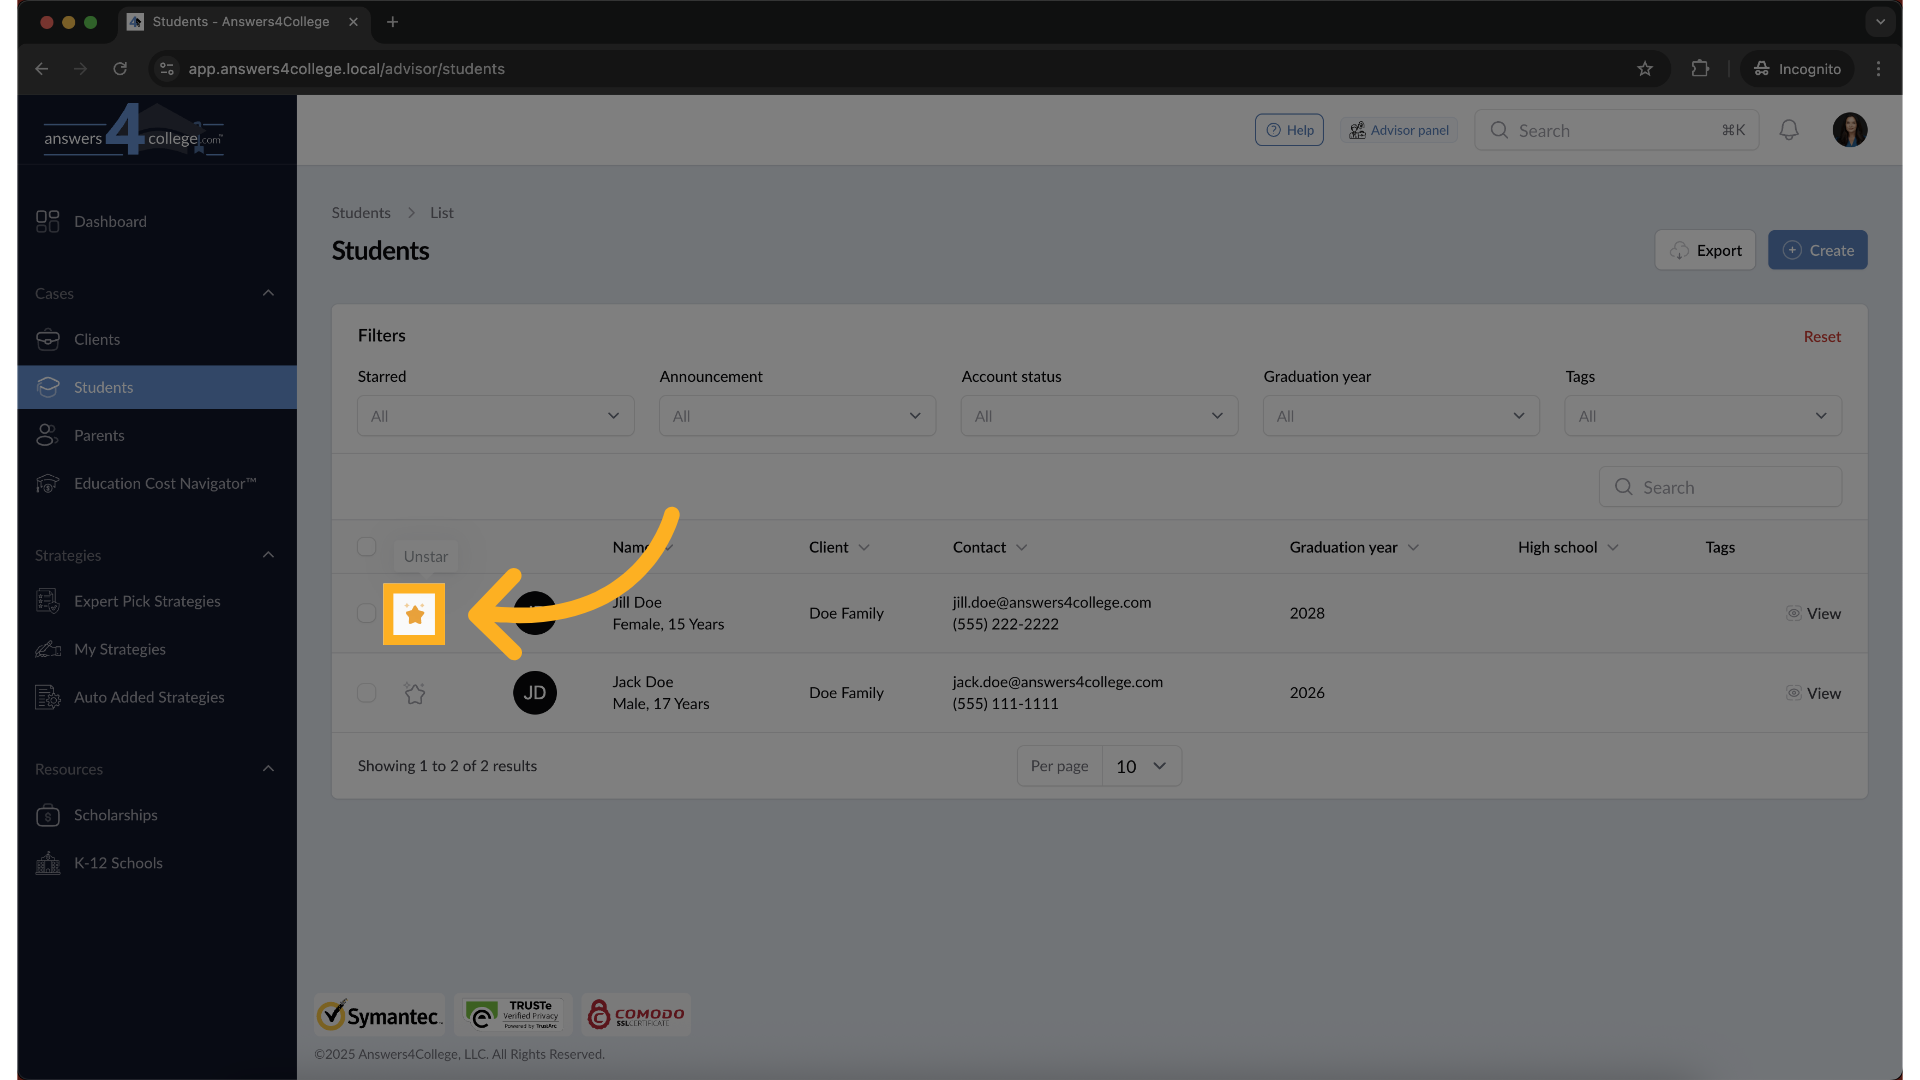
You'll see the same star icon appears in the first column of the student table. Go ahead and click the star next to any student you want to prioritize. Just like with clients, that student immediately moves to the top of your list, making them easy to find whenever you need them.
7. Starring Parents
The feature works identically for parents. Click on "Parents" in your navigation menu, and you'll see the star icons in the first column. Star any parent you're actively working with, and they'll jump to the top of the parent list for quick access.
8. Using the Star Filter
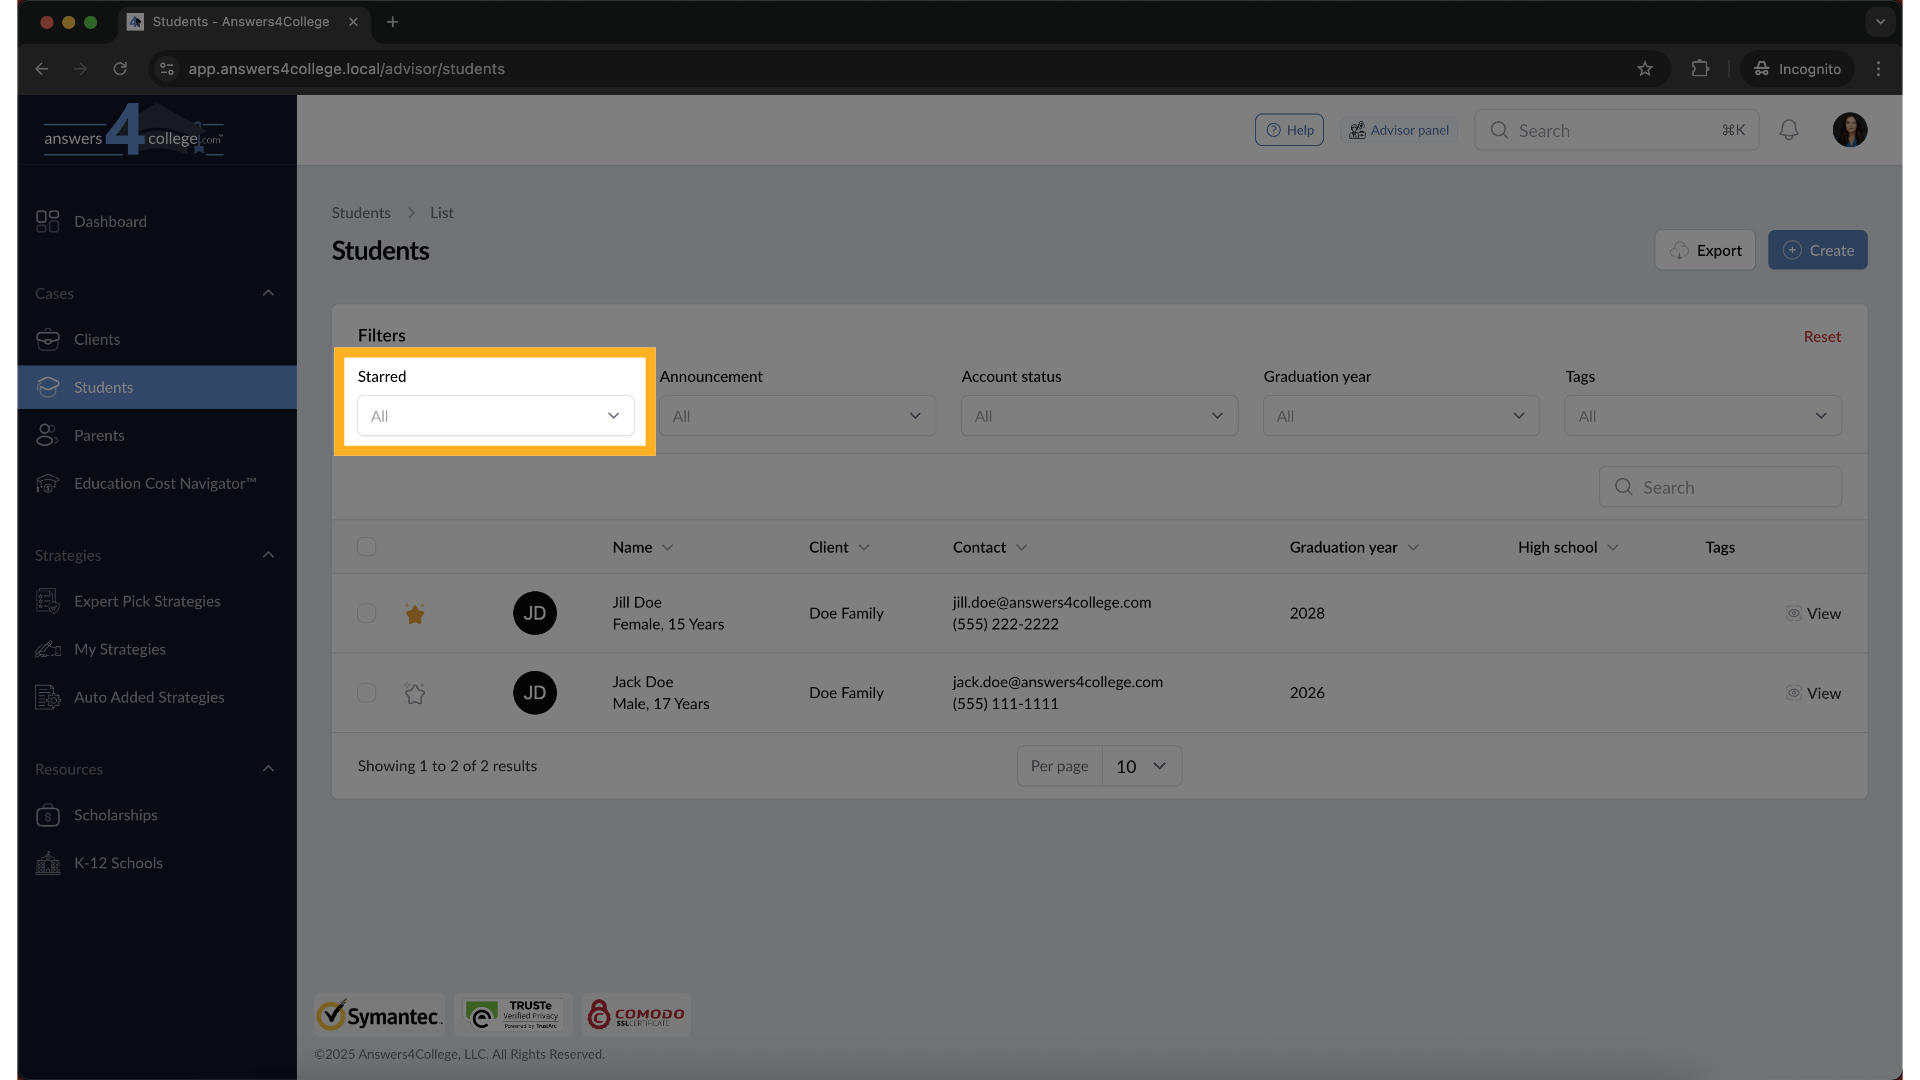
Here's where the star feature becomes even more powerful. Notice the filter options at the top of your table? Look for the star filter dropdown. When you click on it, you'll see options to filter your view. This is incredibly helpful when you're managing a large number of clients, students, or parents.
9. Filtering for Starred Records
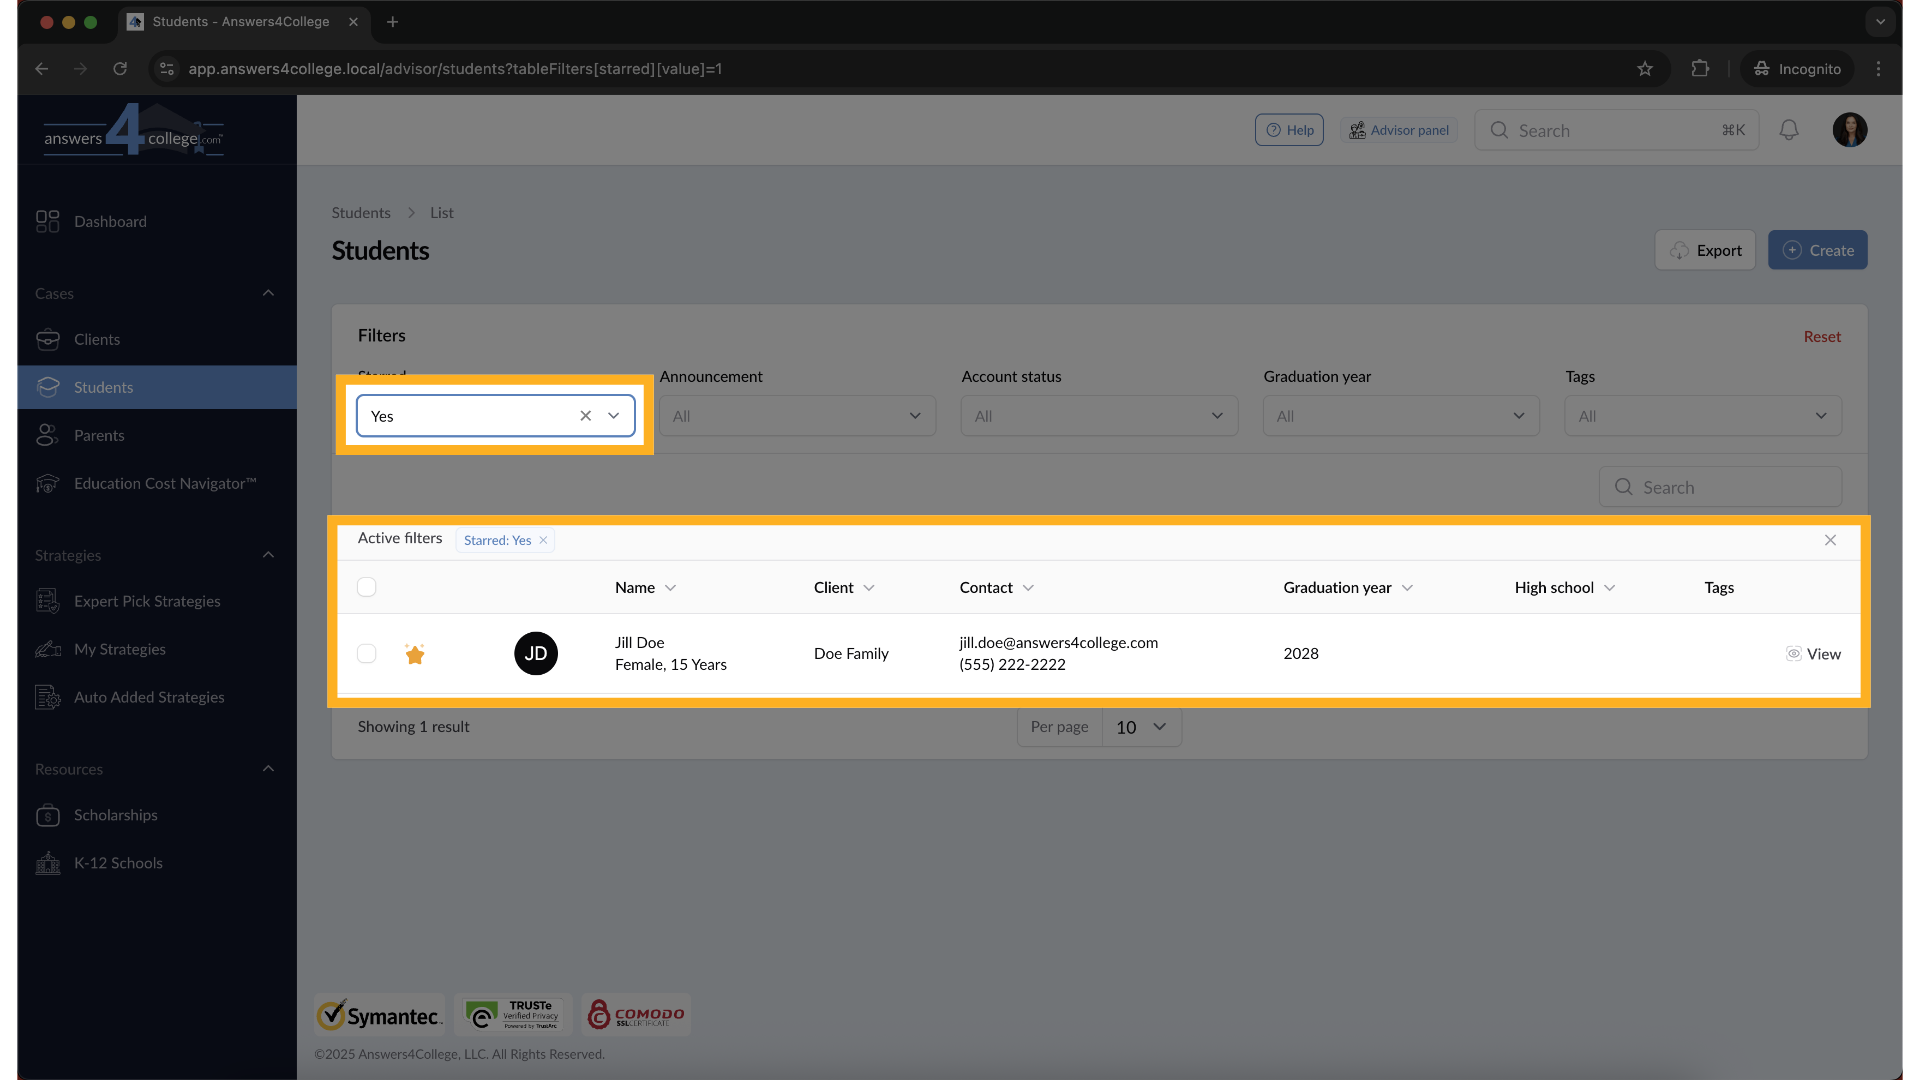
In the star filter dropdown, select "Yes" to show only starred records. The table instantly updates to display only the clients, students, or parents you've marked with a star. This creates a focused view of just your priority records, perfect when you want to concentrate on specific families without distraction.
10. Viewing Unstarred Records
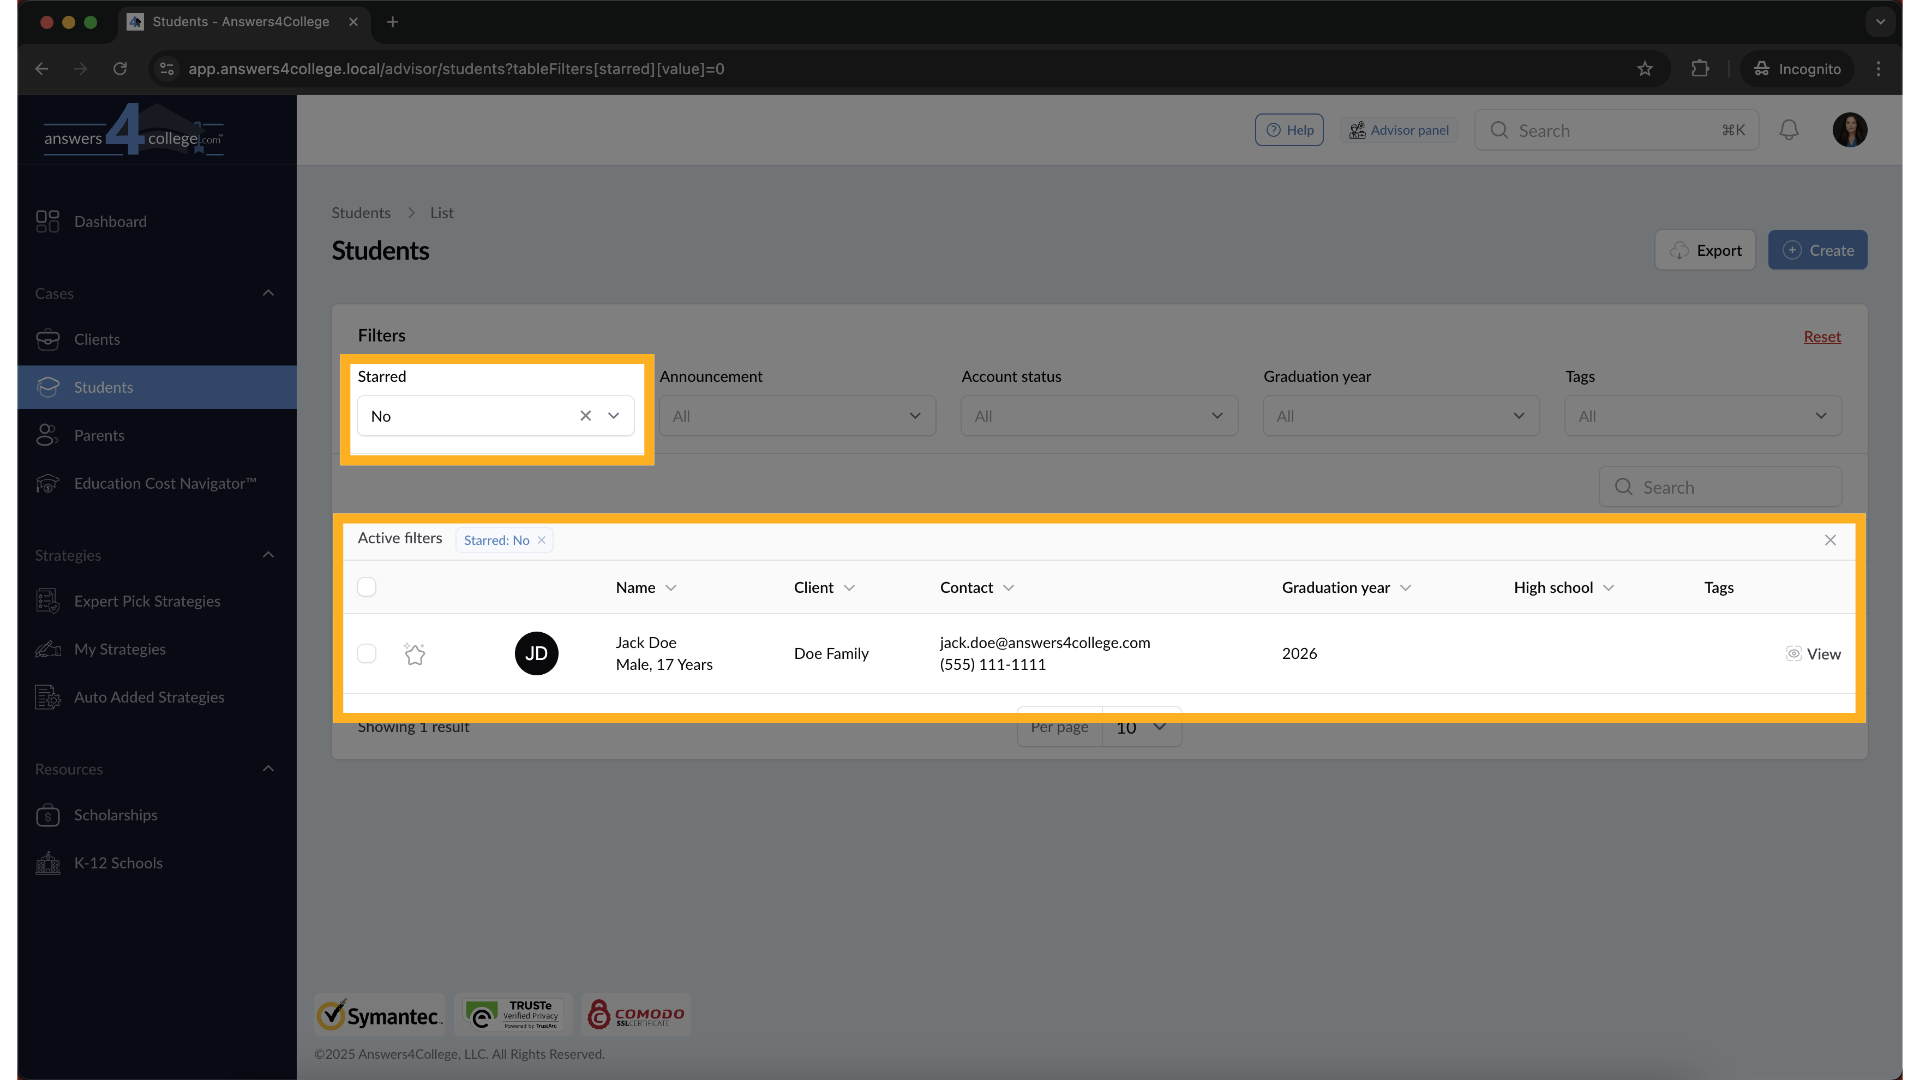
Alternatively, you can select "No" in the star filter to see only unstarred records. This is useful when you want to review clients you haven't marked as priorities, perhaps to identify who else might need attention or to clean up your database.
11. Resetting Your Filters
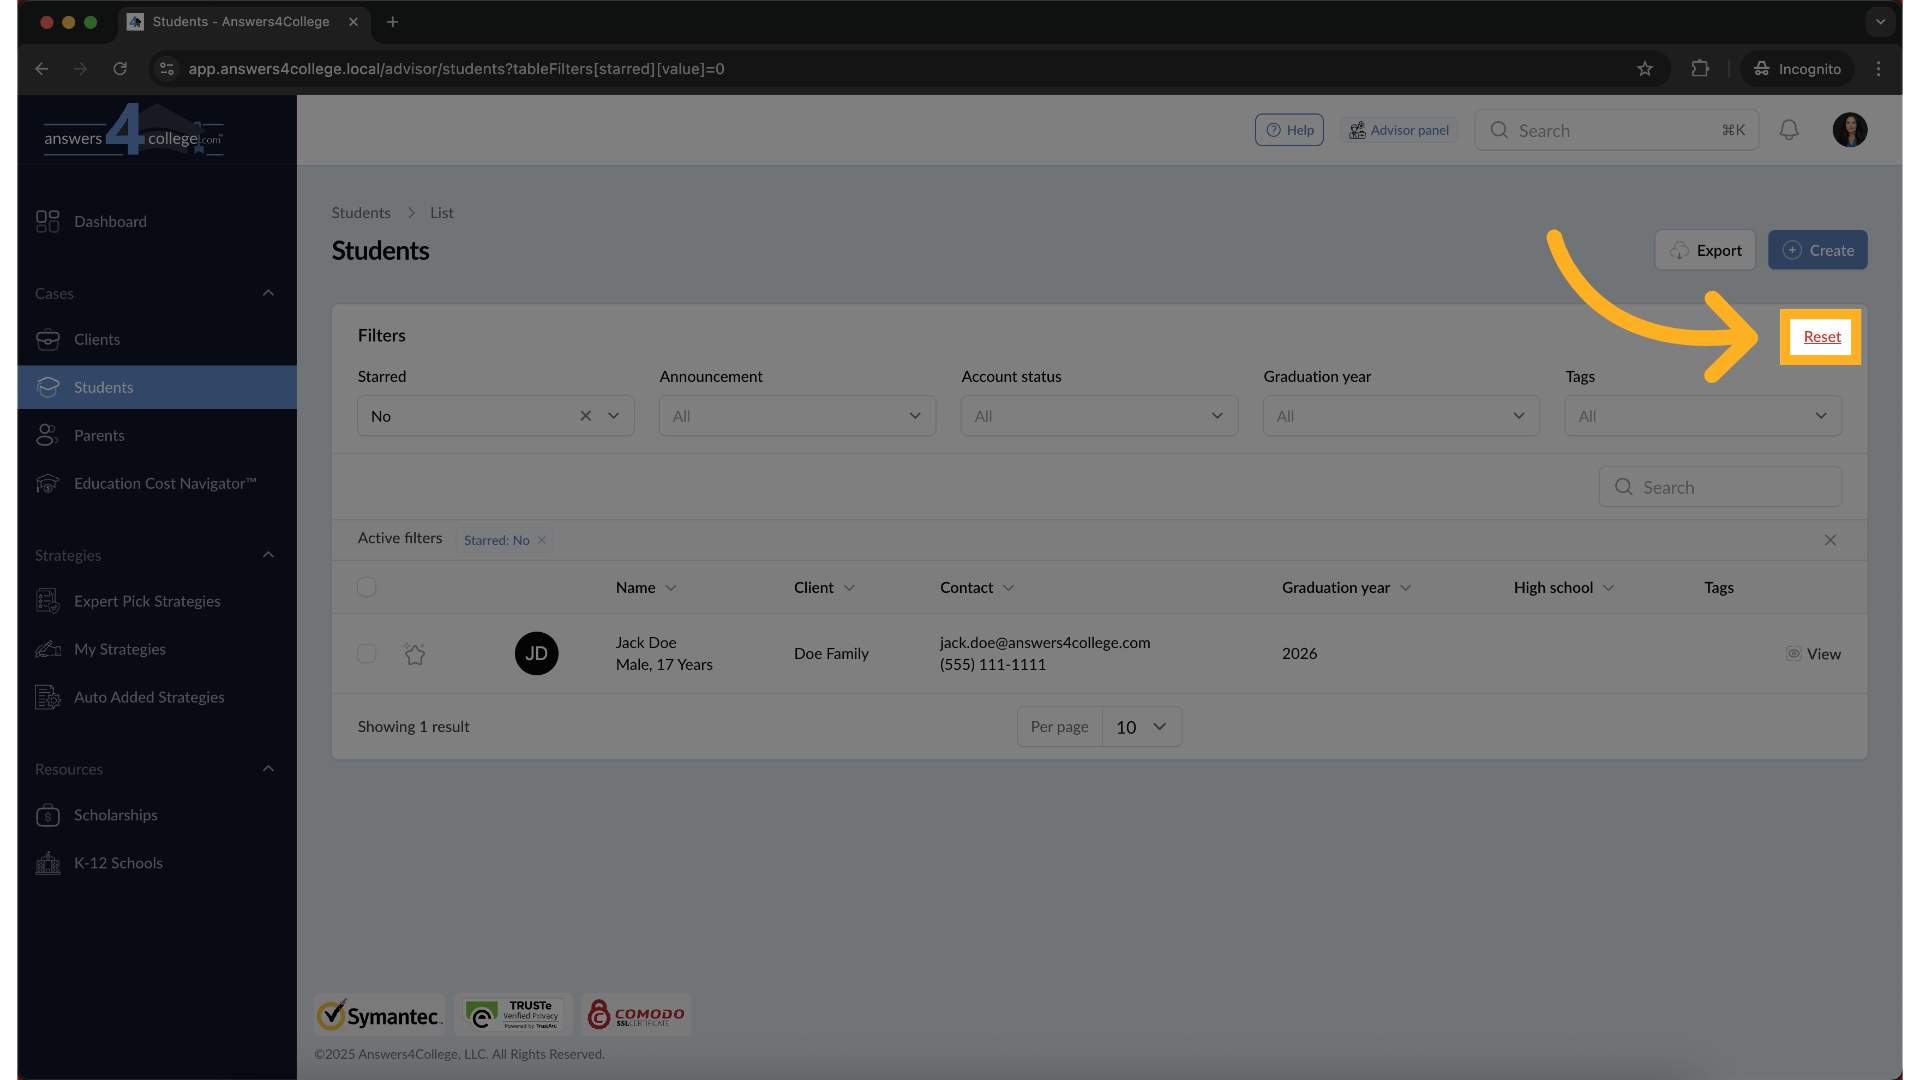
When you want to return to viewing all records, look for the "Reset" button in the top right corner of your table. Click it, and your filters clear immediately, showing you all clients, students, or parents again with starred items at the top and unstarred items below.
12. Unstarring Records
Need to remove a star? It's simple - just click on the filled star icon again. The star becomes empty, and watch what happens - that record automatically moves back to its regular position in the list, sorted with the other unstarred records. This keeps your starred list current and relevant.
Here's how the sorting works: starred records always appear at the top of your table, regardless of any other sorting you've applied. Below them, unstarred records appear in their normal sort order. This two-tier system ensures you never lose sight of your priorities while still maintaining an organized view of all your records. As you use this feature, think strategically about what to star. Consider starring clients with upcoming meetings, families in critical decision periods, or students approaching important deadlines. The star feature is dynamic - don't hesitate to star and unstar records as your priorities shift throughout the admissions cycle. Remember, this functionality works consistently across all three sections - clients, students, and parents. You can have starred items in each section, creating multiple priority lists that help you stay organized and efficient. That's everything you need to know about using the star feature in the Advisor Portal. You've learned how to star and unstar records, use filters to focus your view, and leverage this tool to keep your most important families easily accessible. This simple but powerful feature will help you manage large caseloads more effectively and ensure you never lose track of your priority families. The star feature is now at your fingertips - use it to create a personalized, efficient workflow that works best for your advisory practice. Thank you for following along with this tutorial.
Comments
0 comments
Please sign in to leave a comment.