Welcome to this tutorial on using Action Items in the Answers for College
Advisor Portal. Action Items are essentially tasks or to-dos that you can
assign to students, parents, or even yourself. This powerful feature helps
everyone stay organized and on track throughout the college planning process.
I'll show you how to create, manage, and track these tasks effectively. Let's
get started.
First, make sure you're logged into your Advisor Portal with your credentials.
Once you're logged in and see your main dashboard, we're ready to explore
the Action Items feature.
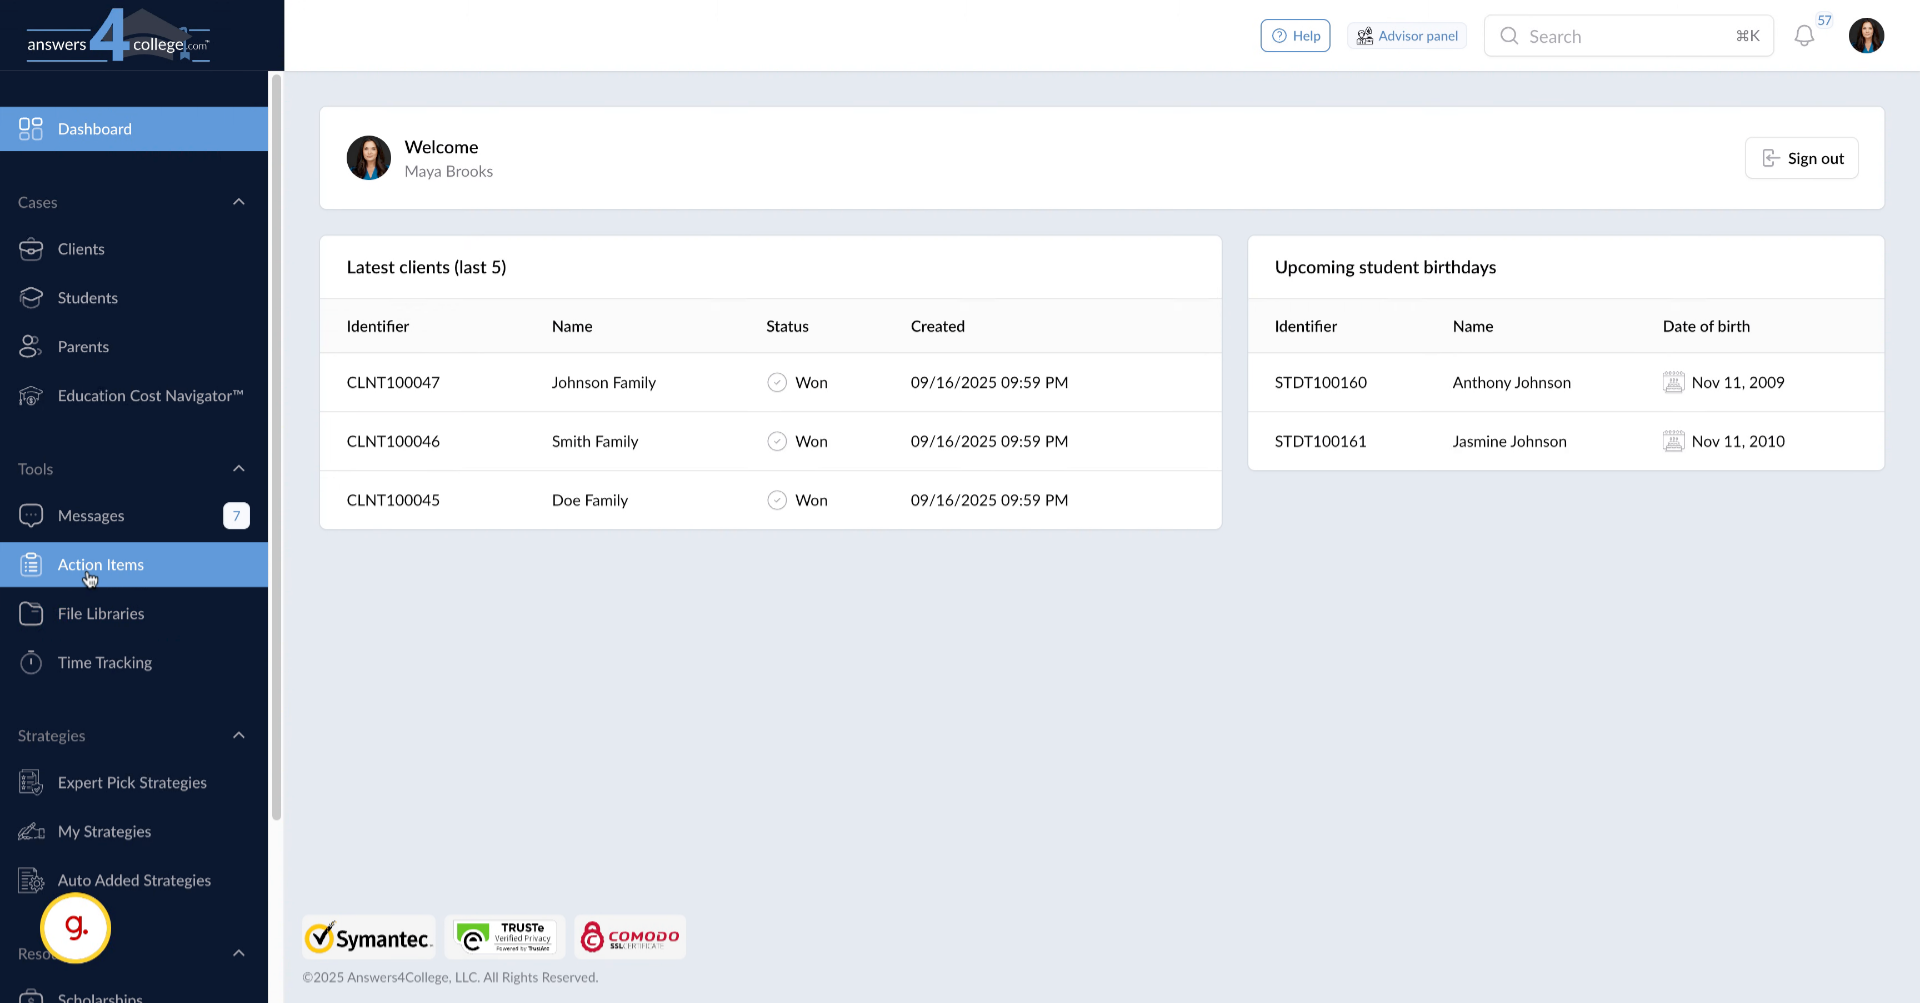
2. Finding Action Items in the Menu
Look at the left-hand navigation menu. You'll see a new option called "Action
Items." Click on it to access the main Action Items dashboard.
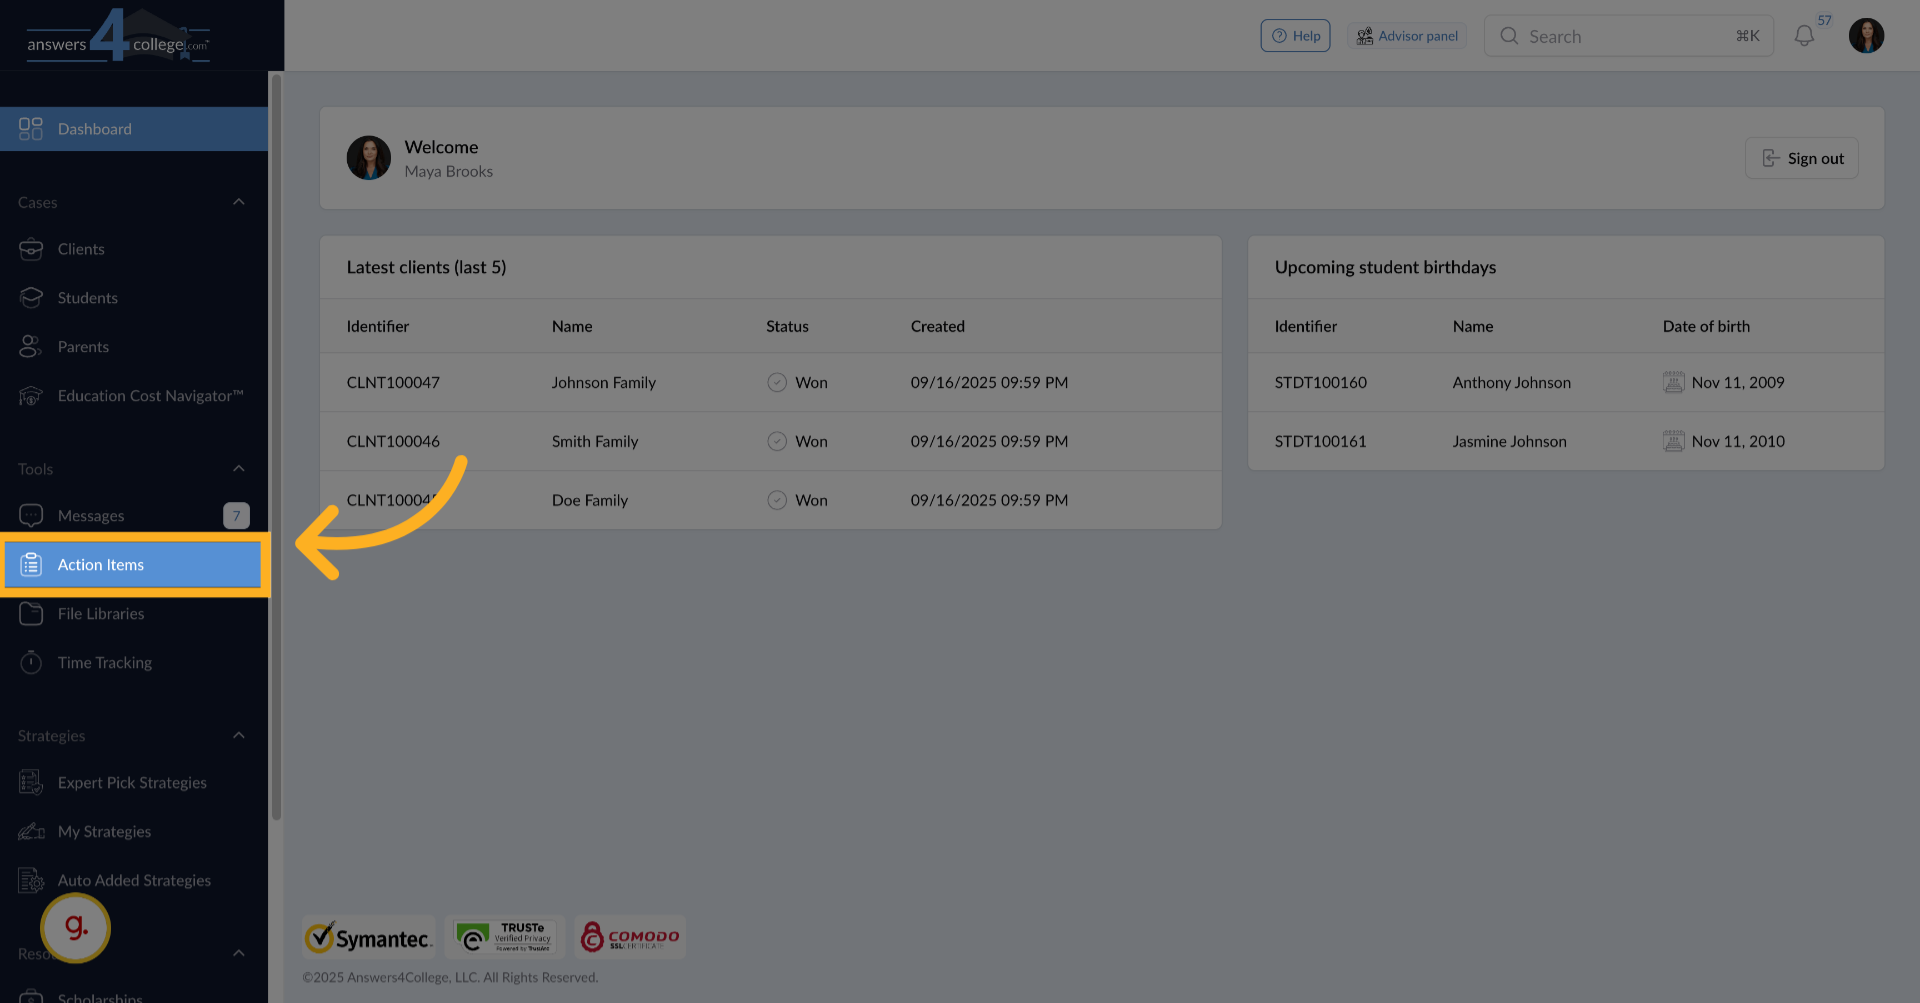
3. Understanding the Overview Dashboard
Excellent! You're now looking at the Action Items overview. This dashboard
gives you a complete picture of all tasks across your entire practice - tasks
assigned to students, parents, and yourself. Notice how the tasks are organized
- overdue items appear at the top with a red "overdue" tag, making them impossible
to miss. Below that, tasks are sorted by priority: high-priority tasks first,
then medium, and finally low-priority items at the bottom. This organization
helps you immediately see what needs urgent attention.
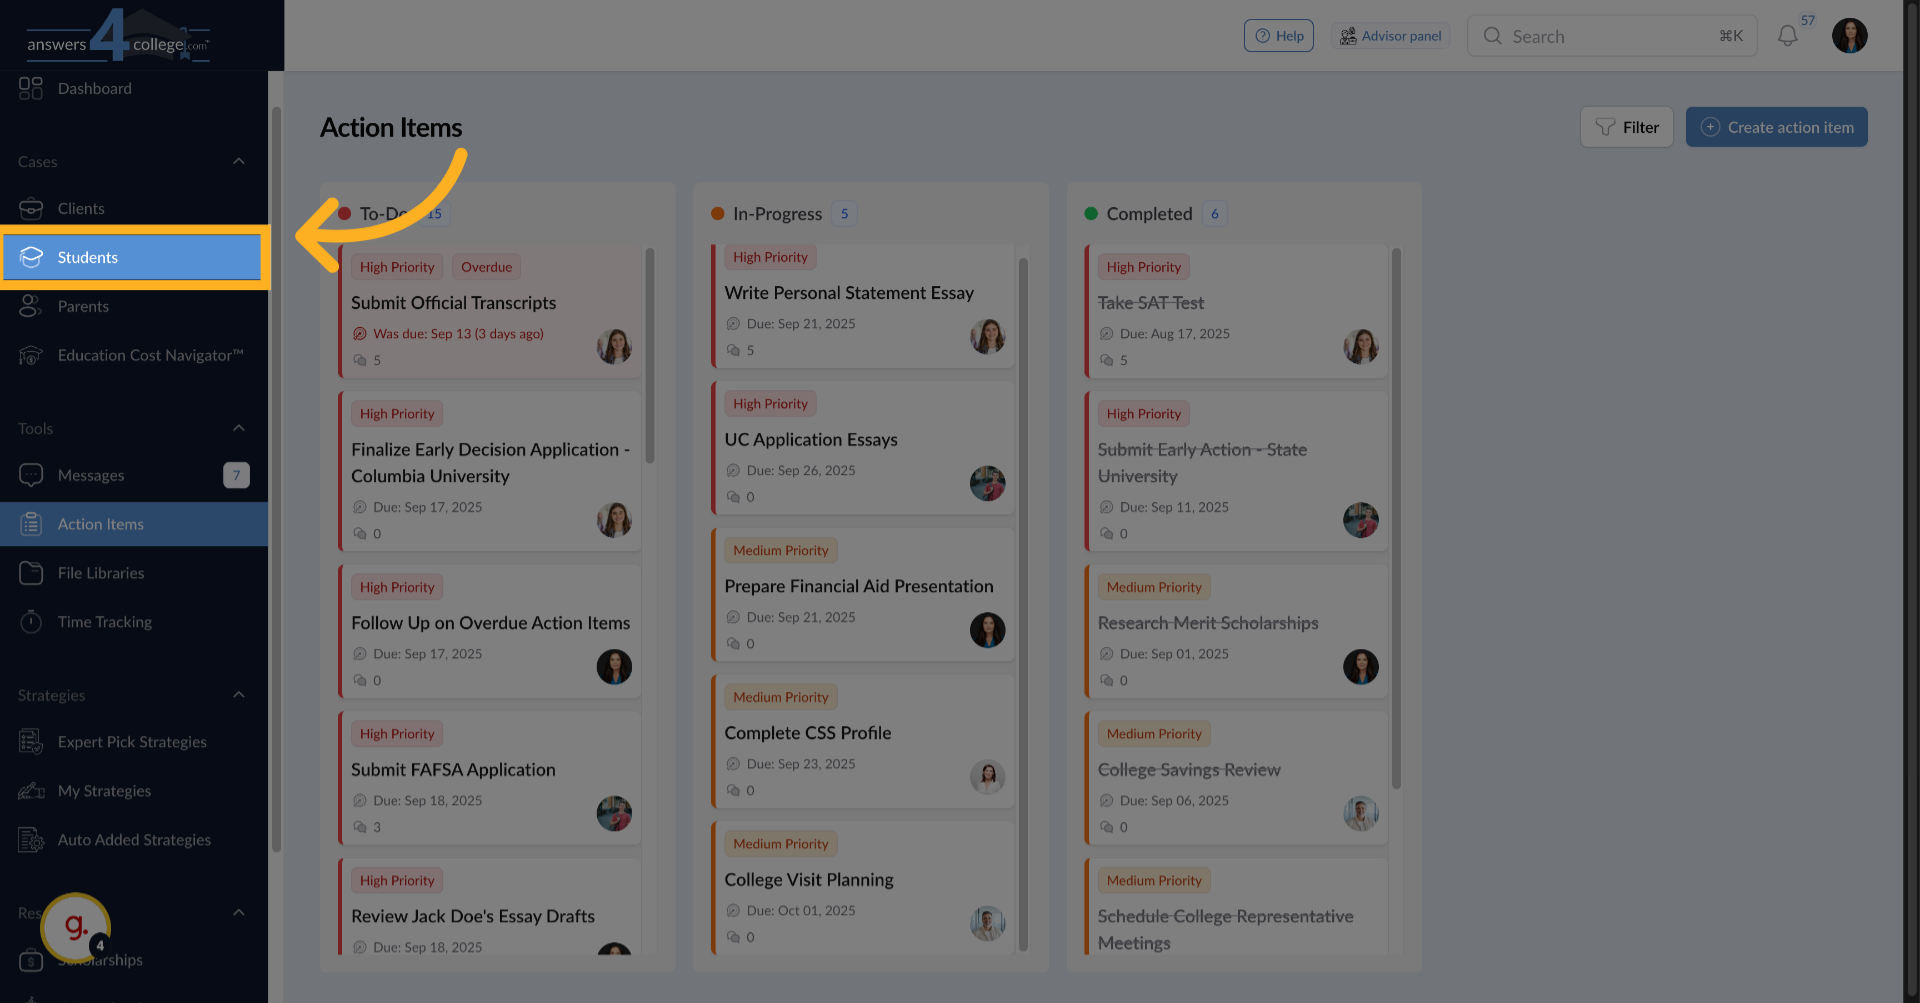
4. Navigating to a Student
Now let's see how to work with Action Items for a specific student. Click
"Students" in the left-hand menu to see your student list.
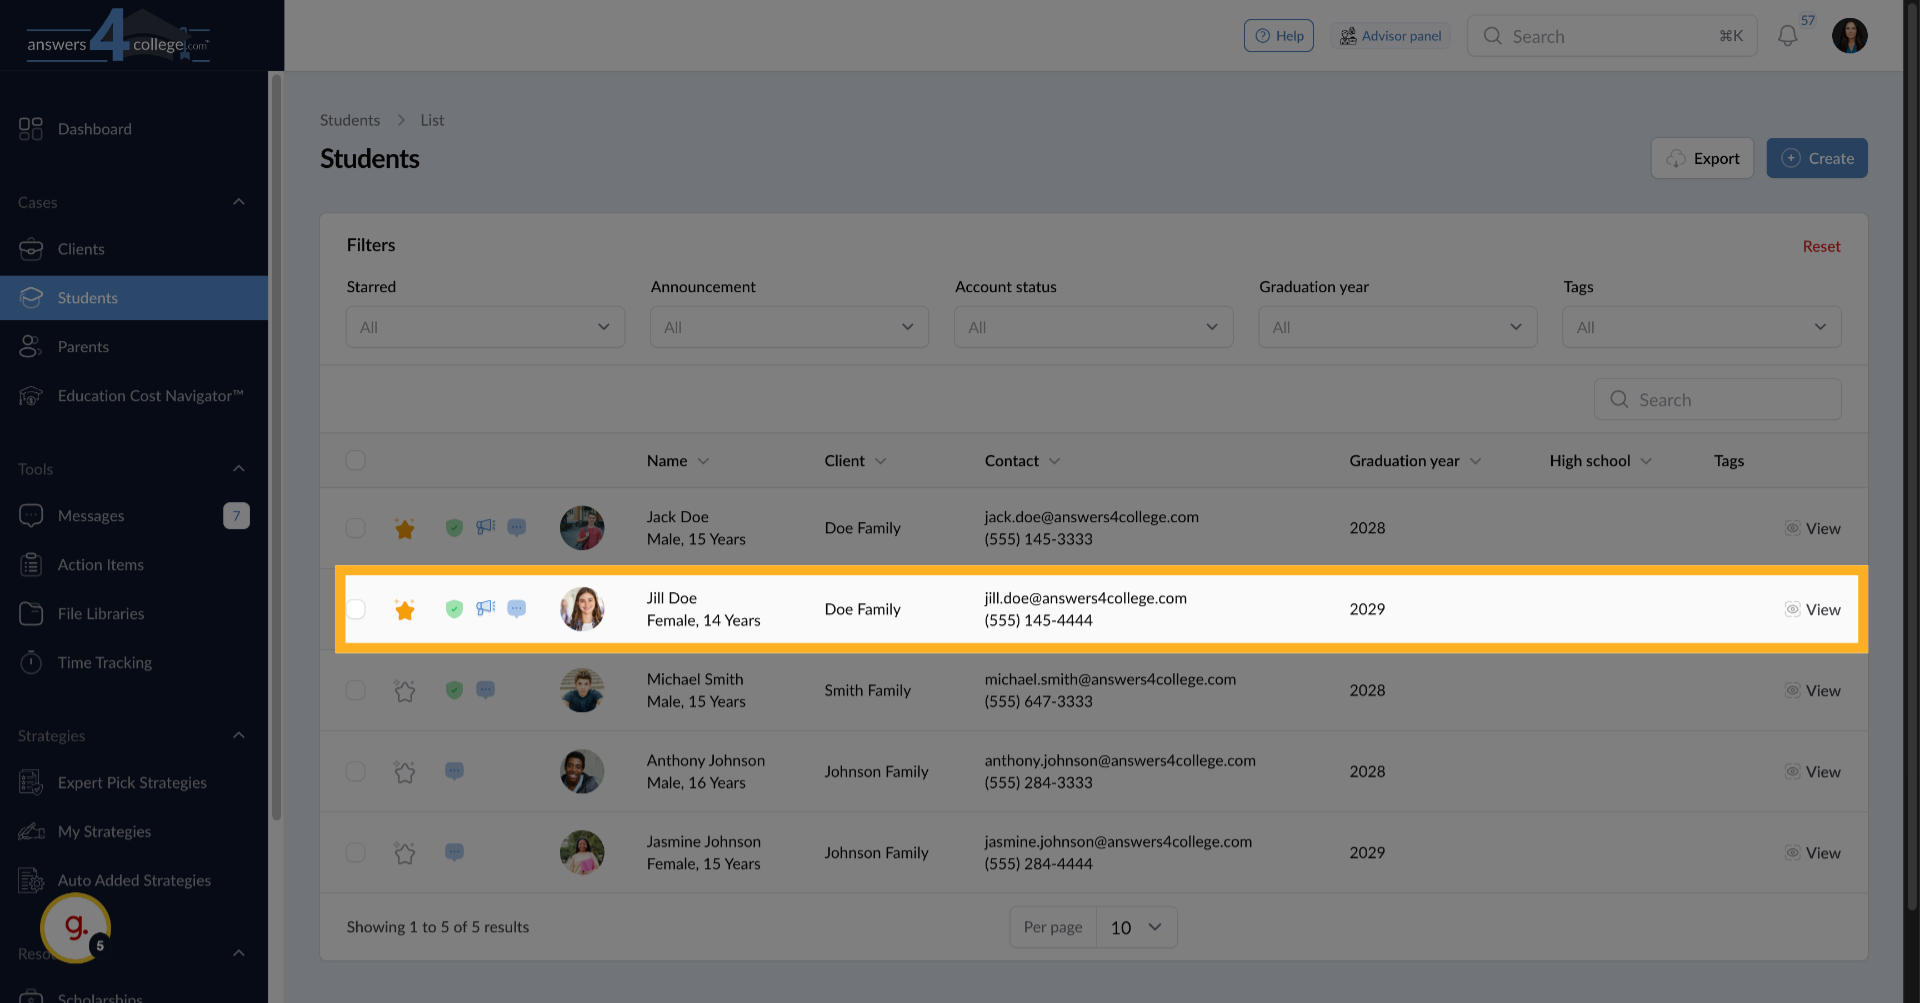
5. Selecting a Student
Choose the student whose Action Items you want to manage - let's use Jill
Doe as our example. Click on her name to open her profile.
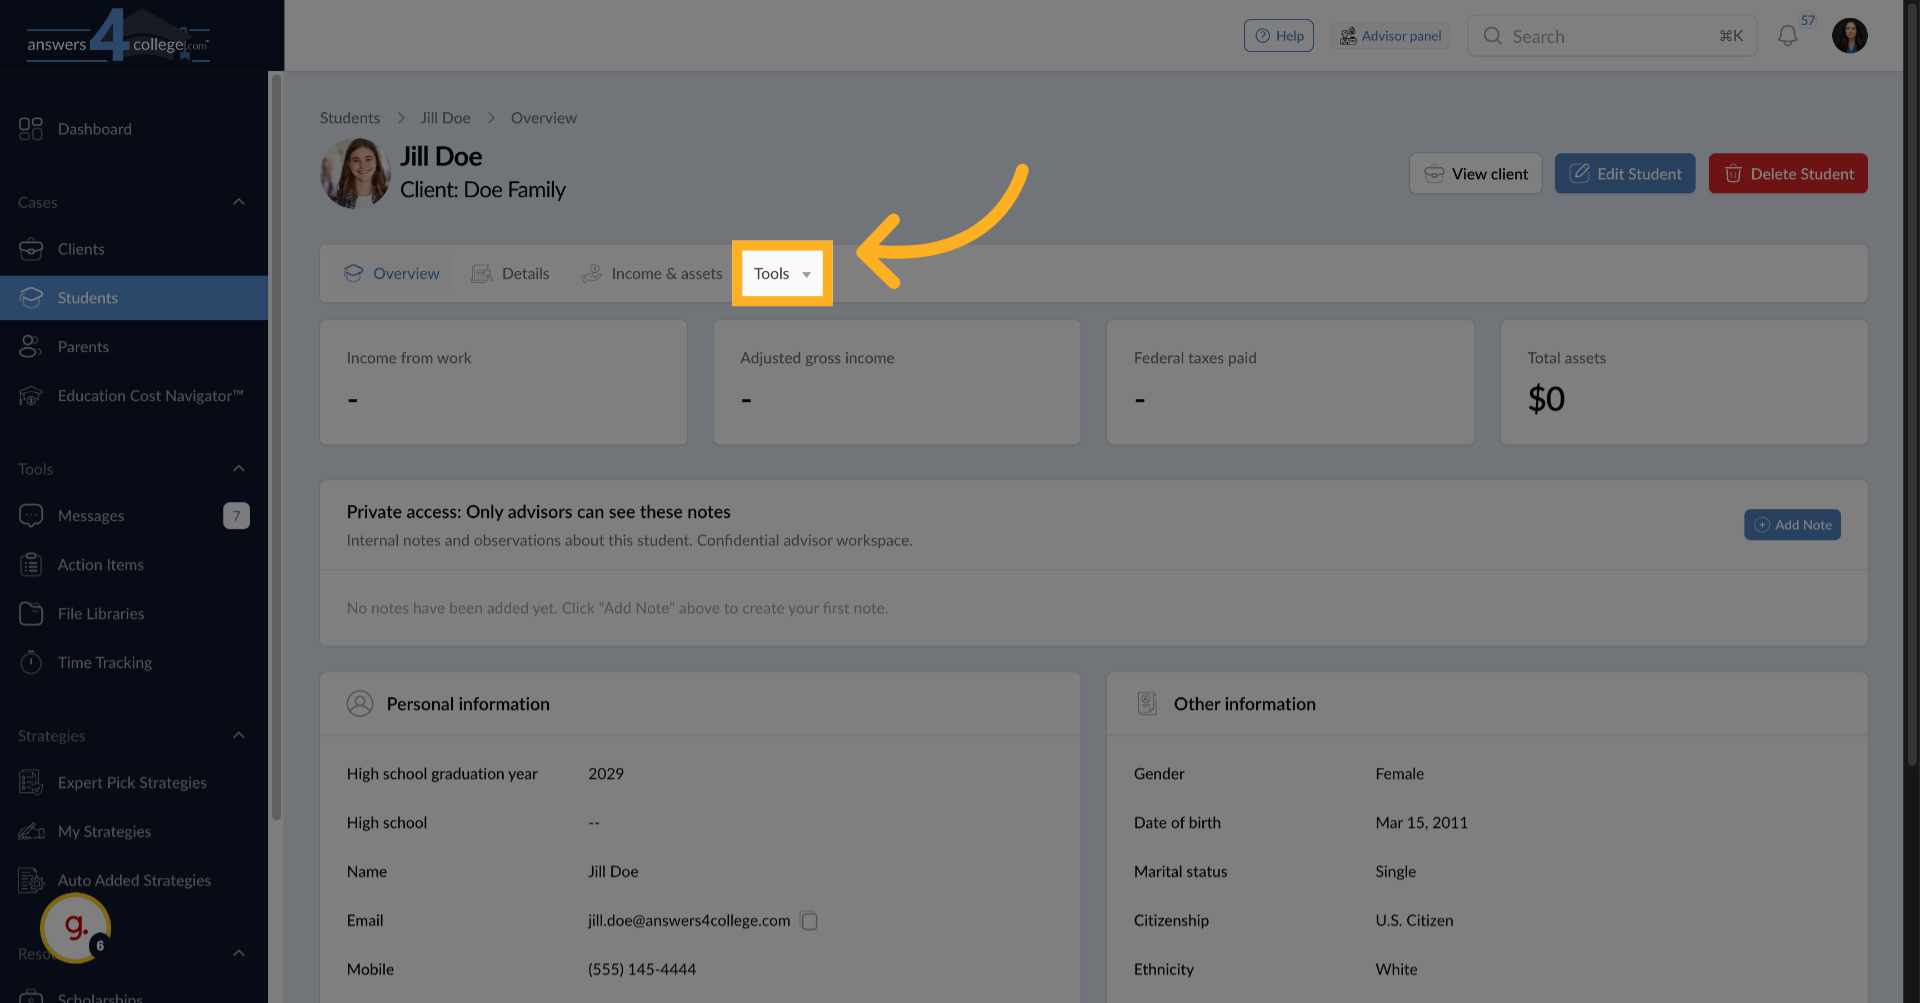
6. Accessing the Student's Action Items
Once you're in the student's profile, look at the top menu bar and click
on "Tools." A dropdown will appear - select "Action Items" from this menu.
7. Click on Action Items
A dropdown will appear - select "Action Items" from this menu.
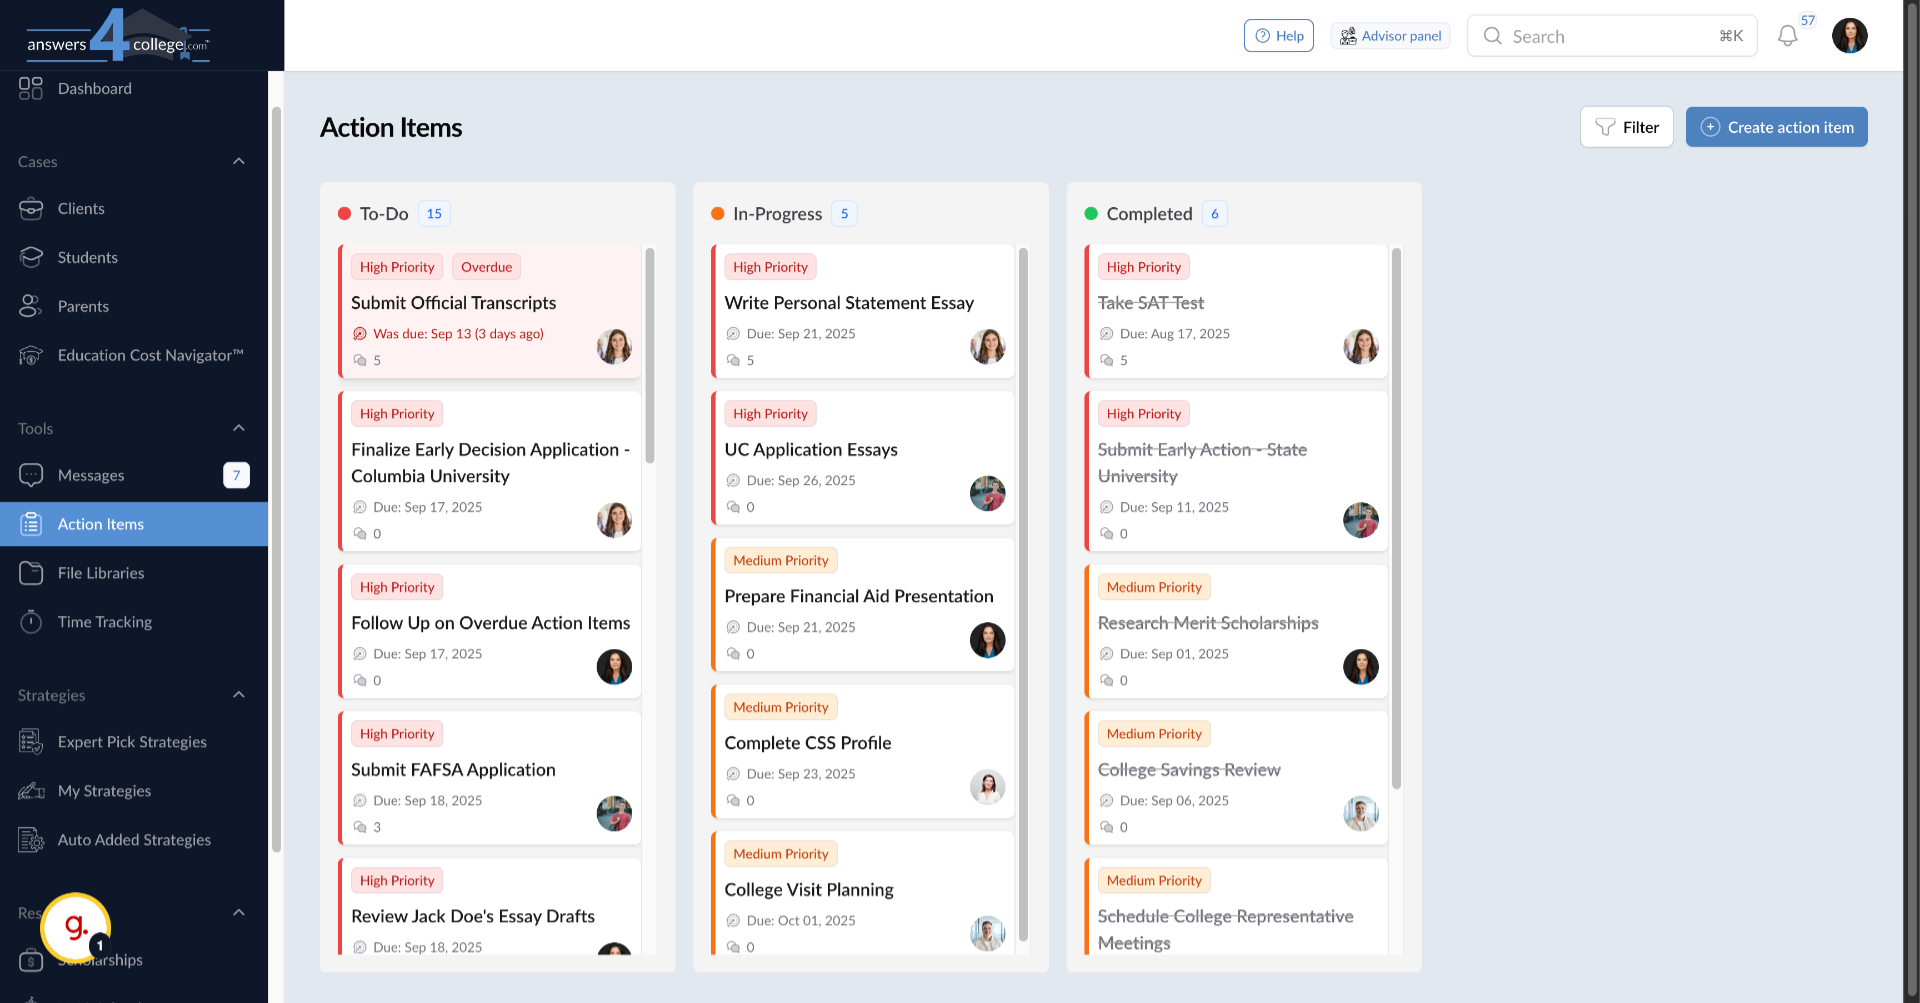
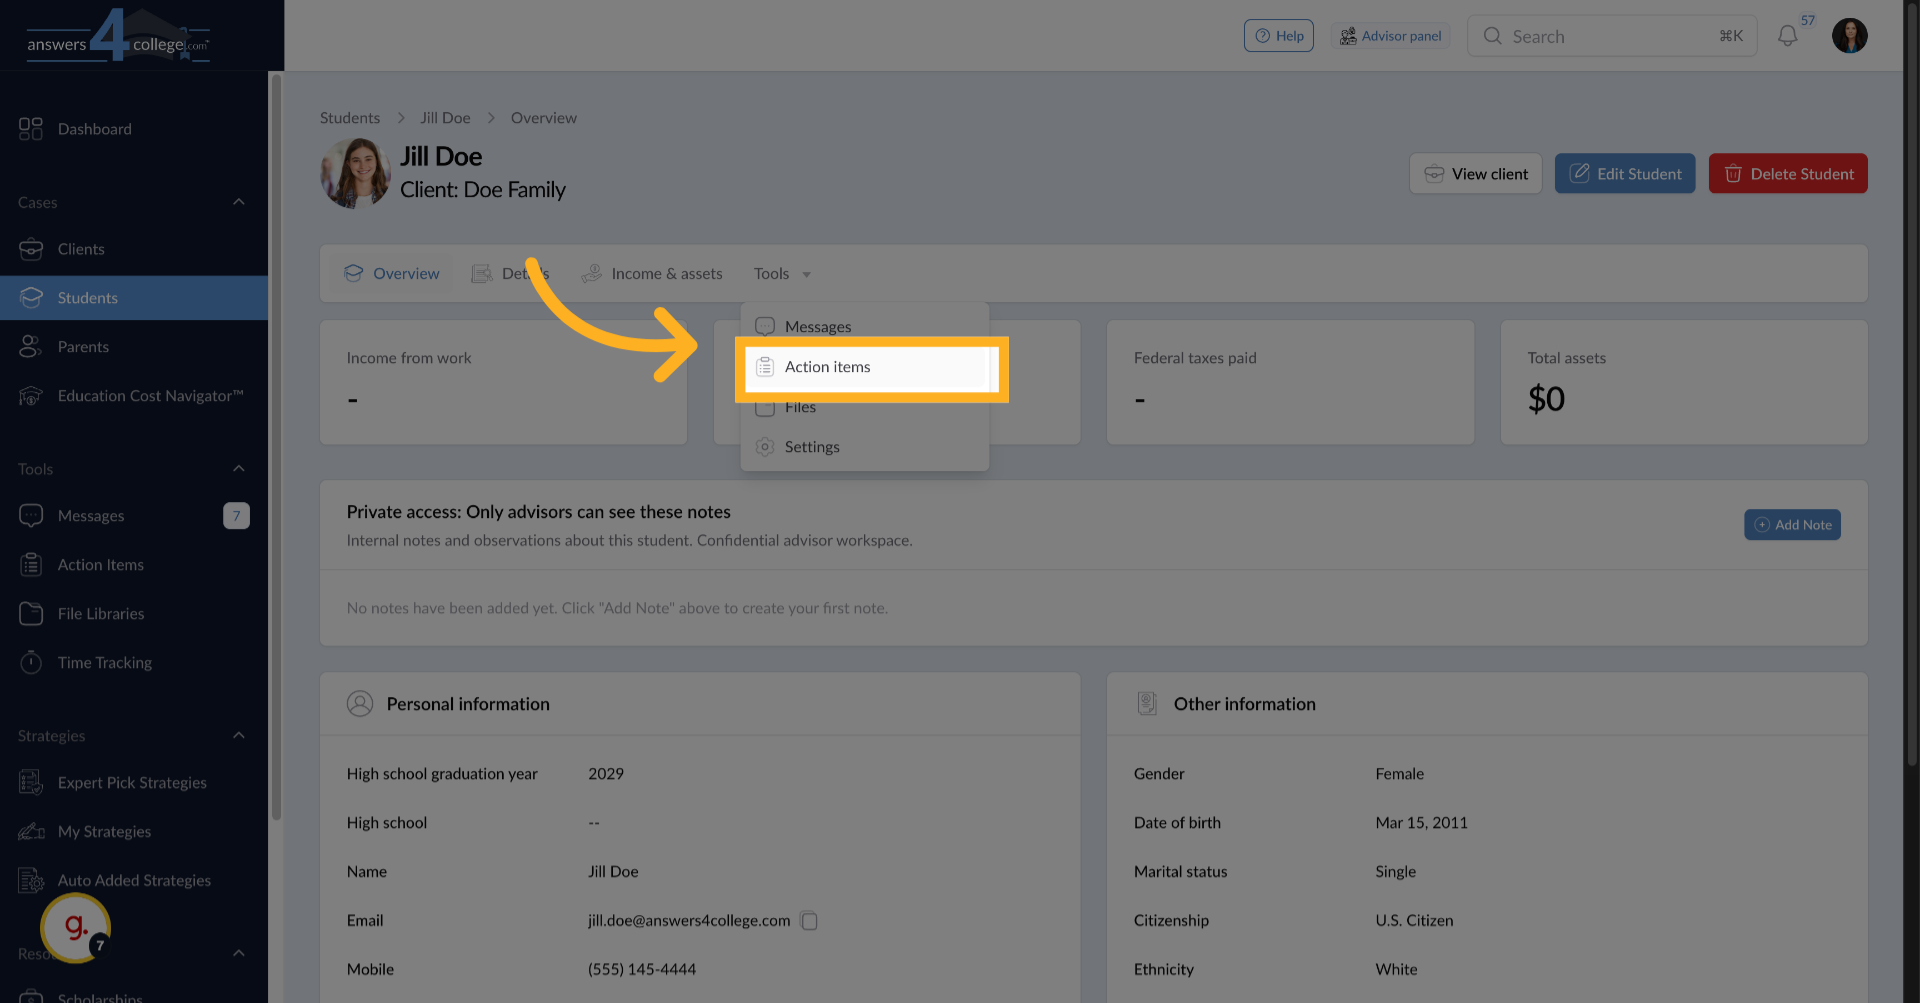
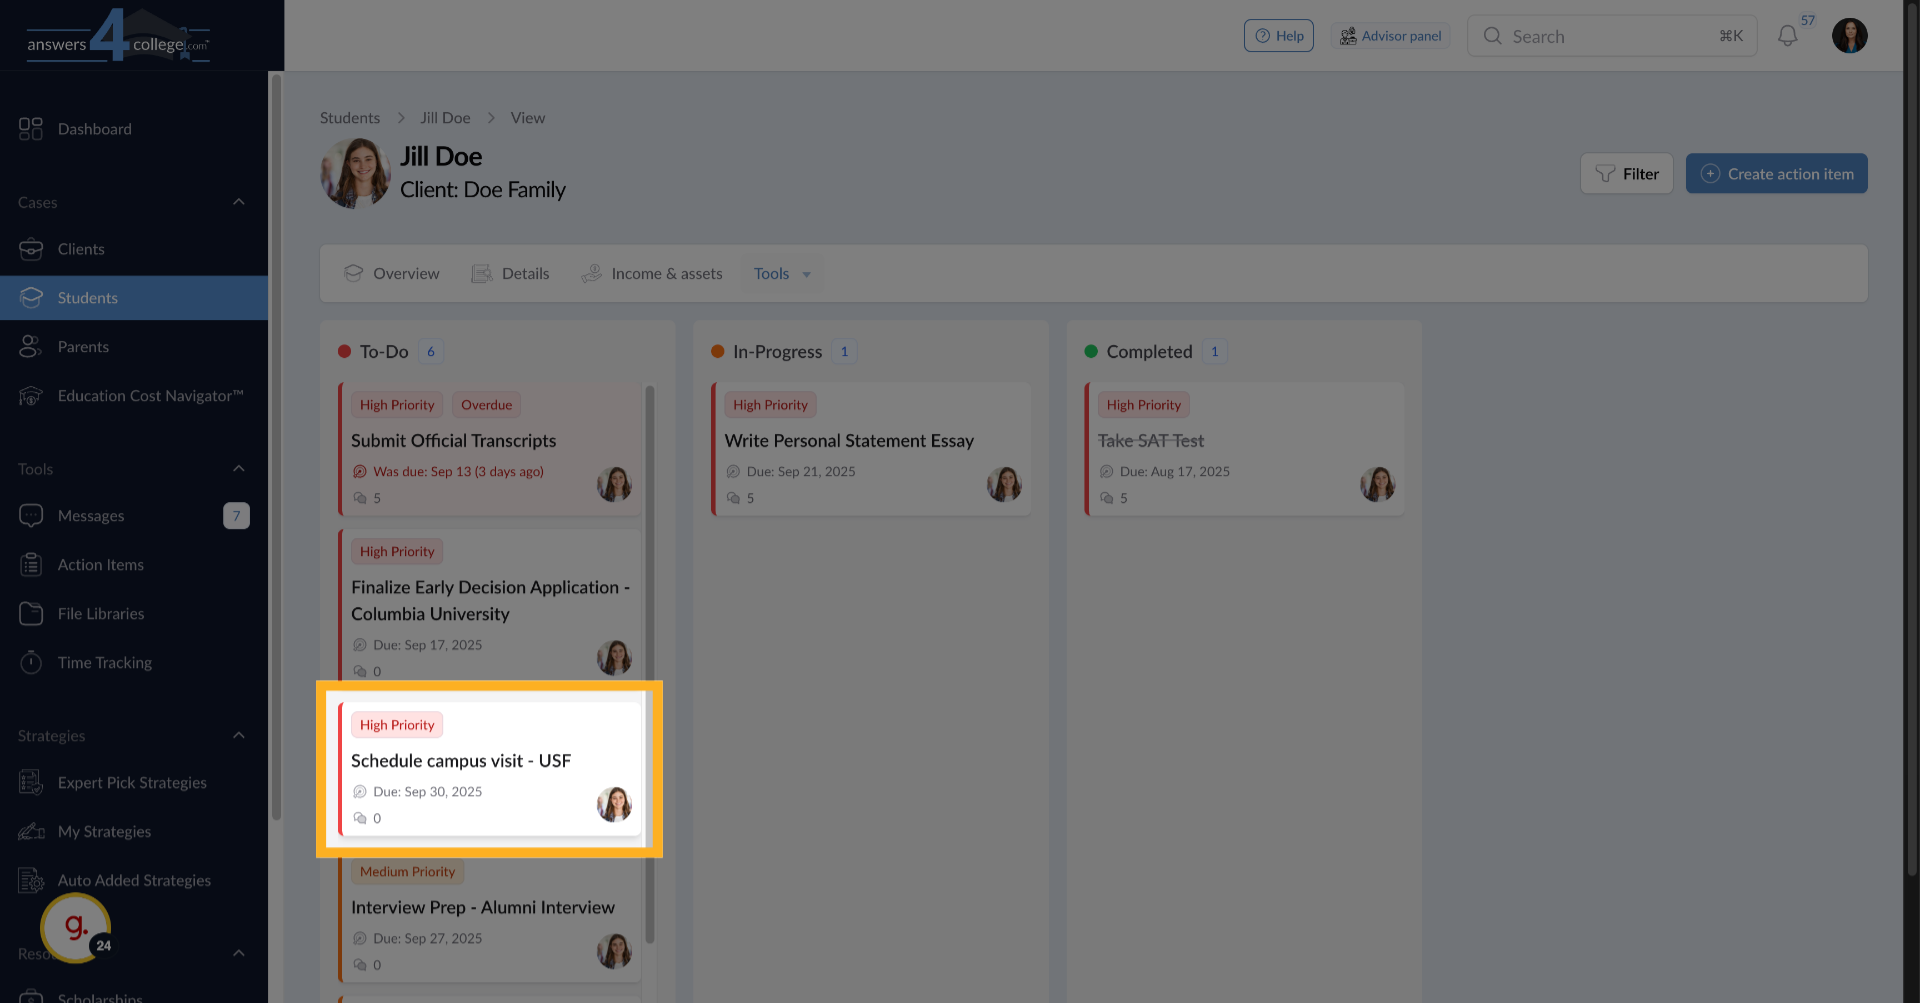
8. Viewing the Student's Task Board
Perfect! You're now looking at all Action Items assigned specifically to
Jill Doe. The tasks are organized into three columns: To-Do for tasks that
haven't been started, In Progress for tasks being worked on, and Completed
for finished items. This gives you an instant visual of where the student
stands with their responsibilities.
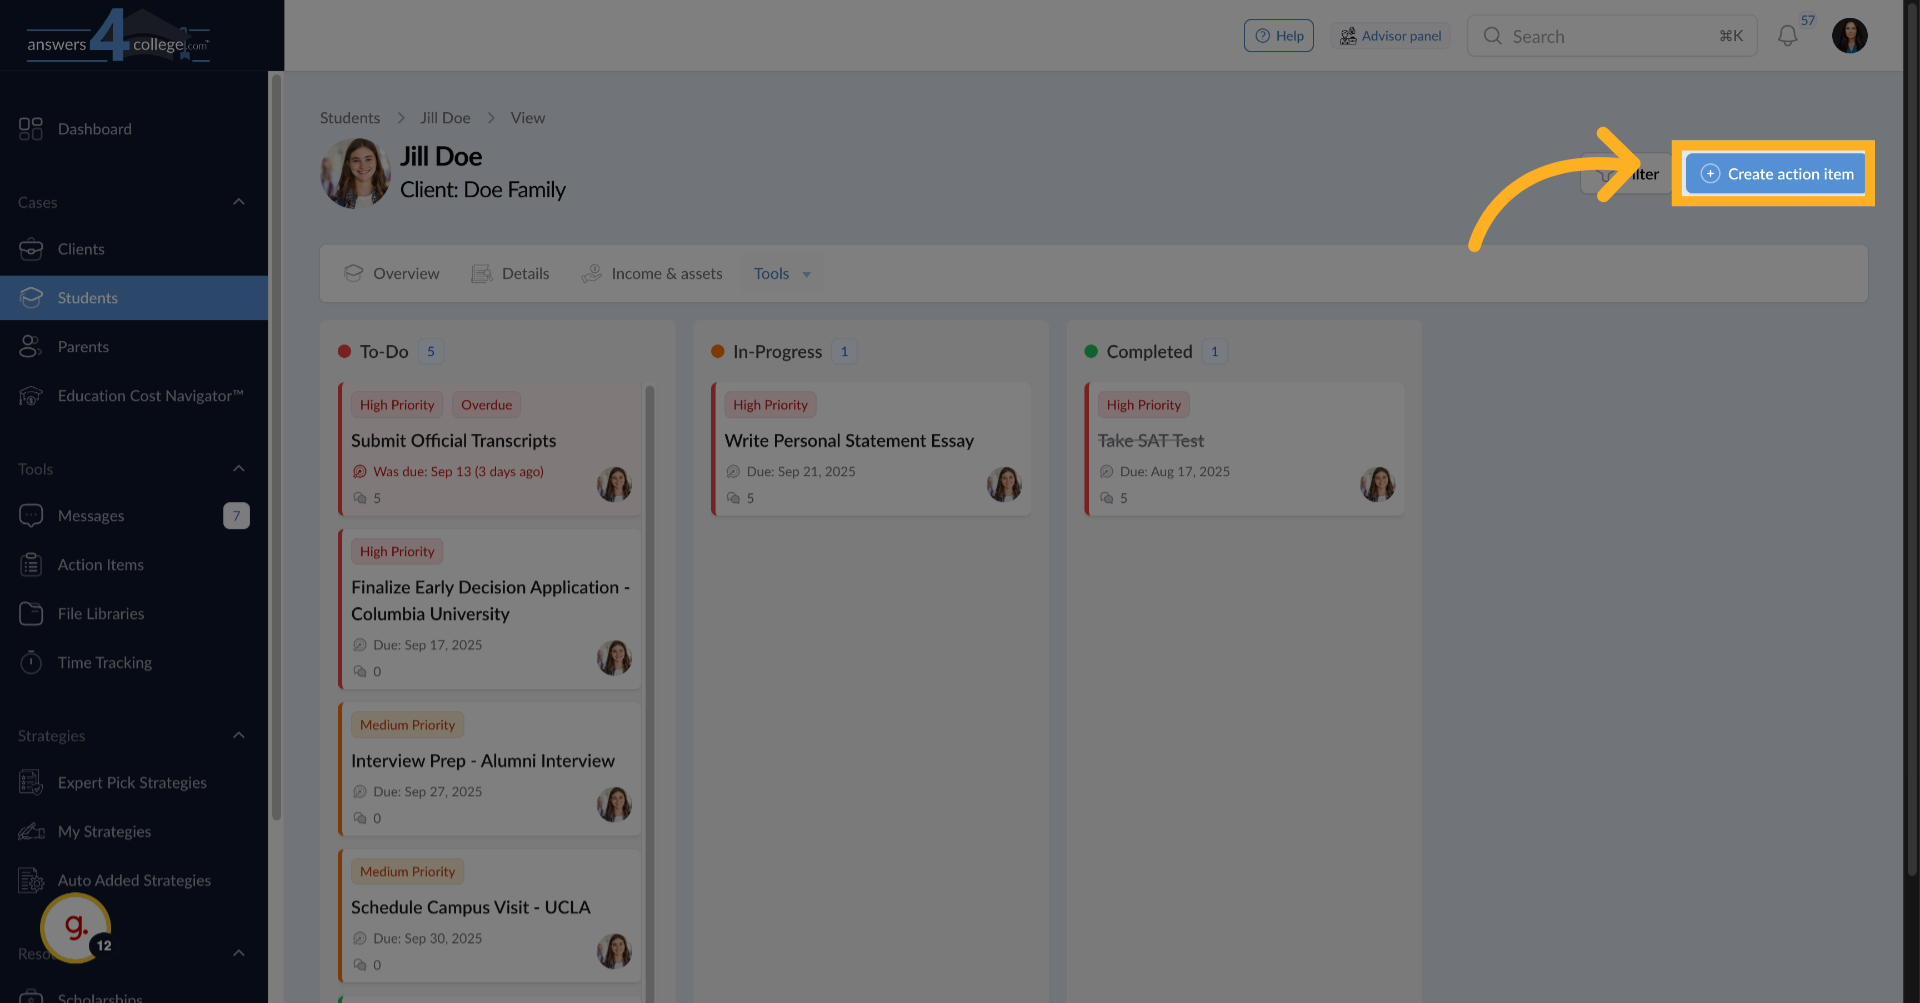
9. Creating a New Action Item
Let's create a new task for this student. Look for the "Create Action Item"
button in the top right corner of the screen. Click it to open the creation
form.
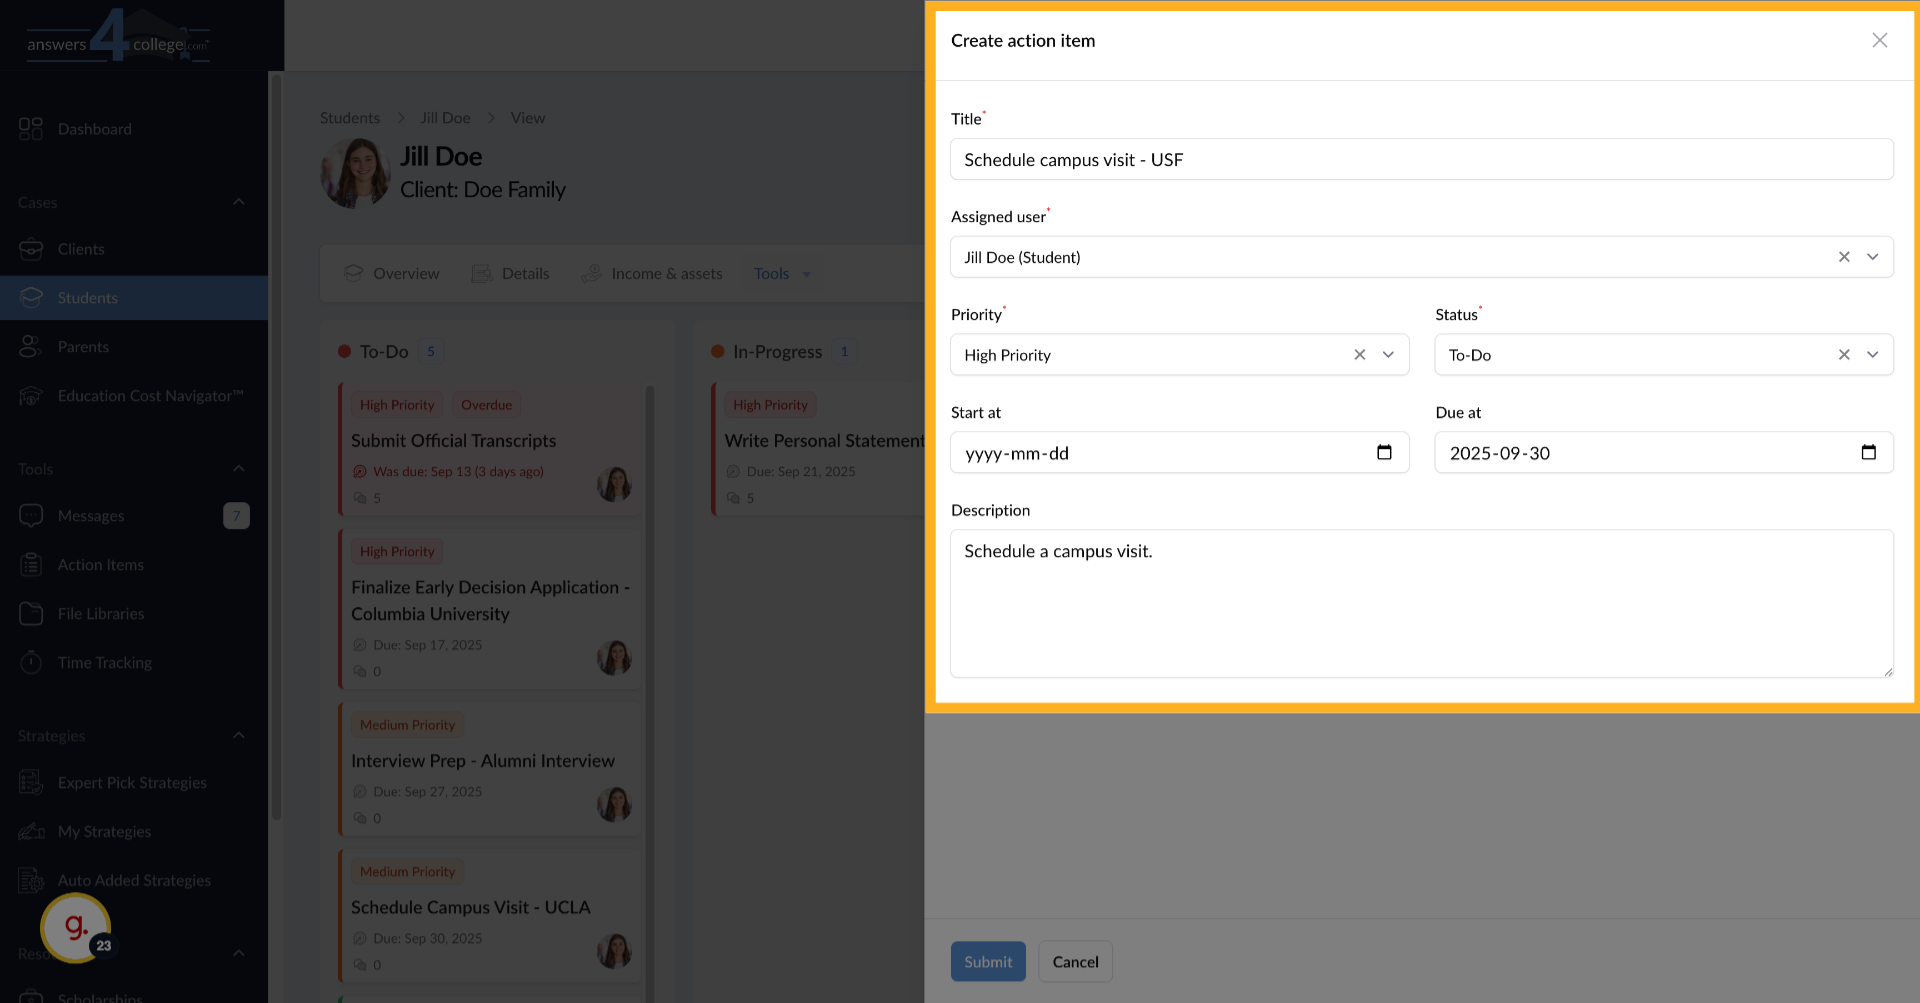
10. Fill in the information
In the form that appears, start by entering a clear, specific title for the
task. For example, type "Schedule Campus Visit - USF" or "Complete Common
App Essay #1." The title should immediately tell the student what needs to
be done.
The system will automatically assign this to Jill Doe since we're in her
profile, but you'll see a field confirming the assignment. This ensures the
task goes to the right person.
Next, select the priority level from the dropdown menu. You have three options:
High, Medium, or Low. Choose High for urgent tasks like approaching deadlines,
Medium for important but not urgent items, and Low for tasks that can wait.
This priority affects where the task appears in lists and helps students
focus on what's most important.
Set the initial status for this task. Select "To-Do" for new tasks the student
hasn't started, "In Progress" if they've already begun working on it, or
"Completed" if you're documenting something already finished. Most new tasks
will start as "To-Do."
Now you'll see optional date fields. The "Start Date" indicates when the
student should begin working on this task - useful for tasks that shouldn't
be started too early. The "Due Date" is when the task must be completed.
For our example, let's set the due date to September 30th. These dates help
create urgency and proper planning.
In the description field, provide any additional information the student
needs. You might include specific instructions, links to resources, or context
about why this task is important. Be as detailed as necessary to ensure the
student can complete the task successfully.
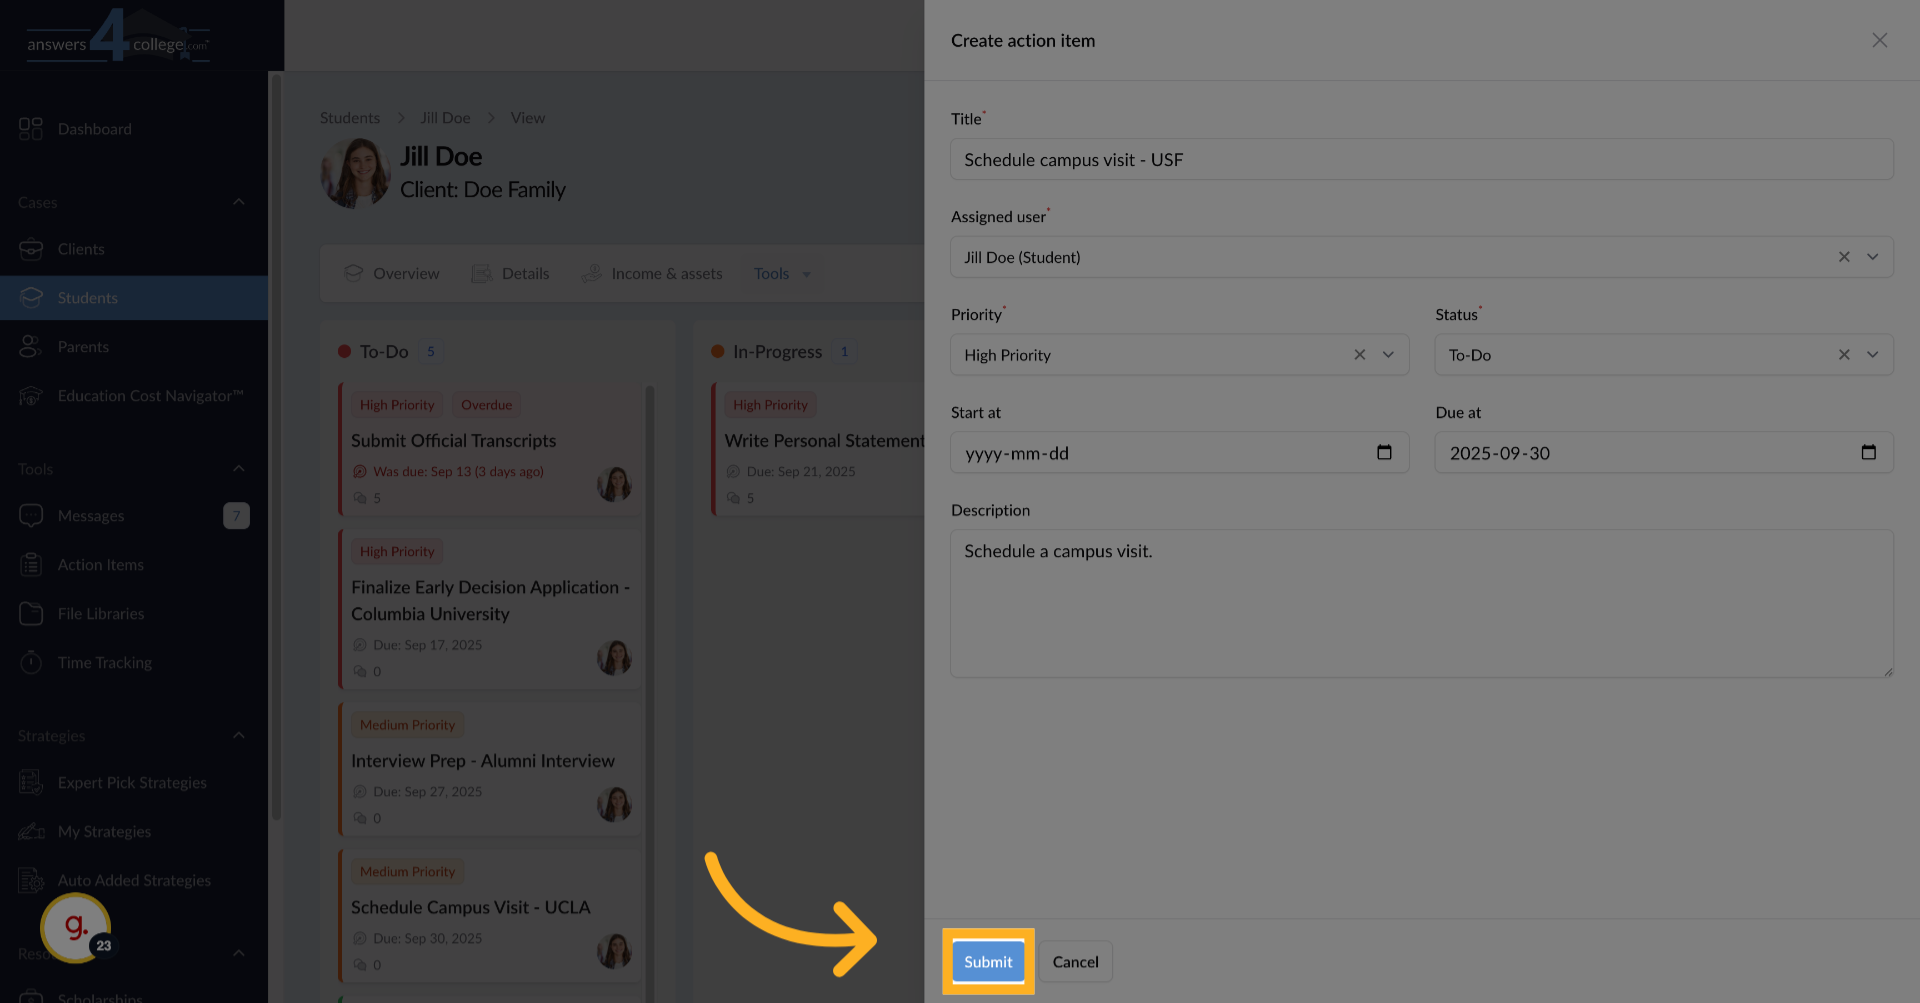
11. Submitting the Action Item
Once you've filled in all the necessary information, click "Submit." The
new Action Item is immediately created and becomes visible to the student
when they log in.
12. Using Drag and Drop
Here's a great feature - tasks can be moved between columns using drag and
drop. When a student starts working on something, they can drag it from "To-Do"
to "In Progress." When finished, they drag it to "Completed." Watch how the
system automatically reorders tasks within each column based on priority
and due date.
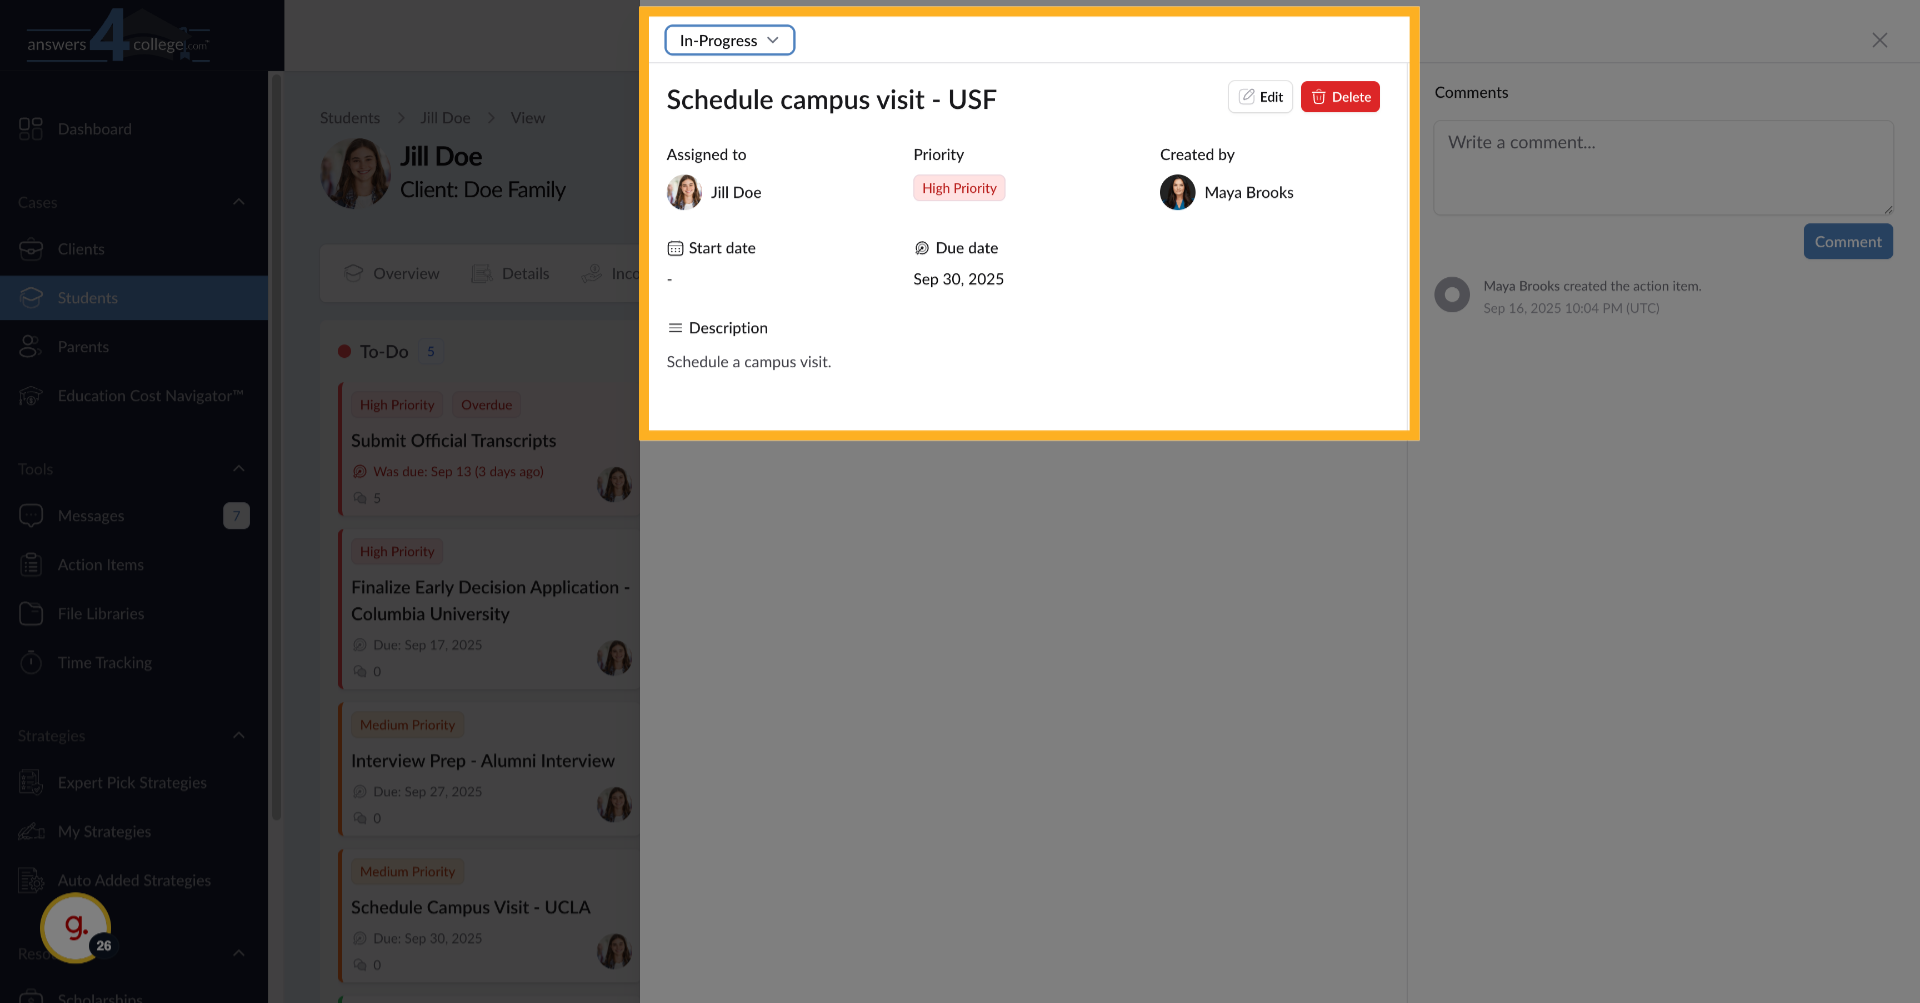
13. Opening Task Details
Click on any Action Item to open its full details.
14. Task Details
This expanded view shows all the information about the task, including its
complete description, dates, and priority level.
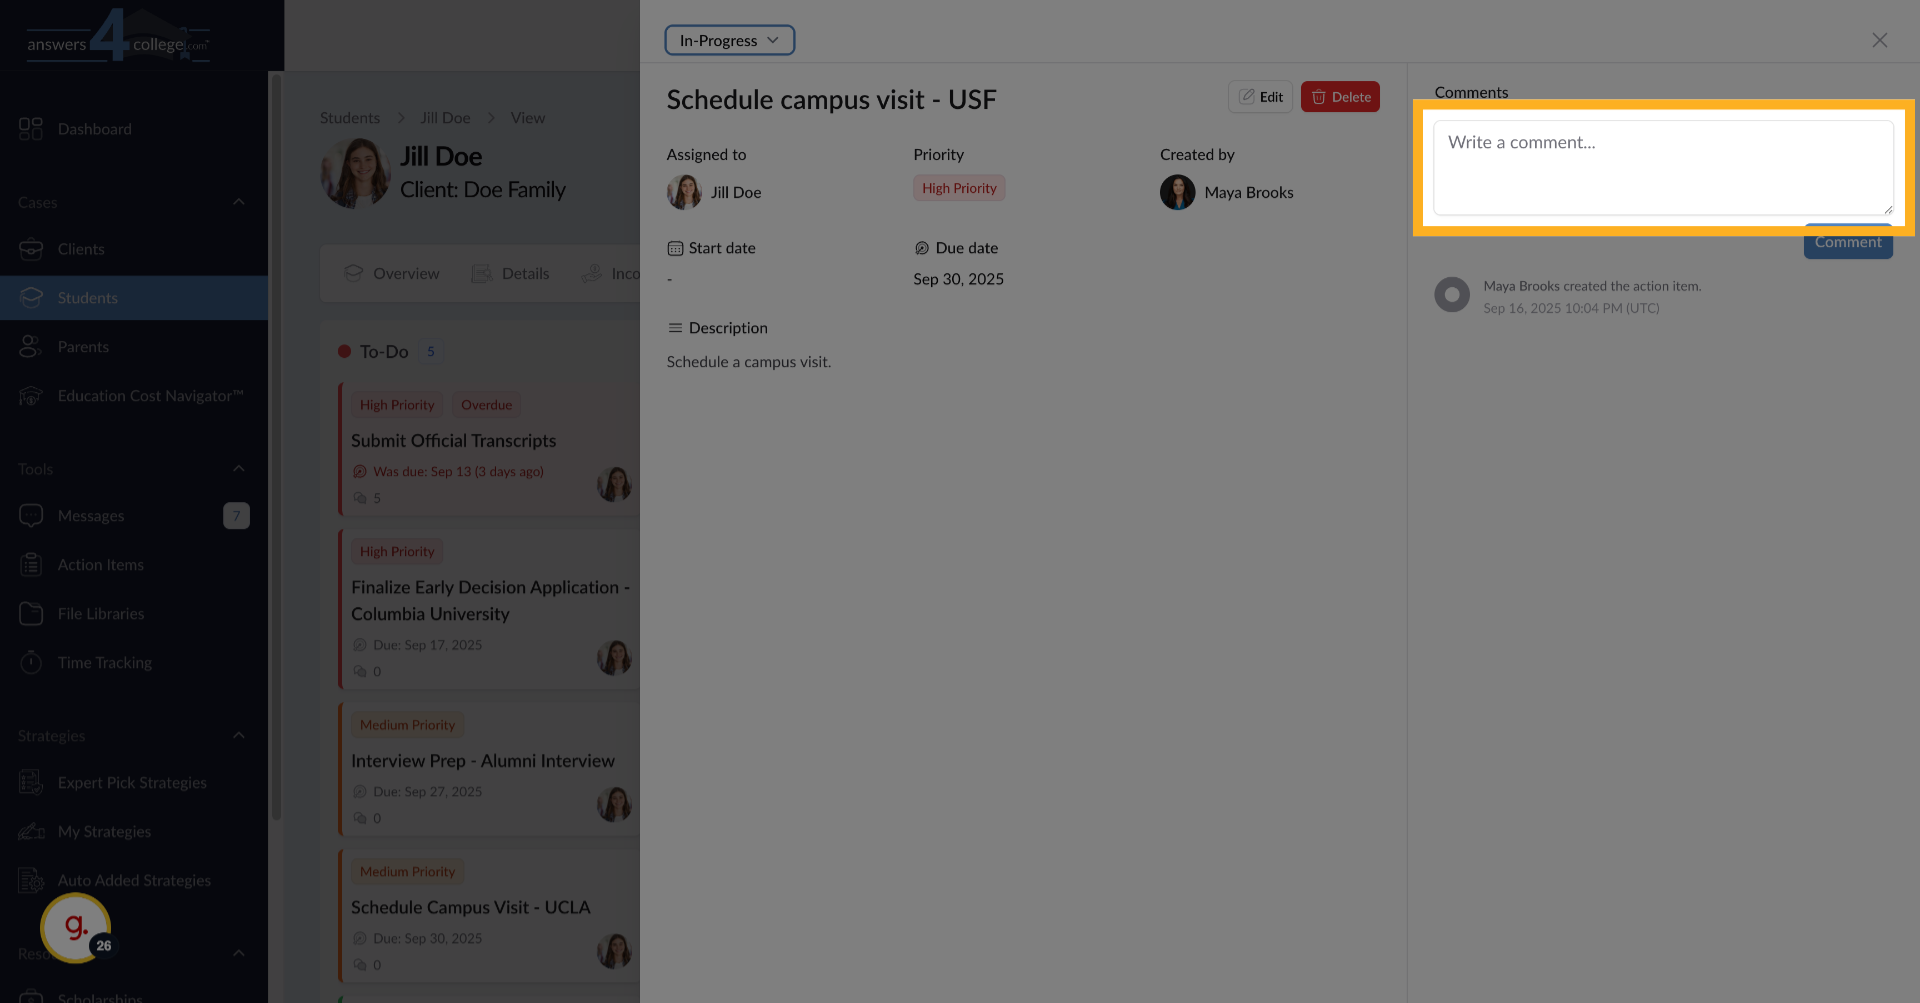
15. Adding Comments
In the task details, you'll see a comments section. This creates a conversation
thread about the task. Type a comment like "Great progress! Let me know if
you need help scheduling the visit."
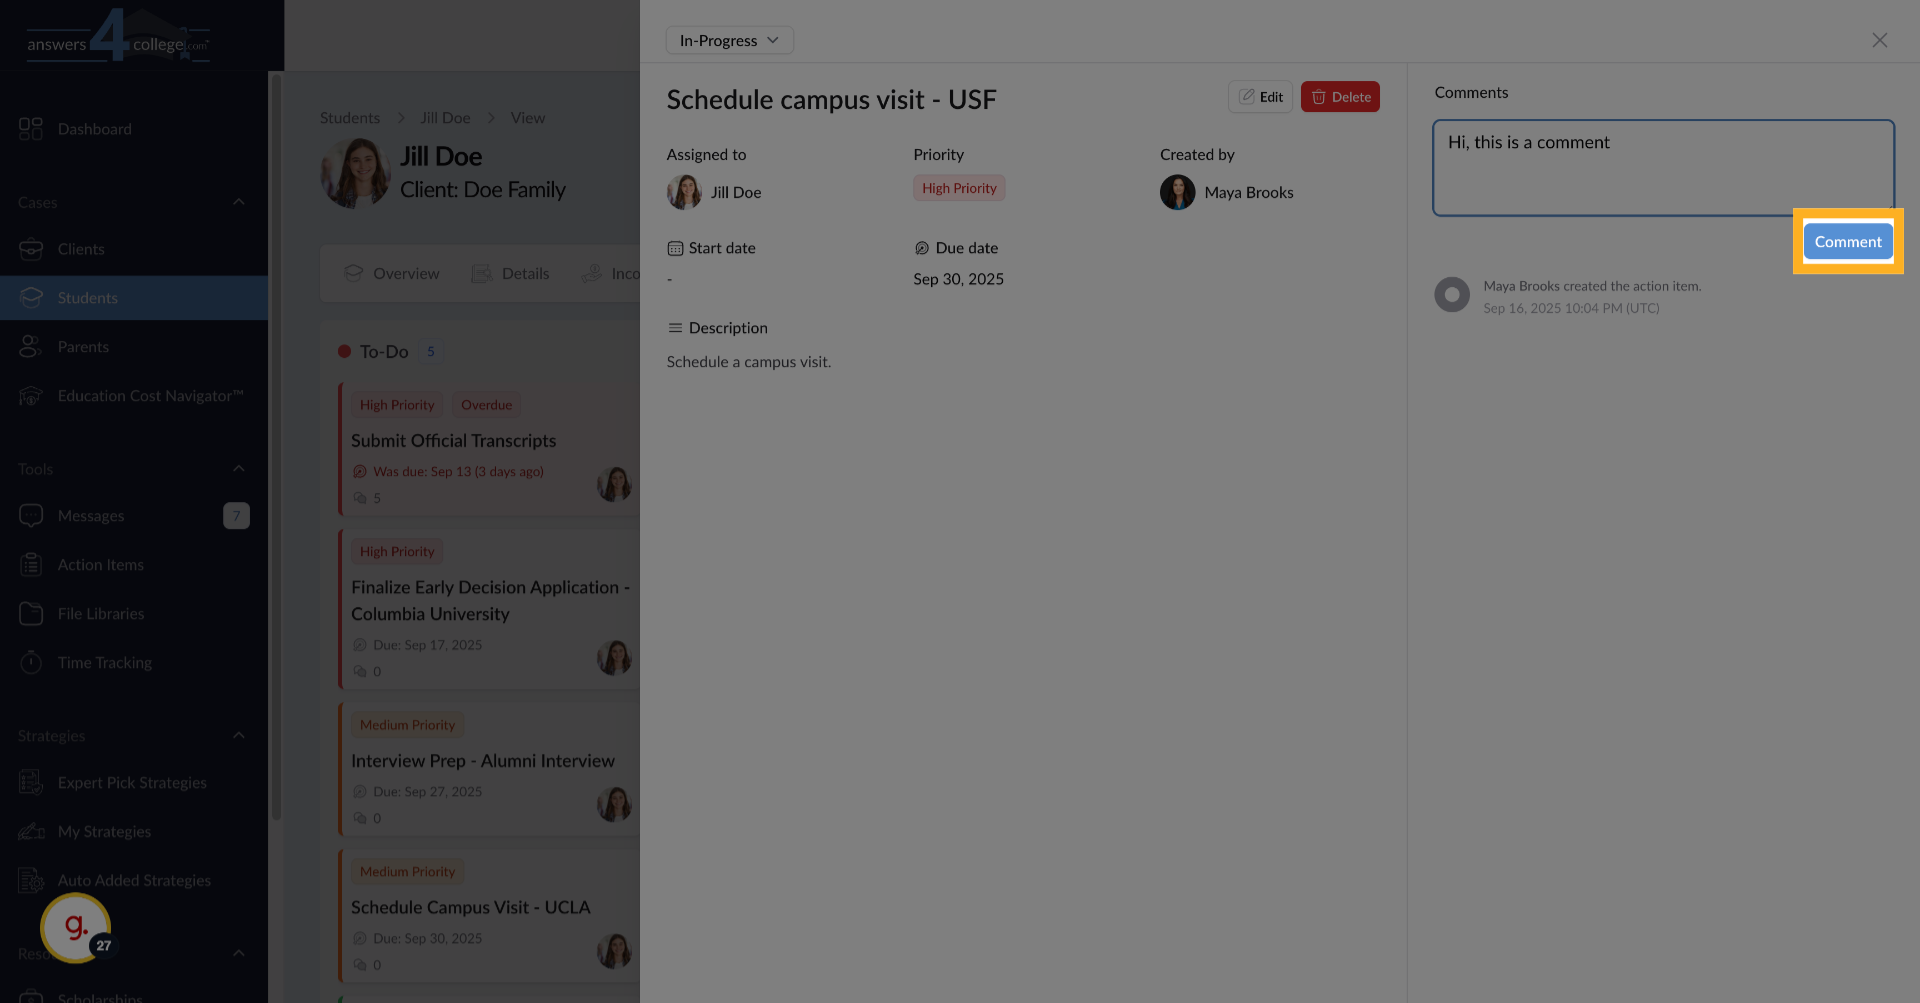
16. Click "Comment"
When you add a comment, the student receives an email notification, keeping
communication flowing.
17. Tracking Notifications
When students comment on tasks or update their status, you'll see notifications
in your Notifications tab. This two-way communication ensures nothing falls
through the cracks and questions get answered quickly.
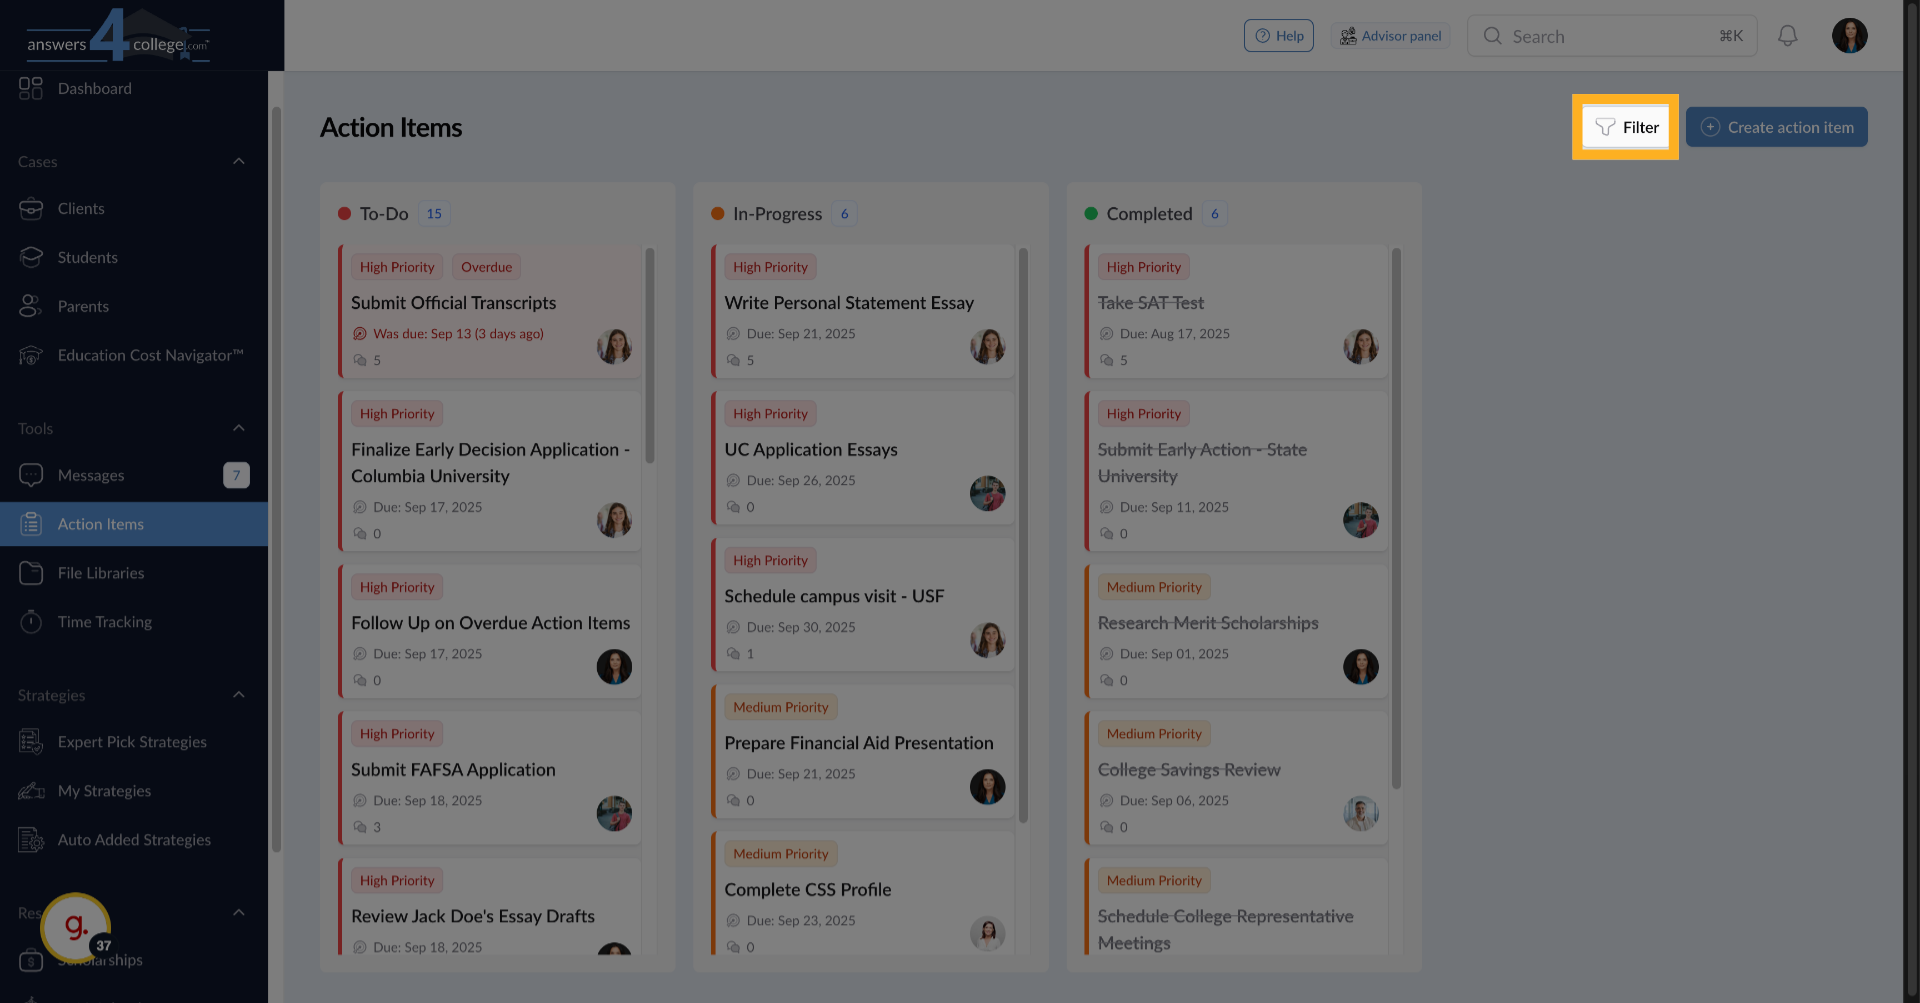
18. Returning to the Overview
Navigate back to the main Action Items dashboard by clicking "Action Items"
in the left menu. This returns you to the complete overview of all tasks
across all users.
19. Filtering action items
Click "Filter" to open the filtering options again for refined searches.
20. Filtering by Date Range
Use the date filter to focus on specific timeframes. For example, select
dates from the 17th to the 20th to see everything due this week. This helps
you identify which students might need reminders or support to meet their
deadlines.
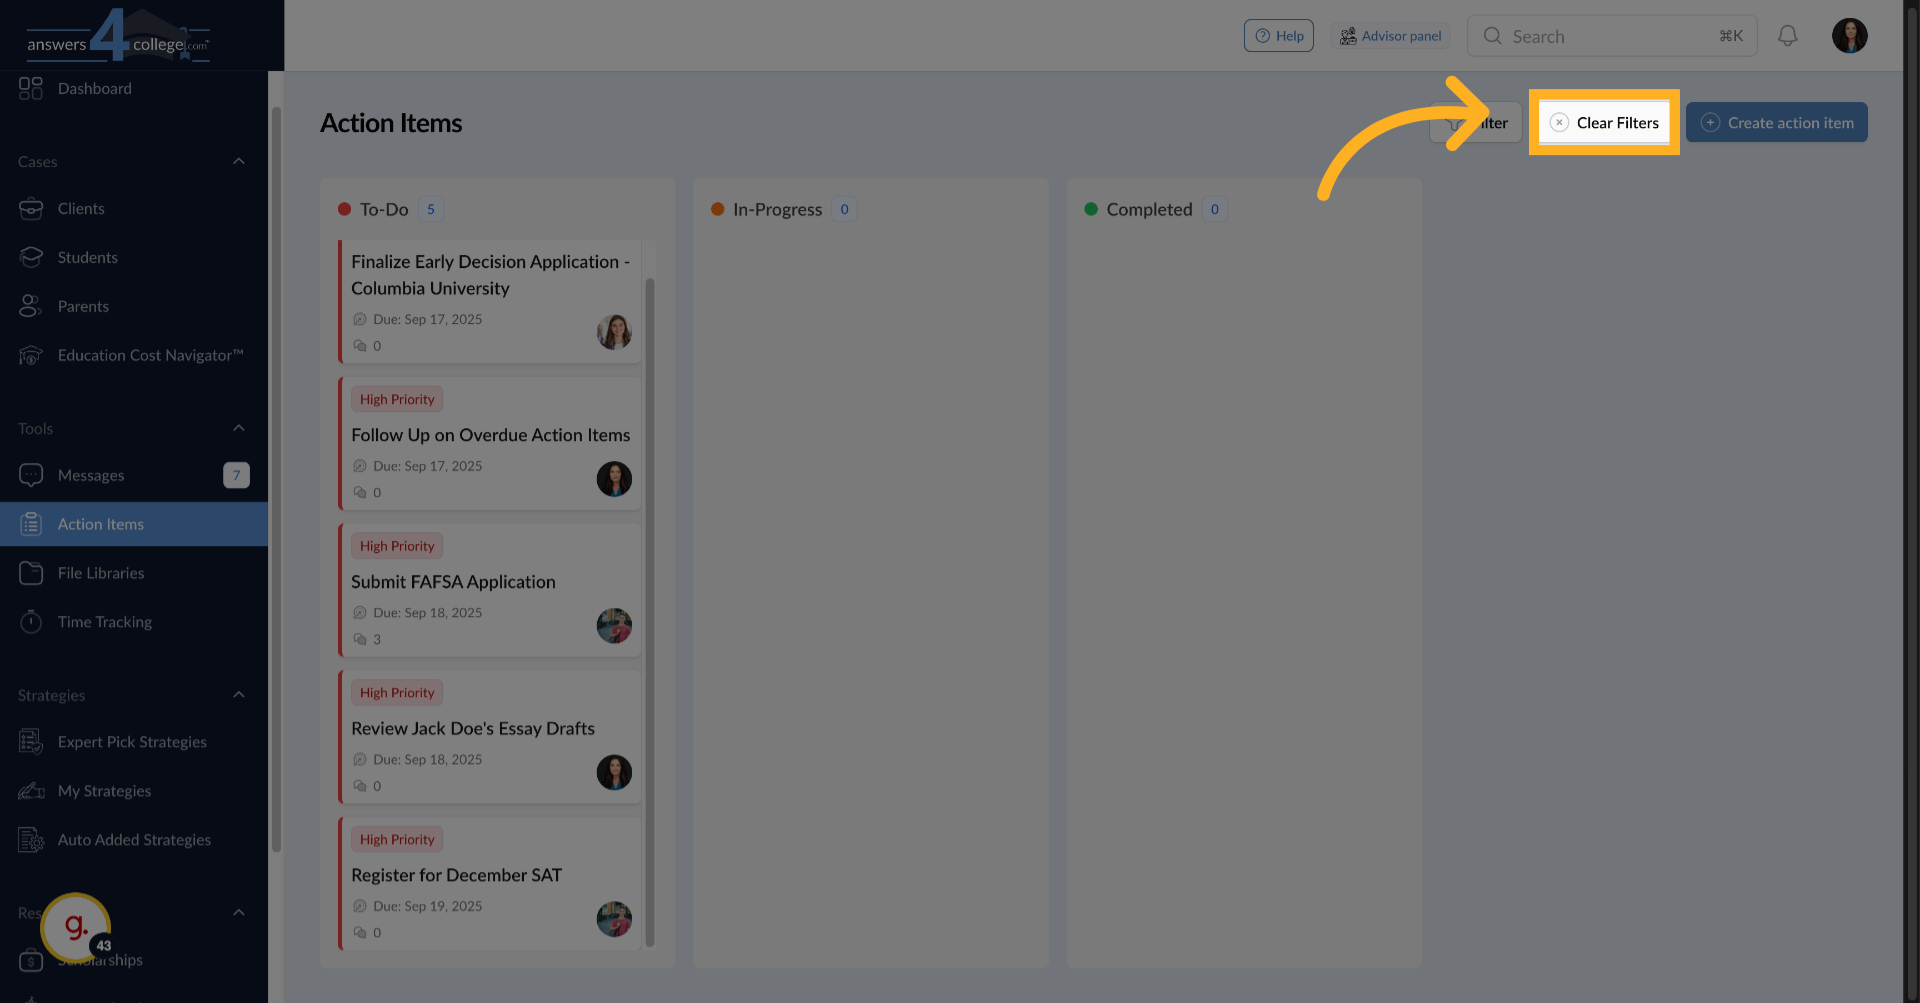
21. Click "Clear Filters"
Click "Clear Filters" to remove all applied filters and view the full list
of action items.
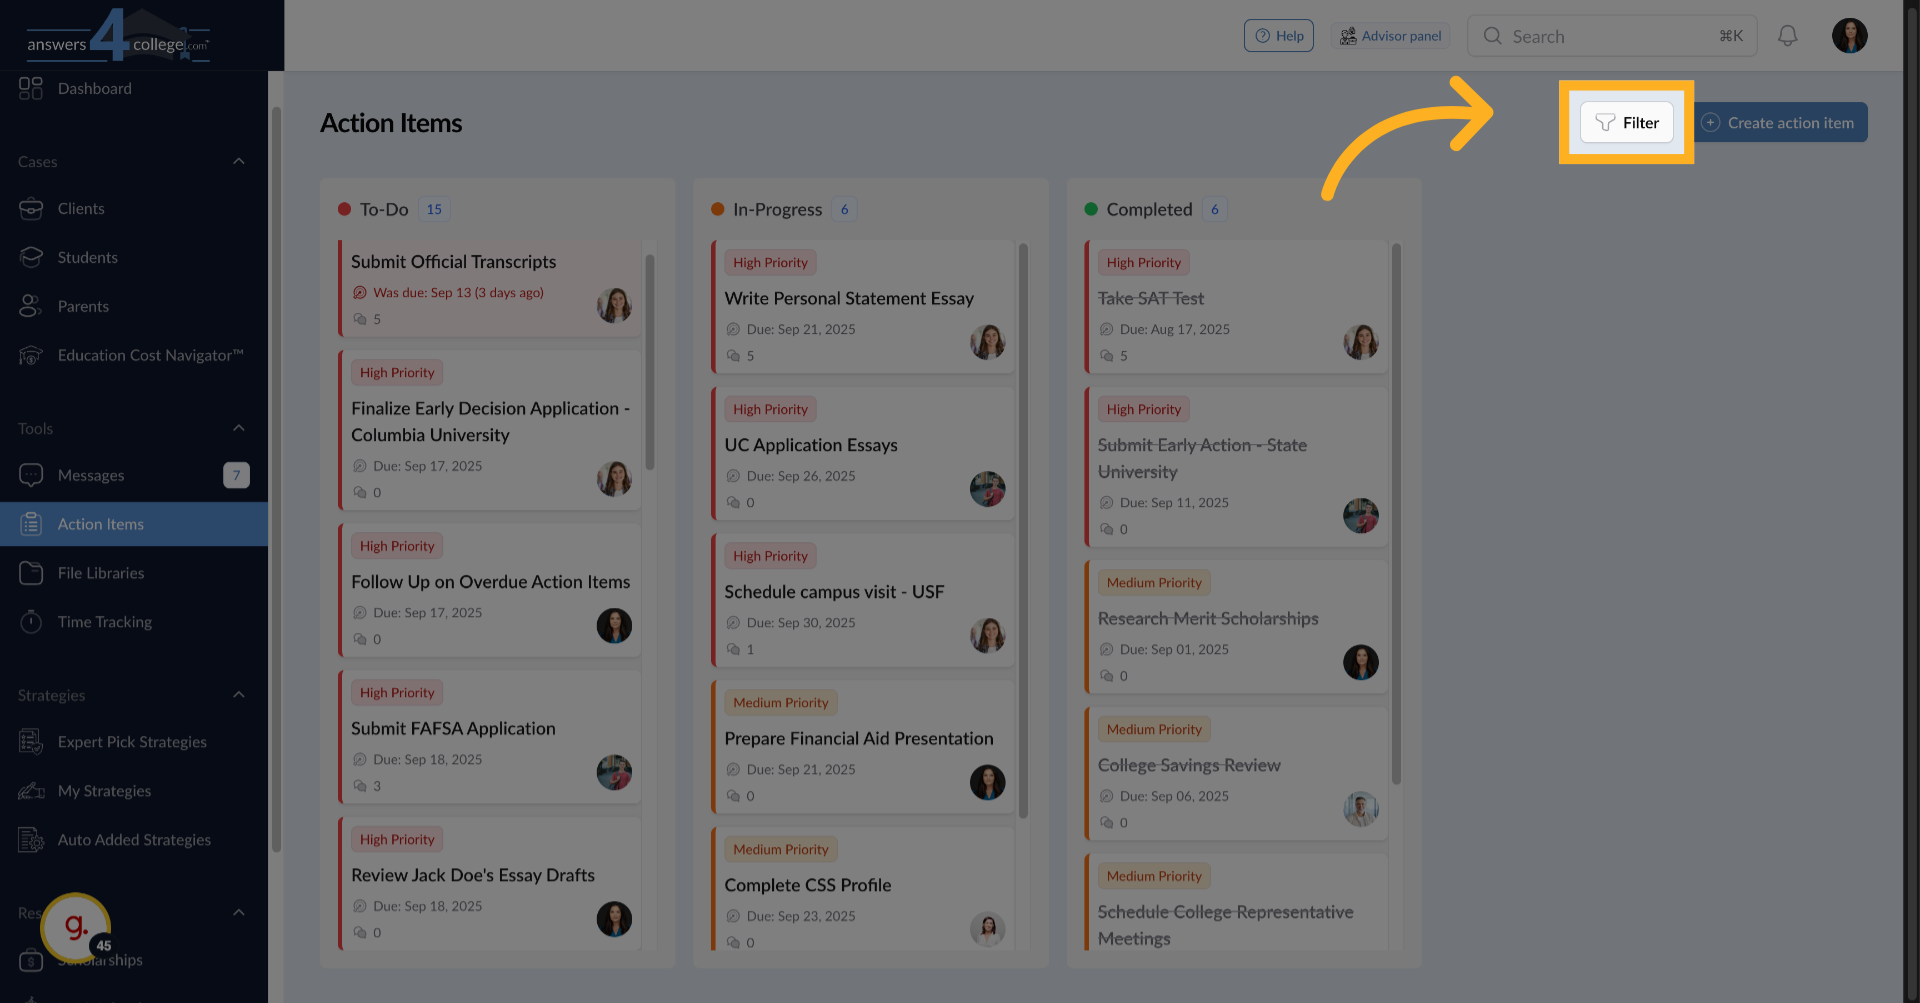
22. Click "Filter"
Click "Filter" to open the filter settings once more for additional adjustments.
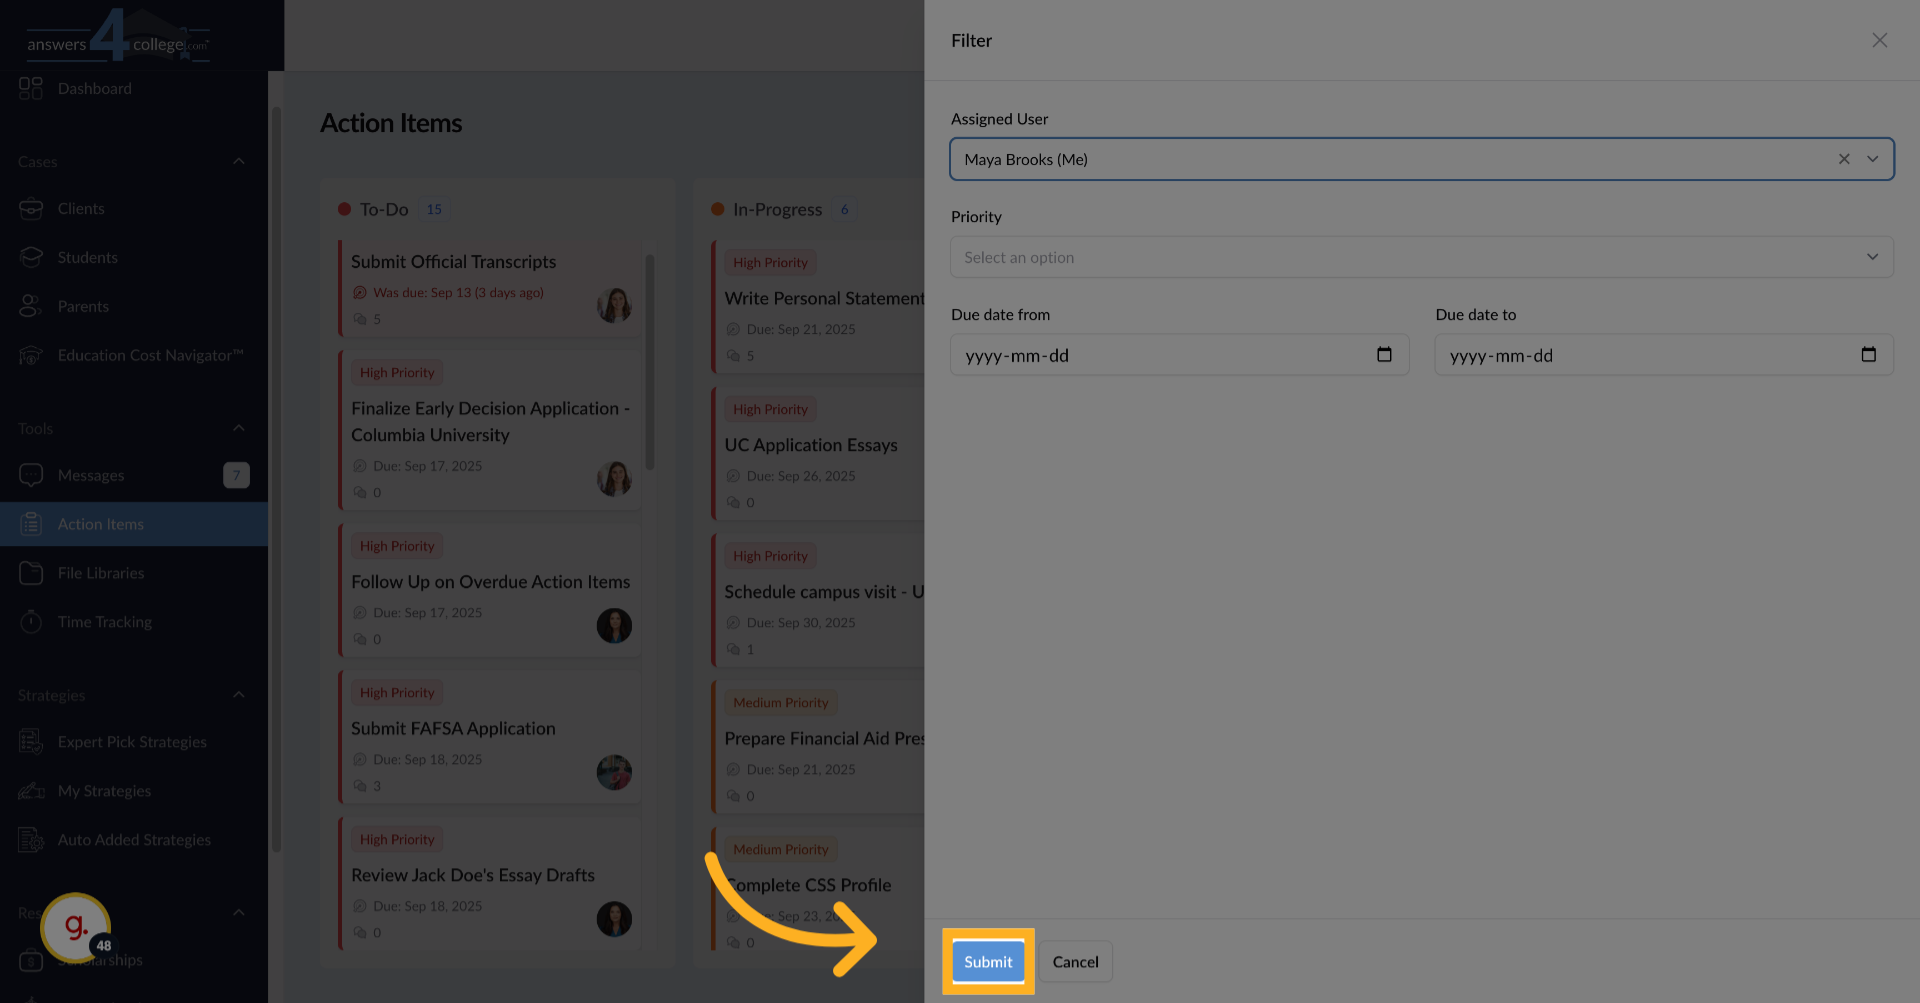
23. Filtering by Assignee
The assignee filter is particularly powerful. Select your own name to see
only tasks assigned to you - perfect for managing your own to-do list. Or
filter by a specific student or parent to focus on one person's tasks across
the board.
24. Click "Submit"
Click "Submit" to apply the user filter and display relevant action items.
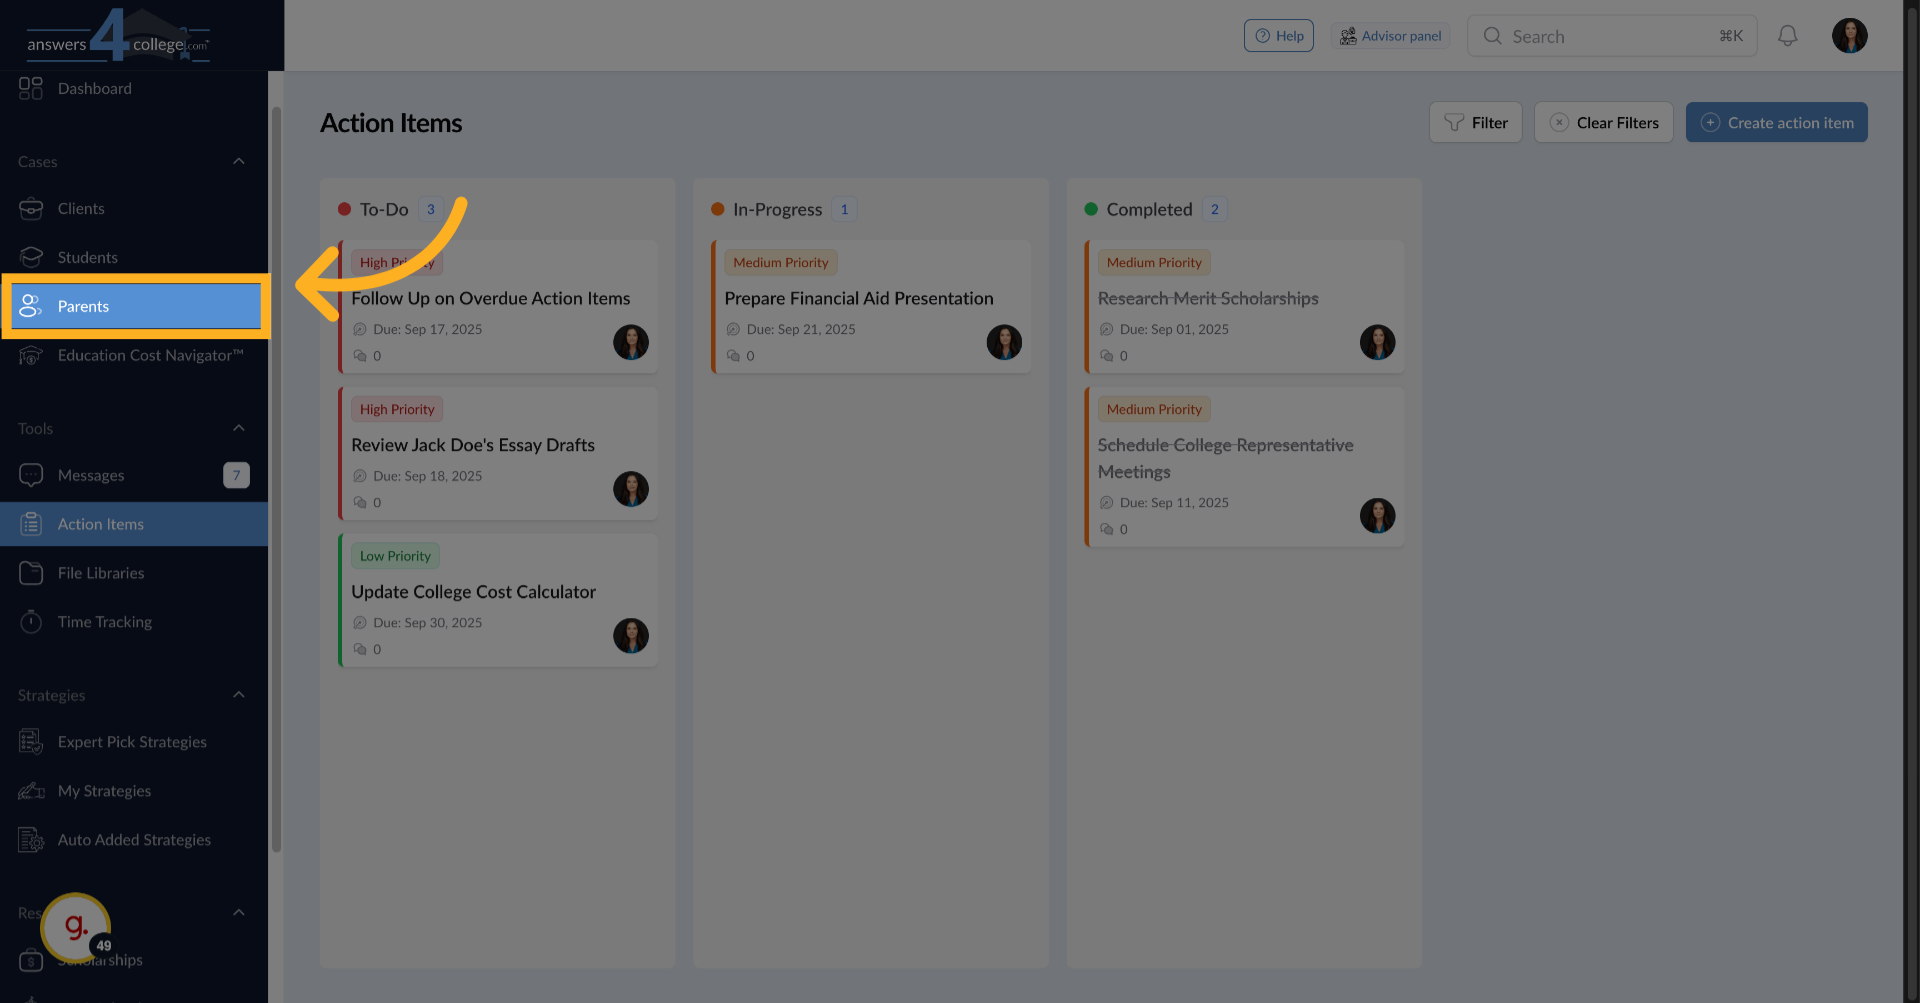
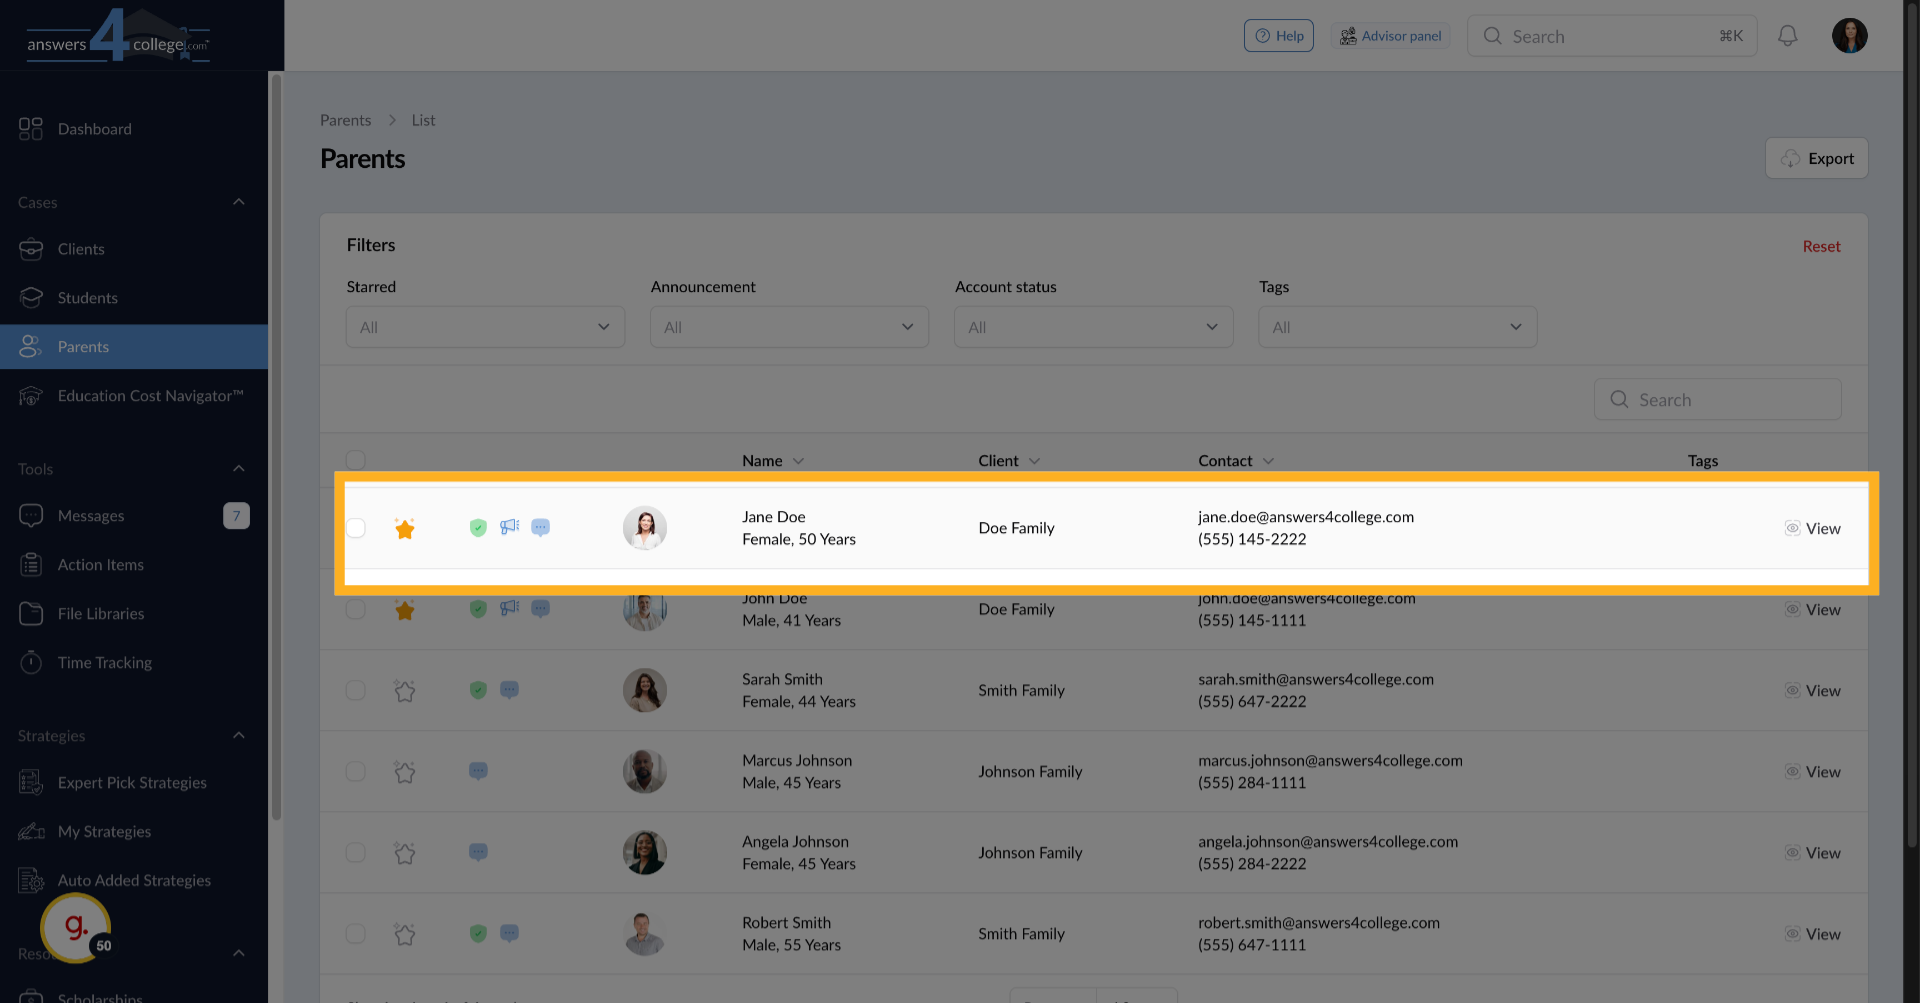
25. Click "Parents"
Click "Parents" to switch to the parents' section and view related action
items.
26. Select a Parent
Click here to select the next option or navigate within the parents' section.
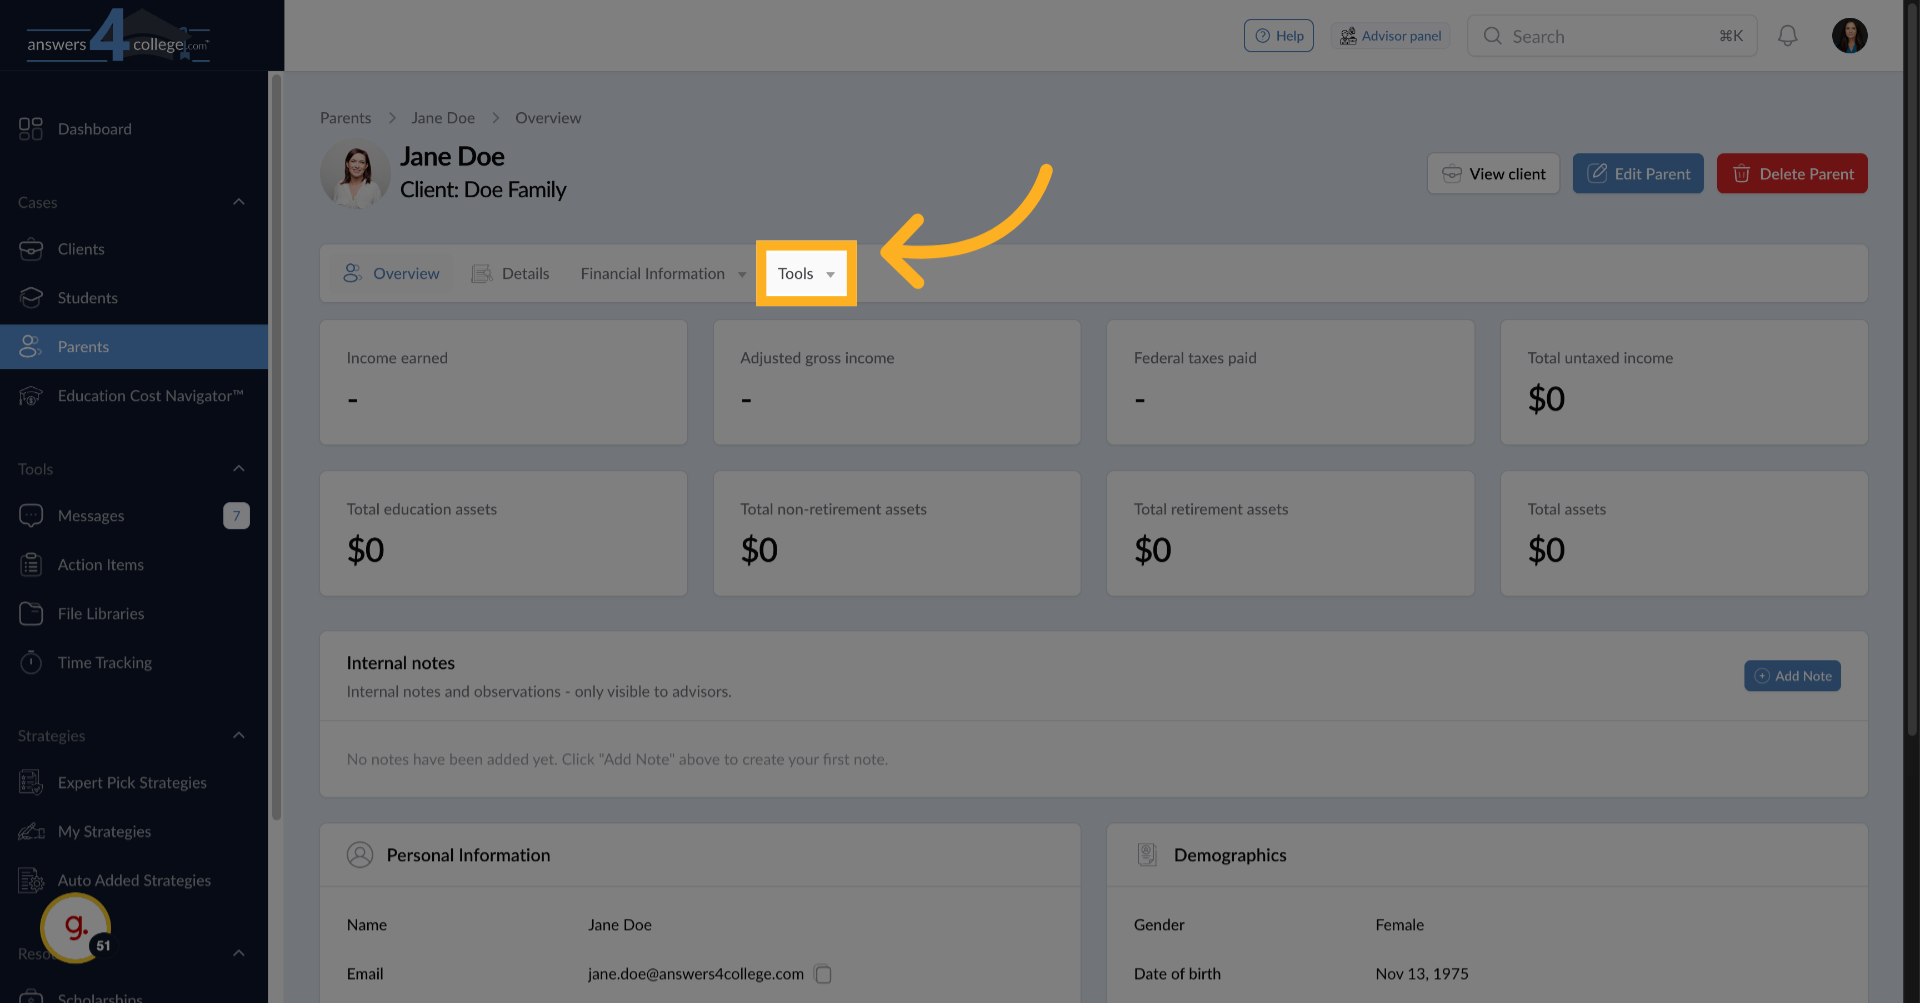
27. Click "Tools"
Click "Tools" to access tools and options related to the parents' section.
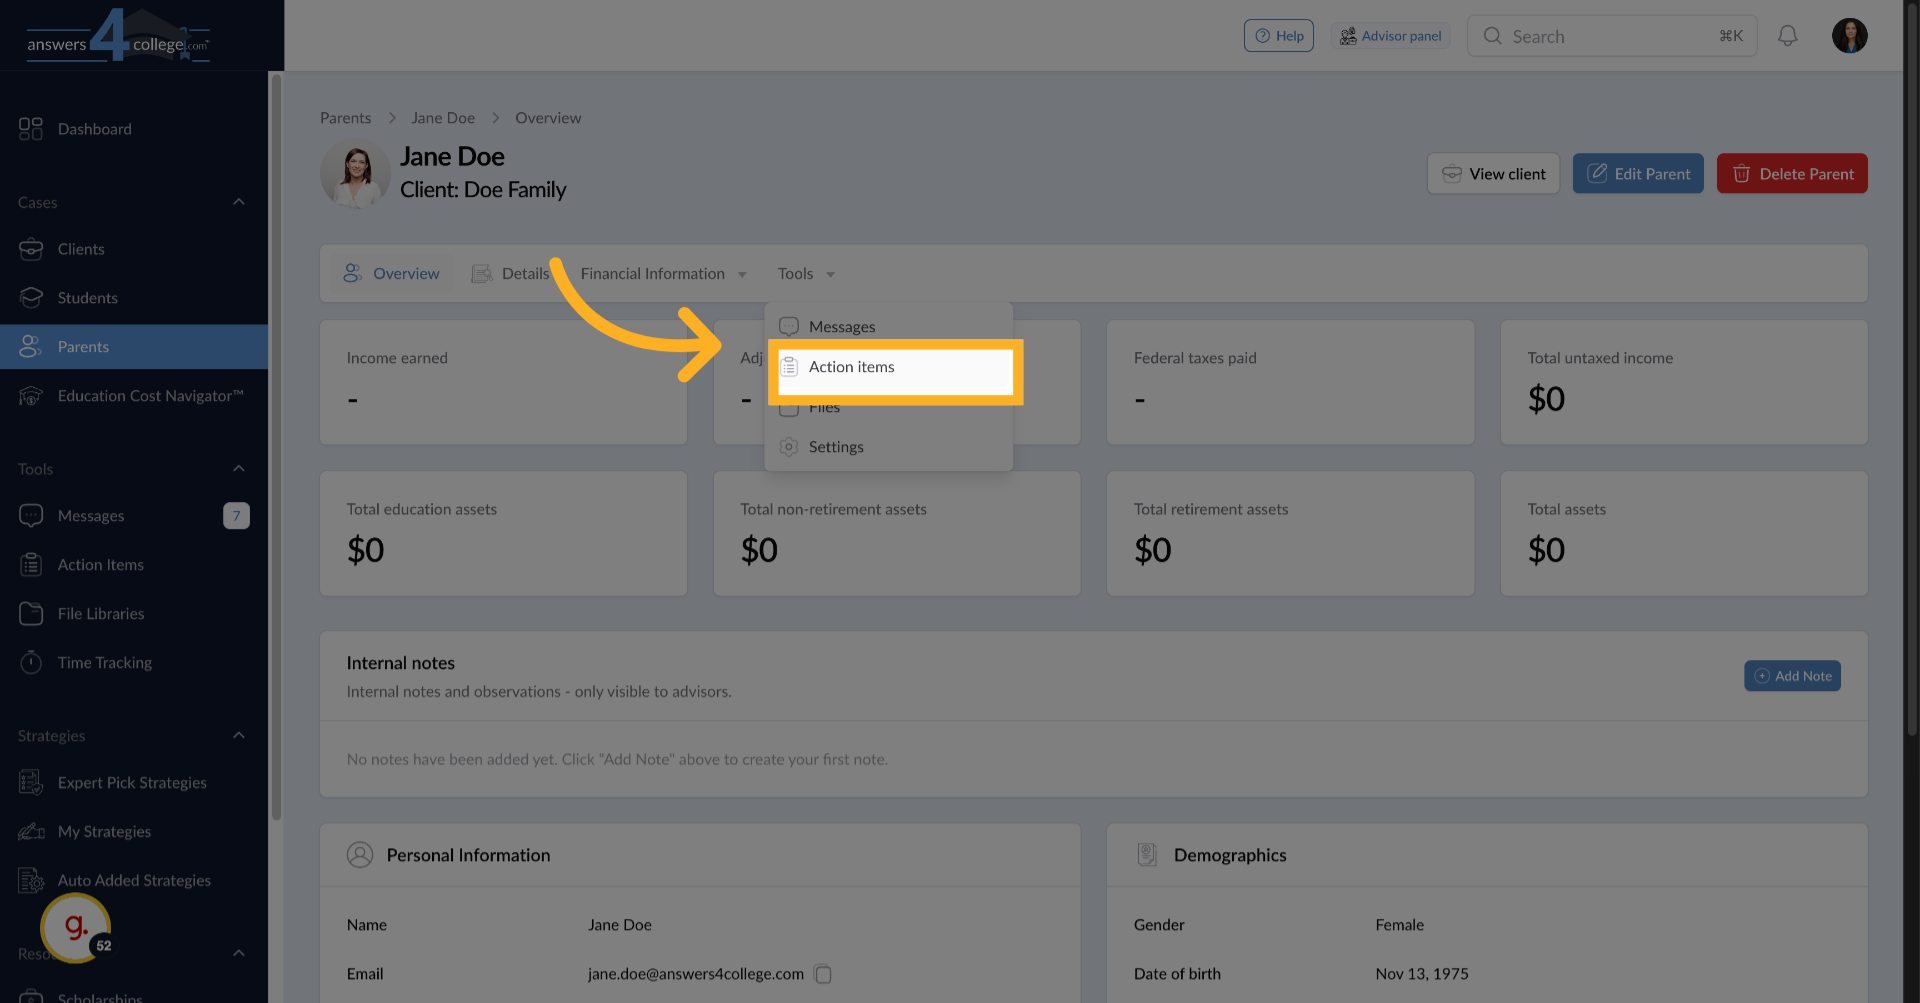
28. Click "Action items"
Click "Action items" to view and manage action items associated with parents.
This might include tasks like "Review Financial Aid Documents" or "Submit
Tax Returns."
You've now mastered the Action Items feature in the Answers for College Advisor
Portal. This task management system keeps everyone organized, accountable,
and on track throughout the college planning journey. You can create specific
tasks, track progress in real-time, and maintain clear communication through
the comment system.
The visual organization with priority levels and status columns makes it
easy for students and parents to understand exactly what needs to be done
and when. Meanwhile, your overview dashboard ensures you never lose sight
of the big picture across all your families.
Thank you for following along with this tutorial. Start using Action Items
today to transform how you manage the college planning process with your
families.


Comments
0 comments
Please sign in to leave a comment.